
Want to learn how to do the SSK stitch? This essential left-leaning decrease is a must-know for shaping your knitting projects! Find all of my knitting tutorials here.

Knitting is all about the details, and if you’ve been following along in my Beginner Knitting Series, you know we’re building up our skills one stitch at a time. Today, we’re tackling an essential decrease—the SSK stitch. If you’ve ever knit a project that required shaping, like a sweater, hat, or even a sock, chances are you’ve come across the SSK. But if you’ve ever wondered, What does SSK mean? Why does it lean left? How do I do it?—you’re in the right place!
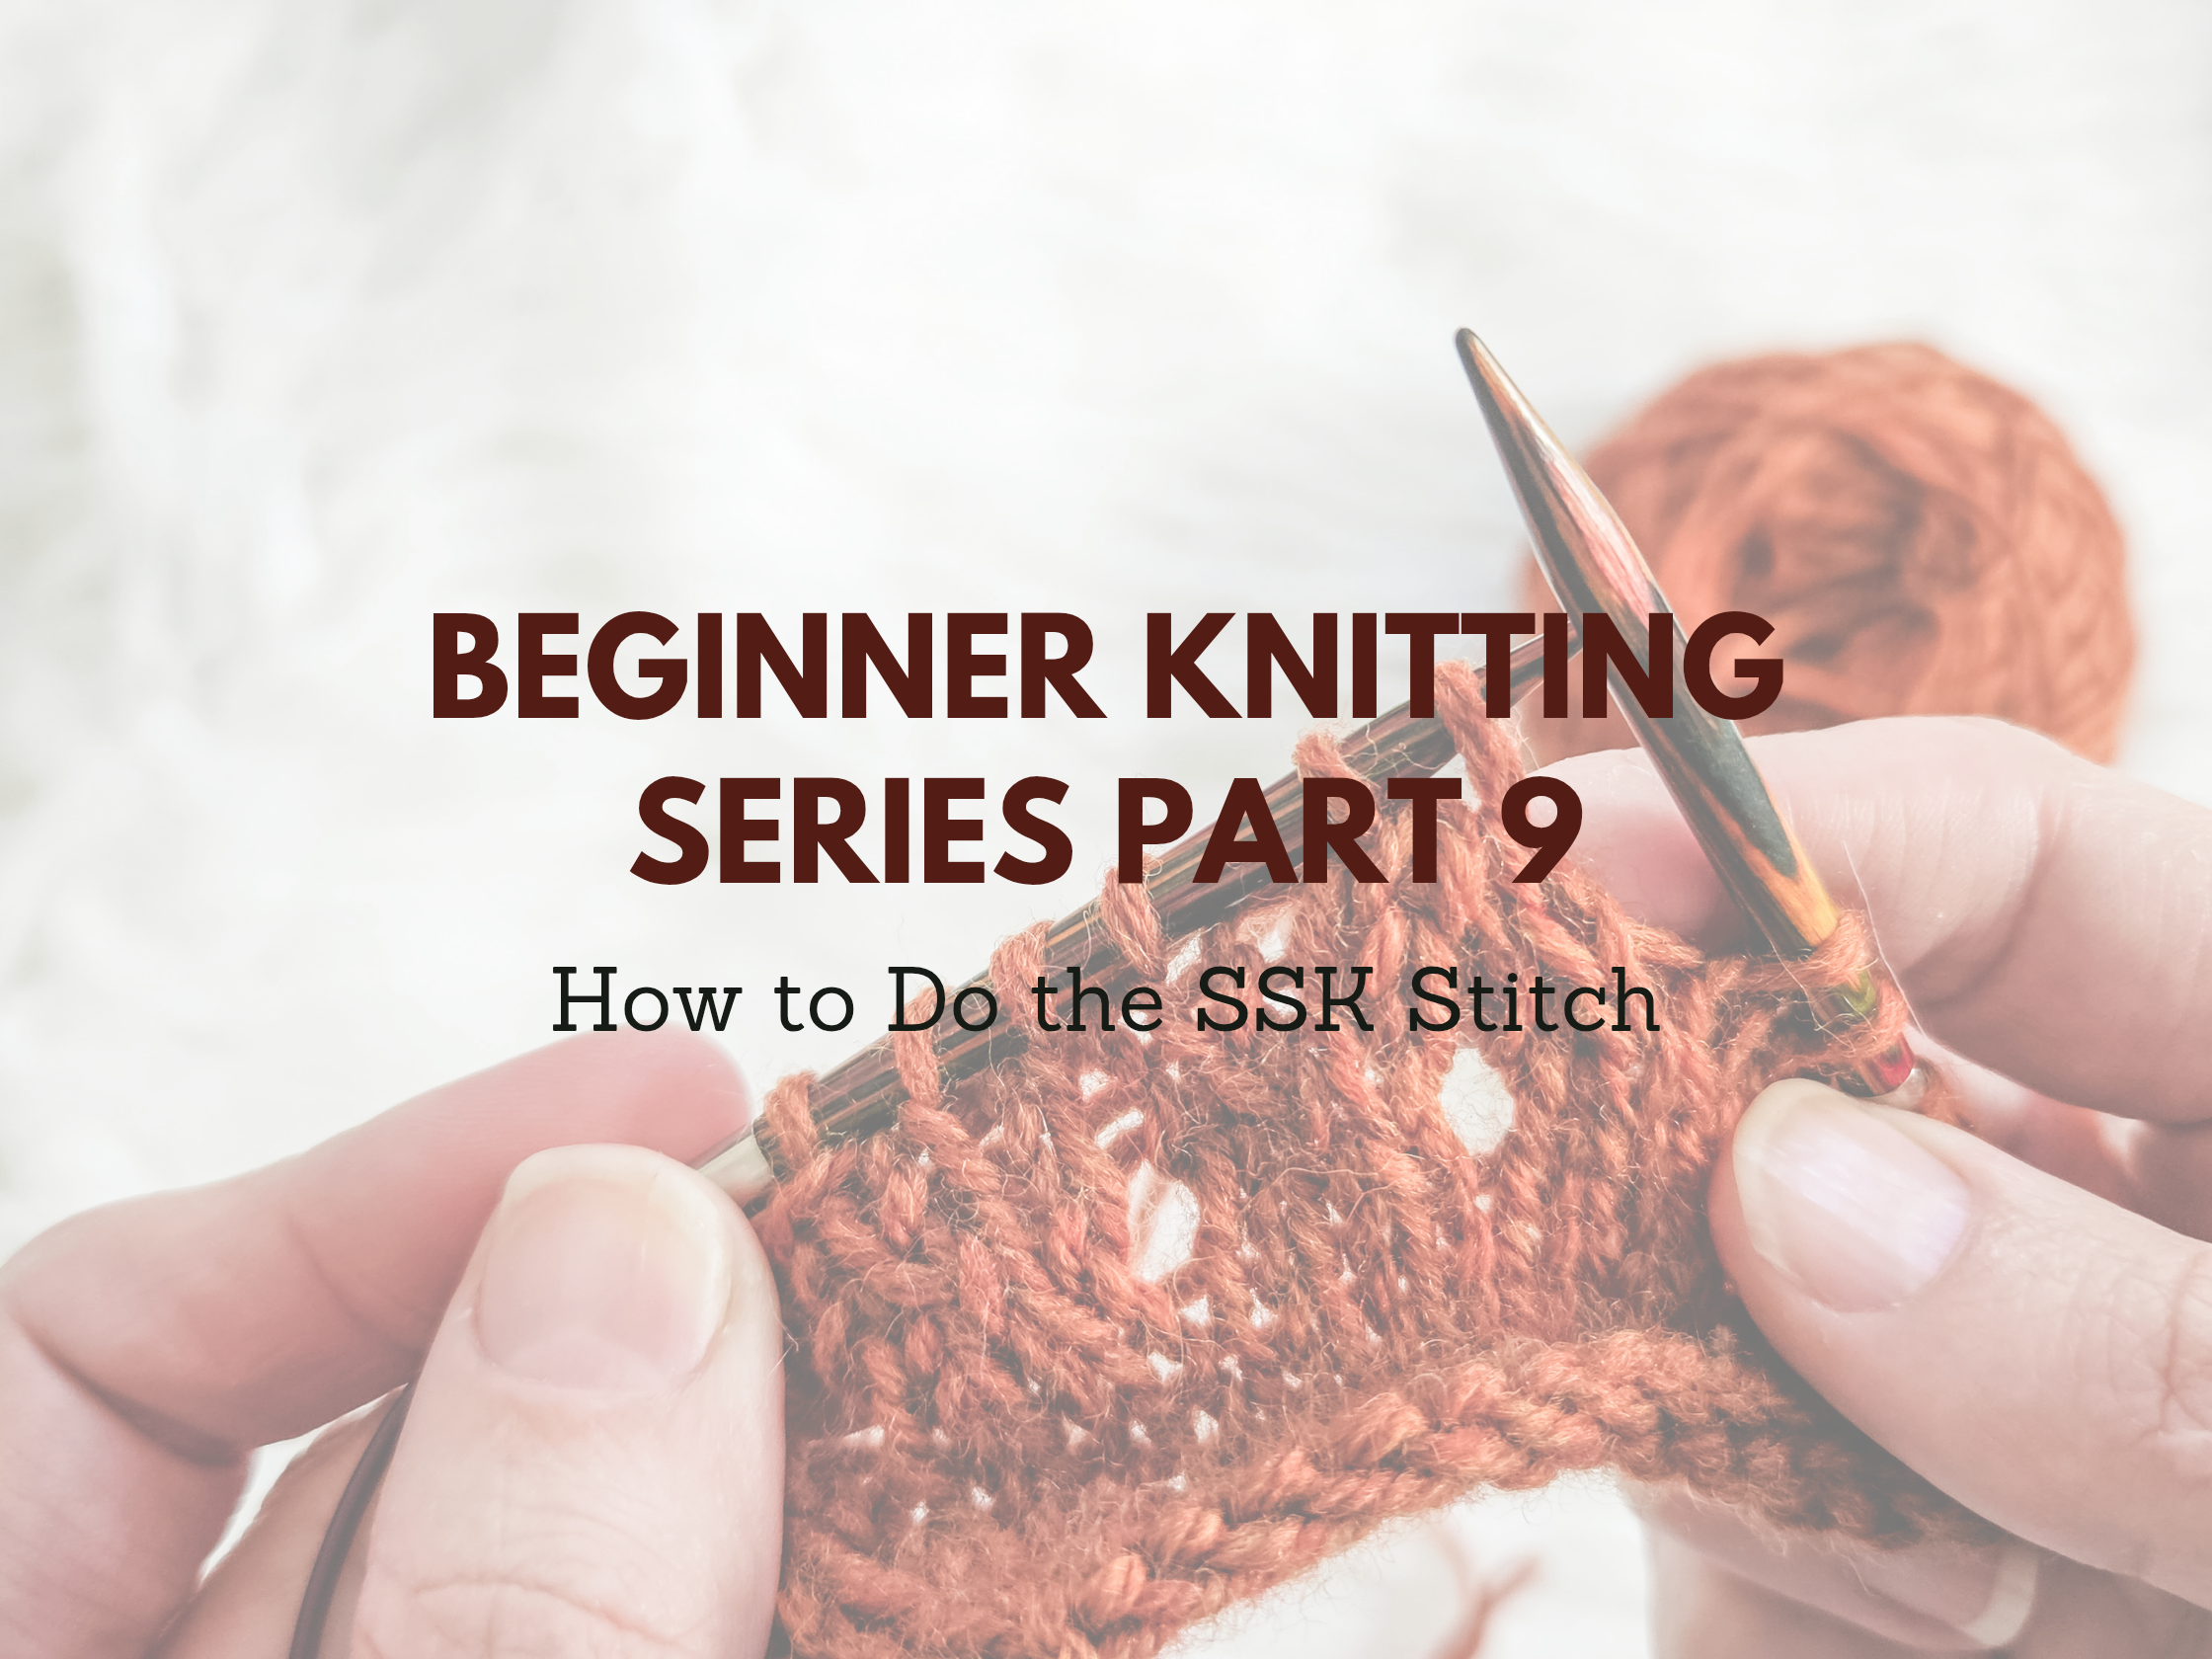
Grab your Cascade 220 Superwash(affiliate link) and your Knit Picks needles (affiliate link), and let’s dive into everything you need to know about how to do the SSK stitch.
What Is the SSK Stitch?
SSK stands for Slip, Slip, Knit, and it’s a decrease stitch that slants to the left. It’s often paired with K2tog (knit two together), which slants to the right, to create balanced shaping in knitting projects. If you’re working on something like a raglan sweater or a lace pattern, knowing how to do the SSK stitch is essential for achieving clean and professional-looking decreases.
When Do You Use the SSK Stitch?
You’ll find the SSK stitch used in all sorts of knitting projects, from simple hats to intricate lace shawls. Here are a few common places where it’s used:
- Shaping garments – If you’re decreasing stitches to shape the waist of a sweater or the crown of a hat, the slip, slip, knit stitch is a must-know.
- Sock gussets – If you’ve ever knit socks, you’ll notice that one side of the gusset decreases with K2tog while the other side uses SSK. This ensures a symmetrical look.
- Lace knitting – Many lace patterns use the SSK stitch alongside yarn overs to create open, decorative designs.
- Raglan decreases – Sweaters with raglan shaping often require mirrored decreases, making how to do the SSK stitch an essential skill.
How to Do the SSK Stitch
Alright, let’s get into the nitty-gritty! Here’s how to do the SSK stitch step by step:
Slip the first stitch knitwise – Insert your right-hand needle into the first stitch as if you were going to knit it, but just slip it onto the right needle instead.

Slip the second stitch knitwise – Do the same thing with the next stitch—slip it knitwise onto the right needle.

Insert the left needle into both slipped stitches – Now, take your left-hand needle and insert it into the front of both slipped stitches.

Knit them together – Wrap your yarn around the right needle and pull through both stitches at once.

Done! You’ve now completed one left-leaning decrease!
And that’s it! You now know how to do the SSK stitch like a pro. It might feel a little awkward at first, but after a few tries, it becomes second nature.
SSK vs. K2tog – What’s the Difference?
Since we’ve talked a lot about how to do the SSK stitch, let’s quickly compare it to K2tog (knit two together), its right-leaning counterpart.
- SSK slants to the left – It gives your decreases a smooth, leftward tilt.
- K2tog slants to the right – It makes a decrease that leans to the right.
When working on a project that requires shaping, using both of these decreases creates a balanced and polished look. That’s why they’re often seen together, especially in garments.
Troubleshooting Common SSK Mistakes
Learning how to do the SSK stitch is simple, but here are some common mistakes and how to fix them:
- The decrease looks too loose – Try pulling your yarn a little tighter when you knit the two slipped stitches together. This will create a neater decrease.
- It doesn’t slant left – Double-check that you’re slipping both stitches knitwise before knitting them together.
- Uneven decreases – If your SSK looks different from your K2tog, don’t worry! This is common. Some knitters like to tweak their SSK by slipping one stitch knitwise and the next one purlwise and giving that 2nd stitch a little tug for a slightly tighter decrease. If you check out the left-handed video below I show how it’s done. Even if you’re right-handed this should give you a good visual.
Watch the Left-Handed SSK Tutorial on YouTube
If you’re a visual learner (like me!), I’ve got you covered. I’ve created a left-handed video tutorial on YouTube that walks you through exactly how to do the SSK stitch step by step. Whether you’re left-handed or just prefer seeing it done in real-time, this tutorial will make it easy to follow along.
You can check it out here: YouTube SSK Tutorial.
Practice Makes Perfect
Like any new knitting technique, how to do the SSK stitch takes a bit of practice. Here are a few fun ways to incorporate it into your projects:
- Knit a dishcloth with decreases – A simple dishcloth pattern with SSK decreases is a great way to get comfortable with the stitch.
- Try a basic hat pattern – Many beanies use the slip, slip, knit stitch to shape the crown.
- Work on a lace scarf – If you’re feeling adventurous, lace knitting uses SSK frequently!
The more you practice, the more natural it will feel, and soon, the slip, slip, knit stitch will be second nature.
Final Thoughts on How to Do the SSK Stitch
Learning how to do the SSK stitch is a game-changer for your knitting projects. This simple left-leaning decrease helps create beautiful shaping in garments, socks, hats, and lacework. While it might feel a little tricky at first, with practice (and maybe a few coffee breaks), you’ll master it in no time.
So, grab your Cascade 220 Superwash (affiliate link) and your Knit Picks needles (affiliate link), and give it a try! And don’t forget to check out the left-handed YouTube tutorial for extra help.
Happy knitting! Let me know in the comments—what’s your favorite project that uses the SSK stitch?
Affiliate Disclaimer: This post contains affiliate links, which means I may earn a small commission at no extra cost to you if you make a purchase through these links. Thank you for supporting my blog!
Comments are closed.