
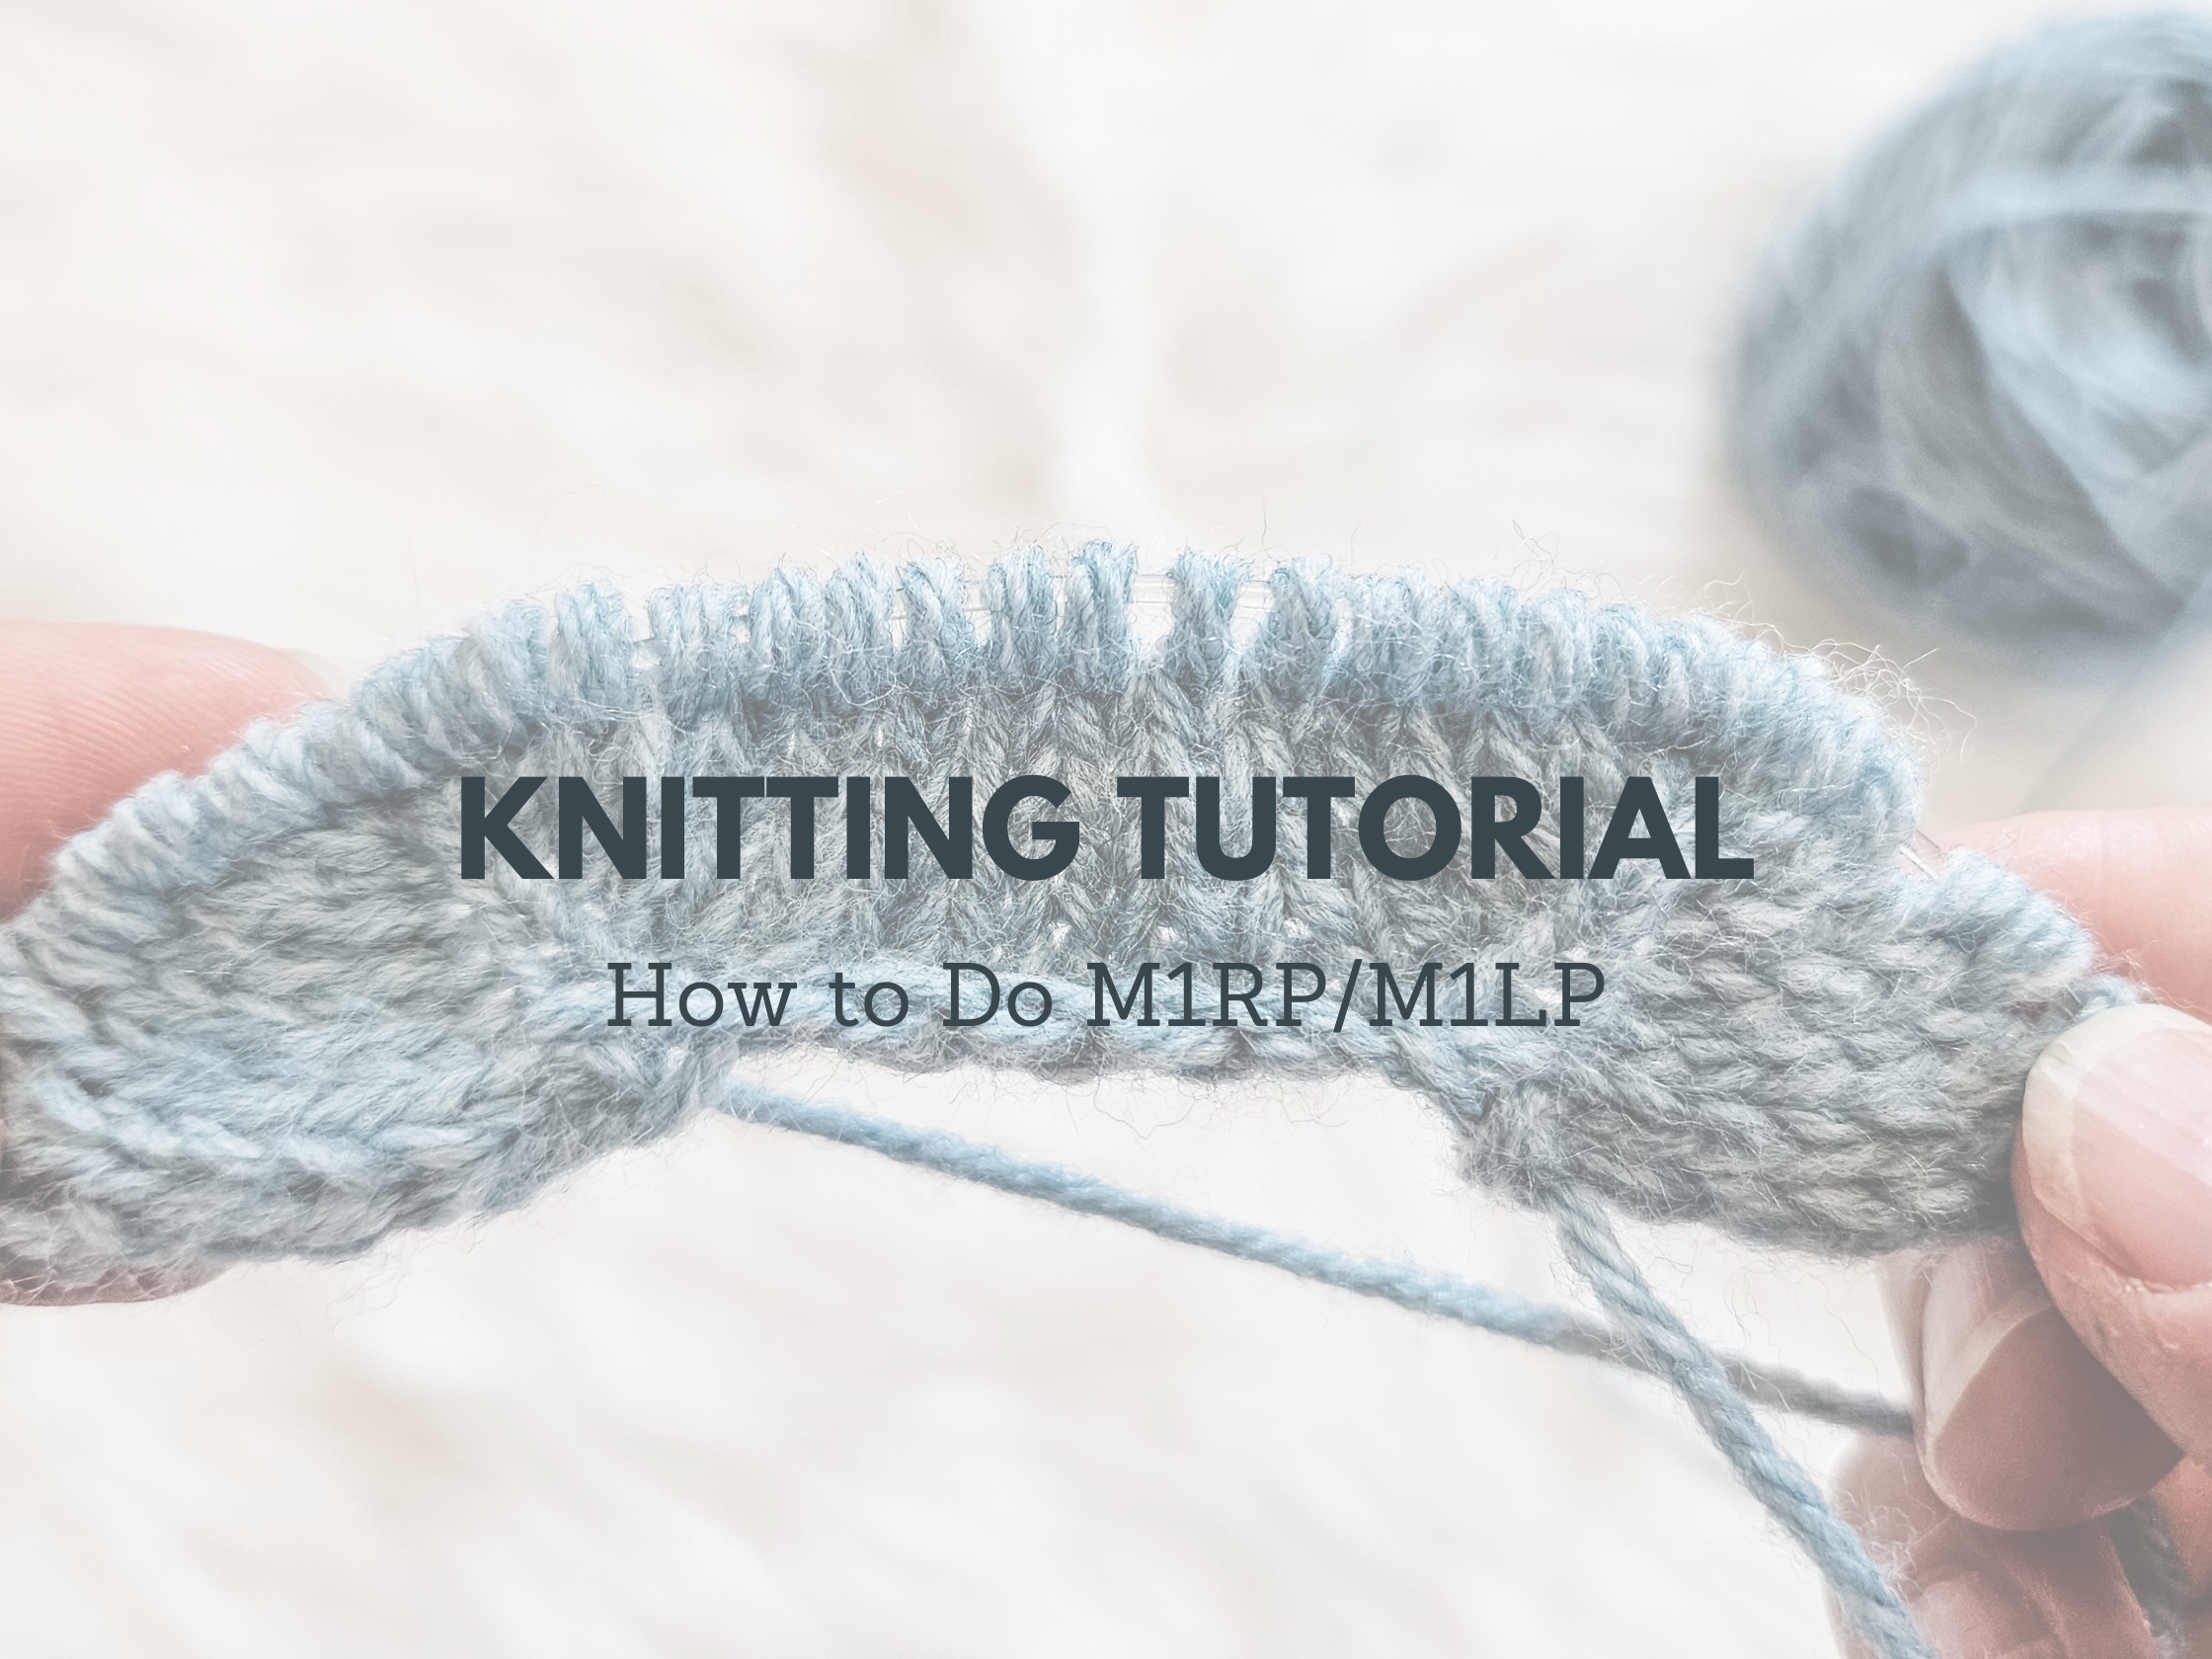
Want to learn how to do M1RP and M1LP? This easy knitting tutorial walks you through it—plus find even more tips on my knitting tutorial page!

Ready to learn something super useful for your knitting toolkit? In this post, I’ll walk you through how to do M1RP and M1LP with easy-to-follow steps, using my favorite tools: KnitPicks Heatherly Sport yarn (affiliate link) and Clover bamboo circular size 6 needles (affiliate link). This tutorial was actually requested by one of my awesome YouTube viewers, so if you’ve ever found yourself scratching your head over purl increases, you’re in good company!
And hey—if you’re brand new here or just want more tips and tricks like this, you can always check out my knitting tutorial page for even more lessons and resources!
What Are M1RP and M1LP?
If you’ve ever seen a knitting pattern call for M1RP or M1LP, you might have thought, “Wait, what?!” Don’t worry—you’re not alone. How to do M1RP and M1LP isn’t something you just magically know; it’s something you learn, just like casting on or binding off.
M1RP stands for Make 1 Right Purlwise, and M1LP stands for Make 1 Left Purlwise. They’re ways to increase your stitch count in the middle of your fabric, but unlike regular make 1 increases that are done on knit rows, these are worked on purl rows. They let you grow your project without adding giant, obvious holes—perfect for neat and tidy work.
When to Use M1RP and M1LP
You’ll use M1RP and M1LP when you want invisible increases on the purl side of your knitting. They pop up in patterns for:
- Sweater shaping
- Sock gussets
- Fancy stitch patterns
- Shawl construction
Anywhere you need an increase that doesn’t scream, “LOOK AT ME!” is a great place to use these techniques. And once you know how to do M1RP and M1LP, you’ll feel way more confident tackling patterns that used to feel intimidating!
Materials I Used for This Tutorial
In the video and photos for this tutorial, I used:
- Yarn: KnitPicks Heatherly Sport (affiliate link) – a dreamy, soft sport weight yarn that’s super easy to work with.
- Needles: Clover bamboo circular size 6 (affiliate link) – I love the warm feel and the slight grip bamboo gives, especially for tutorials like how to do M1RP and M1LP.
Using the right tools makes a big difference, trust me!
The Working Needle vs. the Holding Needle
Before we dive into the steps for how to do M1RP and M1LP, let’s clear up a little terminology I’ll be using.
- The working needle is the one in your dominant hand (right hand for most people, left hand if you knit left-handed).
- The holding needle is the one in your non-dominant hand.
Using “working” and “holding” makes this tutorial easy to follow whether you’re right-handed or left-handed!
Written Instructions for How to Do M1RP (Make 1 Right Purlwise)
Here’s how to do M1RP, step-by-step:
With your working needle, find the bar between the stitch you just purled and the next stitch on the holding needle.
Insert the tip of the working needle from back to front under the bar, lifting it onto the working needle.

Place this lifted bar onto the holding needle without twisting it.
Purl into the front of the lifted bar as usual.

And there you have it—an extra stitch leaning slightly to the right, with minimal fuss!
Written Instructions for How to Do M1LP (Make 1 Left Purlwise)
And here’s how to do M1LP:
With your working needle, find the bar between the stitch you just purled and the next stitch on the holding needle.
Insert the tip of the working needle from front to back under the bar, lifting it onto the working needle.

Place this lifted bar onto the holding needle without twisting it.
Purl into the back of the lifted bar (this part feels a little tight, but that’s what keeps the fabric neat).

Boom! You’ve just added a left-leaning purl increase like a pro.
Common Mistakes When Learning How to Do M1RP and M1LP
Learning how to do M1RP and M1LP can feel a little awkward at first. Here are some common mistakes to watch out for:
- Twisting the lifted bar the wrong way, which can create big holes.
- Forgetting to tighten your purl stitch after the increase, which can leave it looking sloppy.
- Confusing M1RP and M1LP—they do lean differently, so make sure you’re doing the right one where the pattern tells you!
Don’t stress if you mess up the first few times. It gets easier with practice!
Why Learn How to Do M1RP and M1LP?
Here’s why it’s worth your time to learn how to do M1RP and M1LP:
- Your sweaters will fit better.
- Your shawls will drape more beautifully.
- Your socks will hug your feet perfectly.
- Your overall knitting will just look more polished.
Plus, adding new skills like how to do M1RP and M1LP makes knitting even more fun. Every new technique is like unlocking a superpower for your needles!
Watch the Left-Handed Video Tutorial
If you’re a lefty (like me!), good news—I made a left-handed tutorial just for you! You’ll find my video on how to do M1RP and M1LP right on my YouTube channel. I show you every step slowly and clearly, so you can follow along without feeling rushed.
Even if you knit right-handed, it might be helpful to watch just to see the motions up close and from a new angle!
Tips for Remembering How to Do M1RP and M1LP
Still worried about mixing them up? Here’s a little memory trick:
- M1RP (Make 1 Right Purlwise): right rear (lift from back to front → right-leaning)
- M1LP (Make 1 Left Purlwise): leading left (lift from front to back → left-leaning)
Also, saying it out loud as you work (“right: rear, left: leading”) can help cement it into your brain faster.
Practice Makes Perfect!
Like anything in knitting, the best way to master how to do M1RP and M1LP is to practice. Try them out on a swatch before you use them in a real project. Play around with different yarns and needles. Practice making the increases several times in a row on a practice piece until you can do them without even thinking about it.
Using a yarn like KnitPicks Heatherly Sport (affiliate link) is great because it’s soft, smooth, and shows stitch definition beautifully. And I can’t recommend Clover bamboo circular size 6 needles (affiliate link) enough—they’re my go-to for this kind of work because they hold the stitches nicely without being slippery.

Final Thoughts on How to Do M1RP and M1LP
Learning how to do M1RP and M1LP might seem like a small thing, but it’s one of those skills that makes a huge difference in your finished pieces. Neat, invisible increases make your knitting look professional—and honestly, they just feel satisfying to do once you get the hang of it.
If you’ve ever felt intimidated by purl-side increases, I hope this guide on how to do M1RP and M1LP makes it feel a whole lot more approachable. With a little practice, you’ll be sprinkling perfect, invisible purl increases into your knitting like it’s no big deal!
And remember—you don’t have to get it perfect the first time. Give yourself some grace (and maybe a snack break). You’re doing amazing!
Let’s Chat!
Was this tutorial on how to do M1RP and M1LP helpful? Do you have any other knitting techniques you want me to cover next? Drop a comment below—I love hearing from you and helping you grow your knitting skills!
This post contains affiliate links, which means I may earn a small commission if you click through and make a purchase, at no additional cost to you. Thank you for supporting my blog!