
Learn How to Knit a Cable Headband with this simple, pretty pattern that is perfect for anyone looking for a free headband knitting pattern with beautiful texture. This project is a great way to practice cables without committing to a large sweater or complicated garment. You will knit a flat panel, work the heart cable design, and seam the ends together to create a soft twist knot that can be worn in the front or back. If you have been wanting to learn how to knit a cable headband that looks detailed but still feels doable, this is a wonderful place to start.

This cable headband is one of those satisfying little projects that gives you a finished accessory without taking over your whole knitting basket. It has pretty stitch detail, simple construction, and enough texture to make it feel special.
The Love Came Down Headband is also a great leftover yarn project, especially if you already made the matching sweater. You can use the same yarn, carry the heart cable detail into a smaller accessory, and make a sweet coordinating piece without needing a brand-new project plan.
What Materials Do You Need to Knit a Cable Headband?
To knit this cable headband, you will need worsted weight yarn, size 9 US 5.5 mm knitting needles, a cable needle, stitch markers, and a yarn needle for seaming. For this pattern, I used KnitPicks Wonderfluff, which works beautifully because it is soft, light, and still gives the cables enough definition to stand out.
A cable headband needs yarn that feels comfortable against your forehead but still shows off the texture of the stitches. Wonderfluff is a nice fit here because it keeps the headband from feeling too heavy while still letting the heart cable design show clearly.
You will need about 50-80 yards of yarn depending on the size you are making. This makes it a great project for partial skeins, sweater leftovers, or those little bits of special yarn you want to turn into something useful.

The pattern includes child, small adult, and large adult sizes, so you can make one for yourself, a gift, or a matching set. Since the headband is knit flat, it is also an approachable project if you are more comfortable working back and forth on straight needles.
How Do You Knit a Cable Headband Step by Step?
To knit a cable headband, you cast on for a flat panel, work the cable stitch pattern until the piece reaches the correct length, bind off, and then seam the ends together to form the twist knot. The construction is simple, but the heart cables give the finished headband a beautiful textured look.
This pattern uses repeating cable rows, so once you get into the rhythm, the project feels very manageable. You will follow the written cable instructions, keep the edges neat, and work the panel until it measures the correct length for your chosen size.
The twist knot is made after the knitting is finished. You fold the headband, bring the cast-on and bind-off edges together, interweave the ends, and sew through all four layers to secure the shape.

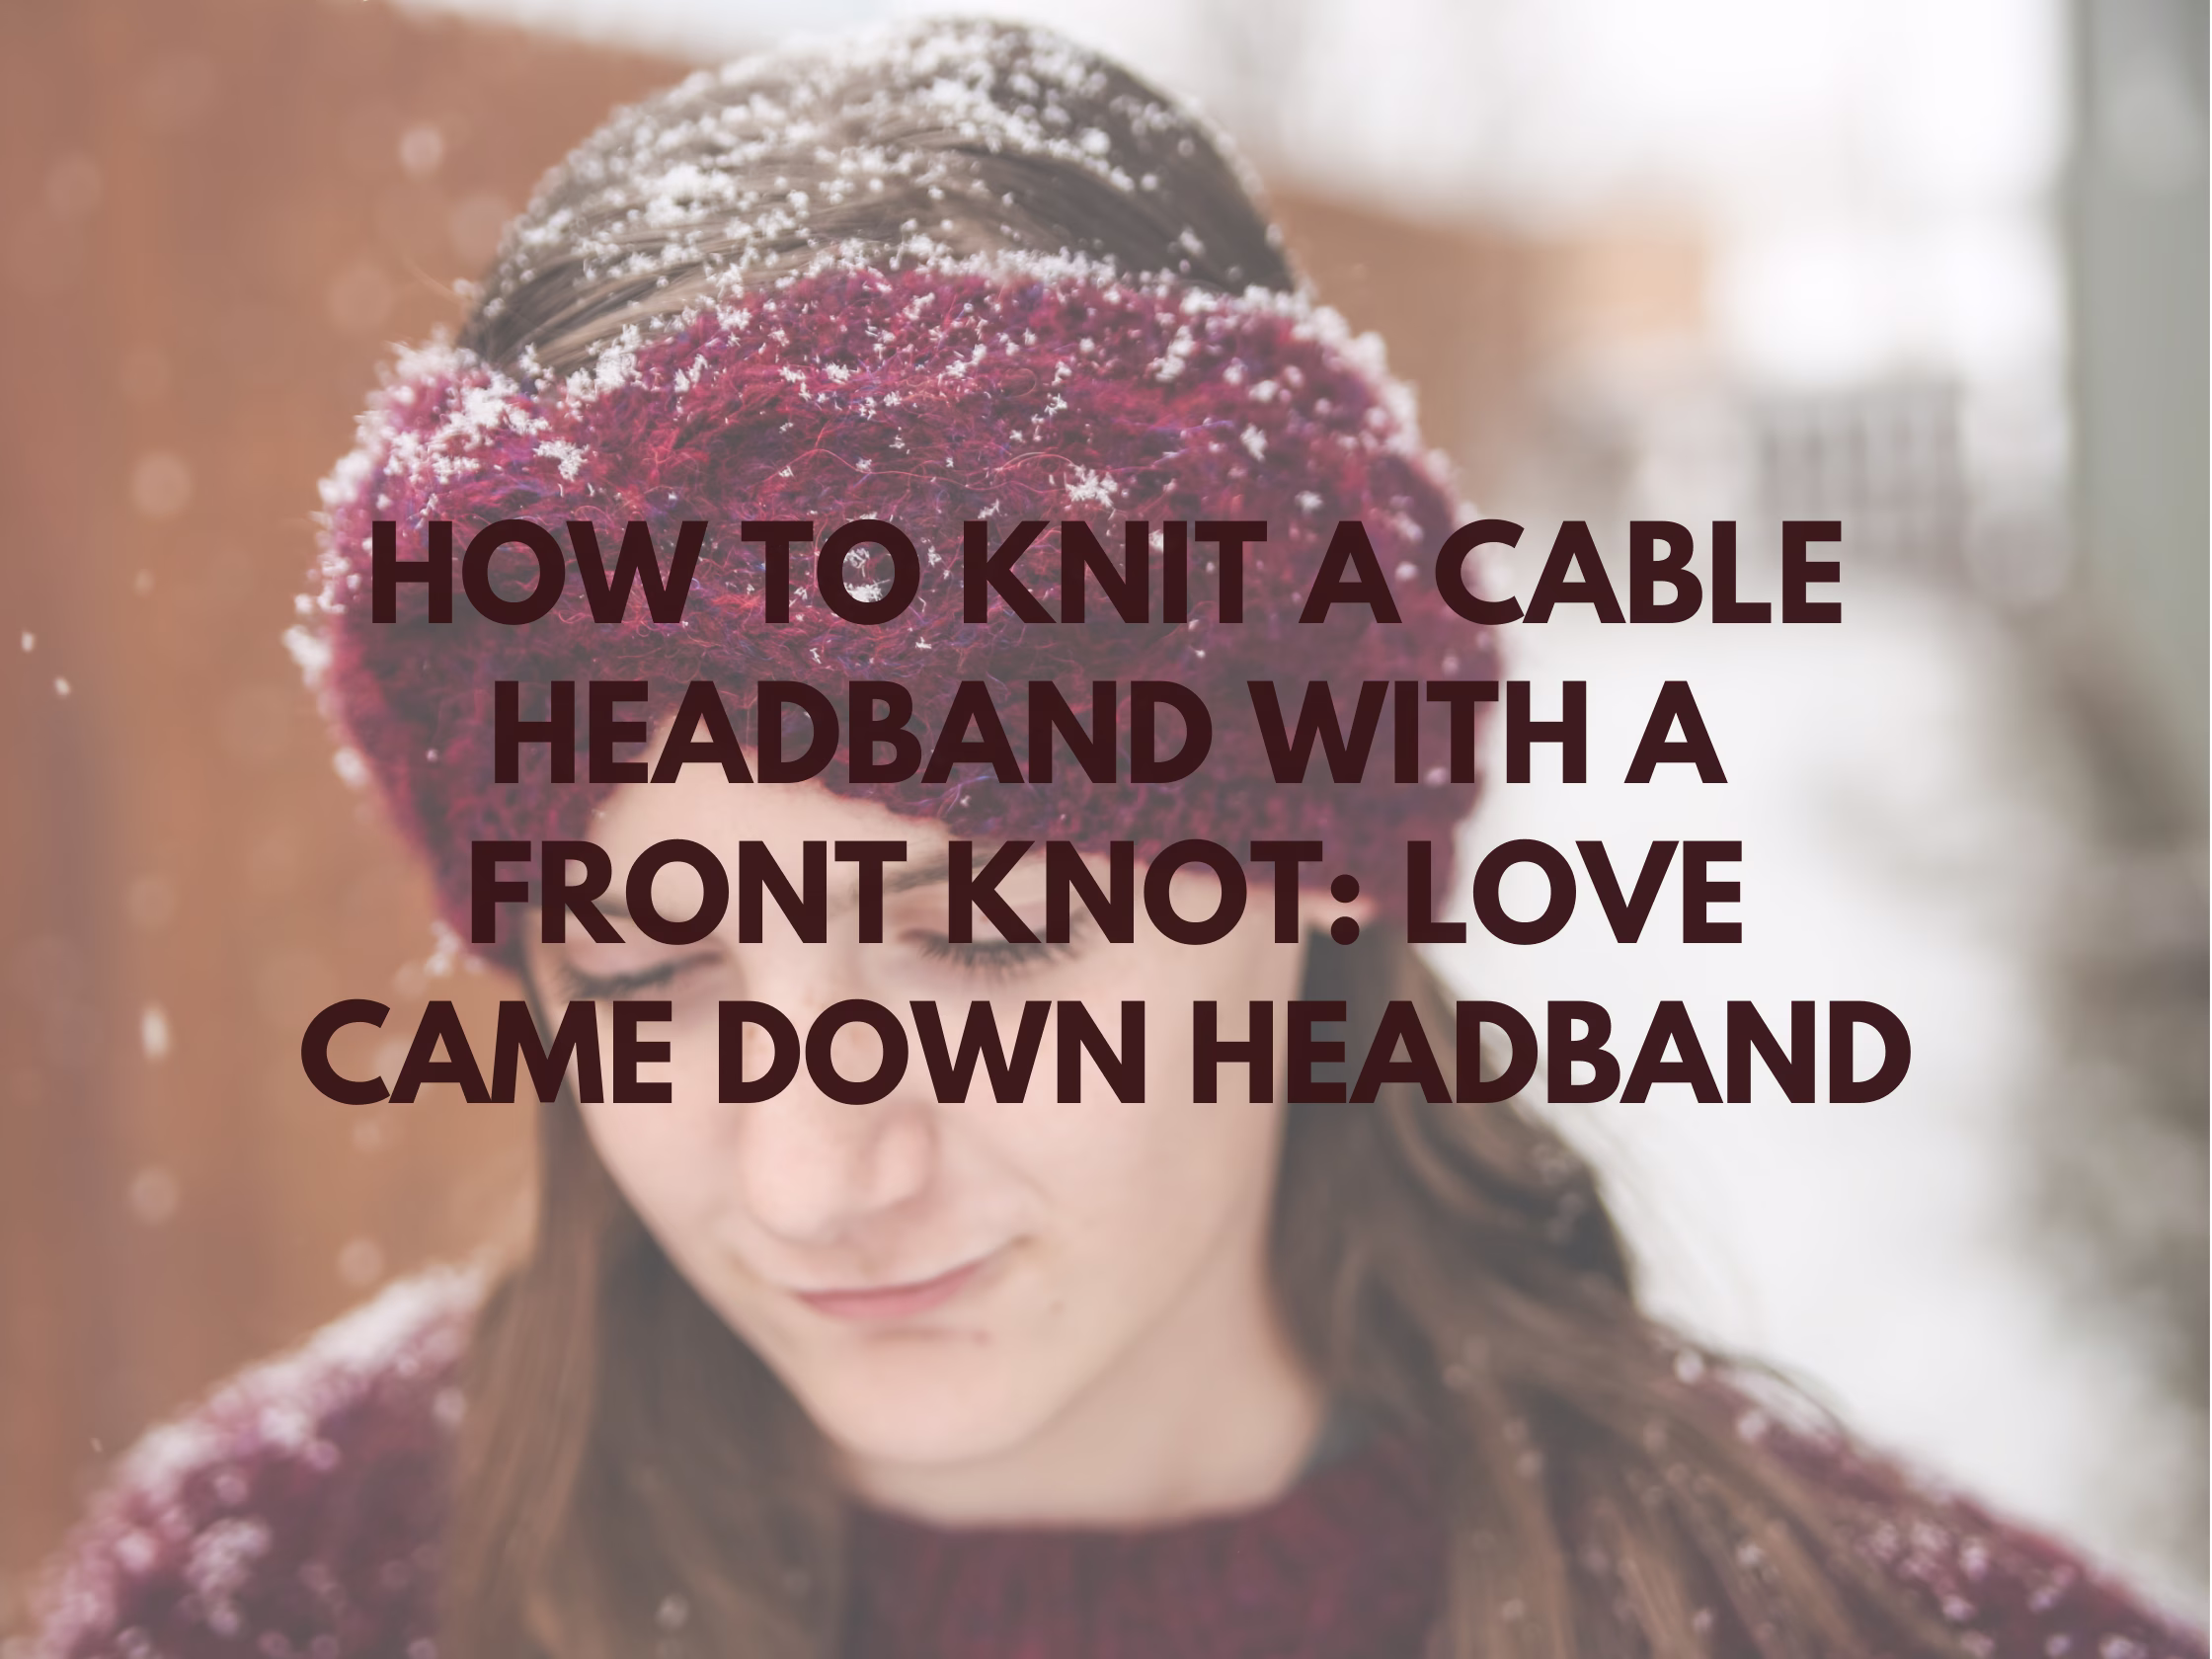
One of my favorite parts of this design is that the seam becomes part of the style. You can wear the knot in the front for a more textured look or turn it to the back when you want the heart cables to be the main focus.
What Other Headband Knitting Patterns Should You Try Next?
If you love learning how to knit a cable headband, you may also enjoy trying a few more headband knitting patterns with different textures and styles.
• Martha Headband
• Cindy Lo Headband
• Nicolas Headband
These are great patterns to look at if you enjoy quick accessories that still feel pretty and useful. Headbands are perfect for testing a stitch pattern, using smaller amounts of yarn, or making a handmade gift that does not take weeks to finish.

Cable headbands are especially fun because they give you that classic textured look in a small project. You get to practice cable stitches, make something wearable, and finish with an accessory that looks much more detailed than the construction really is.
Love Came Down Headband Free Pattern
Materials Needed: 50-80yds worsted of KnitPicks Wonderfluff yarn 50g/142yds, stitch markers, cable needle, 9(US) 5.5mm needles, yarn needle
Gauge: 17sts & 24 rows to make 10cm square, using size 9(US) 5.5mm needles working in stockinette stitch
Sizes (appx head circumference) [appx finished measurements laid flat]:
child (46cms,18ins) [23x19cms, 9×7.5ins]
small adult (51cms, 20ins) [25.5x18cms, 10×8.5ins]
large adult (56cms, 22ins) [28x23cms, 11x9ins]

Cable Heart Stitch Chart
Row 1 – p1, k4, cb1/2, cf2/1, k4, p1
Row 2 – k1, tb2/1, cf1/2, p2, cb2/1, tf1/2, 11
Row 3 – p2, k1, cb1/2, k4, cf2/1, k1, p2
Row 4 – k2, cf1/2, p6, cb2/1, k2
Row 5 – p2, k12, p2
Row 6 – k2, p12, k2
Row 7 – p1, cb1/2, k8, cf2/1, p1
Row 8 – k1, p14, k1
Row 9 – p1, k14, p1
Row 10 – k1, p14, k1
This chart shows what the pattern will look like from the front. On even (wrong side) rows be sure to look at the written instructions for clarification of the stitch chart
Cast on 22sts with straight needles.
Set-up row (wrong side) – k4, p14, p4
Now work as follow:
[K3, work in charted stitch pattern, k3] until your work measures appx 18, 20, 22 ins or 45, 50, 55 cms ending after completing a row 2.
Bind off. Leave a tail that is appx 10-12ins for sewing.
Sew your headband together by following the tutorial at the end of the pattern.
How to Sew the Twist Knot in the Front:
Step 1 – Fold your completed and bound off length in half right sides together lengthwise.
Step 2 – Bring the cast on edge and bound off edge together and interweave them.
Step 3 – Sew through all 4 layers.
For a video to see how this is done visit this link:
ABBREVIATIONS
cb1/2 – cable back 1 behind 2 – place the next st on a cable needle, hold in back, knit the next 2 sts, knit the st on the cable needle
cb2/1 – cable back 2 over 1 – place the next 2 sts on a cable needle, hold them in back, purl the next st, purl the 2 sts on the cable needle
cf1/2 – cable front 1 over 2 – place the next st on a cable needle, hold in front, purl the next 2 sts, purl the st on the cable needle
cf2/1 – cable front 2 over 1 – place the next 2 sts on a cable needle, hold them in front, knit the next st, knit the 2 sts on the cable needle
k – knit
P – purl
pm – place marker
sm – slip marker
tf1/2 – twist front 1 over 2 – place the next st on a cable needle, hold in back, purl the next 2 sts, knit the st on the cable needle
tb2/1 – twist back 2 behind 1 – place the next 2 sts on a cable needle, hold them in front, knit the next st, purl the 2 sts on the cable needle

Affiliate Disclaimer:
Have you knit the Love Came Down Headband yet, or are you planning to make it as a matching set with the sweater? Scroll down and leave a comment — I would love to hear what yarn you are using and whether you are wearing the knot in the front or back.
This post contains affiliate links. If you choose to purchase through them, I may earn a small commission at no extra cost to you.