
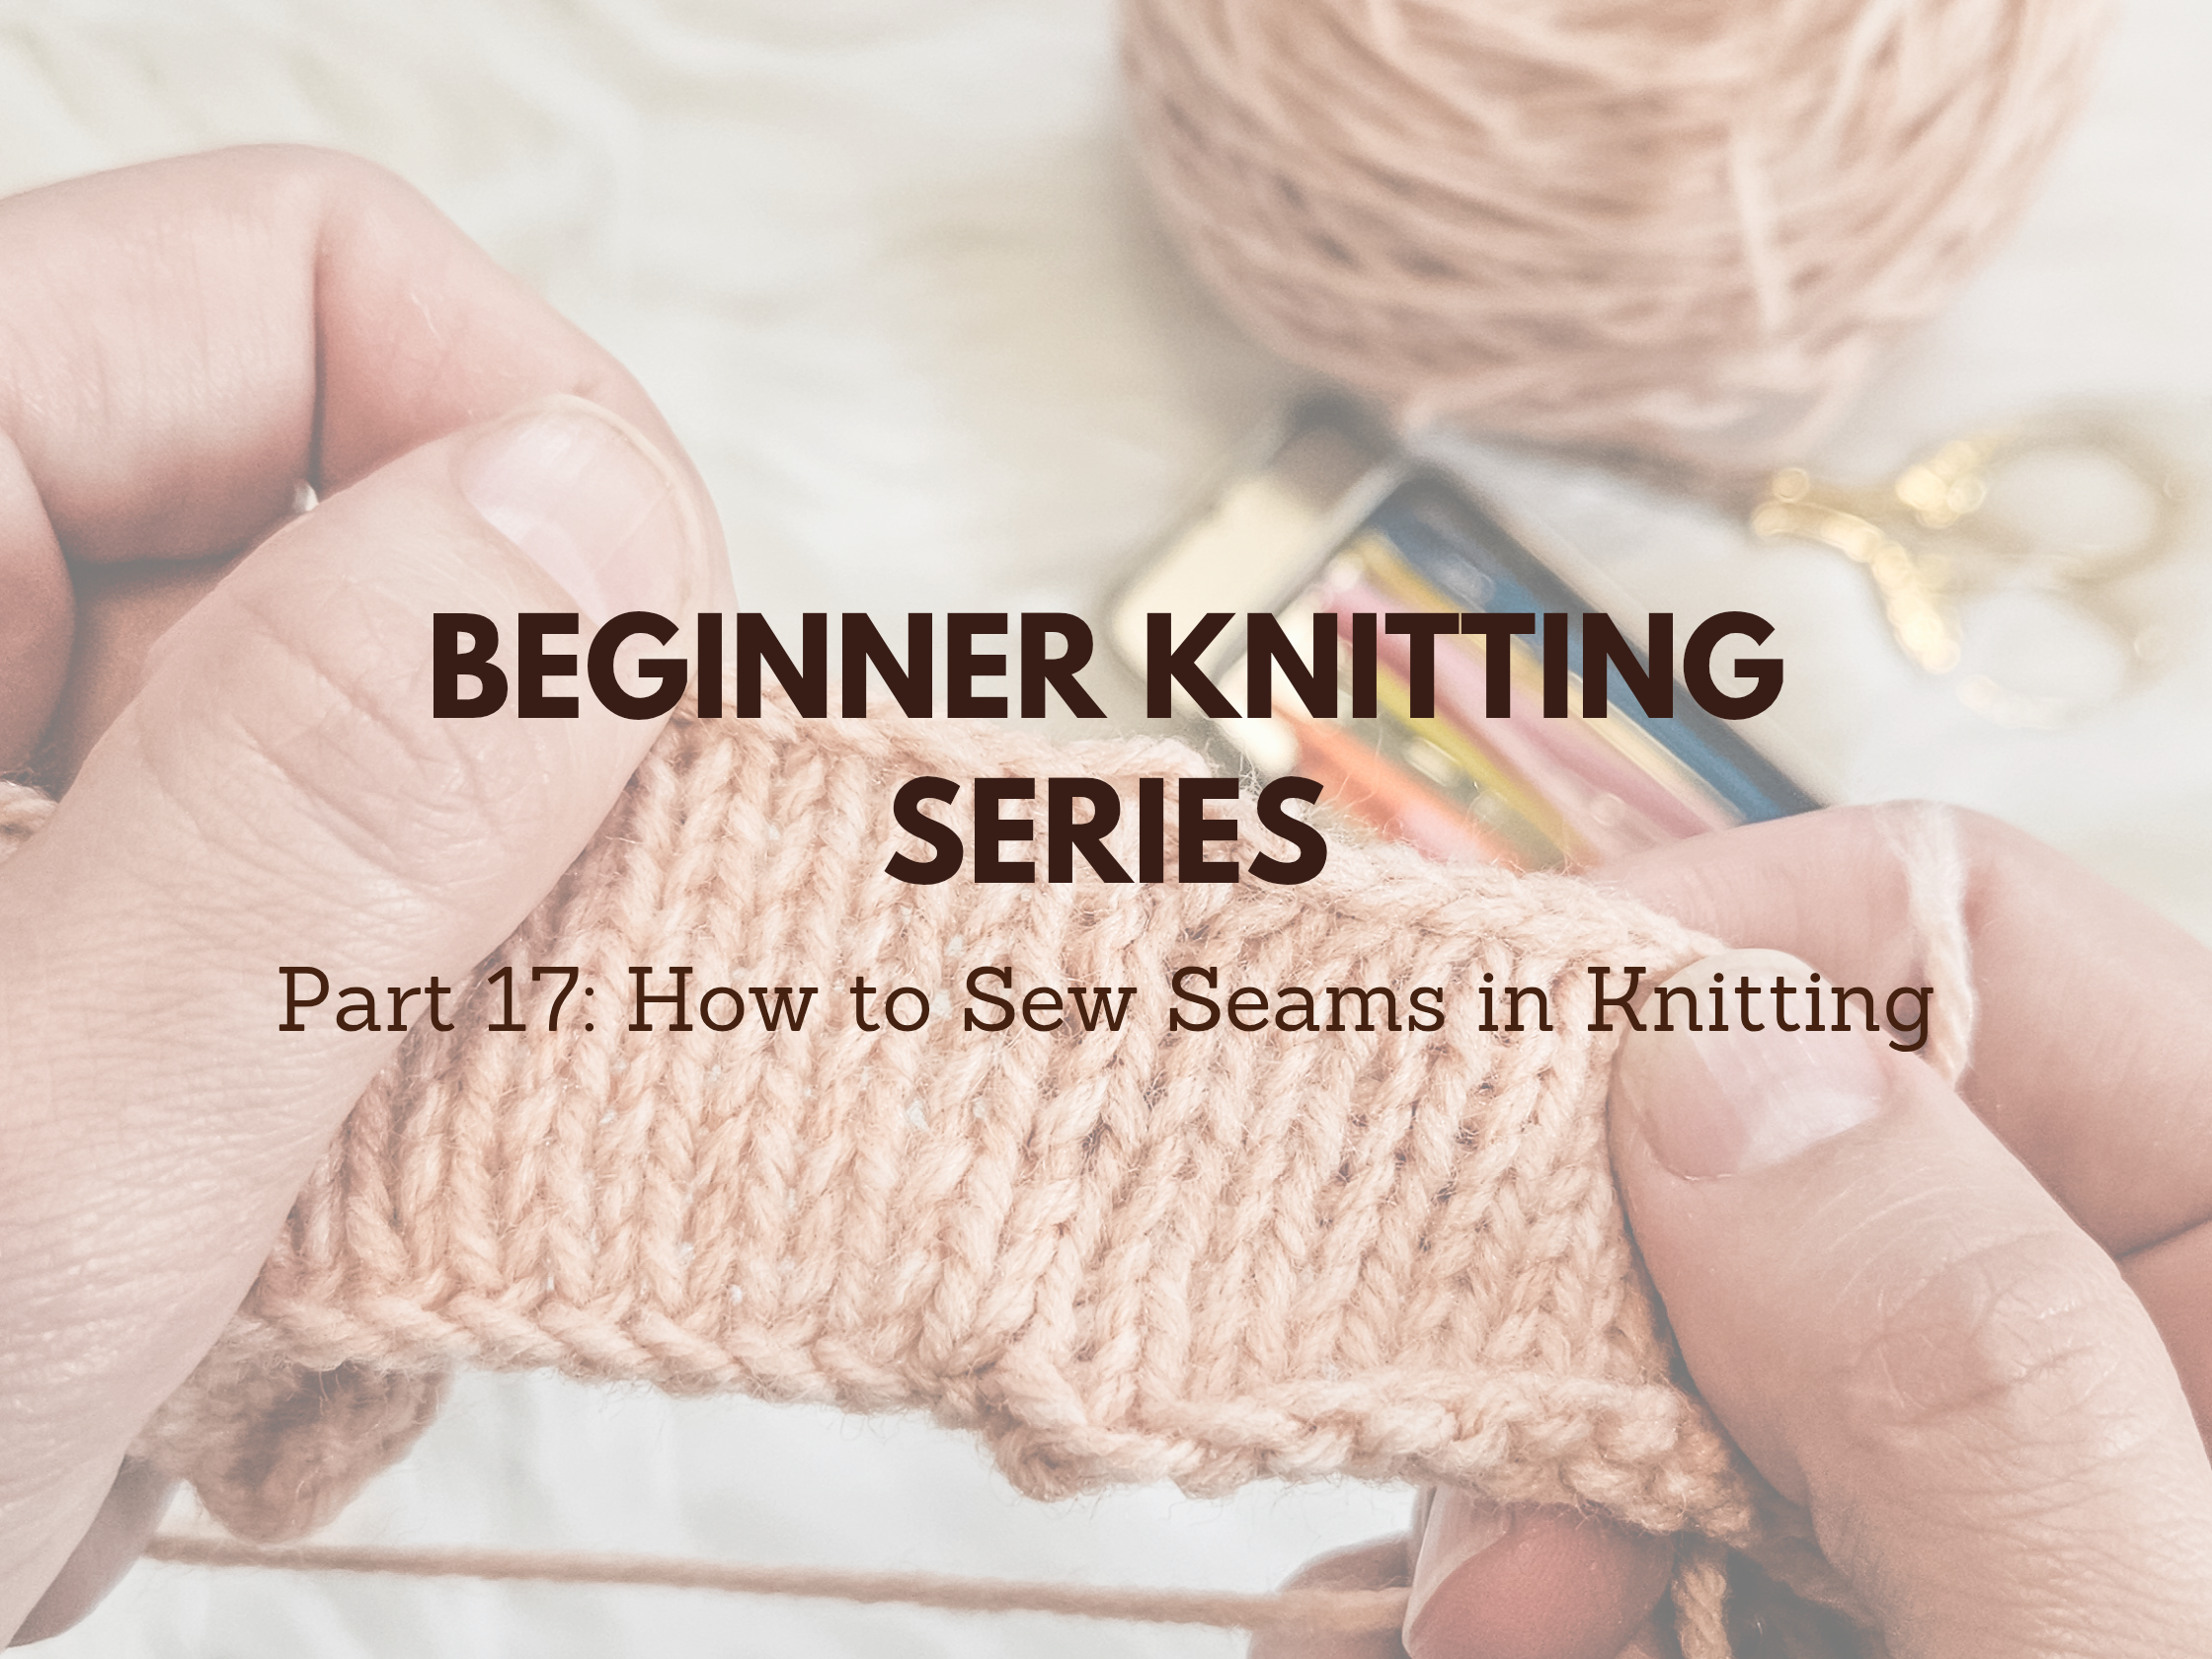
Learn how to sew seams in knitting the easy way using mattress stitch! Find the tutorial on my knitting tutorial page.

If you’ve ever finished a knitting project and been totally stumped on how to turn your flat pieces into something wearable—welcome to the club! When I first started knitting, I could make beautiful swatches and panels, but I had absolutely no idea how to join them together. That’s where mattress stitch saved my sanity. In this post, I’m going to walk you through exactly how to sew seams in knitting using mattress stitch only. It’s the easiest method I’ve found, and it gives you that clean, polished seam that looks almost invisible from the outside.
So if you’re wondering how to sew seams in knitting and you’re not ready to dive into a sea of different techniques, you’re in the right place. I’m sticking to one method only in this post—mattress stitch—so there’s no confusion and no overwhelm. Let’s get into it!
Why Mattress Stitch is the Best Way to Sew Seams in Knitting
There are tons of seaming methods out there, but when it comes to beginner-friendly and professional-looking, mattress stitch is my go-to every single time. It’s used for vertical seams (like the sides of a sweater or the back of a hat), and the best part? You don’t see it from the right side of the work. The stitches come together like magic—okay, not magic, but really good technique—and create a seam that’s strong and neat.
When I learned how to sew seams in knitting, mattress stitch was the method that actually made me feel confident about finishing a project. I didn’t need a background in sewing, and it didn’t take fancy tools or tricks—just a yarn needle, some matching yarn, and a little patience.

Materials You’ll Need to Sew Seams in Knitting
Before we get stitching, let me share what I used in the tutorial:
- Yarn: I used KnitPicks Heatherly Sport (affiliate link) for this project. It’s soft, has great stitch definition, and is easy to work with.
- Yarn needle: I got my set of yarn needles from Amazon (affiliate link). They come in a tin (which I love for organizing!) and include a variety of sizes in both metal and plastic. Super handy.
- Two knit pieces to seam together—these can be swatches, sweater pieces, or anything else you’re ready to assemble.
That’s it! You don’t need anything fancy to learn how to sew seams in knitting, and mattress stitch doesn’t require advanced tools.
When Do You Use Mattress Stitch?
Mattress stitch is ideal for vertical seams—anytime you’re joining two edges that were knit from the bottom up. Think of sweater side seams, sleeve seams, or even blanket squares. Basically, any time you have two stockinette edges that need to come together, this stitch is perfect.
When you’re learning how to sew seams in knitting, it’s best to start with a swatch or two so you can practice without pressure. I recommend making two rectangles about 4″ tall in stockinette stitch (knit one row, purl one row), bind them off, and use them for practice.
How to Sew Seams in Knitting: Step-by-Step Mattress Stitch Instructions
Let’s break down how to sew seams in knitting using mattress stitch:
Align your pieces: Lay your two pieces side by side with the right sides facing up. You should see the V-shaped knit stitches on both sides.
Thread your yarn needle: Cut a length of yarn about 3 times the length of your seam. Thread your yarn needle with this yarn.
Find the “bars”: Look at the edge of one piece. Just inside the edge, you’ll see horizontal bars between the knit columns. That’s what you’ll be sewing into.

Start sewing:
Insert your needle under the first bar between two knit columns on one side.
Then go to the other piece and insert the needle under the corresponding bar.
Go back to the first side and insert under the next bar.
Repeat, going back and forth, picking up one bar (or sometimes two bars for speed) on each side.

Tighten as you go: Every few stitches, gently pull the yarn to tighten the seam. Don’t yank—just snug it up so the pieces come together cleanly.


Finish off: Once you reach the top of your seam, weave in the yarn tail on the inside of the work.
And that’s it! Once you’ve done it a couple of times, you’ll feel like a pro. Knowing how to sew seams in knitting using mattress stitch opens up so many project possibilities!
Why Mattress Stitch Makes Your Projects Look Professional
I’ll admit it—when I first learned how to sew seams in knitting, my seams were lumpy, crooked, and way too visible. I didn’t realize that the wrong finishing technique could totally ruin the look of a beautifully knit piece.
But when I tried mattress stitch, it instantly cleaned everything up. It pulls the edges together without bulk, it stretches with the fabric, and it looks clean from both the outside and the inside. Now I use mattress stitch for almost all my garment seams.
Learning how to sew seams in knitting with confidence makes a huge difference. Once you stop dreading finishing work, you’ll start looking forward to it!
My Left-Handed Tutorial Video
If you’re a left-handed knitter like me, you know it can be tricky following along with right-handed tutorials. That’s why I made a left-handed YouTube video showing exactly how to sew seams in knitting using mattress stitch.
In the video, I walk you through each step in real time so you can follow along with your own swatches. You’ll see exactly where to insert the needle, how to hold your work, and what the stitch should look like as you go. You can find it on my youtube channel, along with all my other beginner-friendly tutorials.
How to Sew Seams in Knitting Without Getting Overwhelmed
Here’s something I tell every beginner: don’t try to learn everything at once. If you’re focusing on how to sew seams in knitting, just learn mattress stitch for now. There are other methods out there, but they can wait. Master one technique and feel confident with it before moving on.
That’s why I only cover mattress stitch in this post. It’s the easiest, cleanest, and most beginner-friendly way to sew seams in knitting. You’ll be amazed at how polished your work looks once you start using it regularly.
Common Mattress Stitch Questions Answered
Do I always use the same yarn I knit with for the seam?
Not always, but it’s usually best. If your yarn is delicate or breaks easily, you can switch to a sturdier yarn in the same color.
Can I use mattress stitch on garter stitch or ribbing?
You can! The technique is a little different for non-stockinette stitch patterns, but once you understand the basics of how to sew seams in knitting, you’ll be able to adapt it. (I’ll cover garter and rib seaming in another tutorial!)
What if my edges don’t match up perfectly?
No worries—just fudge it a little! You can sometimes pick up two bars on one side and one on the other to even things out. No one will notice once it’s seamed.
Celebrate Your Seam Success
If you’ve just learned how to sew seams in knitting and actually enjoyed it—congrats! That’s a huge win. So many knitters love the knitting part but dread the finishing. Once you get the hang of mattress stitch, that feeling disappears. You’ll actually start to enjoy watching your projects come together.
Next time you’re working on a sweater, hat, or baby item that needs a vertical seam, grab your yarn needle and dive in with confidence. You’ve got this.
Let’s Chat!
I’d love to know—have you tried mattress stitch yet? Was it easier or harder than you expected? Drop a comment below and tell me how your seams turned out. And if you have any beginner questions about how to sew seams in knitting, I’m all ears!
This post contains affiliate links. That means I may earn a small commission (at no extra cost to you) if you shop through one of my links. Thank you for supporting my blog and free patterns!
Comments are closed.