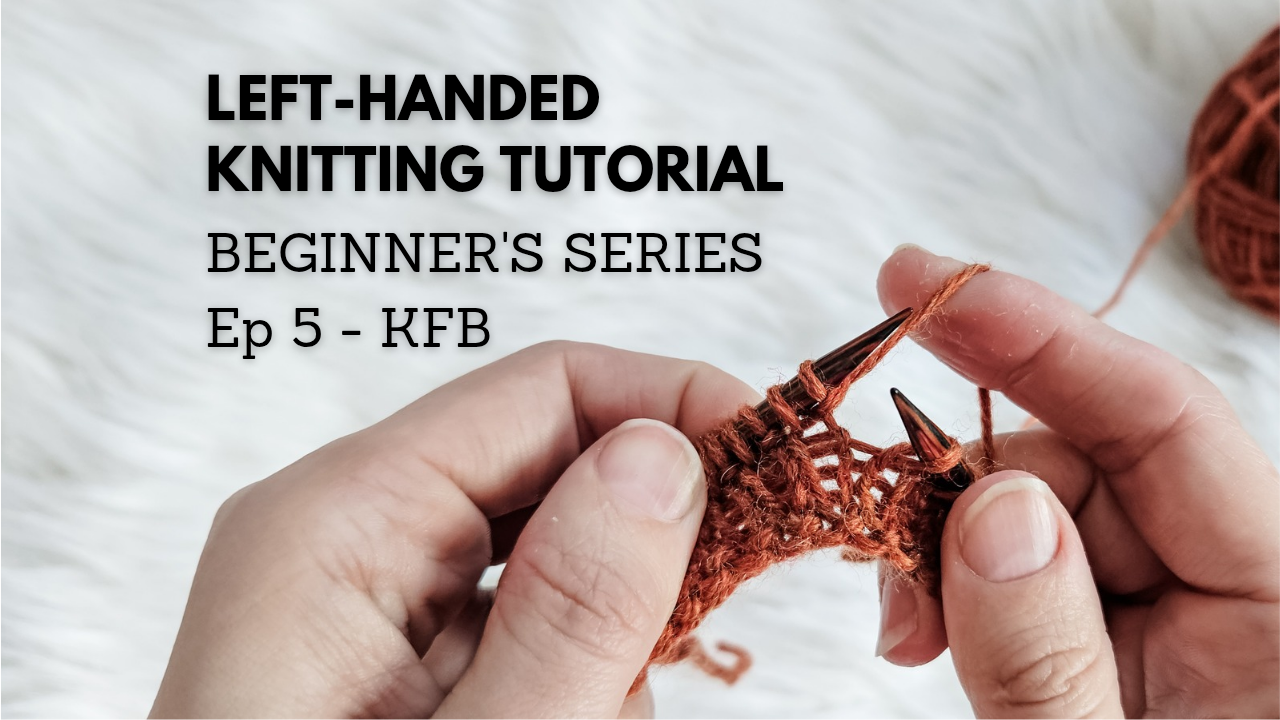
Learning how to do the kfb stitch (knit front and back) is essential for creating increases in your knitting projects. Visit our knitting tutorial page for more beginner-friendly guides.

What Is the KFB Stitch?
The KFB (knit front and back) stitch is an easy increase technique that adds one extra stitch to your row. It’s ideal for beginner knitters and works beautifully in patterns like shawls, hats, and sweaters. If you’re new to knitting and eager to expand your skills, learning how to do the kfb stitch is a fantastic next step.
Materials Used in This Tutorial
You can substitute these materials with any yarn and needles you have on hand, but the Cascade 220 Superwash (affiliate link) is an excellent beginner-friendly choice.
Step-by-Step Guide: How to Do the KFB Stitch
Follow these simple steps to master how to do the kfb stitch:
Step 1: Knit into the Front
- Hold your knitting needles with the working yarn in your right hand.
- Insert the right-hand needle into the first stitch on the left-hand needle as if to knit.
- Wrap the working yarn around the right-hand needle.
- Pull the loop through as if completing a regular knit stitch.
At this point, do not slide the original stitch off the left-hand needle.

Step 2: Knit into the Back
- Keep the original stitch on the left-hand needle.
- Reinsert the right-hand needle into the back loop of the same stitch.
- Wrap the working yarn around the needle.
- Pull the loop through the back loop to create the second stitch.

Step 3: Slip the Original Stitch Off
Now you can slide the original stitch off the left-hand needle. You’ve just completed a KFB stitch and created one additional stitch on your needle!

Repeat these steps as instructed in your pattern to complete the row.
Video Tutorial for Left-Handed Knitters
If you’re a left-handed knitter, we’ve got you covered! Watch our YouTube video below for a detailed demonstration of how to do the kfb stitch from a left-handed perspective. We break down each step slowly so you can follow along with ease.
Tips for Success with the KFB Stitch
- Practice on Swatches: Before diving into a project, practice how to do the kfb stitch on a small swatch to build confidence.
- Choose Smooth Yarn: Smooth, light-colored yarns like Cascade 220 Superwash (affiliate link) make it easier to see your stitches.
- Pay Attention to Tension: Ensure your tension is consistent to avoid uneven increases.
- Use Stitch Markers: Place a marker at the beginning of your increase row to track progress and avoid confusion.
Common Mistakes When Learning How to Do the KFB Stitch
- Dropping the Stitch: Ensure the original stitch stays on the left-hand needle until you’ve knit into both the front and back loops.
- Skipping the Back Loop: Forgetting to knit into the back loop results in no increase. Double-check your work as you go.
- Twisting the Stitch: Make sure the stitches are seated properly on the needle to avoid twisting.

Practice Patterns Featuring the KFB Stitch
Looking to practice your new skill? Try these free knitting patterns from my blog:
- Gathering Bonnet: Perfect for mastering consistent increases in a charming newborn photo prop.
- Mini Teddy Bear: A small, fun project where you can practice shaping with the kfb stitch.
- Youth September Cardigan: Use the kfb stitch to shape the raglan sleeves in this stylish cardigan.
Why Use Cascade 220 Superwash and KnitPicks Needles?
Cascade 220 Superwash (affiliate link) is a durable, soft, and machine-washable yarn perfect for beginners. Its smooth texture and range of colors make it ideal for practicing how to do the kfb stitch.
KnitPicks needles (affiliate link) are lightweight and have sharp tips, making them perfect for precise increases like the this increase stitch.
I hope this guide helps you feel confident in learning how to do the kfb stitch! Have questions or ideas for future tutorials? Drop a comment below and let me know what skills or techniques you’d like to learn next. Your feedback helps shape this beginner knitting series!
This post contains affiliate links. If you click through and make a purchase, I may earn a small commission at no additional cost to you. Thank you for supporting my work!


