
Looking for a cable beanie knitting pattern that’s warm, stylish, and fun to make? Find this one at the bottom, plus more on my free hat patterns page!

I’m not even going to pretend I wasn’t giddy when I first cast on this cable beanie knitting pattern. There’s just something about cables that gets my knitter heart racing. Add in a soft, wooly yarn and a chilly day, and it’s a recipe for cozy perfection.
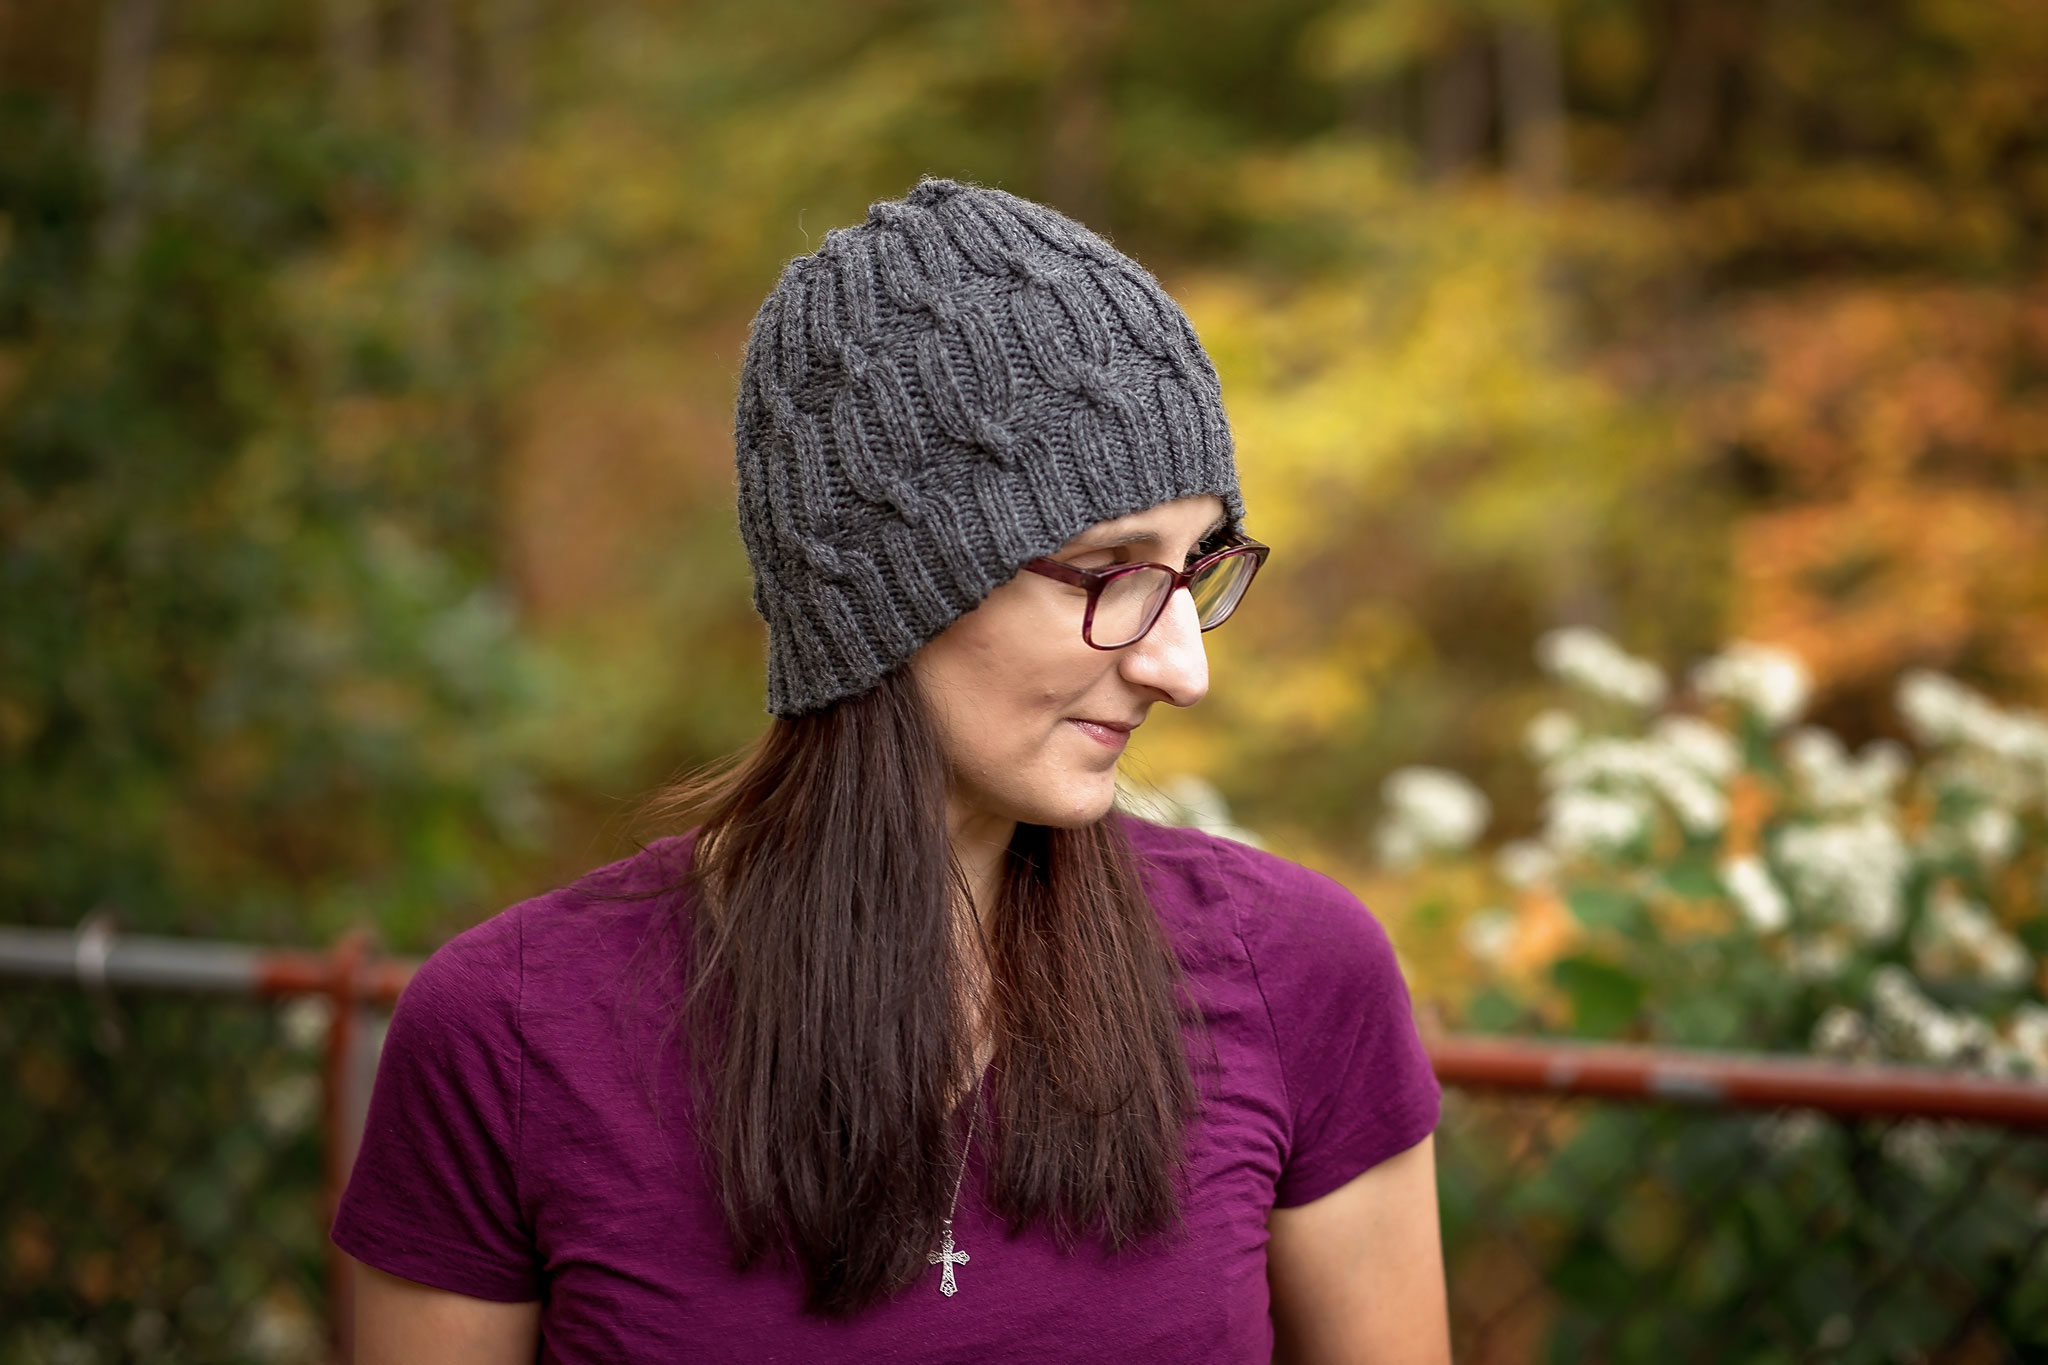
The hat I’m talking about today is the Abner Hat—a textured little beauty packed with rich cables that twist and twirl their way to the top like they’ve got places to be. If you love a cable beanie knitting pattern that’s both wearable and impressive-looking, this one is going to be your new favorite.
I used Cascade 220 Superwash (affiliate link) for this project, and let me tell you: it made all the difference. The stitch definition? Chef’s kiss. The warmth and washability? Yes, please.
And if you’re new here, be sure to check out my free hat patterns page for even more beanie goodness. But keep reading—this specific cable beanie knitting pattern is waiting for you at the bottom of the post!
Falling in Love with Cables
I still remember the first time I knit a cable. It felt like magic—but without any of the wand-waving nonsense. Just clever twists of stitches, and bam!—texture. Now I can’t get enough.
This cable beanie knitting pattern brought that feeling back for me. The Abner Hat features intertwining cables that look more complex than they are. Once I got into the rhythm, I found myself actually looking forward to those little cable crosses.
They’re not just for looks, either. The cables add a gorgeous thickness to the hat, making it super warm—especially when knit in Cascade 220 Superwash (affiliate link). That yarn really makes the textures pop, and it’s machine-washable, which is basically a miracle when you’ve got kids or a grabby baby in tow.
Choosing Cascade 220 Superwash (affiliate link) – No Regrets
For a cable beanie knitting pattern like this one, you want a yarn that will show off all that hard work. Enter Cascade 220 Superwash (affiliate link). I chose a deep forest green, which made those cables stand out in the best way.
What I love most about this yarn is its balance: it’s soft but sturdy, warm but breathable. And since it’s superwash treated, you can toss it in the washing machine without having to hold your breath.
The stitch definition is just lovely. Every twist of the cable looks crisp, almost sculptural. Honestly, the yarn did half the work for me (don’t tell my knitting needles).

Getting Started with the Cable Beanie Knitting Pattern
Let’s talk process. This cable beanie knitting pattern begins with a snug ribbed brim that hugs the head just right. I always appreciate a brim that stays in place—no flopping, no stretching out after a week.
Casting on with Cascade 220 Superwash (affiliate link) felt buttery smooth, and that first inch or two of ribbing was like a warm-up jog before a long hike. Easy, rhythmic, and relaxing.
Then the real fun began: the cables! This part of the pattern kept me on my toes. The chart (or written instructions, if that’s more your speed) lays out a beautiful design that snakes its way up the body of the hat. Each row felt like a puzzle I couldn’t wait to solve.
When Things Got a Little Twisty
Not gonna lie—there were moments of frustration. I miscrossed a cable once and didn’t notice for five rows. Yep, I frogged it. But guess what? That’s part of the adventure.
Cables require a little extra concentration and consistent tension. I had to remind myself to slow down and breathe. If I got too excited and started zipping along, my stitches would tattle on me with a wonky twist.
Thankfully, Cascade 220 Superwash (affiliate link) has just enough stretch to be forgiving. I could feel the yarn bouncing back into place when I adjusted tension, which really helped the overall look of the hat stay tidy and even.
Blocking Brings the Magic
Once I bound off and wove in the ends, it was time for the best part: blocking. I gently steamed the finished hat, and wow—what a difference. The cables relaxed just a bit and opened up beautifully.
The Abner Hat really came to life after blocking. The structure was still firm thanks to Cascade 220 Superwash (affiliate link), but the fabric softened and smoothed into a picture-perfect beanie.

The Joy of Wearing a Handmade Cable Beanie
The first time I pulled on my finished Abner Hat, I had one of those “I made this!” moments. It fit like a dream—snug but comfy, and that warm wooly fabric was exactly what I wanted for winter.
It’s amazing how a cable beanie knitting pattern can turn into more than just a project. This hat is a memory, a cozy companion, and a conversation starter all in one. And with Cascade 220 Superwash (affiliate link), it’s also durable enough to last me many chilly seasons ahead.
Why You Should Try This Cable Beanie Knitting Pattern
If you’ve never tried a cable beanie knitting pattern before, the Abner Hat is a fabulous place to start. It’s got just the right amount of challenge to keep things interesting without leaving you overwhelmed.
I also highly recommend using Cascade 220 Superwash (affiliate link) if you want your cables to pop and your hat to hold up to real-life wear. It’s affordable, easy to work with, and available in so many colors—you’ll probably want to knit two.
And don’t forget—if you’re looking for more patterns like this one, head over to my free hat patterns page where I keep all my favorites in one place.
Ready to Knit Your Own?
Whether you’re an experienced cable connoisseur or just dipping your toes into twisty stitches, this cable beanie knitting pattern is a satisfying knit from start to finish.
Grab your needles, a skein of Cascade 220 Superwash (affiliate link), and let the cables lead the way.
👉 The Abner Hat cable beanie knitting pattern is waiting for you at the bottom of this post—don’t miss it!
And if you give it a go, I’d love to see your finished beanie. Share it with me on Instagram or drop a comment below and let me know what color you chose!
Happy knitting!

Materials and Info
Yarn – 1 skein Cascade 220 (100g 220yd)
Needles – 6 (4.25mm) circular or dpn 8 (5mm) circular and dpn
Other – 2 cable needles, yarn needle
Gauge – 20x28sts per 4x4in or 10x10cm
Sizes – (newborn, baby), (toddler, child), (small adult, large adult)
Head Measurement – (30-35, 35-40), (40-45, 45-50), (50-55, 55-60)cms or (12-14, 14-16), (16-18, 18-20), (20-22, 22-24)ins
ABBREVIATIONS
k – knit
P – purl
sl – slip stitch
st – stitch
cn – cable needle
p2tog – purl 2 stitches together
k2tog -knit 2 stitches together
ssk – slip next st knitwise, slip next st knitwise, place stitches back onto left needle, knit both slipped sts together

Abner Hat Pattern
NEWBORN
Cast on 72sts with smaller needles using your favorite stretchy cast on.
Join in the round.
K2p2 around until you have reached 2ins from cast on edge.
Switch to larger size needles.
Round 1 – [sl2 onto cn hold in back, sl2 onto cn hold in front, p2, k2 from front cn, p2 from back cn, p2] repeat [to] around
Round 2 – [p2, k2, p4] repeat [to] around
Round 3 – [sl2 onto cn hold in back, sl2 onto cn hold in front, k2, p2 from front cn, k2 from back cn, p2]repeat [to] around
Round 4 -11 – k2p2 around
Repeat rounds 1-11 until your work measures 4ins ending on a k2p2 round.
Switch to dpn when necessary.
DECREASES
Round 1 – [k2, p2tog] around (54sts)
Round 2 – [k2, p1] around
Round 3 – [k1, ssk] around (36sts)
Round 4 – knit around
Round 5 – [k2tog, k2] around (27sts)
Round 6 – knit around
Round 7 – [k2tog, k1] around (18sts)
Round 8 – [k2tog] around (9sts)
Do not bind off. Cut yarn leaving appx -10ins. Pull yarn through remaining stitches and cinch the top tight. Weave in ends. Block as desired.
BABY
Cast on 80sts with smaller needles using your favorite stretchy cast on.
Join in the round.
K2p2 around until you have reached 2ins from cast on edge.
Switch to larger size needles.
Round 1 – [sl2 onto cn hold in back, sl2 onto cn hold in front, p2, k2 from front cn, p2 from back cn, p2] repeat [to] around
Round 2 – [p2, k2, p4] repeat [to] around
Round 3 – [sl2 onto cn hold in back, sl2 onto cn hold in front, k2, p2 from front cn, k2 from back cn, p2] repeat [to] around
Round 4 -11 – k2p2 around
Repeat rounds 1-11 until your work measures 5ins ending on a k2p2 round.
Switch to dpn when necessary.
DECREASES
Round 1 – [k2, p2tog] around (60sts)
Round 2 – [k2, p1] around
Round 3 – [k1, ssk] around (40sts)
Round 4 – knit around
Round 5 – [k2tog, k2] around (30sts)
Round 6 – knit around
Round 7 – [k2tog, k1] around (20sts)
Round 8 – [k2tog] around (10sts)
Round 9 – [k2tog] around (5sts)
Do not bind off. Cut yarn leaving appx -10ins. Pull yarn through remaining stitches and cinch the top tight. Weave in ends. Block as desired.
TODDLER
Cast on 88sts with smaller needles using your favorite stretchy cast on.
Join in the round.
K2p2 around until you have reached 2ins from cast on edge.
Switch to larger size needles.
Round 1 – [sl2 onto cn hold in back, sl2 onto cn hold in front, p2, k2 from front cn, p2 from back cn, p2] repeat [to] around
Round 2 – [p2, k2, p4] repeat [to] around
Round 3 – [sl2 onto cn hold in back, sl2 onto cn hold in front, k2, p2 from front cn, k2 from back cn, p2] repeat [to] around
Round 4 -13 – k2p2 around
Repeat rounds 1-13 until your work measures 6ins ending on a k2p2 round.
Switch to dpn when necessary.
DECREASES
Round 1 – [k2, p2tog] around (66sts)
Round 2 – [k2, p1] around
Round 3 – [k1, ssk] around (44sts)
Round 4 – knit around
Round 5 – [k2tog, k2] around (33sts)
Round 6 – knit around
Round 7 – [k2tog, k1] around (22sts)
Round 8 – [k2tog] around (11sts)
Round 9 – [k2tog] around to last st, k1(6sts)
Do not bind off. Cut yarn leaving appx -10ins. Pull yarn through remaining stitches and cinch the top tight. Weave in ends. Block as desired.
CHILD
Cast on 96sts with smaller needles using your favorite stretchy cast on.
Join in the round.
K2p2 around until you have reached 2ins from cast on edge.
Switch to larger size needles.
Round 1 – [sl2 onto cn hold in back, sl2 onto cn hold in front, p2, k2 from front cn, p2 from back cn, p2] repeat [to] around
Round 2 – [p2, k2, p4] repeat [to] around
Round 3 – repeat round 2
Round 4 – [sl2 onto cn hold in back, sl2 onto cn hold in front, k2, p2 from front cn, k2 from back cn, p2] repeat [to] around
Round 5 -14 – k2p2 around
Repeat rounds 1-14 until your work measures 6.5ins ending on a k2p2 round.
Switch to dpn when necessary.
DECREASES
Round 1 – [k2, p2tog] around (72sts)
Round 2 – [k2, p1] around
Round 3 – [k1, ssk] around (48sts)
Round 4 – knit around
Round 5 – [k2tog, k2] around (36sts)
Round 6 – knit around
Round 7 – [k2tog, k1] around (24sts)
Round 8 – [k2tog] around (12sts)
Round 9 – [k2tog] around (6sts)
Do not bind off. Cut yarn leaving appx -10ins. Pull yarn through remaining stitches and cinch the top tight. Weave in ends. Block as desired.
SMALL ADULT
Cast on 112sts with smaller needles using your favorite stretchy cast on.
Join in the round.
K2p2 around until you have reached 2ins from cast on edge.
Switch to larger size needles.
Round 1 – [sl2 onto cn hold in back, sl2 onto cn hold in front, p2, k2 from front cn, p2 from back cn, p2] repeat [to] around
Round 2 – [p2, k2, p4] repeat [to] around
Round 3 – repeat round 2
Round 4 – [sl2 onto cn hold in back, sl2 onto cn hold in front, k2, p2 from front cn, k2 from back cn, p2] repeat [to] around
Round 5 -16 – k2p2 around
Repeat rounds 1-16 until your work measures 7ins ending on a k2p2 round.
Switch to dpn when necessary.
DECREASES
Round 1 – [k2, p2tog] around (84sts)
Round 2 – [k2, p1] around
Round 3 – [k1, ssk] around (56sts)
Round 4 – knit around
Round 5 – [k2tog, k2] around (42sts)
Round 6 – knit around
Round 7 – [k2tog, k1] around (28sts)
Round 8 – [k2tog] around (14sts)
Round 9 – [k2tog] around (7sts)
Do not bind off. Cut yarn leaving appx -10ins. Pull yarn through remaining stitches and cinch the top tight. Weave in ends. Block as desired.
LARGE ADULT
Cast on 120sts with smaller needles using your favorite stretchy cast on.
Join in the round.
K2p2 around until you have reached 2ins from cast on edge.
Switch to larger size needles.
Round 1 – [sl2 onto cn hold in back, sl2 onto cn hold in front, p2, k2 from front cn, p2 from back cn, p2] repeat [to] around
Round 2 – [p2, k2, p4] repeat [to] around
Round 3 – repeat round 2
Round 4 – [sl2 onto cn hold in back, sl2 onto cn hold in front, k2, p2 from front cn, k2 from back cn, p2] repeat [to] around
Round 5 -16 – k2p2 around
Repeat rounds 1-16 until your work measures 8ins ending on a k2p2 round.
Switch to dpn when necessary.
DECREASES
Round 1 – [k2, p2tog] around (90sts)
Round 2 – [k2, p1] around
Round 3 – [k1, ssk] around (60sts)
Round 4 – knit around
Round 5 – [k2tog, k2] around (45sts)
Round 6 – knit around
Round 7 – [k2tog, k1] around (30sts)
Round 8 – [k2tog] around (15sts)
Round 9 – [k2tog] around to last st, k1(8sts)
Do not bind off. Cut yarn leaving appx -10ins. Pull yarn through remaining stitches and cinch the top tight. Weave in ends. Block as desired.

Abner Hat PDF

Disclaimer: This page contains affiliate links. If you choose to make a purchase after clicking a link, I may receive a commission at no additional cost to you. Thank you for your support!