
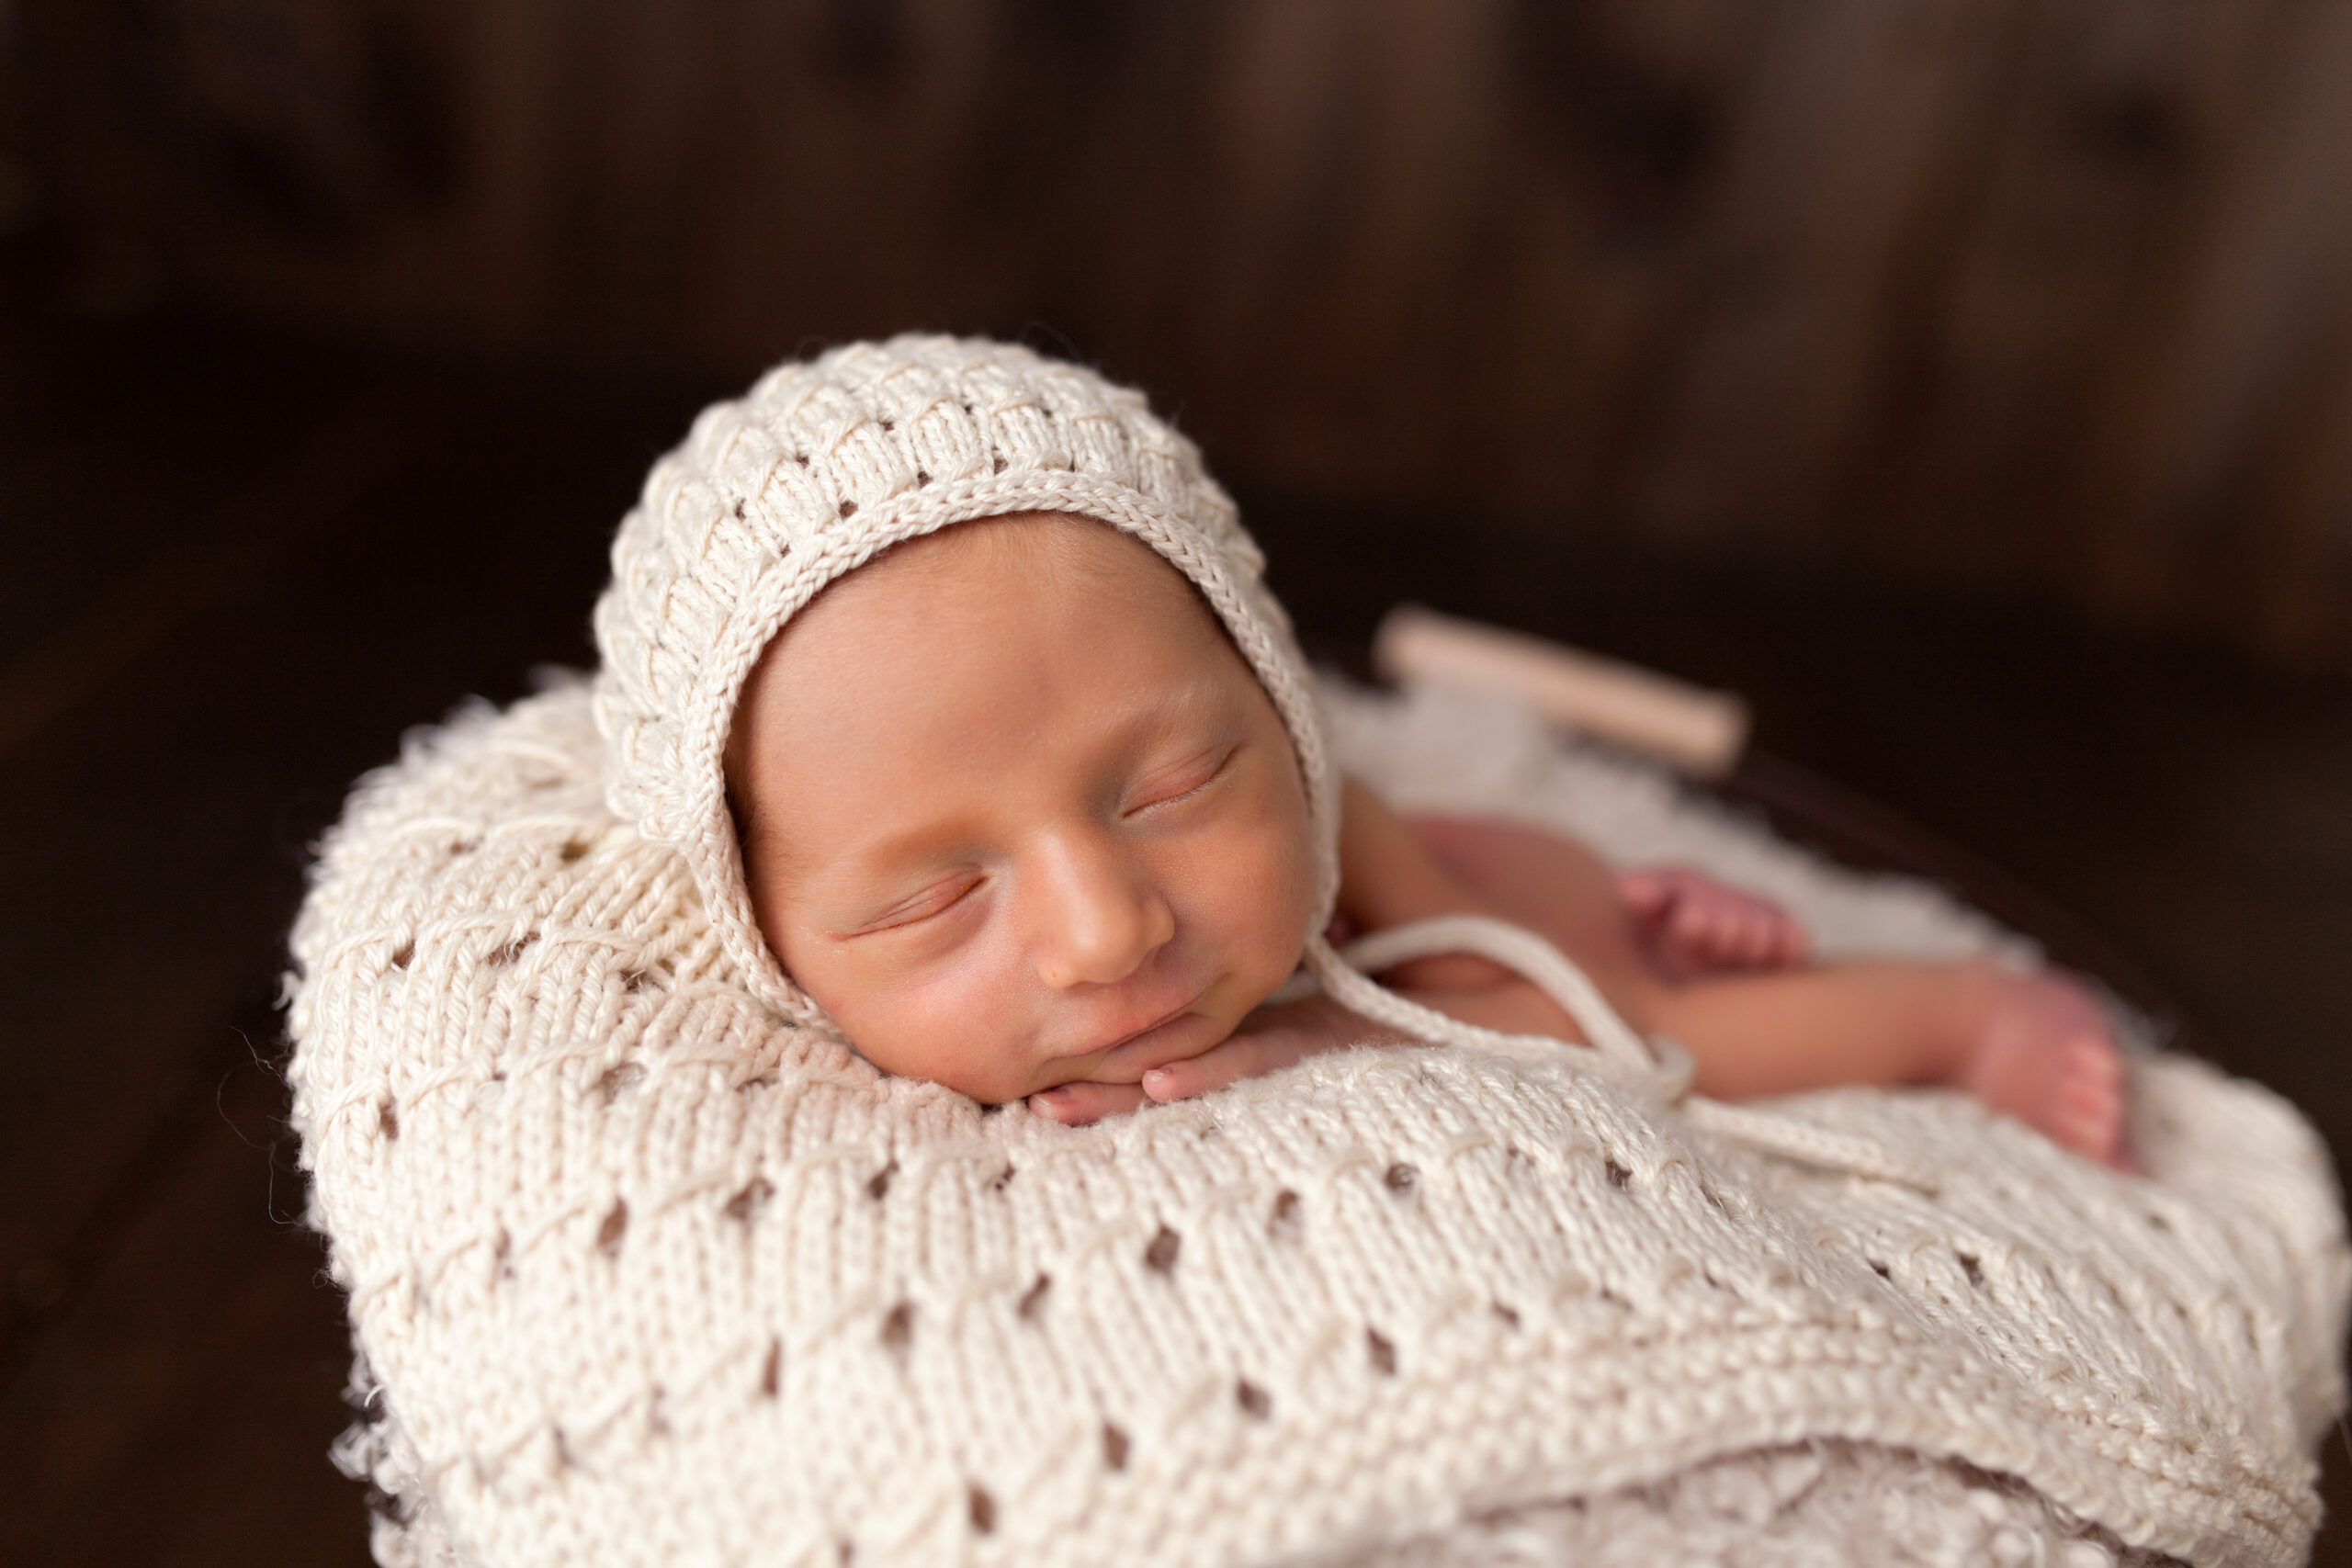
This faux cable bonnet pattern is the perfect photo prop for newborns—find more baby sets on the photo prop pattern page!

There’s just something incredibly heartwarming about knitting for a new baby—especially when that baby is your own. When I found out I was expecting, my hands practically reached for my needles on instinct. I had dreams of teeny bonnets, snuggly blankets, and photo props that would capture every tiny yawn and squishy cheek. Today, I’m sharing the story behind the Asher Bonnet and Baby Blanket, a faux cable bonnet pattern I designed with my little one in mind.
This particular faux cable bonnet pattern is near and dear to my heart because it was created for my own baby boy, born in September 2014. It’s simple enough for beginners but still has just enough flair to make it fun for experienced knitters too. Plus, you’ll find the full pattern for this baby bonnet at the bottom of this post—but if you’re looking for even more photo-ready baby knits, head over to the photo prop pattern page to see them all.

The Beginning of a Bonnet (and Blanket!) Dream
Like any excited expectant mama, my brain was bursting with ideas the minute I saw that positive test. Baby socks! Knit pants! Hats in every shade! But what I really wanted was a go-to set—something beautiful, timeless, and soft enough to cuddle a newborn without any scratchiness. Enter the faux cable bonnet pattern and its matching baby blanket sibling.
We didn’t know if we were having a boy or girl, but I had this vision of a sweet and classic unisex bonnet that would look beautiful in newborn photos. It needed texture, softness, and just a little bit of that “awwwww” factor. I grabbed my skeins of KnitPicks Comfy Fingering (affiliate link) for the bonnet and KnitPicks Comfy Worsted (affiliate link) for the blanket and got to work.

Why I Chose Faux Cables
I love the look of cables, but let’s be honest—when you’re pregnant and knitting on the couch with your feet up, constantly reaching for a cable needle is not the vibe. That’s where this faux cable bonnet pattern came to the rescue. Faux cables give the appearance of twisted stitches without all the fuss, and they work beautifully with baby-weight yarns.
The stitch I used is called Eyelet faux cable—don’t let the fancy name scare you. It’s a simple combination of knits and purls that gives this bonnet its distinct texture. I paired it with a garter stitch border to keep the edges stretchy and soft.

Creating the Baby Blanket
The AsheLet’s Talk Yarn (Because You Know I Love To)
For the bonnet, I used KnitPicks Comfy Fingering (affiliate link)—a lightweight cotton blend that’s perfect for delicate baby skin. It’s soft, breathable, and machine washable (a must when it comes to newborn gear). For the blanket, I opted for KnitPicks Comfy Worsted (affiliate link) to give it a bit more squish and warmth without making it too heavy.
Both yarns come in beautifully muted tones that look dreamy in photos. I went with a dusty blue for my set, but honestly, every color in the Comfy line is a winner.

Knitting the Faux Cable Bonnet Pattern
The faux cable bonnet pattern is knit flat and then seamed up the back. You’ll start with the garter border, move into the faux cable body, and then shape the crown with easy decreases. The end result is a sweet and snug little hat with ties to help it stay on even the squirmiest newborn.
Each row felt like a countdown to baby. I imagined his tiny head tucked inside, wrapped in all the love I was stitching in. When I finally finished and held it up, it looked just like I’d envisioned—classic, cozy, and totally swoon-worthy.

Matching It With a Blanket
I couldn’t stop with just the bonnet. A matching baby blanket felt like the perfect complement. For the blanket, I kept things simple: garter stitch for softness and a basic lace motif for a touch of elegance. It’s the kind of project you can work on during movie night (or while your toddler dumps LEGOs into the laundry basket—been there).
The faux cable bonnet pattern and blanket make a sweet duo. If you’re looking for a shower gift, photo prop, or something special for your own baby, this is one of those sets that looks way more complicated than it really is.
Picture Perfect and Packed With Love
When our little Asher finally arrived, I couldn’t wait to see him in the things I’d made. And friends, I cried. Not just because of the hormones (okay, partially the hormones), but because seeing my son wrapped in the faux cable bonnet pattern I’d designed just for him was the most beautiful moment.
The bonnet fit snugly, and the blanket was the perfect size for wrapping, tummy time, and stroller snuggles. I’m so thankful we captured some of those first days with him wearing the set—it’s one of my favorite memories and one of my most beloved projects to this day.

Sharing the Faux Cable Bonnet Pattern
I originally made this faux cable bonnet pattern for personal use, but after so many people asked about it (and after seeing how beautifully it worked for newborn photos), I decided to share it with the world. Now, it’s a free download on my site, along with the matching blanket pattern.
Every time someone tags me in a photo of their finished set, it brings a huge smile to my face. These patterns were born out of love, and it’s such a joy to see them become part of other families’ stories too.
Final Thoughts on This Faux Cable Bonnet Pattern
There’s something timeless about a handknit baby bonnet. Add in faux cables, soft yarn, and a little newborn charm, and you’ve got a keepsake worth treasuring forever. This faux cable bonnet pattern is a perfect beginner-friendly photo prop with a touch of texture and a whole lot of heart.
Whether you’re knitting for your own little one, a grandbaby, or a mama friend, I hope this pattern becomes a favorite for you too. And don’t forget—this pattern is at the bottom of the post, but you can find loads more photo prop ideas over on the photo prop pattern page.
Happy knitting, friend. May every stitch bring you joy!

Materials and Info
Asher Bonnet
Materials: KnitPicks Comfy Fingering yarn, size 3 (3.25mm) straight and dpn needles, size f crochet hook
Gauge: 7sts/in – in pattern (rows 1-6) ~GAUGE IS VERY IMPORTANT~
Stitch Key:
st – stitch co – cast on
k – knit k2tog – knit 2 together
yo – yarn over psso – pass slipped stitch over
sl – slip stitch
Head circumference: nb (13ins). 0-3mths (14ins), 3-6mth (15ins), 6-12mths (16ins)
Asher Baby Blanket
Materials: 200/440/620yds of worsted weight yarn (I used Knitpicks Comfy Worsted), Size 8 (5mm) needles
Gauge: 4sts/in in stockinette stitch
Finished Blanket Sizes:
Mini Blanket – 18ins x 18ins
Car Seat/Stroller Blanket – 22ins x 27ins
Crib Blanket – 26ins x 32ins
Stitch Key:
st – stitch co – cast on
k – knit k2tog – knit 2 together
yo – yarn over psso – pass slipped stitch over
sl – slip stitch

Asher Bonnet Pattern
Newborn
Provisional cast on 71sts (links provided at the end of the pattern) with straight pattern.
Row 1 – knit across
Row 2 – k1 [p3, yo]repeat across to last st, k1
Row 3 – k1 [yo, drop the next loop (the increase from previous row), sl1, k2, psso both sts] repeat across to last st, k1
Row 4 – purl across
Row 5 – knit across
Row 6 – purl across
Repeat rows 1-6 until your work measures 4ins from cast on edge ending after working an odd numbered row (front side). Slip all stitches to your dpn. You will now start working in the round.
Decreases
Round 1 – k2tog, k around (70sts)
Round 2 – [k2tog, k5] repeat around (60sts)
Round 3 – knit around
Round 4 – [k2tog, k4] repeat around (50sts)
Round 5 – knit around
Round 6 – [k2tog, k3] repeat around (40sts)
Round 7 – knit around
Round 8 – [k2tog, k2] repeat around (30sts)
Round 9 – knit around
Round 10 – [k2tog, k1] repeat around (20sts)
Round 11 – [k2tog] repeat around (10sts)
Do not bind off. Cut yarn leaving appx 6-8ins. Pull tail through remaining 10sts.
Cast on 3sts on double pointed needles and work appx 8ins of i-cord (tutorial at the end of the pattern). Place all of the provisional cast on sts on your straight needle (I like to use a circular needle for this but straight will do) and begin i-cord bind off using the 8ins of i-cord you have already worked. Once all of the sts have been bound off work an additional 8ins of i-cord. Weave in ends.

0-3mths
Provisional cast on 77sts (links provided at the end of the pattern) with straight pattern.
Row 1 – knit across
Row 2 – k1 [p3, yo]repeat across to last st, k1
Row 3 – k1 [yo, drop the next loop (the increase from previous row), sl1, k2,psso both sts] repeat across to last st, k1
Row 4 – purl across
Row 5 – knit across
Row 6 – purl across
Repeat rows 1-6 until your work measures 4.5ins from cast on edge ending after working an odd numbered row (front side). Slip all stitches to your dpn. You will now start working in the round.
Decreases
Round 1 – [k2tog, k5] repeat around (66sts)
Round 2 – knit around
Round 3– [k2tog, k4] repeat around (55sts)
Round 4 – knit around
Round 5 – [k2tog, k3] repeat around (44sts)
Round 6 – knit around
Round 7 – [k2tog, k2] repeat around (33sts)
Round 8 – knit around
Round 9 – [k2tog, k1] repeat around (22sts)
Round 10 – [k2tog] repeat around (11sts)
Do not bind off. Cut yarn leaving appx 6-8ins. Pull tail through remaining 11sts.
Cast on 3sts on double pointed needles and work appx 8ins of i-cord (tutorial at the end of the pattern). Place all of the provisional cast on sts on your straight needle (I like to use a circular needle for this but straight will do) and begin i-cord bind off using the 8ins of i-cord you have already worked. Once all of the sts have been bound off work an additional 8ins of i-cord. Weave in ends.

3-6mths
Provisional cast on 86sts (links provided at the end of the pattern) with straight pattern.
Row 1 – knit across
Row 2 – k1 [p3, yo]repeat across to last st, k1
Row 3 – k1 [yo, drop the next loop (the increase from previous row), sl1, k2,psso both sts] repeat across to last st, k1
Row 4 – purl across
Row 5 – knit across
Row 6 – purl across
Repeat rows 1-6 until your work measures 5ins from cast on edge ending after working an odd numbered row (front side). Slip all stitches to your dpn. You will now start working in the round.
Decreases
Round 1 – [k2tog, k41] repeat around (84sts)
Round 2 – [k2tog, k5] repeat around (72sts)
Round 3 – knit around
Round 4– [k2tog, k4] repeat around (60sts)
Round 5 – knit around
Round 6 – [k2tog, k3] repeat around (48sts)
Round 7 – knit around
Round 8 – [k2tog, k2] repeat around (36sts)
Round 9 – knit around
Round 10 – [k2tog, k1] repeat around (24sts)
Round 11 – [k2tog] repeat around (12sts)
Do not bind off. Cut yarn leaving appx 6-8ins. Pull tail through remaining 12sts.
Cast on 3sts on double pointed needles and work appx 8ins of i-cord (tutorial at the end of the pattern). Place all of the provisional cast on sts on your straight needle (I like to use a circular needle for this but straight will do) and begin i-cord bind off using the 8ins of i-cord you have already worked. Once all of the sts have been bound off work anadditional 8ins ofi-cord. Weave in ends.

6-12mths
Provisional cast on 98sts (links provided at the end of the pattern) with straight pattern.
Row 1 – knit across
Row 2 – k1 [p3, yo]repeat across to last st, k1
Row 3 – k1 [yo, drop the next loop (the increase from previous row), sl1, k2,psso both sts] repeat across to last st, k1
Row 4 – purl across
Row 5 – knit across
Row 6 – purl across
Repeat rows 1-6 until your work measures 5.5ins from cast on edge ending after working an odd numbered row (front side). Slip all stitches to your dpn. You will now start working in the round.
Decreases
Round 1 – [k2tog, k5] repeat around (84sts)
Round 2 – knit around
Round 3– [k2tog, k4] repeat around (70sts)
Round 4 – knit around
Round 5 – [k2tog, k3] repeat around (56sts)
Round 6 – knit around
Round 7 – [k2tog, k2] repeat around (42sts)
Round 8 – knit around
Round 9 – [k2tog, k1] repeat around (28sts)
Round 10 – [k2tog] repeat around (14sts)
Do not bind off. Cut yarn leaving appx 6-8ins. Pull tail through remaining 14sts.
Cast on 3sts on double pointed needles and work appx 8ins of i-cord (tutorial at the end of the pattern). Place all of the provisional cast on sts on your straight needle (I like to use a circular needle for this but straight will do) and begin i-cord bind off using the 8ins of i-cord you have already worked. Once all of the sts have been bound off work an additional 8ins ofi-cord. Weave in ends.

Asher Baby Blanket Pattern
Mini Blanket
Cast on 75sts.
Rows 1-6- knit across
Row 7 – k3 [p3, yo]repeat across to last st, k3
Row 8 – k3 [yo, drop the next loop (the increase from previous row), sl1, k2, psso both sts] repeat across to last st, k3
Row 9 – k3,purl across to last 3sts, k3
Row 10 – knit across
Row 11 – k3,purl across to last 3sts, k3
Row 12 – knit across
Repeat rows 7-12 until your work measures 17ins from cast on edge. For best results end after working a row 8 repeat.
Knit for 5 rows and cast off.

Car Seat/Stroller
Cast on 83sts.
Rows 1-8- knit across
Row 9 – k4 [p3, yo]repeat across to last st, k4
Row 10 – k4 [yo, drop the next loop (the increase from previous row), sl1, k2, psso both sts] repeat across to last st, k4
Row 11 – k4,purl across to last 3sts, k4
Row 12 – knit across
Row 13 – k4,purl across to last 3sts, k4
Row 14 – knit across
Repeat rows 9-14 until your work measures 24.5ins from cast on edge. For best results end after working a row 10 repeat.
Knit for 7 rows and cast off.

Crib Blanket
Cast on 103sts.
Rows 1-10- knit across
Row 11 – k5 [p3, yo]repeat across to last st, k5
Row 12 – k5 [yo, drop the next loop (the increase from previous row), sl1, k2, psso both sts] repeat across to last st, k5
Row 13 – k5,purl across to last 5sts, k5
Row 14 – knit across
Row 15 – k5,purl across to last 5sts, k5
Row 16 – knit across
Repeat rows 11-16 until your work measures 31.5ins from cast on edge. For best results end after working a row 12 repeat.
Knit for 9 rows and cast off.
Asher Bonnet and Baby Blanket PDF

Disclaimer: This page contains affiliate links. If you choose to make a purchase after clicking a link, I may receive a commission at no additional cost to you. Thank you for your support!