
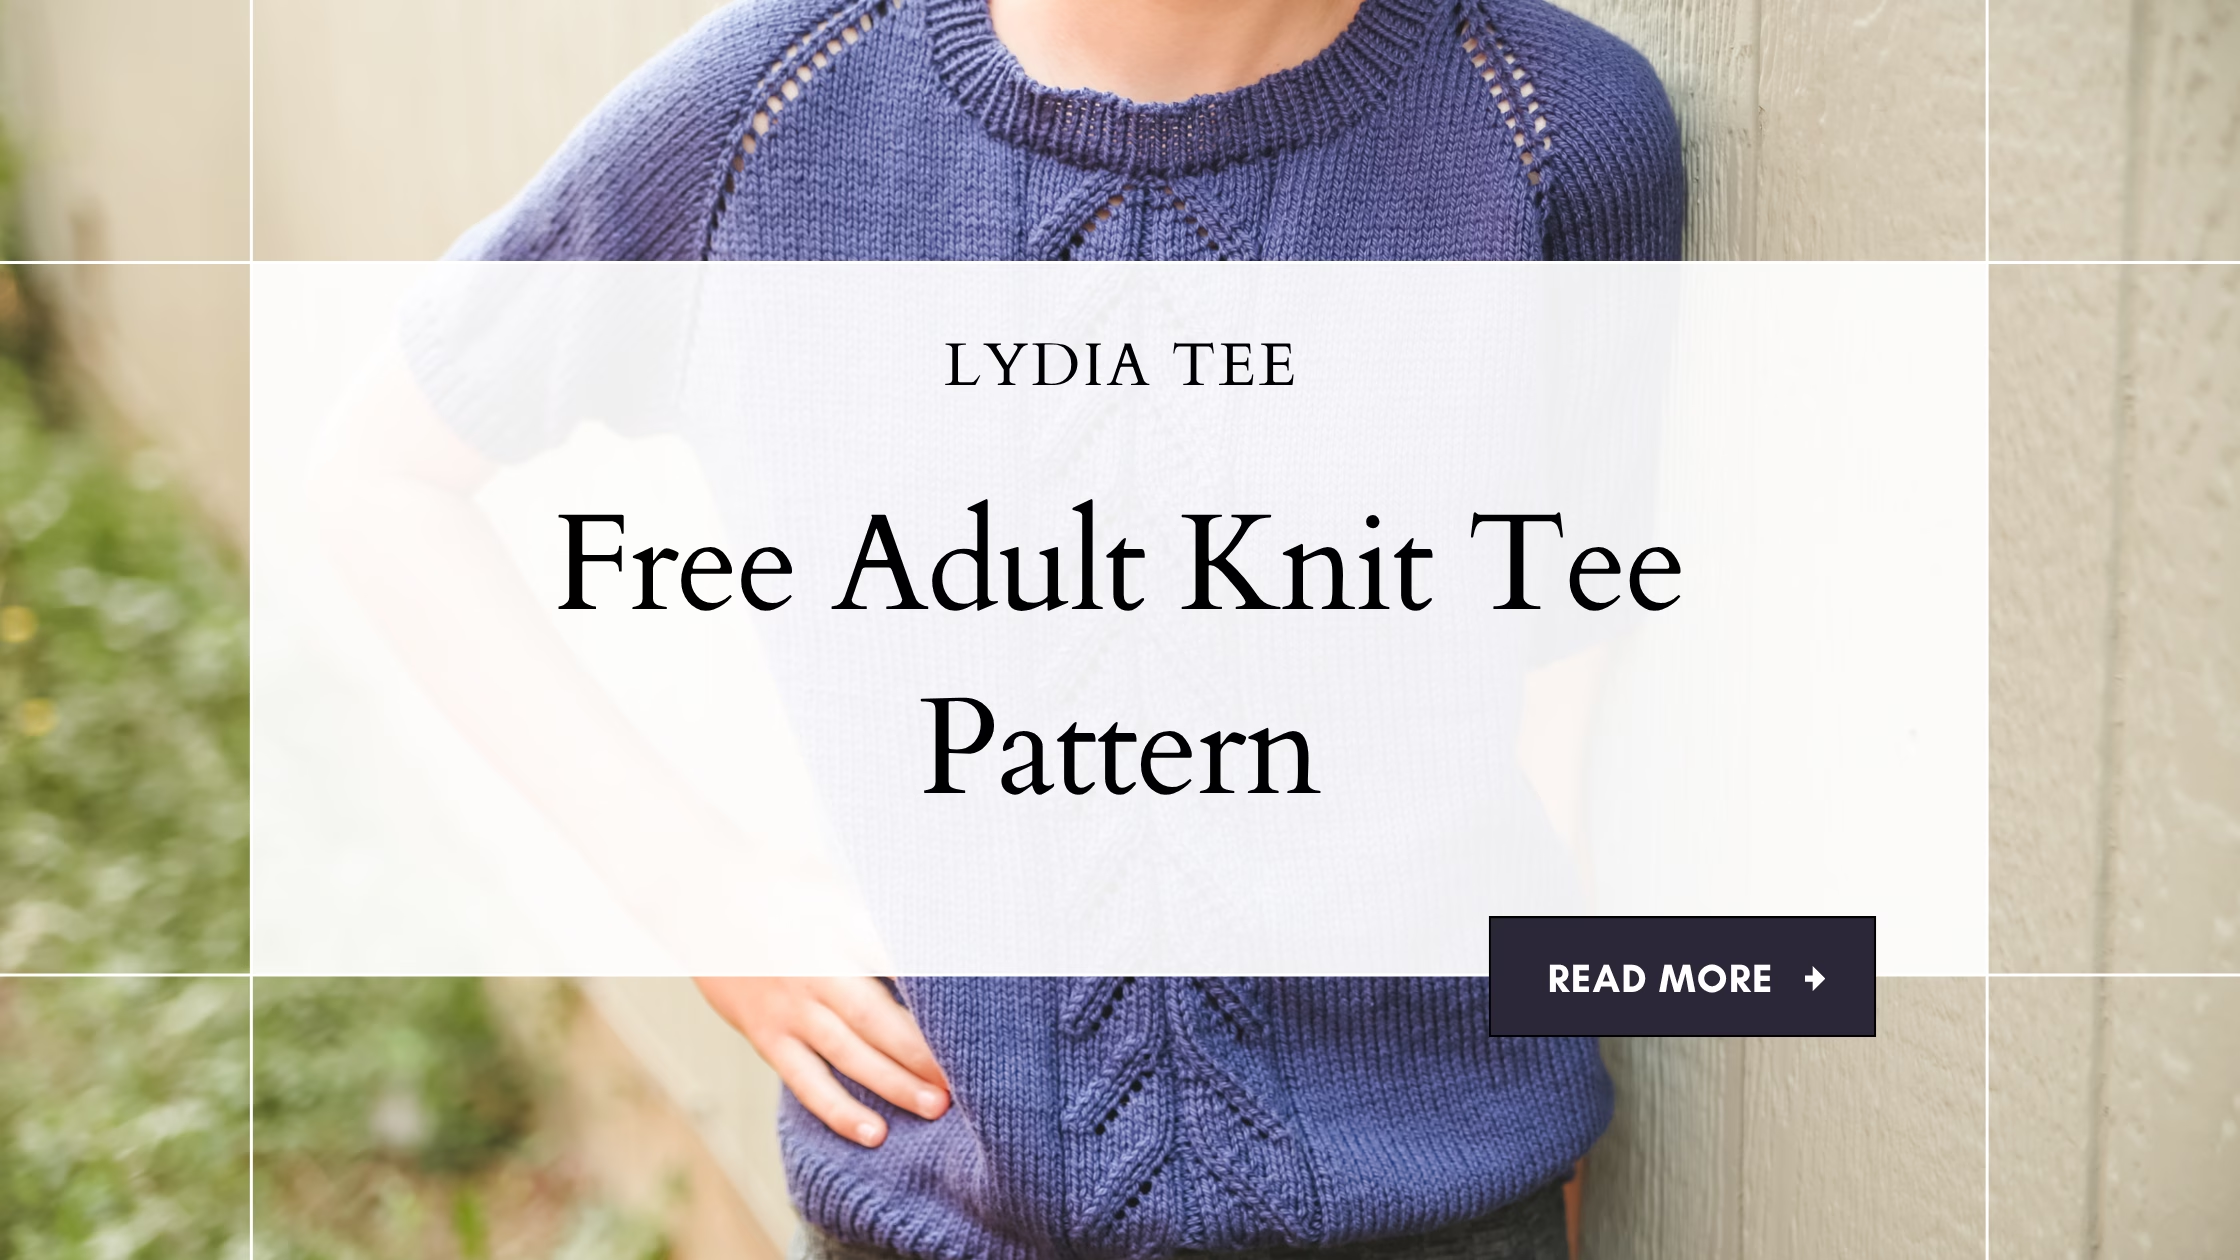
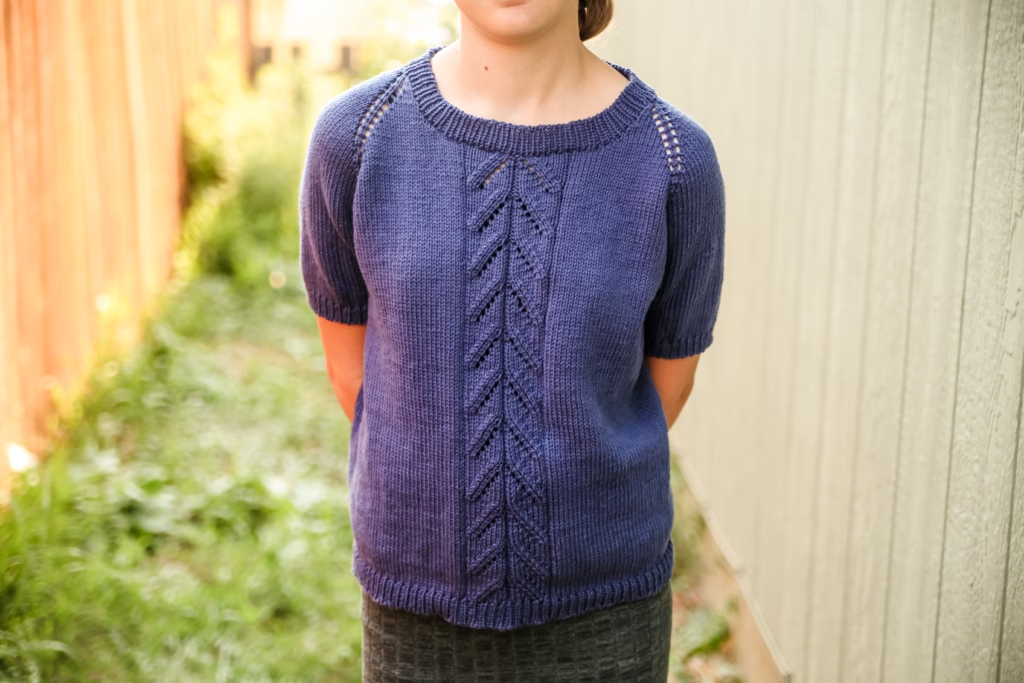
Looking for a free adult knit tee pattern that is simple, wearable, and perfect for warm-weather knitting? The Lydia Tee for Adults is a free addition to my collection of free sweater knitting patterns and is the grown-up counterpart to the Youth Lydia Tee.
If you loved the look of the Youth Lydia Tee but wanted one made just for you, this is the pattern you’ve been waiting for! The adult Lydia Tee keeps that same easy-to-wear feel while giving you a handmade summer top that works beautifully with shorts, skirts, jeans, or layered under a cardigan when the weather starts to cool.
This free knit tee pattern is a great way to add a lightweight sweater to your handmade wardrobe without committing to a heavy cold-weather project. It has all the satisfaction of knitting a sweater, but in a breezy tee that you can actually reach for during the warmer months.
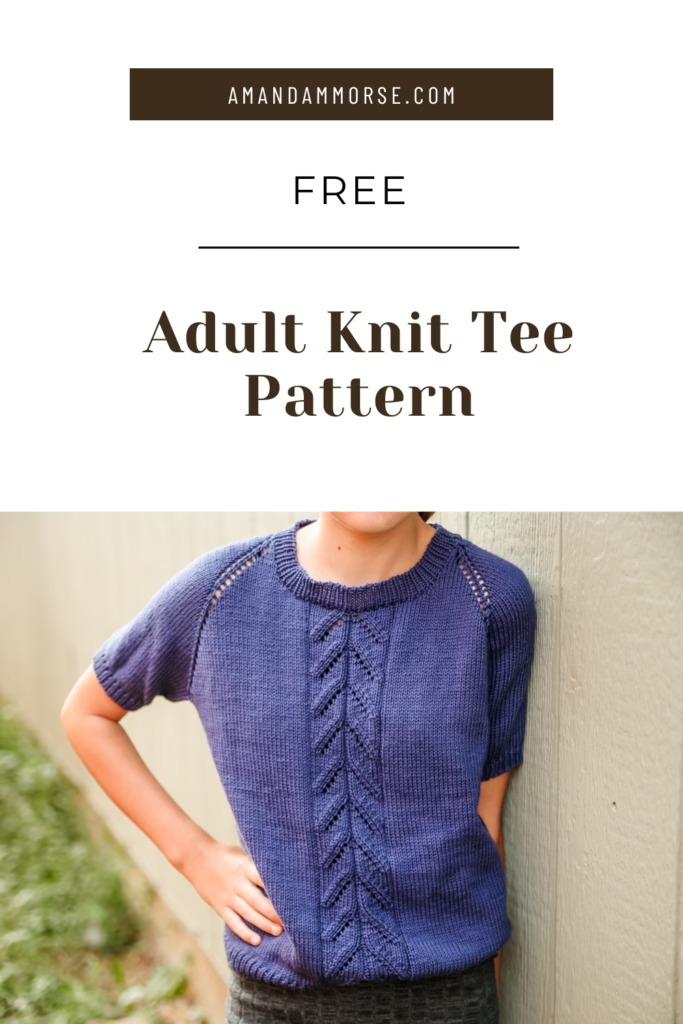
The Lydia Tee is especially fun if you have already made the [Youth Lydia Tee]. You can knit matching or coordinating tees, choose completely different colors, or simply enjoy making the same relaxed design in a size meant for adults.
And because it is knit with a cotton yarn, this is one of those projects that feels right at home in your summer knitting basket. It is practical, comfortable, and easy to style once it comes off the needles.
What yarn and needles do you need for this free adult knit tee pattern?
For my Lydia Tee, I used Premier Yarns Cotton Sprout DK. A DK-weight cotton yarn is a lovely choice for a summer knit tee because it creates a fabric that feels lighter and more breathable than many traditional sweater yarns.
For the main body of the tee, I used US size 5 (3.75 mm) knitting needles. For the ribbing, I switched to US size 3 (3.25 mm) needles. Using the smaller needle for your ribbing helps give those edges a little more structure and keeps them looking neat and finished.
As always with sweater knitting, make sure you take time to check your gauge before jumping into the full project. Even when you are using the same yarn and needle size that I used, every knitter’s tension is a little different. A gauge swatch gives you the best chance of ending up with a tee that fits the way you expect.
If you are newer to choosing yarn for garments, take a look through my yarn and sweater-knitting resources before you start. They can help you understand how yarn weight, fiber, gauge, and fabric all work together in a wearable knitting project.
Cotton is also a wonderful fiber to explore for warm-weather projects. Once you have a lightweight knit tee in your closet, you may find yourself wanting to cast on another one right away!
How do you knit the Lydia Tee for adults?
Before you cast on, read through the entire Lydia Tee pattern so you have a good picture of how the project comes together. This is especially helpful with garment knitting because you can see where shaping, ribbing, and finishing steps will happen before you reach them.
Pay close attention to the gauge listed in the pattern and choose your finished size based on the pattern measurements rather than automatically choosing the size you normally buy in a store. Knitted garments can fit very differently depending on the intended ease and the fabric created by your yarn and needles.
If summer sweater knitting is new to you, this is also a great time to review my existing sweater and gauge resources. A little preparation at the beginning can make the entire knitting process much smoother.

Take your time through the finishing steps, too. Clean ribbing, even seams or joins where required, and careful finishing can make a simple handmade tee look wonderfully polished.
Once your Lydia Tee is finished, block it according to the instructions for your yarn. Blocking helps your stitches settle into place and allows the finished fabric to show off all the work you put into knitting it.
What other free knit tee and sweater patterns can you make?
If the Lydia Tee has you ready to add even more handknit tops to your wardrobe, there are plenty of related patterns to explore next:
The Youth Lydia Tee is the natural companion to this adult version and is a fun choice if you want to make the design for a younger knitter or create coordinating tees. For more adult warm-weather knitting, the Deborah Tee, Puff Sleeve Tee, Sarah Tee, and Chain Tee give you several different styles to add to your project list.
Each knit tee is a chance to experiment with a different silhouette, yarn, color, or wardrobe style. And since tees are lighter than traditional winter sweaters, they are such a fun way to keep garment knitting all year long.
I especially love having knitted tees available when the seasons are changing. You get the satisfaction of making a full garment without ending up with something too warm to wear during spring and summer.
The Lydia Tee for Adults is an easy addition to a handmade wardrobe and a perfect partner to the youth version. Pick out your favorite cotton yarn color, check that gauge, and get those needles ready!
Lydia Tee Free Pattern
Size: XS, S (M, L) XL, 2X (3X, 4X)
Materials: Approximately 1045, 1135 (1276, 1431) 1573, 1761 (1916, 2092) of Premier Yarns Cotton Sprout dk (100g/230y), needle, stitch markers
Needle Size: 5(US) 3.75mm & 3(US) 3.25mm straight and dpn
Gauge (tension): 24sts & 32 rows to make 10cm square, using size 5(US) 3.75mm needles
Chest Measurement: (75, 85 (95, 105) 115, 125 (135, 145) cm or 30, 34 (38, 42) 46, 50 (54, 58) ins
METHOD
This pattern is a top-down raglan that is worked in the round with 10cm of ease.
- Stitch Chart
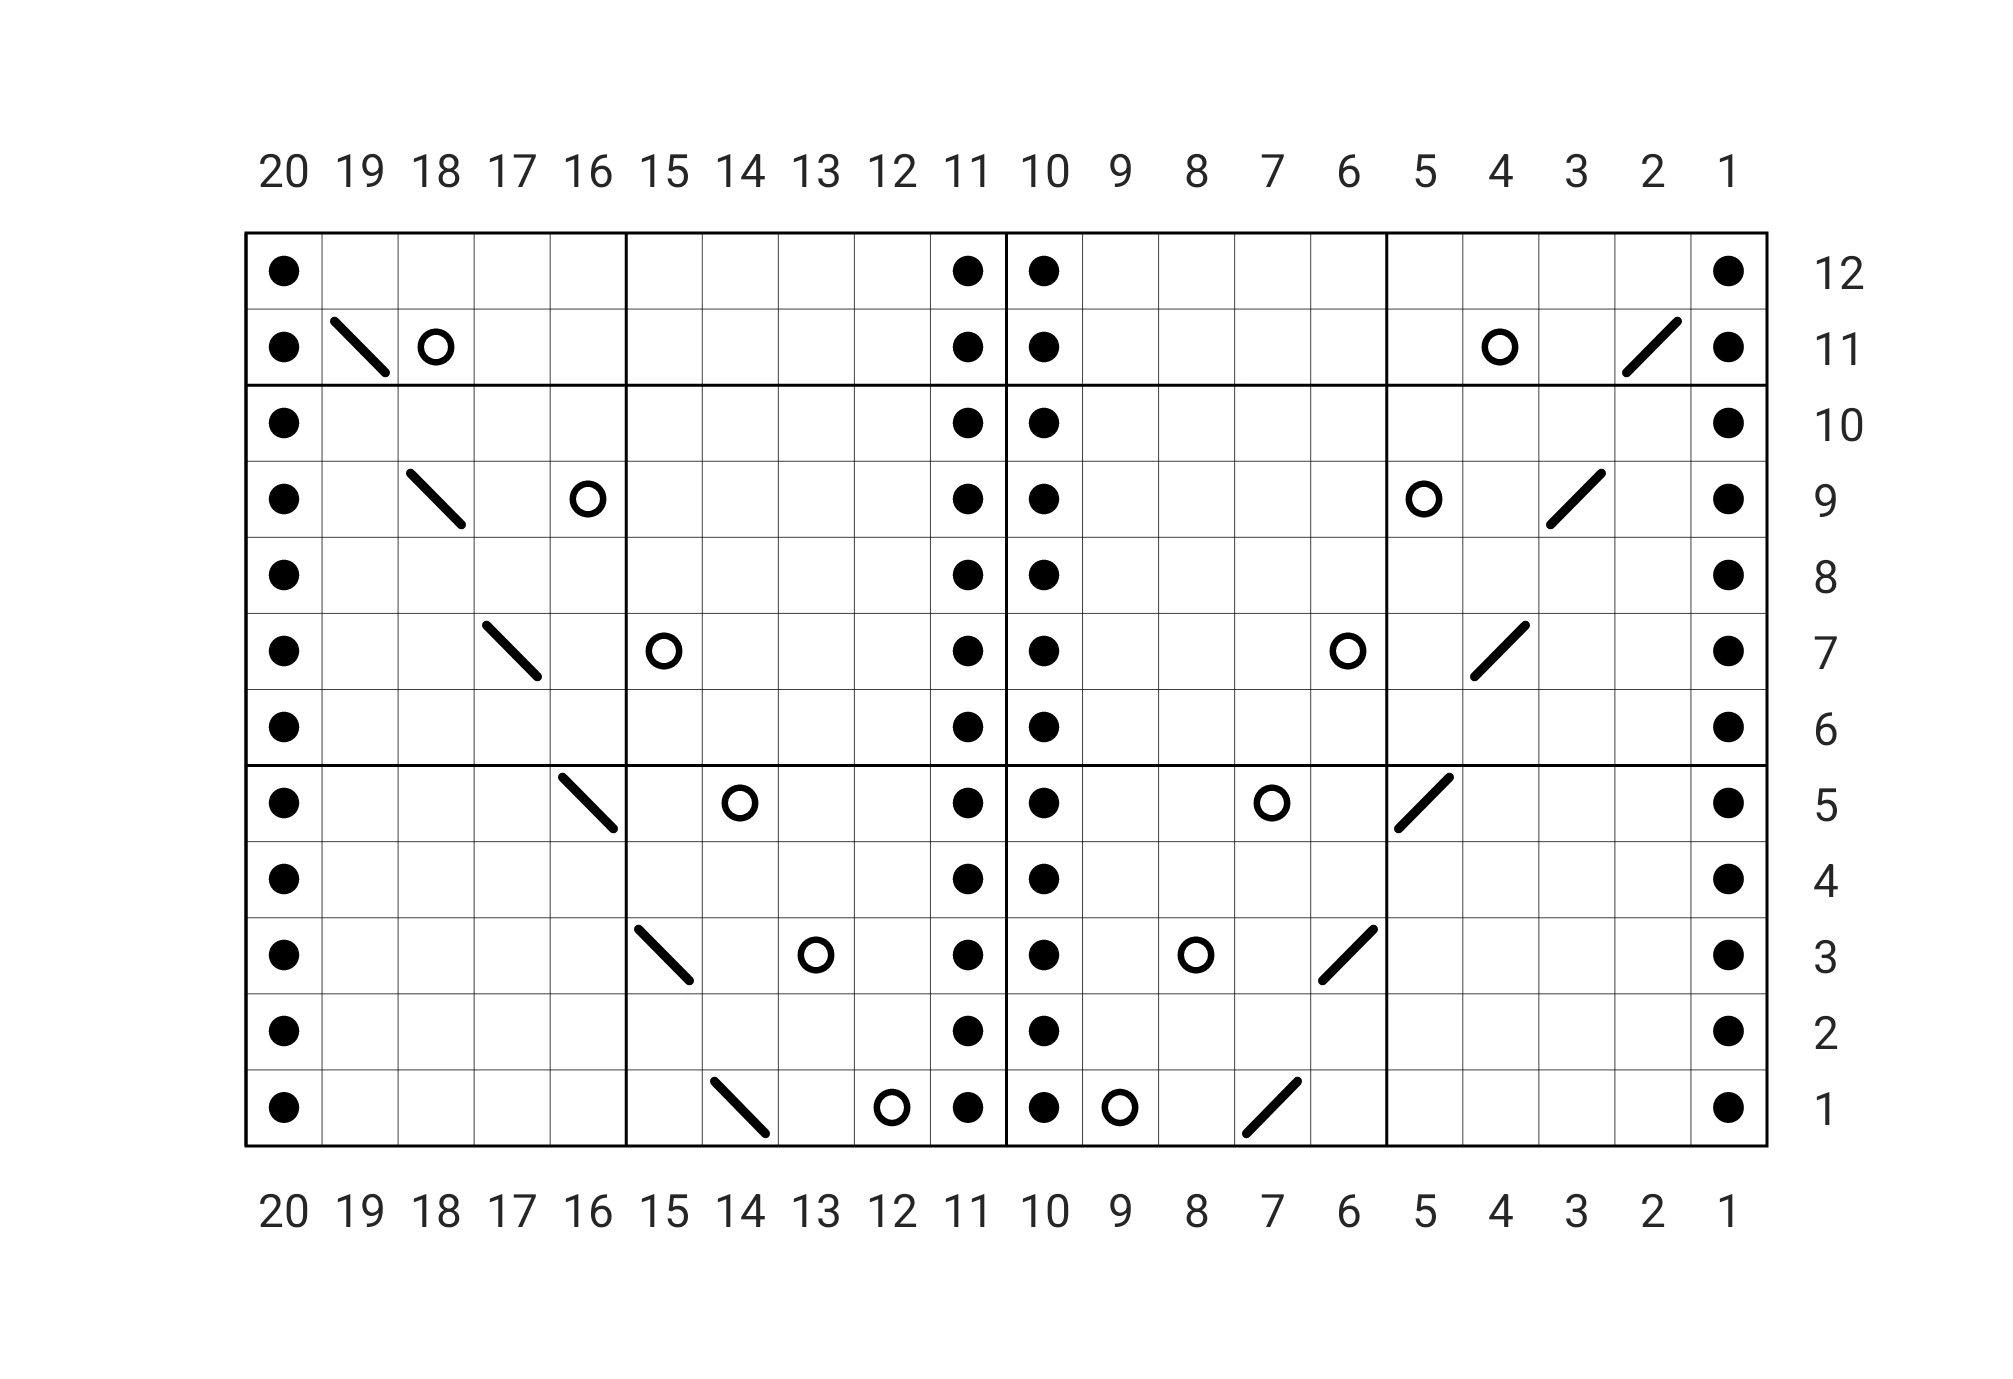
Round 1 – p1, k5, k2tog, k1, yo, p2, yo, k1, ssk, k5, p1
Round 2 – p1, k8, p2, k8, p1
Round 3 – p1, k4, k2tog, k1, yo, k1, p2, k1, yo, k1, ssk, k4, p1
Round 4 – p1, k8, p2, k8, p1
Round 5 – p1, k3, k2tog, k1, yo, k2, p2, k2, yo, k1, ssk, k3, p1
Round 6 – p1, k8, p2, k8, p1
Round 7 – p1, k2, k2tog, k1, yo, k3, p2, k3, yo, k1, ssk, k2, p1
Round 8 – p1, k8, p2, k8, p1
Round 9 – p1, k1, k2tog, k1, yo, k4, p2, k4, yo, k1, ssk, k1, p1
Round 10 – p1, k8, p2, k8, p1
Round 11 – p1, k2tog, k1, yo, k5, p2, k5, yo, k1, ssk, p1
Round 12 – p1, k8, p2, k8, p1 - NECK
Cast on 62, 62 (62, 62) 64, 70 (70, 74) sts in using larger needles
SET-UP ROUND
Purl 3, 3 (3, 3) 3, 3 (3, 3) (front), pm,
Purl 5, 5 (5, 5) 5, 5 (5, 5) (sleeve), pm,
Purl 47, 47 (47, 47) 49, 55 (55, 59) (back), pm,
Purl 5, 5 (5, 5) 5, 5 (5, 5) (sleeve), pm,
Purl 2, 2 (2, 2) 2, 2 (2, 2) (front), place bor marker
Note: Markers are positioned to indicate when the raglan shaping stitches should be worked. The markers at the end of the sleeve sections are purposefully offset by 1 stitch to keep symmetry - RAGLAN SHAPING
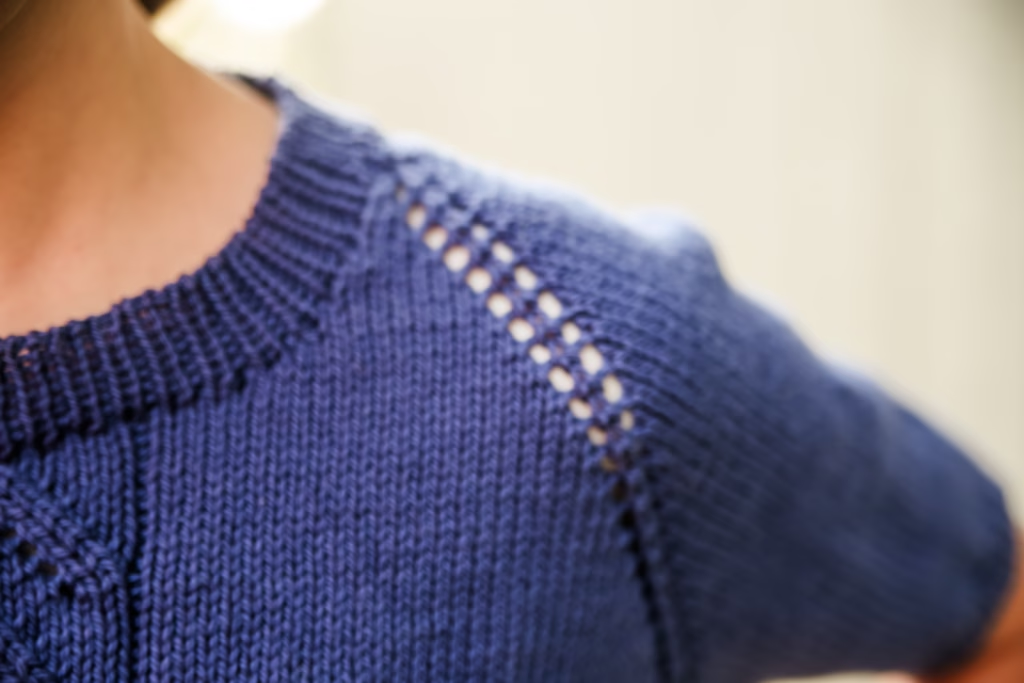
Raglan shaping and neck shaping are worked AT THE SAME TIME! Read both sections before moving on!Shape raglan seams by increasing 1 st each side of each marker, a total of 8 sts increased per round
Work each raglan round as follows:
Inc round – work to next marker, yo, sm, k1, yo, work across sleeve to next marker, yo, sm, k1, yo, work across back to next marker, yo, sm, k1, yo, work across sleeve to next marker, yo, sm, k1, yo work to end of round
Work raglan increases as described above:
Every Row/round – 0, 0 (8, 16) 22, 24 (34, 38)
Every other round/row 26, 29 (27, 25) 24, 25 (21, 21) times
Work 3, 1 (0, 0) 0, 0 (0, 0) rounds without any shaping. - NECK SHAPING
Stitches are increased at the beginning and end of each row to shape the front neck.
Start front neck shaping after working 7, 6 (8, 5) 9, 10 (10, 12) rows after the set-up row:
Increase 1sts at each end of front neck
Work 3 more rows without neckline shaping.
Increase 1 st at each end of front neck each following (1 rows.
Work 1 more row.
Increase 1 st at each end of front neck each following 3, 4 (4, 4) 5, 6 (6, 6) rows.
Cast on 4, 4 (4, 4) 4, 6 (6, 8) pm, co 20, 20 (20, 20) 20, 20 (20, 20) pm, co 4, 4 (4, 4) 4, 6 (6, 8) sts at the end of the next right side row.
Join in the round. The markers in the cast on stitches marker your lace panel. From here on out the stitches in between those markers are worked in the charted stitch patterns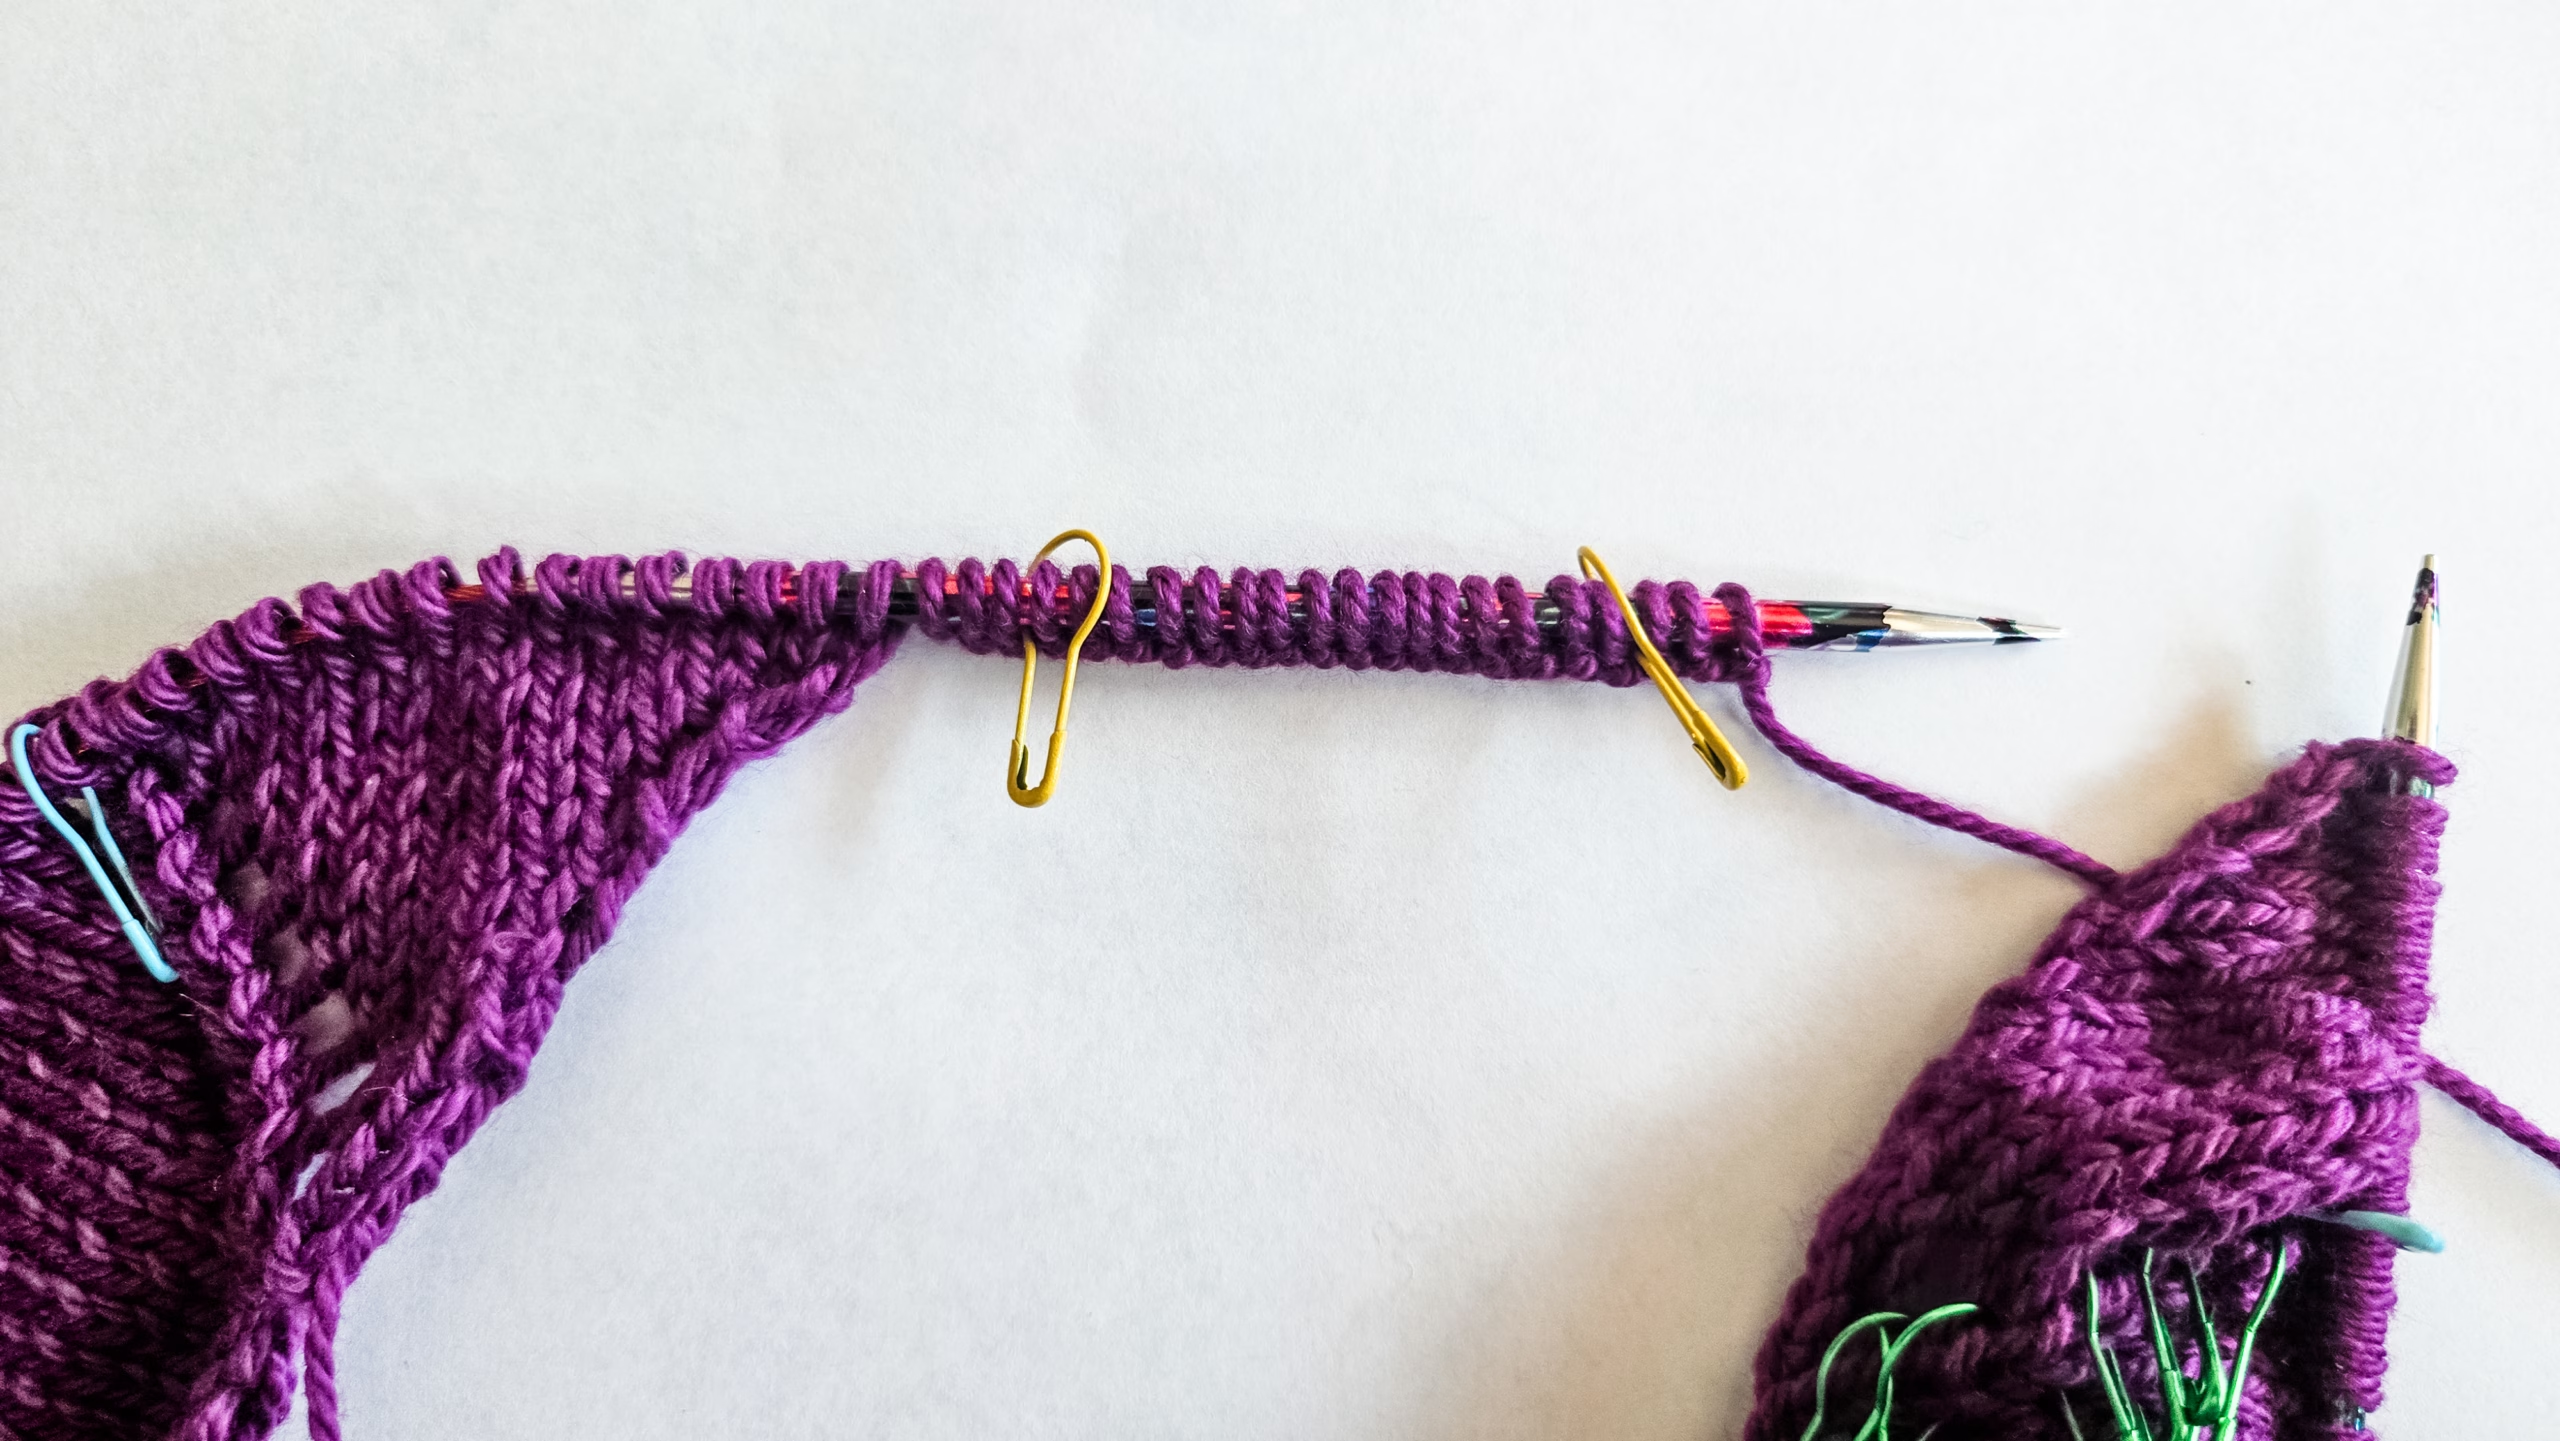
- Stitch Count Check
Total stitches: 312, 336 (384, 432) 476, 512 (560, 600)
Front/Back: 98, 104 (116, 128) 140, 152 (164, 176)
Sleeves: 58, 64 (76, 88) 98, 104 (116, 124) - DIVIDE FOR BODY AND SLEEVES
Knit to marker, sm, (this is now your bor marker), place 58, 64 (76, 88) 98, 104 (116, 124) sleeve stitches on stitch holder,
Cast on 10, 10 (10, 10) 10, 10 (10, 10) sts, remove raglan marker,
Work across 98, 104 (116, 128) 140, 152 (164, 176) back stitches, remove raglan marker,
Place 58, 64 (76, 88) 98, 104 (116, 124) sleeve stitches on stitch holder, remove raglan marker
Cast on 10, 10 (10, 10) 10, 10 (10, 10) sts, remove, raglan marker,
Work across 98, 104 (116, 128) 140, 152 (164, 176) front stitches
[216, 228 (252, 276) 300, 324 (348, 372) sts] - BODY
Continue in pattern as established for 31, 32.5 (32.5, 32.5) 32.5, 32.5 (32.5, 32.5) cm (or desired length) or 12.5, 13 (13, 13) 13, 13 (13, 13) in measuring from underarm (or desired length)
Switch to smaller needles.
Work in k1p1 ribbing for 2.5cms or 1ins
Bind off in pattern. - SLEEVE (REPEAT FOR BOTH SLEEVES)
Using larger needles (you may need to use dpn or magic loop),
Pick up and knit 5, 5 (5, 5) 5, 5 (5, 5) sts from underarm,
Work the 58, 64 (76, 88) 98, 104 (116, 124) sts from stitch holder,
Pick up and knit 5, 5 (5, 5) 5, 5 (5, 5) sts from underarm, pm.
[68, 74 (86, 98) 108, 114 (126, 134) sts]
Knit for 5, 5 (5, 3) 3, 3 (5, 5) rounds.
Decrease 1 stitch at each side of marker next round then every 8th, 12th (4th, 4th) 4th, 4th (0, 4th) round 1, 1 (6, 3) 3, 4 (1, 1) times.
Then decrease each side of marker every following 4th, 10th (2nd, 2nd) 2nd, 2nd (2nd, 2nd) rounds 2, 1 (1, 6) 6, 4 (12, 10) times
60, 68 (72, 78) 88, 96 (100, 110) sts.
Knit 4, 4 (4, 4) 4, 4 (4, 4) more rounds.
Change to smaller needle.
Work in k1p1 ribbing for 2cms or .75, ins
Bind off in pattern. - NECK
With right side facing, using smaller needle, beginning at the back left raglan, pick up and knit:
6, 6 (6, 6) 6, 6 (6, 6) sts from left sleeve,
8, 10 (12, 12) 13, 14 (14, 15) sts down left front,
28, 28 (28, 28) 28, 32 (32, 36) sts along center front,
8, 10 (12, 12) 13, 14 (14, 15) sts up right front,
6, 6 (6, 6) 6, 6 (6, 6) sts, from right sleeve,
46, 46 (46, 46) 48, 54 (54, 58) sts from back.
[102, 106 (110, 110) 114, 126 (126, 136) sts]
Join in the round and place beginning of round marker.
Work for 2.5 cms or 1in.
Bind off in pattern. - FINISHING
Weave in all ends and block accordingly.
- ABBREVIATIONS
BOR – beginning of round
CO – cast on
K – knit
K2tog -knit 2 stitches together
P – purl
PM – place marker
SM – slip marker
SSK – slip, slip, knit the slipped sts together
STS – stitches
YO – yarn over
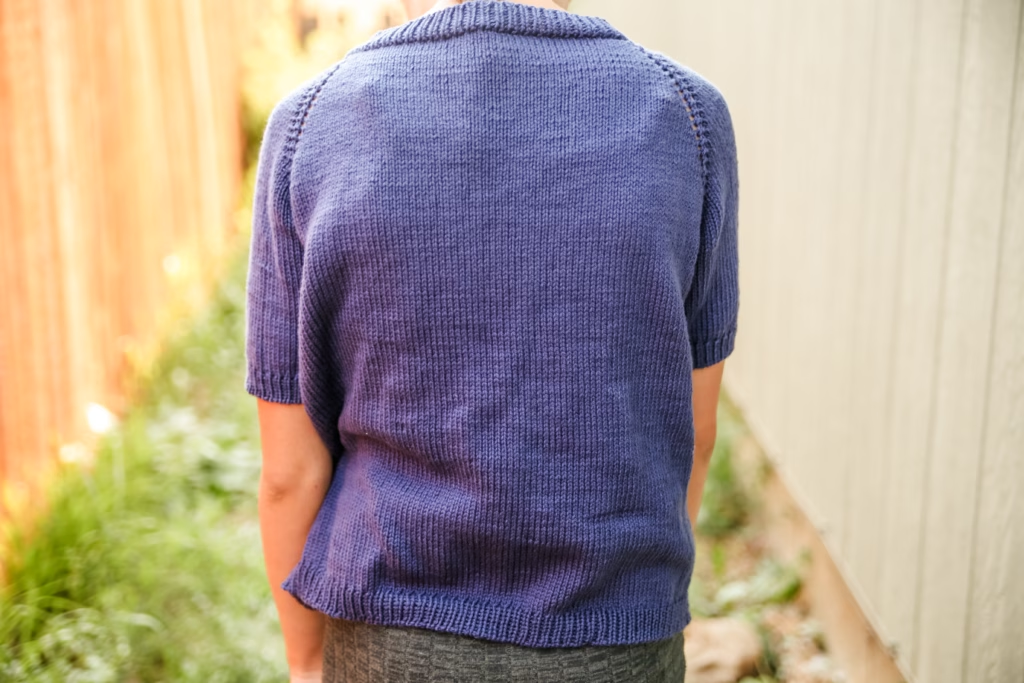
Are you going to knit the Lydia Tee for yourself, or are you planning a matching set with the Youth Lydia Tee? Leave me a comment and tell me what color you’re using—I’d love to hear about your project!
This post may contain affiliate links. If you purchase something through one of these links, I may earn a small commission at no additional cost to you.