
Learning how to knit seed stitch is a fun way to turn basic knits and purls into a beautifully textured fabric. In this guide, I’ll walk you through the repeat, show you how to keep your stitches lined up, and help you spot the little mistakes that can change the pattern. You’ll find more ways to build your skills on my Knitting Tutorials page.
If you can knit and purl, you already have the skills you need to get started! The trick is knowing which stitch comes next, especially when you turn your work or begin another round. Once you learn to recognize the stitches on your needles, seed stitch becomes much easier to follow.
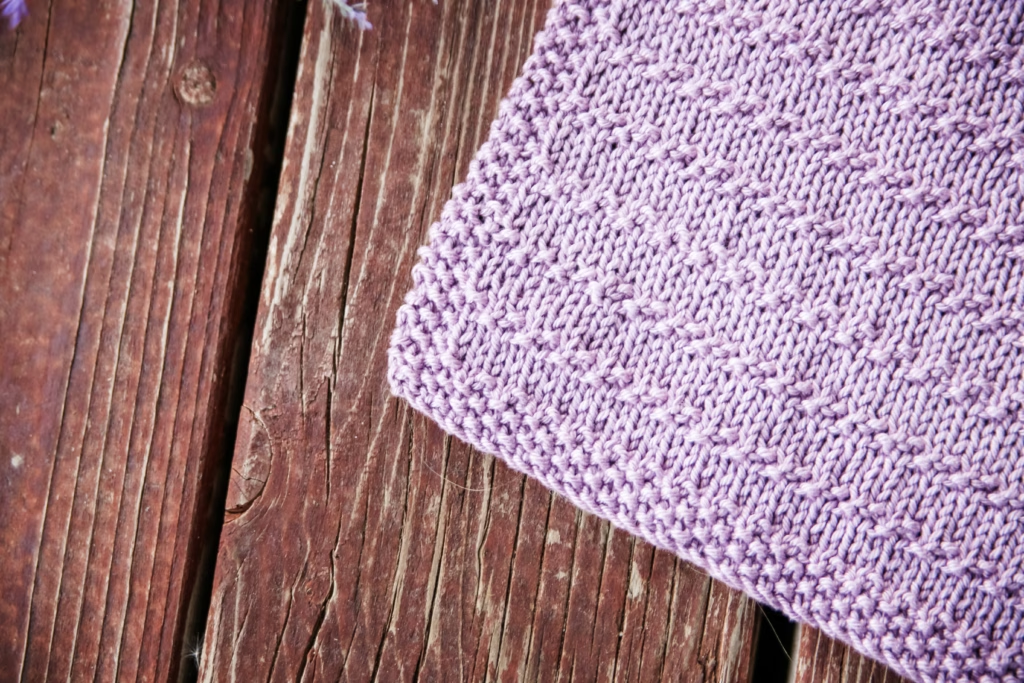
Seed stitch creates a fabric covered in little raised bumps, with texture on both sides. It’s a lovely choice for dishcloths, hat details, bonnet borders, and plenty of other everyday knitting projects.
My Roman Dishcloth and Roman Beanie are two examples of putting this simple texture to work. You can practice on a small swatch first, then use what you’ve learned to follow the seed stitch sections in a project.
What Materials Do You Need to Knit Seed Stitch?
You don’t need special tools to learn how to knit seed stitch. Start with smooth yarn, needles that suit your yarn weight, and a little time to practice alternating knit and purl stitches.
For your first swatch, a light or medium solid color will make the stitches easier to see. Very dark, fuzzy, or heavily textured yarn can hide the difference between a knit stitch and a purl stitch, making it harder to check your work.
Here’s what to gather:
- Smooth yarn: Worsted weight is a comfortable option for practicing.
- Knitting needles: Use the size recommended on your yarn label as a starting point.
- Scissors and a yarn needle: For finishing your swatch.
- A stitch marker: Helpful for marking the beginning of a round if you’re working with circular needles or double-pointed needles.
Wool, wool blends, and smooth acrylic blends can all show off seed stitch beautifully. The yarn’s construction matters, too—a smooth yarn with clear stitch definition will make those little bumps stand out.
For project yarn ideas, browse my Best Wool Yarns and Best Wool Blend Yarns roundups, along with my Best Acrylic Blend Yarns roundup.
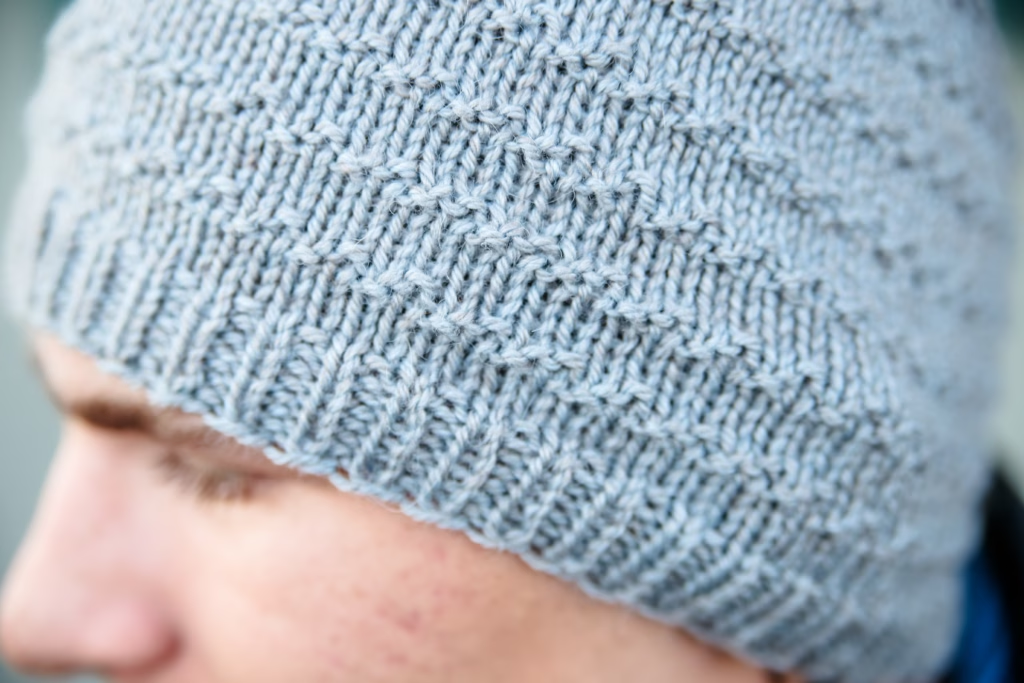
Choose your fiber to suit the finished project. Cotton is a practical option for a dishcloth—my Roman Dishcloth uses KnitPicks Dishie—while wool and blends are lovely options for warm accessories.
You don’t need to match a particular gauge for this practice swatch. When you move on to a pattern, though, check your gauge in the stitch pattern the designer specifies so your finished project comes out the right size.
How Do You Knit Seed Stitch Step by Step?
Seed stitch alternates one knit stitch and one purl stitch across the row. On the next row, you work the opposite of the stitch you see facing you: knit the purl stitches and purl the knit stitches.
That offset is what creates the texture. If you keep knitting the knit stitches and purling the purl stitches, you’ll create ribbing instead.
How to Knit Seed Stitch Flat Over an Odd Number of Stitches
An odd-numbered swatch is an easy place to start because you repeat the same written row every time.
Cast on 19 stitches.
Row 1: K1, *p1, k1; repeat from * to the end of the row.
Repeat Row 1 until your swatch is as long as you like.
Here, k1 means knit one stitch and p1 means purl one stitch. The instructions after the asterisk are the repeating section.
Every row begins and ends with a knit stitch. Turning the work changes which side of each stitch faces you, so repeating that same row still produces the offset needed for seed stitch.
How to Knit Seed Stitch Flat Over an Even Number of Stitches
With an even stitch count, alternate these two rows:
Row 1: *K1, p1; repeat from * to the end of the row.
Row 2: *P1, k1; repeat from * to the end of the row.
Repeat Rows 1 and 2 for the seed stitch pattern.
These instructions are for a swatch worked entirely in seed stitch, without separate edge stitches. If your project includes a border or other stitch sections, follow its written instructions for those areas.
How to Knit Seed Stitch in the Round
For a simple seed stitch swatch in the round, use an even number of stitches. Join without twisting the cast-on edge and place a marker at the beginning of the round.
Round 1: *K1, p1; repeat from * to the end of the round.
Round 2: *P1, k1; repeat from * to the end of the round.
Repeat Rounds 1 and 2.
Because you don’t turn your work, you must switch the starting stitch each round. Repeating k1, p1 every round over an even stitch count would create ribbing.
When you knit a shaped project such as a hat, follow the pattern’s instructions for maintaining the texture through decreases. A change in stitch count can affect where the repeat begins and ends.

How Can You Keep Track of the Seed Stitch Repeat?
Learning to read your stitches is the most useful way to stay on track. Look at the next stitch below the needle, on the side facing you.
- A knit stitch looks like a little V. Purl that stitch.
- A purl stitch has a raised horizontal bump. Knit that stitch.
Think: see a V, purl; see a bump, knit. After the first row is established, that simple check helps you find your place without remembering every stitch you’ve worked.
Move the yarn between the needle tips each time you switch stitches: to the back for a knit and to the front for a purl. Keep the movement gentle so you don’t pull the stitches tight.
If you set your project down halfway through a row, check the next stitch when you return. You can also jot down your row or round number, especially when seed stitch is only one section of a larger pattern.
What Common Mistakes Make Seed Stitch Shift?
Working the stitches as they appear. Knitting the Vs and purling the bumps stacks the same stitches into columns. For seed stitch, do the opposite of what you see facing you.
Using the wrong repeat for your stitch count. Flat seed stitch over an odd number of stitches can use the same written row throughout. Flat seed stitch over an even number needs alternating rows. Count your stitches before deciding which instructions to use.
Repeating the same round over an even stitch count. When knitting in the round, alternate the starting stitch each round to keep the texture offset.
Taking the yarn over the needle instead of between the tips. This can create an accidental yarn over, adding a stitch and sometimes leaving a hole. An extra stitch can also throw off the repeat. Count your stitches occasionally and check for an unexpected loop on the needle.
Missing a knit-to-purl switch. Two knits or two purls together within an uninterrupted seed stitch section can break the texture. If you catch the mistake straight away, carefully unknit back to it and work the correct stitch.
When something looks off, pause and look at the fabric below your needles. Catching a small mistake early is much easier than correcting it several rows later!
Is Seed Stitch the Same as Moss Stitch?
The names vary between knitting traditions. The one-row alternating texture taught here is commonly called seed stitch in US terminology and moss stitch in UK terminology.
In many US patterns, moss stitch means a related texture where the knit-and-purl arrangement is maintained for two rows before switching. Always check a pattern’s actual stitch instructions rather than relying on the name alone.
Once you can recognize the Vs and bumps, you have a much better guide than memorizing the first stitch of every row. Take your time on those first few rows and let the texture help you check your progress.
What Can You Knit Next with Seed Stitch?
Ready to use your practice in a project? These patterns give you a few different ways to enjoy textured knitting:
- Roman Dishcloth: A useful little project with seed stitch edges and seed stitch stripes throughout. I used KnitPicks Dishie and US size 5 needles for this 9.5-inch-square dishcloth.
- Roman Beanie: Try textured bands in a wearable project, with sizes from newborn through adult.
- Solstice Bonnet: Add another bonnet project to your knitting list and follow its stitch instructions for the texture placement.
- Acorn Hat: Another hat option to explore when you’re ready to take your knit-and-purl practice beyond a swatch.
Start with the Roman Dishcloth if you’d like a small, flat project, or choose the Roman Beanie to practice textured knitting in the round. Follow each pattern’s stitch counts, borders, and shaping instructions rather than applying the swatch repeat across the entire project.

Learning how to knit seed stitch gives you a useful texture you can return to again and again. Just a small change in where you place your knits and purls creates a fabric with plenty of character.
Keep that little reminder handy—see a V, purl; see a bump, knit—and you’ll have an easier time keeping the repeat on track.
Have you tried seed stitch yet? Tell me in the comments what you’re making, or which project you’d like to try first!
This post may contain affiliate links. If you purchase through one of these links, I may earn a commission at no additional cost to you.