
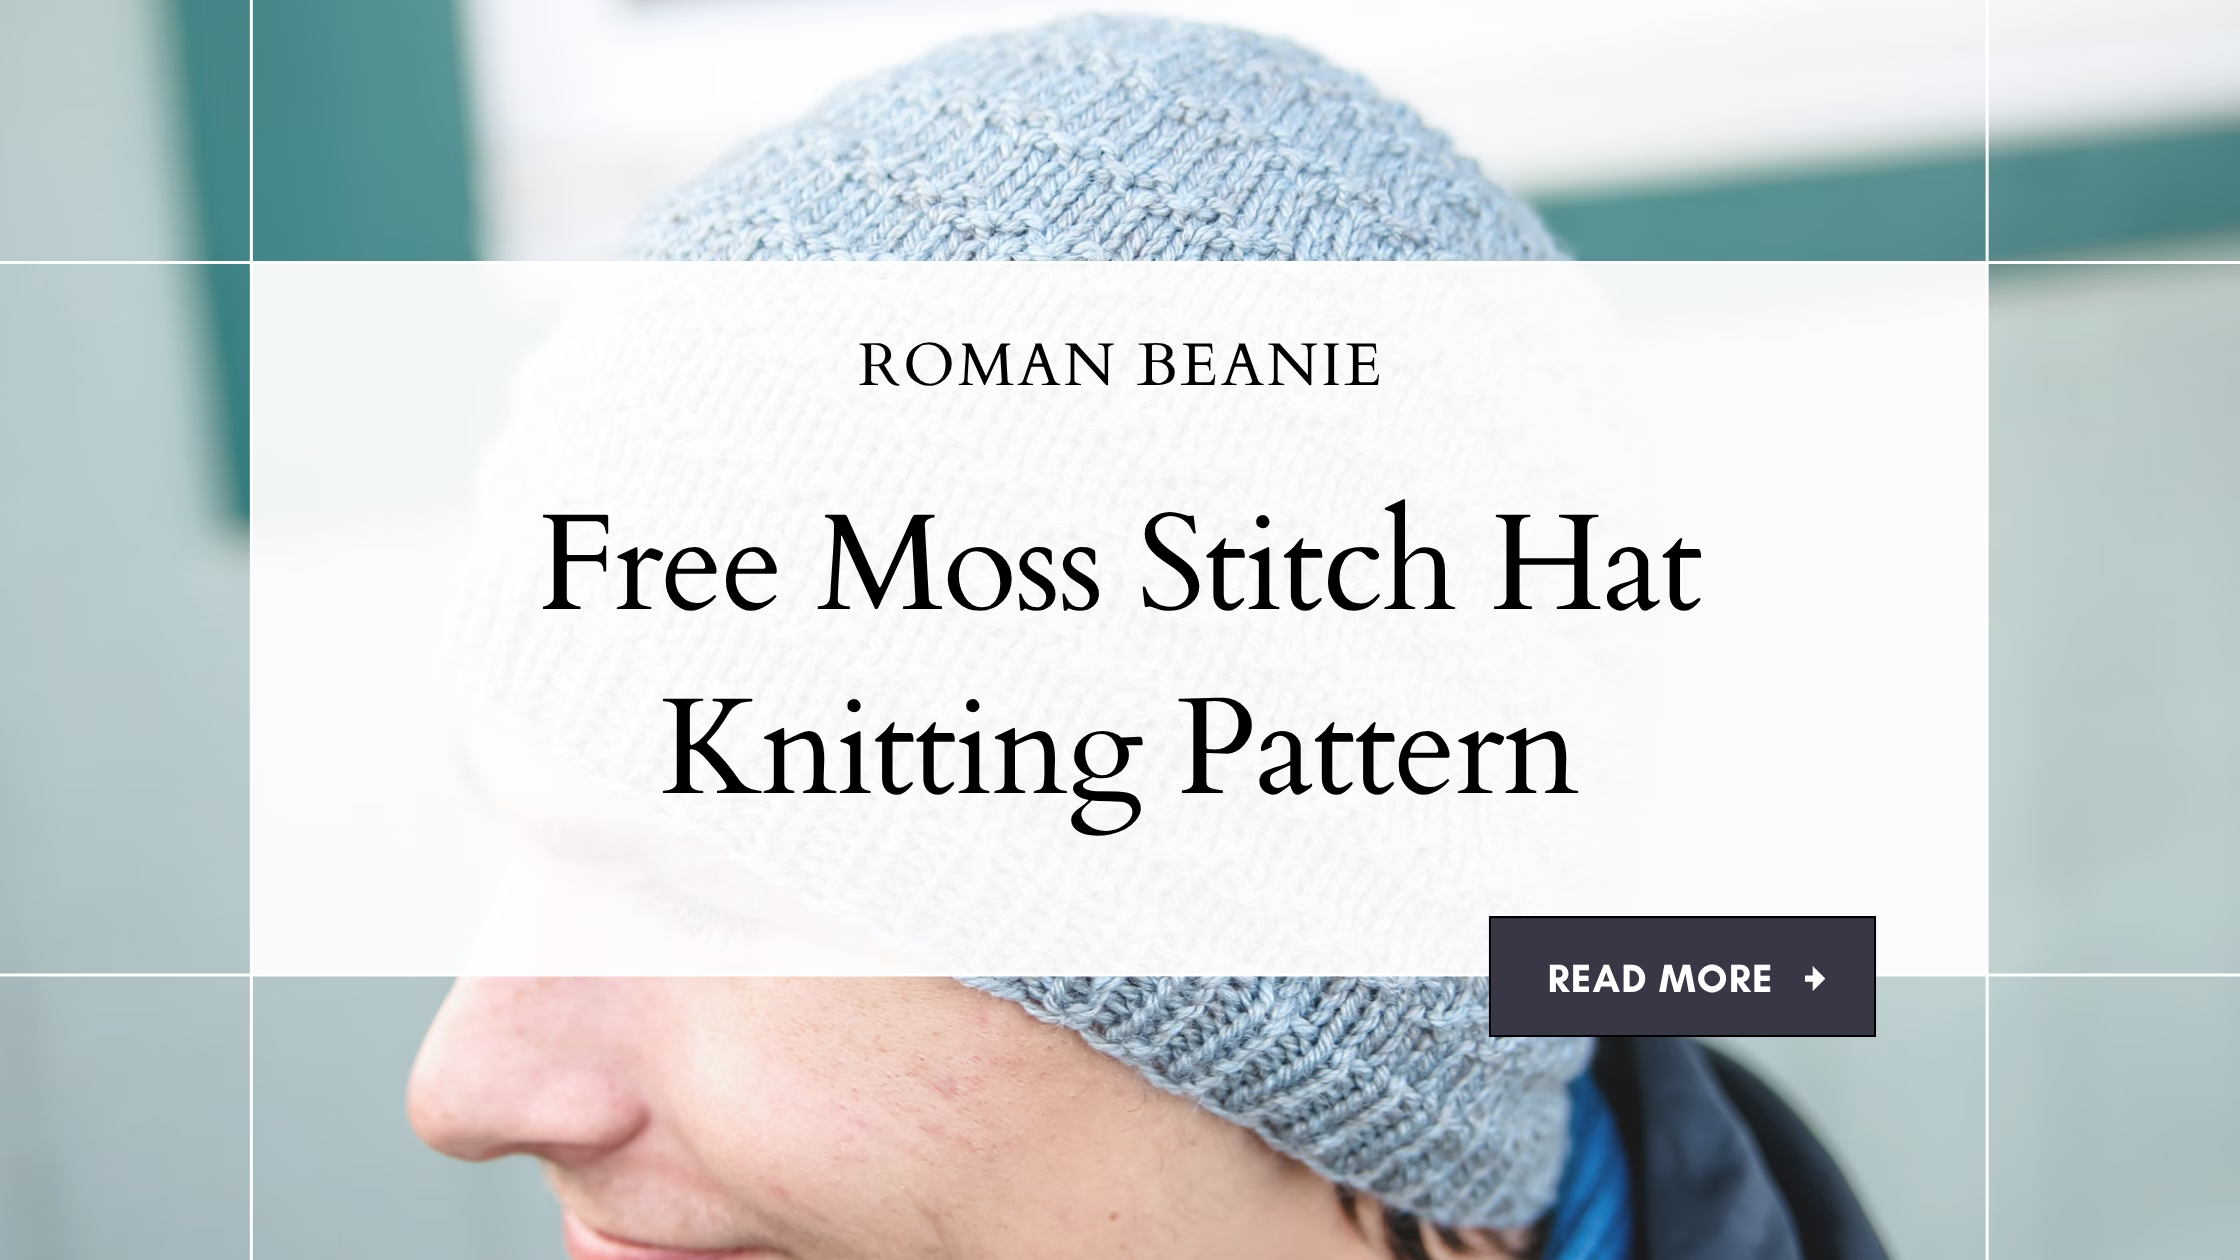
If you’re looking for a seed stitch hat knitting pattern with plenty of texture but a simple, classic look, the Roman Beanie is a fun one to add to your needles. This free worsted-weight hat pattern features bands of moss stitch that continue from the body of the hat all the way through the crown decreases. You can also find even more designs for the whole family on my Free Hat Knitting Patterns page.
The Roman Beanie is worked in the round with worsted-weight yarn and size US 7 knitting needles. One of my favorite things about this pattern is the size range—it includes sizes from newborn all the way through adult, so you can use the same textured design for babies, kids, teens, and grown-ups.
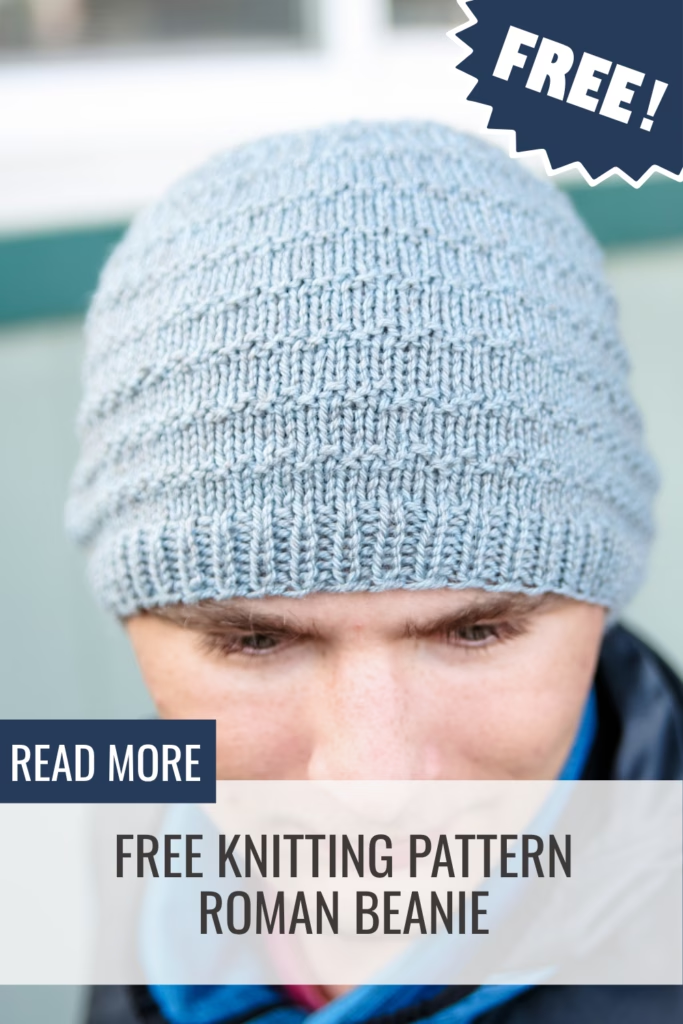
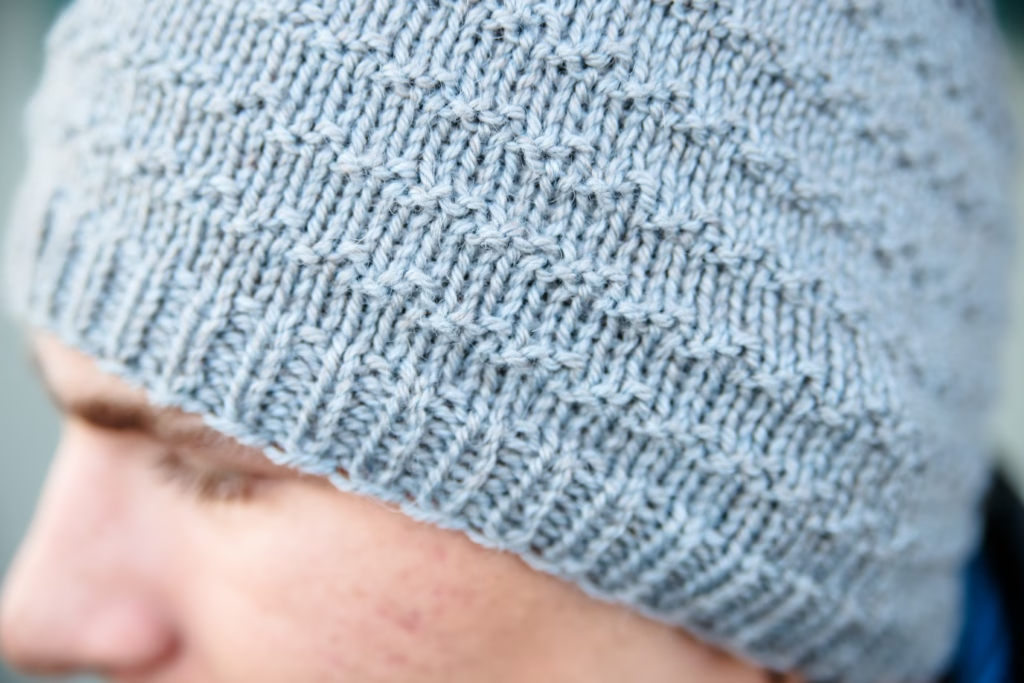
Moss stitch gives this hat plenty of texture without making the knitting overly complicated. The alternating knit and purl stitches create a simple pattern that looks great in a solid yarn and keeps the finished hat interesting from the brim right through the top.
Because the stitch pattern continues into the crown, you don’t suddenly switch to a completely plain section when you begin decreasing. The texture stays part of the design all the way to the top.
What Yarn and Needles Do You Need for This Seed Stitch Hat Knitting Pattern?
I knit my Roman Beanie with Valley Yarns Hampden, a worsted-weight yarn that worked beautifully for the textured stitch pattern. I paired it with US 7 knitting needles for a fabric that shows off the moss stitch while still making a comfortable hat.
Worsted-weight yarn is one of my favorite choices for knitted hats because it gives you a nice balance between warmth and knitting speed. It is substantial enough for a cozy hat without becoming overly bulky.
If you’re trying to decide what yarn to use for this project, you can also check out My Favorite Yarn For Knitting Hats With Free Patterns. I have several yarn options there that work well for the different styles of hats I design.

For the best results, make sure to check your gauge before beginning, especially if you are knitting one of the smaller sizes. Even a small difference in gauge can make a noticeable difference in the finished circumference of a hat.
You can substitute another worsted-weight yarn if you would like, but choose one that gives you good stitch definition. The little bumps of moss stitch are a big part of the Roman Beanie’s design, so you want them to show clearly.
How Is the Roman Beanie Knit?
The Roman Beanie is worked in the round, which means there is no seam to sew when you’re finished. Once the brim is complete, the hat moves into repeating bands of moss stitch that continue throughout the body.
Seed stitch is made entirely with knit and purl stitches, so you don’t need cables, lace stitches, or any complicated techniques to create all of that texture. It is a great example of how much visual interest you can get from basic stitches.
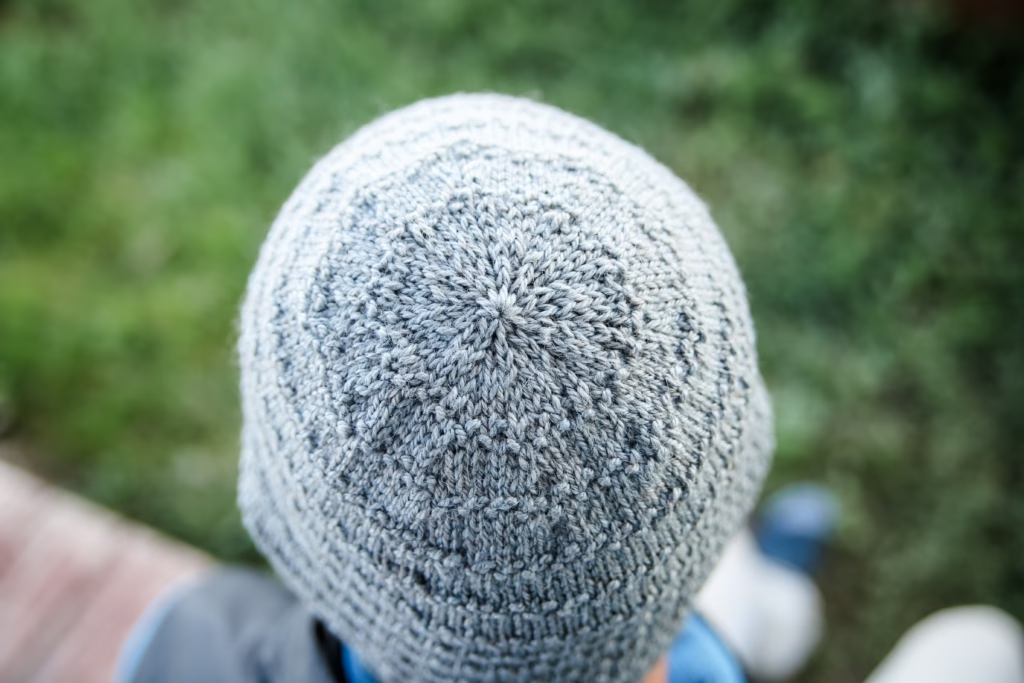
When you reach the crown, the textured pattern continues as the hat decreases toward the top. I especially like this detail because the crown feels like part of the overall design rather than a separate section added at the end.
The pattern includes instructions for newborn through adult sizes, making it easy to choose the right fit whether you’re knitting a tiny baby hat, something for one of the kids, or a new winter hat for yourself.
What Can You Knit After the Roman Beanie?
If you enjoy knitting the Roman Beanie, I have plenty of other free worsted-weight and textured hat patterns to keep your needles busy. Here are a few you might want to try next:
Make a matching set with my Roman Cowl, which carries the same textured bands into a cozy worsted-weight accessory.
Each one has a different look, so you can stick with worsted-weight yarn while trying a new texture or style. They’re also great projects when you want something small enough to finish without committing to a sweater-sized project.
The Roman Beanie is an especially versatile pattern because of the wide size range. You could knit matching hats for several members of the family or use the smaller sizes when you need a quick handmade baby gift.
The simple seed stitch texture also lets the yarn do plenty of the work. Choose a classic neutral for an everyday hat, or use a favorite color to make the textured stitches stand out.
Roman Beanie Free Pattern
Materials Needed: 75-220yds worsted weight yarn (I used Valley Yarns Hampden) size 7 (4.5mm) circular and dpn, yarn needle
Gauge: 20sts x 24rows/10cms or 4ins in stockinette
Sizes (appx head circumference) [appx finished measurements laid flat]:
Newborn (33 cm / 13 in) [12.5 × 14 cm / 5 × 5.5 in]
Baby (38 cm / 15 in) [15 × 15 cm / 6 × 6 in]
Toddler (40.5 cm / 16 in) [17.5 × 17.5 cm / 7 × 7 in]
Child (46 cm / 18 in) [20 × 19 cm / 8 × 7.5 in]
Small Adult (51 cm / 20 in) [22.5 × 21 cm / 9 × 8.25 in]
Large Adult (56 cm / 22 in) [25 × 23 cm / 10 × 9 in]
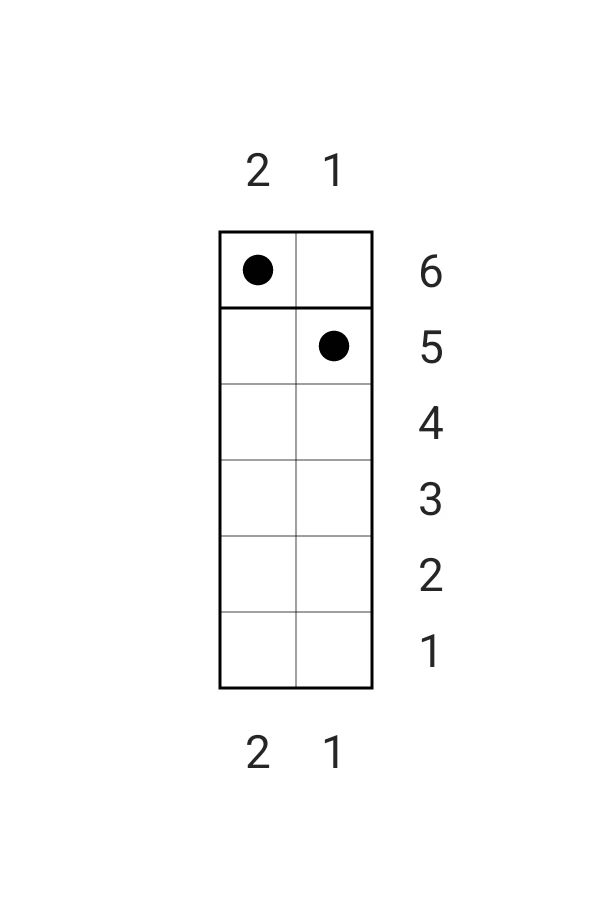
STITCH CHART
Round 1 – knit around
Round 2 – knit around
Round 3 – knit around
Round 4 – knit around
Round 5 – [p1, k1] around
Round 6 – [k1, p1] around
BEANIE INSTRUCTIONS
Cast on (50, 60) 70, 80 (90, 100). Join in the round.
Work 2.5cms or 1ins k1p1 ribbing.
Set-up round: knit around
Work in the charted stitch pattern until your work measures appx (9, 10) 12.5, 13 (15, 17.5) cms or (3.5, 4) 5, 5.25 (6, 6.75) ins from cast on edge.
DECREASES
Continue working in the established 6-round stitch pattern while shaping the crown. Keep track of which round of the stitch pattern you are on as you work the decreases.
On decrease rounds, use the decrease combination that matches the round of the stitch pattern you are currently working:
- Stitch Pattern Rounds 1–4: k2tog, knit the indicated number of stitches, ssk.
- Stitch Pattern Round 5: p2tog, work the indicated number of stitches in established p1k1, ssk.
- Stitch Pattern Round 6: k2tog, work the indicated number of stitches in established k1p1, p2togtbl.
Continue in established pattern through Decrease Round 11 for newborn, baby, and toddler sizes and through Decrease Round 13 for child, small adult, and large adult sizes. After this point, work the remaining decreases as written.
For sizes newborn/baby/toddler only
Round 1 – Decrease Round: Using the decrease combination above that corresponds with your current stitch-pattern round, working 6 sts in established pattern between decreases.
40 (48, 56) sts
Rounds 2–3: Work in established pattern.
Round 4 – Decrease Round: Using the decrease combination that corresponds with your current stitch-pattern round, working 4 sts in established pattern between decreases.
30 (36, 42) sts
Rounds 5–6: Work in established pattern.
Round 7 – Decrease Round: Using the decrease combination that corresponds with your current stitch-pattern round, working 2 sts in established pattern between decreases.
20 (24, 28) sts
Rounds 8–9: Work in established pattern.
Round 10 – Decrease Round: Using the decrease combination that corresponds with your current stitch-pattern round, work the appropriate 2 decreases next to each other around.
10 (12, 14) sts
Round 11: Work in established pattern.
Round 12: [k2tog] around.
5 (6, 7) sts
For sizes child/small adult/large adult only
Round 1 – Decrease Round: Using the decrease combination above that corresponds with your current stitch-pattern round, working 6 sts in established pattern between decreases.
64 (72, 80) sts
Rounds 2–4: Work in established pattern.
Round 5 – Decrease Round: Using the decrease combination that corresponds with your current stitch-pattern round, working 4 sts in established pattern between decreases.
48 (54, 60) sts
Rounds 6–8: Work in established pattern.
Round 9 – Decrease Round: Using the decrease combination that corresponds with your current stitch-pattern round, working 2 sts in established pattern between decreases.
32 (36, 40) sts
Rounds 10–11: Work in established pattern.
Round 12 – Decrease Round: Using the decrease combination that corresponds with your current stitch-pattern round, work the appropriate 2 decreases next to each other around.
16 (18, 20) sts
Round 13: Work in established pattern.
Round 14: [k2tog] around.
8 (9, 10) sts
Do not bind off. Cut yarn leaving a long enough tail to weave in ends. Pull yarn through remaining stitches and cinch the top tight. Weave in ends. Block as desired.
Stitch Key:
K – knit
k2tog – knit 2 stitches together
p – purl
p2tog – purl 2 stitches together
p2togtbl – purl 2 stitches together through back loop
ssk – slip the next stitch, slip the next stitch, knit the slipped sts together
st(s) – stitch(es)
yo – yarn over
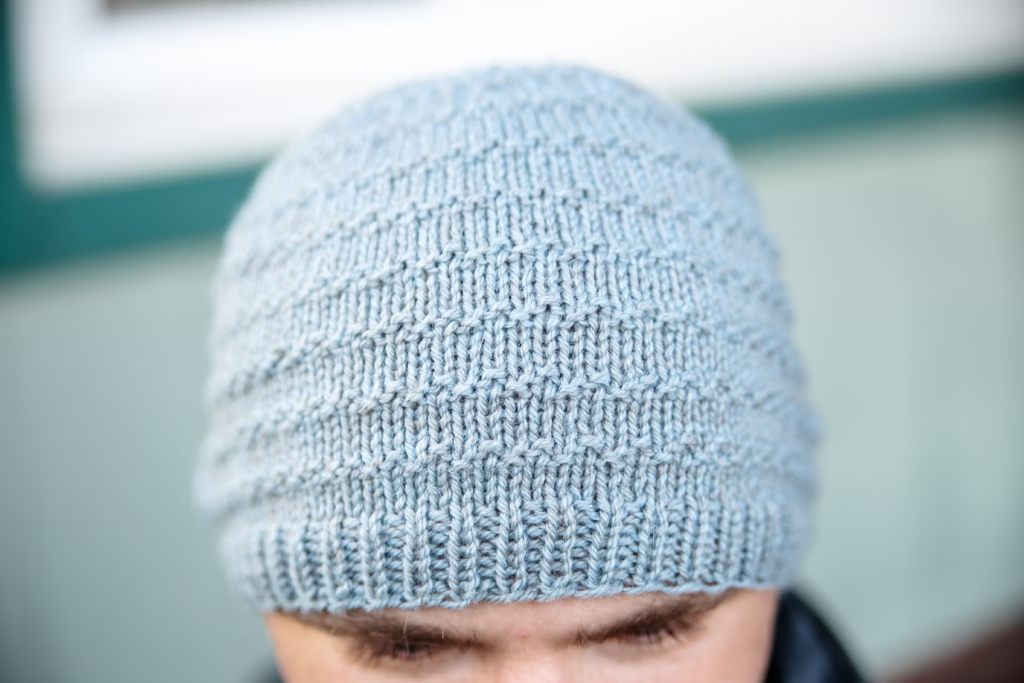
What color would you use for your Roman Beanie? Let me know in the comments—I always love hearing what yarn and colors you have on your needles!
This post may contain affiliate links. If you purchase something through one of these links, I may earn a small commission at no additional cost to you.
The labels for each size might need to be rethought. I have a 1 year old nephew who has a 20in circumference and my husband’s , who has a small head for a man, is 23in. Definitely need to look at circumference when choosing the right size. Also I think you could easily and 10 stitch incriminate toadd larger or smaller sizes.
Always look at circumference versus size labels when knitting because every person is different! Some 1 year olds can still wear an infant size while some need adult sizes. We’re all awesomely unique like that.