
This textured cowl knitting pattern joins my Scarf and Cowl Patterns as another fun option for handmade neckwear.
If you want a cowl with interesting stitches and a repeat you can settle into, the Roman Cowl is a lovely project to cast on. It combines smooth stockinette with narrow bands of seed stitch, giving you texture without cables or lace. I used Valley Yarns Hampden (affiliate link) and US 7 needles for a soft accessory with simple ribbed edges. You’ll find the free pattern at the bottom of this post, with details about the yarn, construction, and fit below to help you get started.
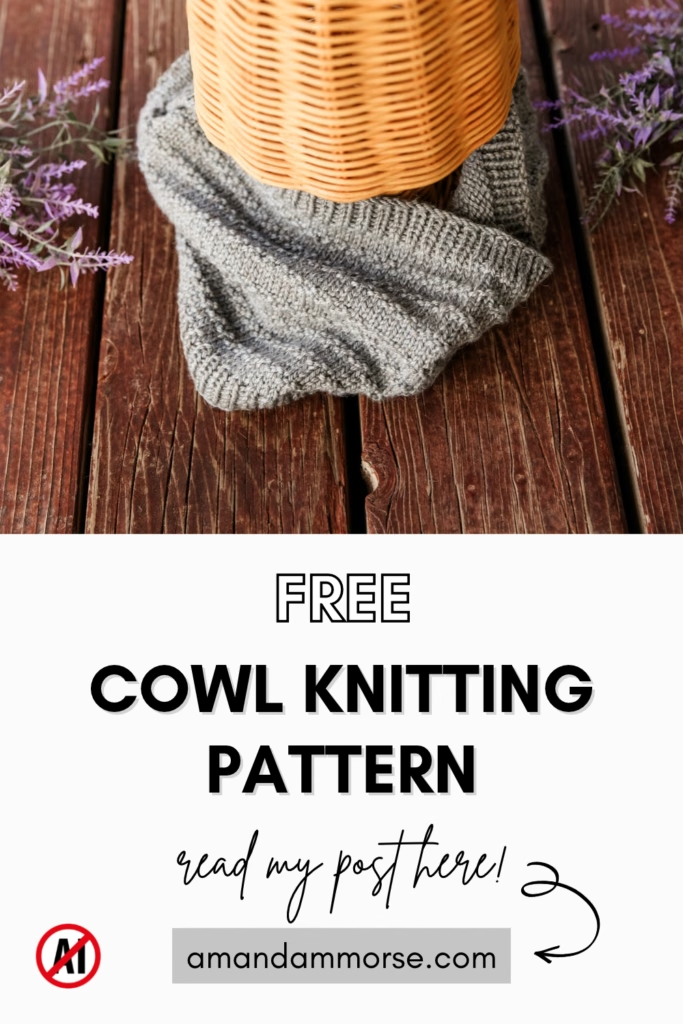
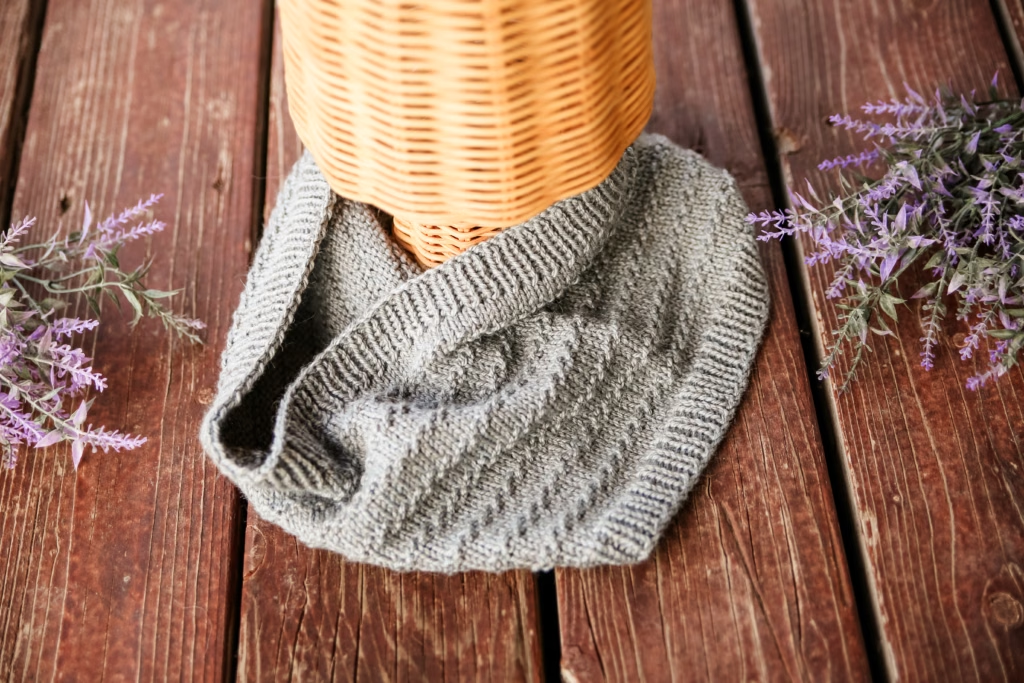
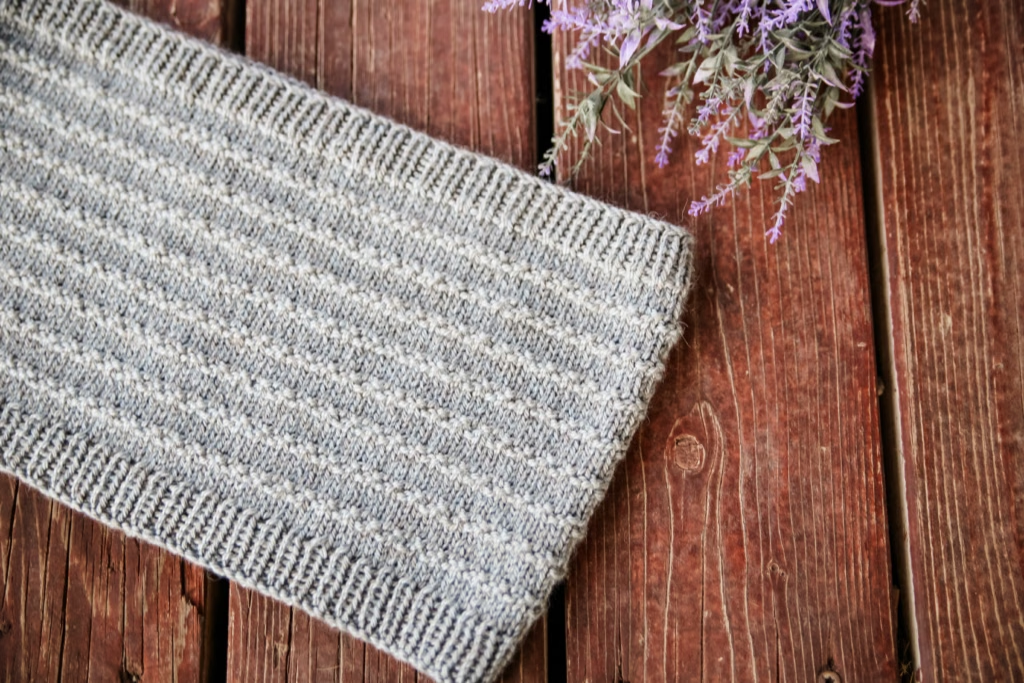
Sometimes a few well-placed purl stitches are all a project needs. The Roman Cowl gets its character from those small changes in texture, with smooth sections between the seed stitch bands so each band stands out.
This textured cowl knitting pattern also makes a natural companion to my Roman Beanie. They share that combination of smooth fabric and textured bands, so you can knit a matching set or enjoy either piece on its own.
The cowl has plenty going for it as a standalone project, too. There is no crown shaping to keep track of, no sleeves to finish, and no long scarf ends to manage when you wear it.
What Materials Do You Need for This Textured Cowl Knitting Pattern?
For the Roman Cowl, I used approximately 160–190 yards of Valley Yarns Hampden and US 7 (4.5 mm) circular needles. A 20-inch circular needle holds the stitches comfortably while you work around the cowl.
You will also need a stitch marker for the beginning of the round and a yarn needle for weaving in your ends. The stitch pattern uses knits and purls, so there is no cable needle or other special tool needed for the texture.
Yarn choice matters with an accessory that sits against your neck. Before choosing a substitute, hold a swatch against your skin and see how it feels. A yarn that feels comfortable in your hands may feel different against your neck, especially after you have worn it for a while.
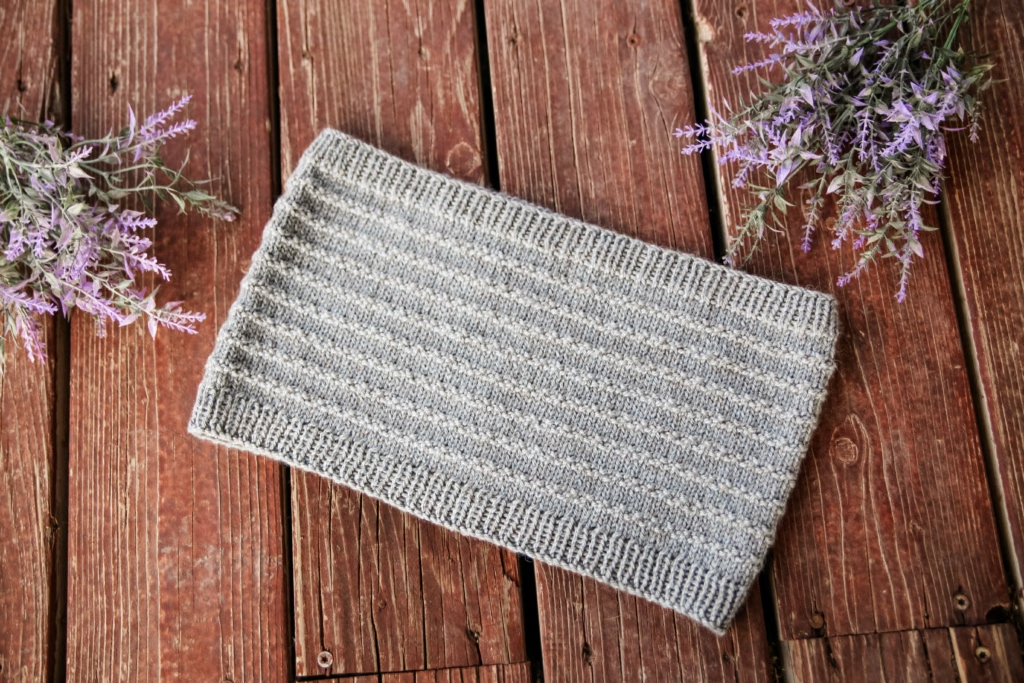
For this textured cowl knitting pattern, look for a yarn that lets the knit and purl stitches show clearly. A solid or gently heathered shade is a good place to start if you want the bands to be the first thing you notice.
You can read more about my experience with the yarn in my Valley Yarns Hampden review. I also used it for the Roman Beanie, which makes choosing yarn for a coordinated set nice and straightforward.
If you substitute yarn, wash and dry your swatch according to the yarn’s care instructions before judging the fabric. Check its size, softness, and drape together; all three affect how a finished cowl feels to wear.
How Is the Roman Textured Cowl Knitting Pattern Worked?
The Roman Cowl is knit in the round from the lower edge to the upper edge. You begin with 1×1 ribbing, work the textured body, and finish with another section of ribbing to frame the design.
The body follows a six-round repeat. Four knit rounds create the smooth stockinette sections, followed by two rounds of alternating knit and purl stitches that form the seed stitch bands.
That balance is what makes this textured cowl knitting pattern enjoyable to work on. You get a stretch of straightforward knitting, then a little change of pace as you move into the textured rounds.
A beginning-of-round marker is especially helpful here. Keep it in place throughout the project so you can tell exactly where each round starts, and use a simple round counter or a note on your pattern to track your place in the repeat.
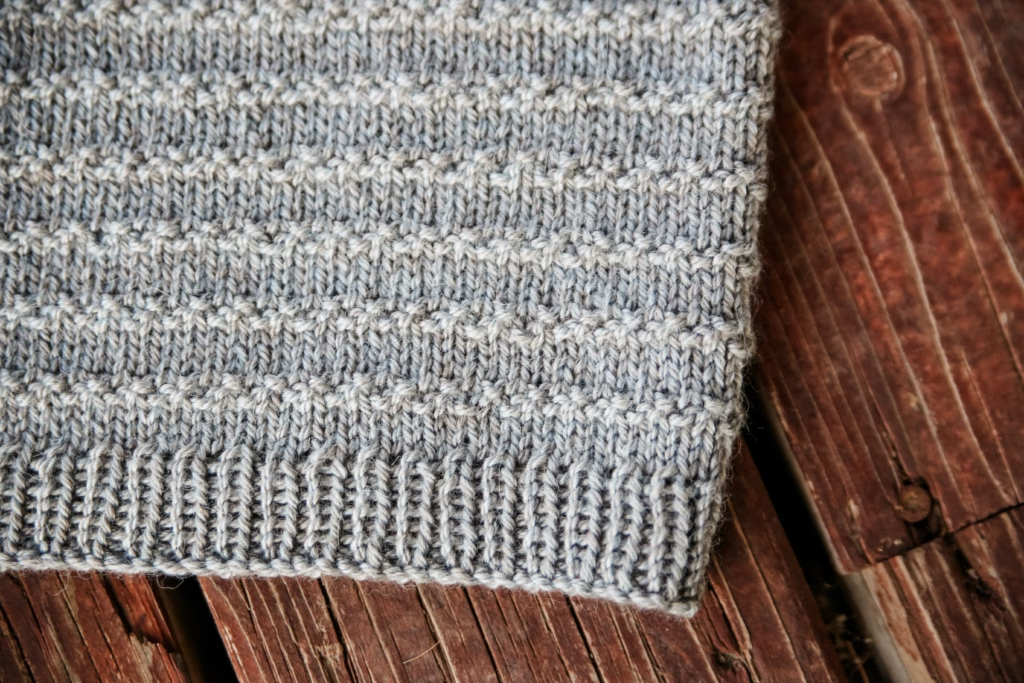
I used a tubular cast on and a sewn bind off to give the ribbed edges a coordinated finish. Those are optional choices, though, and you can use another cast on and bind off that you prefer.
Whichever methods you choose, make sure both edges have enough stretch to pass comfortably over your head. It is worth checking the lower edge early, while it is still easy to change, rather than discovering a tight cast on after finishing the entire cowl.
The simple construction also means there is no seam to sew at the end. Once you have bound off, weave in your ends and gently block the cowl according to your yarn’s care instructions.
How Does This Textured Cowl Knitting Pattern Fit?
The Roman Cowl is approximately 8 inches tall, with a single-loop shape that slips over your head. It gives you a useful amount of neck coverage without the length of an infinity scarf that needs to be wrapped twice.
The straight shape allows the fabric to settle into folds around your neck. You can wear it with a sweater or layer it with a jacket, depending on the weather and how much coverage you want.
The ribbing gives the upper and lower edges a defined finish, while the textured body remains the focus. This textured cowl knitting pattern is a nice option when you want a practical accessory with a little more detail than plain stockinette.
If you are knitting it as a gift, think about the recipient’s preferred colors and yarn care habits. A simple care note tucked in with the finished cowl is always helpful, especially when you choose a yarn that needs hand washing.
What Can You Knit After This Textured Cowl Knitting Pattern?
If the Roman Cowl has you ready to add more handmade neckwear to your wardrobe, here are a few patterns to try next:
- Peace Cowl — A chunky option with ribbing and garter stitch texture for colder days.
- Nicolas Cowl — A ribbed cowl with cable details when you want to try a different kind of texture.
- Wheat Cowl — A lighter lace project with a repeating wheat motif.
- Miriam Cowl — Another pretty lace option for days when you want something light to layer.
Each one gives you a different knitting experience, from simple textured stitches to cables and lace. Check the individual yarn requirements before choosing your next project, since these cowls use different yarns and create different fabrics.
Of course, if you want to keep the same look going, the Roman Beanie is an easy choice for your next cast on. Use the same color for a matching set, or choose coordinating shades if you like your accessories to go together without being identical.
That is one of my favorite things about a textured cowl knitting pattern like this: the stitches give it personality, while the simple shape makes it easy to wear. Pick a color you reach for often, and you will have a handmade piece that fits right into your everyday wardrobe.
Roman Cowl Free Pattern
Materials: Approximately 160–190 yards of Valley Yarns Hampden; US 7 (4.5 mm) circular needles, approximately 20 in (51 cm) long; a stitch marker; and a yarn needle.
Needle Size: US 7 (4.5 mm) circular needles (20in/51cm length)
Gauge (tension): Approximately 20 sts = 4 in (10 cm) in the cowl’s six-round stitch pattern worked in the round on US 7 (4.5 mm) needles, after blocking.
Finished measurements, laid flat: Approximately 8 in (20.5 cm) tall × 14½ in (37 cm) wide
Finished circumference: Approximately 29 in (73.5 cm)
METHOD
This cowl is knit in the round. I used a tubular cast on and sewn bind off so the edges matched but you can use any cast on and bind off you prefer.
ABBREVIATIONS
cm – centimeter
in – inch
k – knit
p – purl
COWL INSTRUCTIONS
Cast on 144sts. Join in the round. Place a marker to mark beginning of round. I used a tubular cast on for the aesthetic, but you can use any cast on.
Work in k1p1 ribbing for 2.5 cm / 1 in.
Round 1 – knit around
Round 2 – knit around
Round 3 – knit around
Round 4 – knit aroundBottom of Form
Round 5 – [k1, p1] around
Round 6 – [p1, k1] around
Repeat Rounds 1–6 until the cowl measures approximately 7 in (18 cm) from the cast-on edge, ending after Round 4. This measurement includes the lower ribbed edge.
Work in 1×1 ribbing (*k1, p1; repeat from * around) for approximately 1 in (2.5 cm).
The cowl should now measure approximately 8 in (20.5 cm) from the cast-on edge.
Bind off using a stretchy method. I used a sewn bind-off to complement the tubular cast-on.
Weave in the ends and block as appropriate for the yarn.
Would you knit the Roman Cowl on its own or make a matching Roman Beanie, too? Tell me in the comments—I would love to hear which color you would choose!
This post may contain affiliate links. If you make a purchase through one of these links, I may earn a small commission at no additional cost to you. Thank you for supporting my blog!