
Learn how to knit a mitered square with garter stitch and centered decreases, then join squares as you go for modular projects.
If you have been wondering how to knit a mitered square, the basic idea is wonderfully simple: knit garter stitch while decreasing at the center on every other row. Those decreases draw the fabric into a square with a diagonal line running through it. You can find more techniques to build on in my Knitting Tutorials.
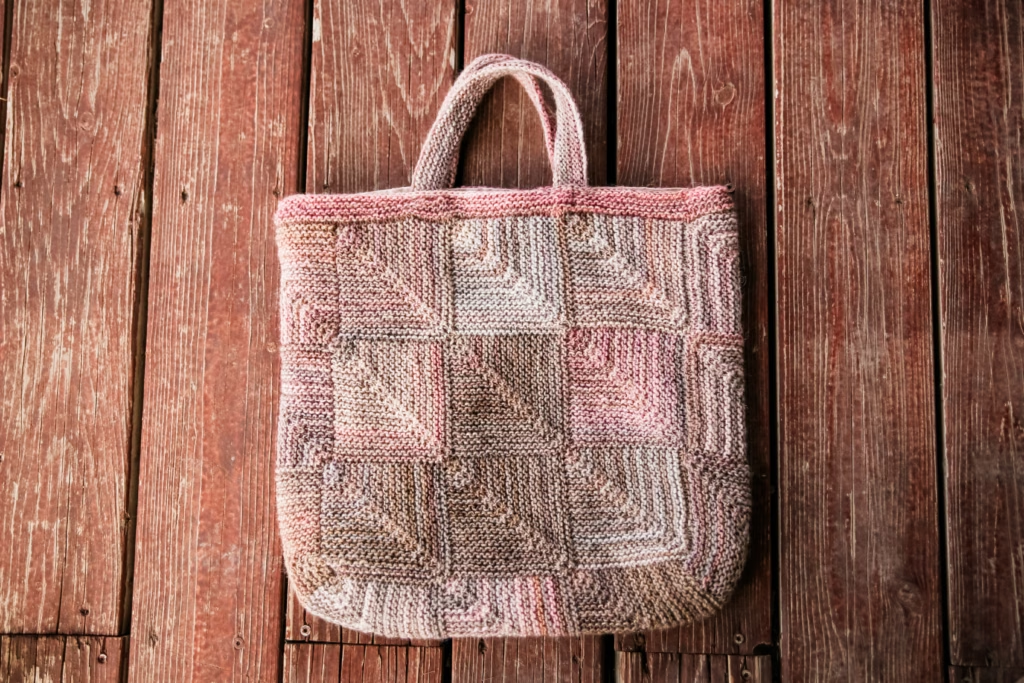
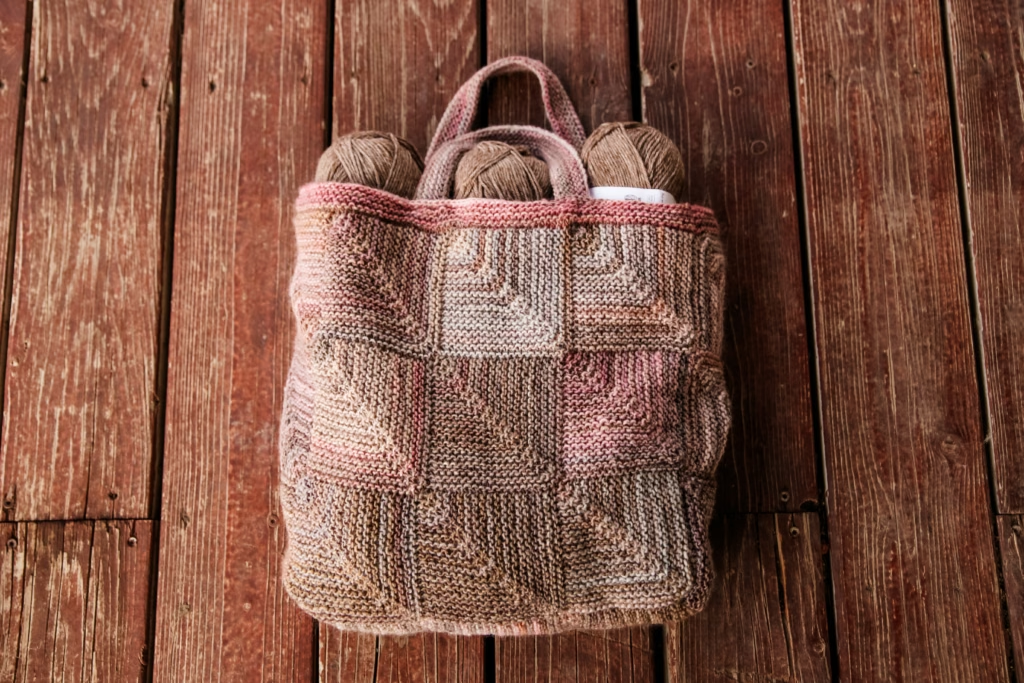
My Lodge Tote is a fun example of what happens when you keep adding squares. The bag begins with one small section of garter stitch, then grows as new squares are picked up and knitted onto the ones already finished. The same approach works for blankets, garments, bags, and plenty of other modular projects.
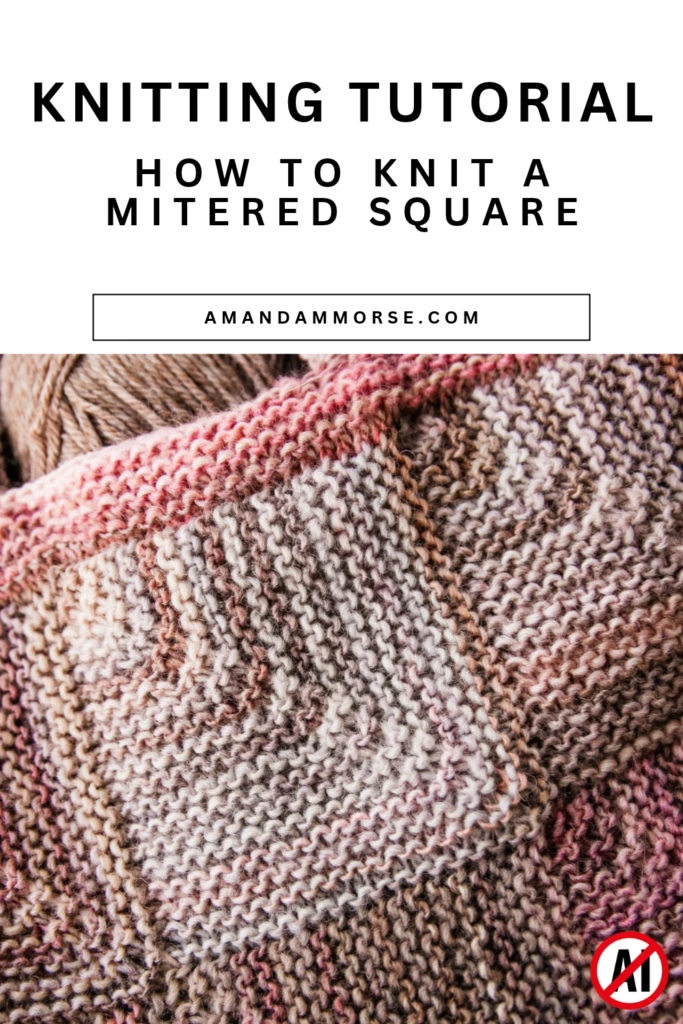
I especially enjoy this construction with color-changing yarn. You get to watch the colors travel around the center shaping, and finishing one square gives you a handy little stopping point. Whether you actually stop there is another matter!
What Materials Do You Need to Knit a Mitered Square?
For a practice square, gather:
- Smooth yarn that makes the stitches easy to see.
- Knitting needles suitable for your yarn.
- One ring stitch marker for the center.
- One removable marker to identify the right side, if helpful.
- A yarn needle and scissors.
- A ruler or measuring tape.
Straight needles or a circular needle both work because the square is knitted flat. Turn your work at the end of every row, even if you use a circular needle.
For the Lodge Tote, I used Hobbii Winter Glow with US 7 (4.5 mm) needles for the squares. Its changing colors add interest without needing a separate ball for every block. For learning the decreases, though, a lighter solid color can make the stitches easier to follow.
Your yarn choice can change the feel of the finished project. Browse my Best Acrylic Yarns, Best Wool Yarns, and Best Wool Blend Yarns for options to consider.
Choose for the finished item, too. A blanket, a cardigan, and a tote may all use the same square construction, but they need different things from their fabric. Check the care instructions and knit a sample before committing to a large project.

What Is a Mitered Square in Knitting?
A mitered square is shaped around a central decrease line. In the method shown here, you begin with an even number of stitches and place a marker halfway across the row.
The cast-on edge becomes two adjacent sides of the square. As you work, the center decreases pull those two halves toward one another, and the rows get shorter until you reach the opposite corner.
That is why the cast-on count can seem surprisingly large for a small square. You are setting up two sides at once.
There are several ways to knit mitered squares. Some use an odd stitch count and a centered double decrease. This tutorial uses the paired-decrease method from my Lodge Tote: k2tog before the marker and ssk after it.
Keep the stitch count and decrease instructions together. Switching to a different decrease method halfway through can change the center line and the shaping.
How Does the Diagonal Line Form?
Each shaping row removes one stitch from each side of the center marker. The two decreases sit beside one another, creating the line that runs from the cast-on midpoint toward the finishing corner.
You then knit a plain row before decreasing again. That alternating rhythm creates garter ridges while steadily narrowing the fabric.
The center marker stays between the two halves throughout the square. As the stitch count drops, each half stays the same size.
For this tutorial, you do not need to keep a separate center stitch untouched. The center is the space marked between the two halves.
How to Knit a Mitered Square Step by Step
This practice square uses the same 40-stitch setup as the Lodge Tote. Its finished size depends on your yarn, needles, and tension. In the tote pattern, each square should measure approximately 4 × 4 inches / 10 × 10 cm.
Stitch Key
- CO: Cast on.
- k: Knit.
- k2tog: Knit 2 stitches together.
- pm: Place marker.
- RS: Right side.
- sm: Slip marker.
- ssk: Slip 1 stitch knitwise, slip the next stitch knitwise, then knit the 2 slipped stitches together through their back loops.
- st / sts: Stitch / stitches.
- WS: Wrong side.
1. Cast On and Mark the Center
Cast on 40 stitches, keeping the cast-on edge comfortably flexible.
Row 1 (WS): K20, pm, k20.
You now have 20 stitches on each side of the marker. The marker sits on the needle between stitches; it does not count as a stitch.
If you tend to lose track of which side is which, attach a removable marker to the fabric on the right side after you work the next row.
2. Work the First Decrease Row
Row 2 (RS): Knit to 2 stitches before the marker, k2tog, sm, ssk, knit to the end. 38 sts.
For this first decrease row, that means knitting 18 stitches before working k2tog. Slip the marker, work ssk, then knit the remaining 18 stitches.
You have removed 2 stitches total: one from each half. There are now 19 stitches on either side of the marker.
[Insert photo showing the stitches immediately before and after the marker here.]
3. Knit the Return Row
Row 3 (WS): Knit all stitches, slipping the marker when you reach it.
There are no decreases on this row. Knitting both the right-side and wrong-side rows creates garter stitch.
4. Repeat the Two-Row Sequence
Repeat Rows 2–3 until only 2 stitches remain, ending after Row 3.
Each right-side row decreases 2 stitches. The plain wrong-side rows keep the stitch count unchanged.
Your count after successive decrease rows will be 38, 36, 34, 32, and so on. When 4 stitches remain, you will have 2 on each side of the marker. The next decrease row is simply k2tog, slip marker, ssk, leaving 2 stitches.
Knit the following wrong-side row.
5. Finish the Last Stitch
With 2 stitches remaining, remove the center marker and k2tog.
Cut the yarn, leaving a tail for weaving in, and pull the tail through the remaining stitch to secure it.
Lay the square flat and look at the shaping. The diagonal line shows you exactly where those repeated decreases brought the fabric together.

How Do You Keep the Decreases Centered?
The easiest check is to count the stitches on either side of the marker. They should match.
For example, after the first decrease row, you have 19 stitches on each side. After the second decrease row, you have 18 on each side.
Always work k2tog immediately before the marker and ssk immediately after it. Slip the marker on plain rows as well as shaping rows.
If the line begins wandering, stop and check:
- Did you work both decreases?
- Did you accidentally decrease on a wrong-side row?
- Did the marker move out of the center?
- Did you add an accidental yarn over or extra edge stitch?
Count early if something looks uneven. Fixing one row is much more pleasant than discovering the problem near the final corner!
For knitters working in a mirrored left-handed direction, follow the same sequence relative to your direction of work: the first decrease comes before the marker, and the second comes after it. A diagram’s physical left and right edges may appear reversed, so check the project’s layout before adding squares.
How Do You Pick Up Stitches to Add Another Square?
Once you know how to knit a mitered square, picking up stitches lets you build connected fabric instead of making a pile of separate blocks to sew together.
For a square attached along one edge, half of the starting stitches come from the existing square. You cast on the other half to create a new outside edge.
Using our 40-stitch example:
- Lay the finished square with its right side facing you.
- Choose the edge indicated by your project layout.
- Pick up and knit 20 stitches evenly along that edge.
- Cast on 20 additional stitches using the knitted cast-on method.
- Work the setup row: k20, pm, k20.
- Repeat the same decrease row and plain row used for the first square.
- Finish when 2 stitches remain, as described above.
Depending on where the new square belongs, the pattern may tell you to cast on first and then pick up stitches. Both arrangements create 40 starting stitches, but they position the new square differently.
Follow the layout rather than choosing whichever edge is closest to your working yarn.

Where Should You Insert the Needle?
Along a garter-stitch row edge, picking up approximately one stitch per garter ridge is a useful starting point. One ridge represents two rows, so this is different from picking up one stitch in every row.
Use consistent edge loops and spread the required stitches evenly. For the Lodge-style square, the target is 20 picked-up stitches along the joining edge.
Count the loops on your needle before starting the next square. At a corner, check that you have not counted the same pickup location twice or added an extra stitch beyond the required total.
If the join puckers or flares, check both the pickup count and your tension. The new square should sit comfortably beside the existing fabric.
How Do You Fill a Space Between Two Existing Squares?
When two completed squares form an inside corner, the next square can be attached along both sides.
For our example, pick up and knit 20 stitches along one bordering edge and 20 along the other, following the order shown in the project schematic. You now have 40 stitches without needing a new cast-on section.
Work the setup row with the marker between the two groups of 20, then continue with the same shaping.
The marker belongs where those two groups meet. That keeps the decrease line aligned with the inside corner.
This is how a modular project can grow into a larger connected piece. In the Lodge Tote, you follow the square layout to build the bag fabric, then seam the sides and bottom.
How Do You Change the Size of a Mitered Square?
For this paired-decrease method, use an even starting stitch count and divide it equally around the center marker.
More stitches make a larger square at the same gauge. Fewer stitches make a smaller one.
For example, you could practice with 20 stitches and place the marker after 10. The decrease sequence stays the same, but the square finishes sooner.
When planning a modular project, measure a completed, washed and dried square. Do not treat the entire cast-on count as the width of one side—the cast-on edge forms two sides.
If you are following the Lodge Tote pattern, aim for its stated square measurements. Changing the size of every square also changes the bag’s finished dimensions and yarn requirements.
Do Mitered Squares Need Blocking or Seaming?
Blocking helps you assess the finished dimensions and settle the fabric before assembly. Use a method suitable for your yarn, and avoid pulling the square so hard that it loses its natural texture.
My Knitting Tutorial: How To Block Your Knits covers steam blocking. Check the fiber’s care instructions first, and keep a hot iron from touching the knitted fabric.
Picked-up squares are already connected along their shared edges. A finished project may still need seams elsewhere, as the Lodge Tote does along its sides and bottom.
For that finishing step, see Knitting Tutorial: How To Sew Up Your Knitting.
What Should You Knit Next?
Ready to turn your practice square into a project?
- Lodge Tote: Put this technique to work in a roomy bag made from connected garter-stitch mitered squares, finished with a garter edging and knitted handles. An optional lining adds support.
- Lodge Cardigan: Try modular construction in a garment and watch the squares build into an open-front cardigan.
The Lodge Tote is a useful next step because you can practice both kinds of joins: adding a square along one existing edge and filling a space bordered by two squares.

Once you understand how to knit a mitered square, the repeat becomes easy to recognize: decrease at the center, knit a plain row, and keep both halves balanced. Add a few picked-up stitches, and one small square can become the beginning of a much bigger project.

Would you try mitered squares in a bag, a blanket, or a cardigan first? Tell me in the comments—I would love to hear what you would make!
This post may contain affiliate links. If you make a purchase through one of my links, I may earn a small commission at no extra cost to you. Thank you for supporting my blog and helping me continue sharing knitting patterns and tutorials!