
Learning how to knit a mitten thumb gusset is much easier when you understand what those extra stitches are doing. You are gradually building a shaped section of fabric that makes room for the base of your thumb. This guide walks through the markers, paired increases, and held stitches so you can follow your mitten pattern with more confidence. You can find more help with the individual techniques on my Knitting Tutorials page.
If you have ever wondered why your mitten keeps getting wider before the thumb stitches go on hold, you are in the right place! That growing section gives your thumb room while allowing the rest of the mitten to fit comfortably around your hand.
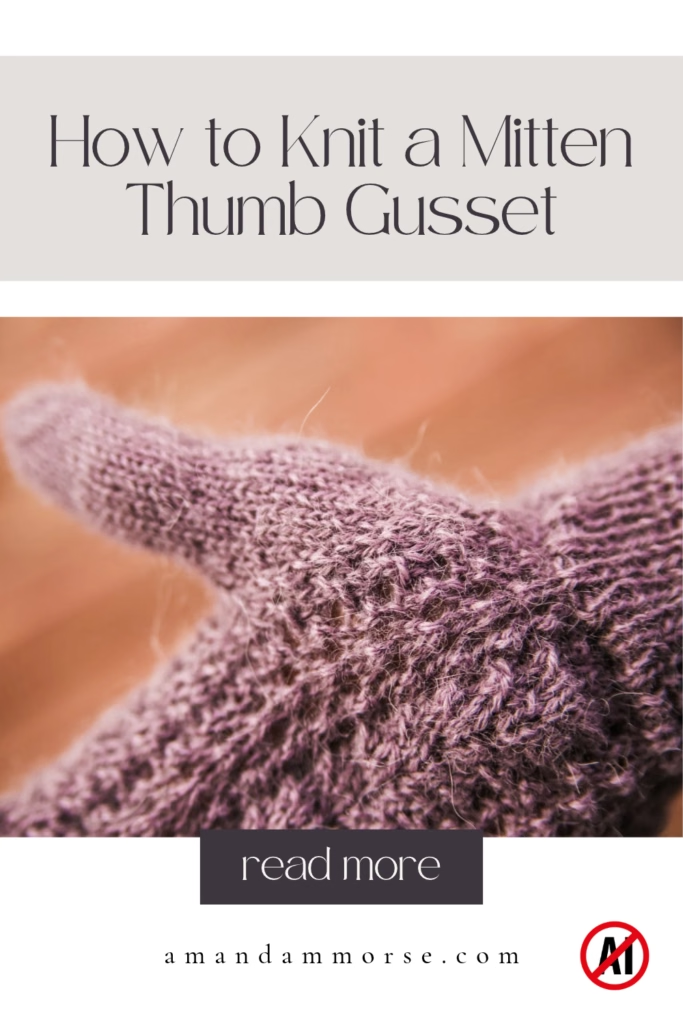
A thumb gusset might sound like a complicated piece of shaping, but it is built a little at a time. Once you know where the thumb stitches begin and end, the process becomes much easier to follow.
You do not need to memorize a whole mitten pattern to understand it, either. Let’s look at what happens during each stage and why it matters.
What Is a Mitten Thumb Gusset?
A gusset is a shaped section of fabric that adds room where it is needed. In many cuff-up mittens, the thumb gusset is a widening wedge worked near the side of the hand.
Look at the shape of your hand. Your wrist is narrow, but your hand becomes fuller around the base of your thumb. The gusset adds fabric to accommodate that change without making the entire mitten equally wide.
As you knit upward from the cuff, increases gradually add stitches to the thumb section. Those stitches eventually go on hold while you continue knitting the hand.
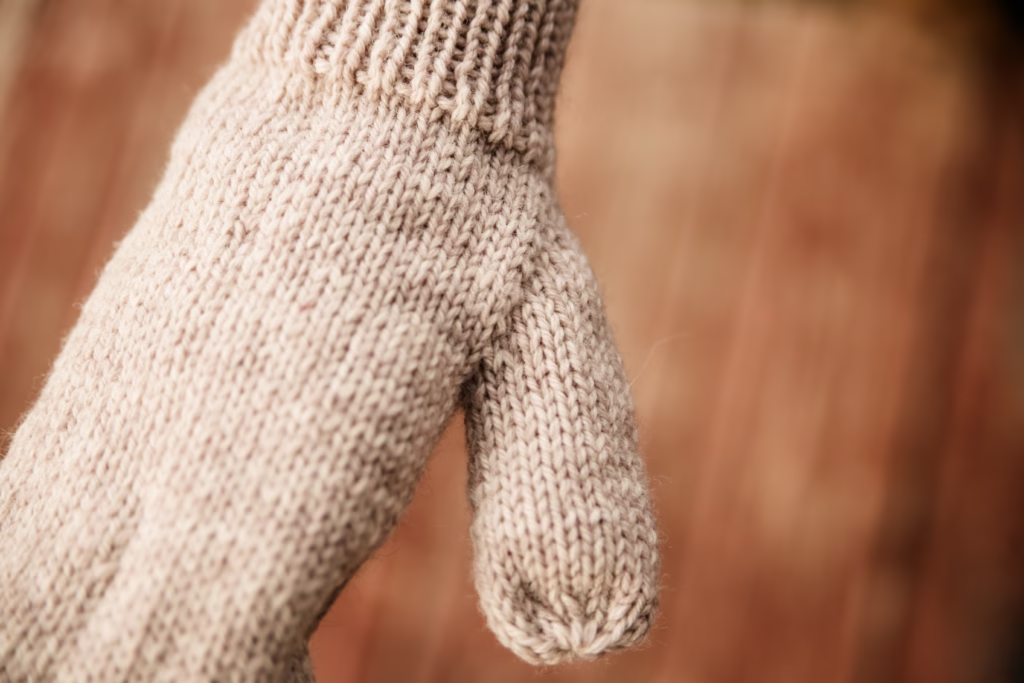
The gusset forms the lower shaping around the thumb base. The thumb itself is usually finished later by returning to those held stitches and knitting a small tube.
Not every mitten has a gusset. Some use a different thumb construction, so this tutorial is intended for cuff-up patterns that call for a gradually increased thumb section.
What Materials Do You Need to Knit a Mitten Thumb Gusset?
Most of your supplies will already be in your mitten project bag. You will need:
- Yarn in the weight specified by your pattern.
- Needles suitable for working small circumferences, in the size you need to match gauge.
- Two stitch markers for the thumb section, if your pattern uses them.
- A separate beginning-of-round marker, preferably in a different color or style.
- Smooth waste yarn or a stitch holder for holding the thumb stitches.
- A yarn needle for transferring stitches and weaving in ends.
- A row counter or a place to make notes so you can track increase rounds.
For practice, smooth yarn in a light color makes it easier to see the stitches and increase lines. For a finished pair, choose yarn that suits the pattern and how the mittens will be worn.
My Best Yarn for Mittens and Fingerless Mitts guide can help you compare yarn choices for your next project.
You can use this construction with several yarn weights, but the stitch counts will vary. A fingering-weight mitten usually needs more stitches than a bulky-weight mitten to create a similar amount of room.
That is why your pattern’s gauge, size, and thumb stitch count matter more than a single number from a general tutorial.
How Do You Knit a Mitten Thumb Gusset Step by Step?
The steps below explain a common gusset construction with paired increases worked inside two markers. Your pattern supplies the exact starting position, number of stitches, increase method, and spacing between increase rounds.
1. Work to the Thumb Gusset Setup
Knit the cuff and any initial hand rounds as directed. When you reach the gusset setup, follow your pattern to locate the thumb section.
Some patterns begin with one or two thumb stitches. Others create the starting stitches with increases during the setup round.
Check whether your pattern gives different instructions for the right and left mittens. Thumb placement can change between hands, especially when the mitten has a decorative panel across the back.
2. Place Markers Around the Thumb Section
For a gusset worked between two markers, place one marker before the starting thumb stitches and another after them, as directed.
The stitches between those markers belong to the gusset. The stitches outside them belong to the rest of the hand.
Keep your beginning-of-round marker easy to distinguish from the thumb markers. Otherwise, it is surprisingly easy to arrive at a marker and forget which job it has!
Some patterns use the beginning of the round or a needle boundary to identify one side of the gusset. Follow the boundaries in your pattern rather than changing the setup.
3. Work an Increase at Each Side of the Gusset
On an increase round, add one stitch at each edge of the thumb section using the increases specified in your pattern.
A common sequence is:
- Work to the first thumb marker.
- Slip the marker.
- Work the first increase.
- Work the existing gusset stitches.
- Work the second increase.
- Slip the second marker and continue across the hand.
With this arrangement, both new stitches sit inside the markers. Each increase round adds two stitches to the gusset.
Patterns may use M1R and M1L, KFB, or another increase. The increase direction and its position relative to the markers can vary, so keep the arrangement given in your instructions.
If your pattern calls for a make-one increase, work the lifted strand as directed so it forms a closed increase. Substituting a yarn over creates an eyelet and changes the appearance of the gusset.
4. Work the Rounds Between Increases
Many patterns include one or more rounds without thumb increases between increase rounds. These rounds give the gusset height while the increases give it width.
Continue working the thumb stitches in the stitch pattern specified for that section. A stockinette gusset is knitted on every round, even if the rest of the mitten has lace, cables, or another texture.
Keep tracking the hand’s stitch pattern while you shape the thumb. A round without gusset increases may still include yarn overs, decreases, or cable crossings elsewhere on the mitten.
Increasing every round when the pattern calls for every second or third round changes the gusset shape. Reaching the right stitch count is only part of the job—you also need the correct spacing.
5. Repeat Until the Gusset Is Complete
Continue the increase sequence until you reach the stitch count and complete the rounds specified for your size.
Count the gusset stitches after each increase round. For a section with two increases per increase round, the count should rise by two each time.
For example, a practice gusset starting with two stitches would grow to four, six, eight, and so on. That illustrates the counting; it is not a universal mitten instruction or a recommended stopping point.
Do not stop simply because the gusset looks wide enough. Follow the pattern’s stitch count and round instructions, then check fit where possible before separating the thumb.

At this stage, you should see a small wedge of fabric widening between the markers. The hand continues alongside it, while the added stitches provide room around the thumb base.
If the count is wrong, check for a missed increase before moving on. It is much easier to correct now than after finishing the hand!
6. Put the Thumb Stitches on Hold
When the pattern tells you to separate the thumb, work to the thumb section. Transfer the specified stitches to smooth waste yarn or a holder without knitting them, unless instructed otherwise.
These stitches need to stay live. Do not bind them off, because you will return to them to knit the thumb.
If using waste yarn, thread it through every designated stitch before removing the needles. Secure the ends loosely so the stitches cannot slip off and the opening is not pulled tight.
Remove the gusset markers when directed, keeping any markers still needed for the hand.
7. Continue Knitting the Hand Above the Opening
After the thumb stitches are on hold, continue with the remaining hand stitches as directed. Your working yarn connects the hand fabric above the thumb opening, allowing you to resume working around the hand.
Some patterns tell you to cast on stitches over the opening before continuing. Others bring the two sides together without adding stitches.
Follow your pattern’s instruction here. Those cast-on stitches, when used, are part of the planned hand circumference and will affect your stitch count.
Count the hand stitches after separation and make sure any lace, cable, or texture repeats are correctly aligned. Continue to the required hand length and finish the fingertips as directed.
8. Return to Knit the Thumb
When your pattern directs you to finish the thumb, transfer the held stitches back to your needles. Join yarn and pick up the specified stitches around the base of the opening.
The held stitches and picked-up stitches form the thumb circumference. Work the thumb to the required length, then finish with the shaping in your pattern.
Small gaps sometimes appear at the corners of the opening. Avoid stretching those corners while picking up stitches, and use your yarn tail to close any remaining small holes when weaving in ends.
What Should You Check If Your Thumb Gusset Looks Wrong?
Too few gusset stitches? Check that you worked both increases on every increase round. Missing just one increase changes the count.
A gusset that seems too short or too tall? Check the number of rounds between increases. Width and height need to develop together.
Unexpected holes along the edges? Check your increase technique. A make-one increase worked with an untwisted strand can leave an eyelet.
A stitch pattern that shifts after separation? Recount the hand stitches and check where the next repeat begins. Be sure you followed any cast-on instructions above the thumb opening.
A thumb that feels tight? Check gauge, the size instructions, and whether all required increases and picked-up stitches were worked. Blocking can even out the fabric, but it cannot reliably make up for missing stitches or incorrect shaping.
Keeping a simple note of your increase rounds and gusset count can save plenty of recounting. You can also use those notes to help make the second mitten match the first.
What Mitten Patterns Should You Knit Next?
Ready to put your thumb-gusset knowledge to work? Here are a few projects for your next pair:
- Miriam Mittens: Lightweight mittens with delicate lace across the hand and a stockinette thumb.
- Aaron Mittens: A textured mitten project for your knitting list.
- Simple Worsted Mittens: A straightforward option for practicing mitten construction.
- Paul Mittens: A cozy, chunky project for cold-weather knitting.
- Angie Bulky Mittens: Bulky mittens with a cable detail across the hand.
Choose a project that makes you excited to pick up your needles, then follow its own setup, increase spacing, and stitch counts. Understanding the shaping helps those directions make sense across different yarn weights and designs.

Learning how to knit a mitten thumb gusset gives you a clearer picture of how a flat-looking piece of knitting becomes something shaped for your hand. Each pair of increases adds a little more room, and holding the thumb stitches lets you finish one section at a time.

Have you knitted a thumb gusset before, or is this the part of mitten knitting you have been putting off? Tell me in the comments—I would love to hear what you are working on!
This post may contain affiliate links. If you purchase through one of these links, I may earn a small commission at no additional cost to you. Thank you for supporting my free knitting patterns and tutorials!