
This free mitten knitting pattern is a quick and practical project for knitters who want warm, handmade mittens with a pretty cable detail.
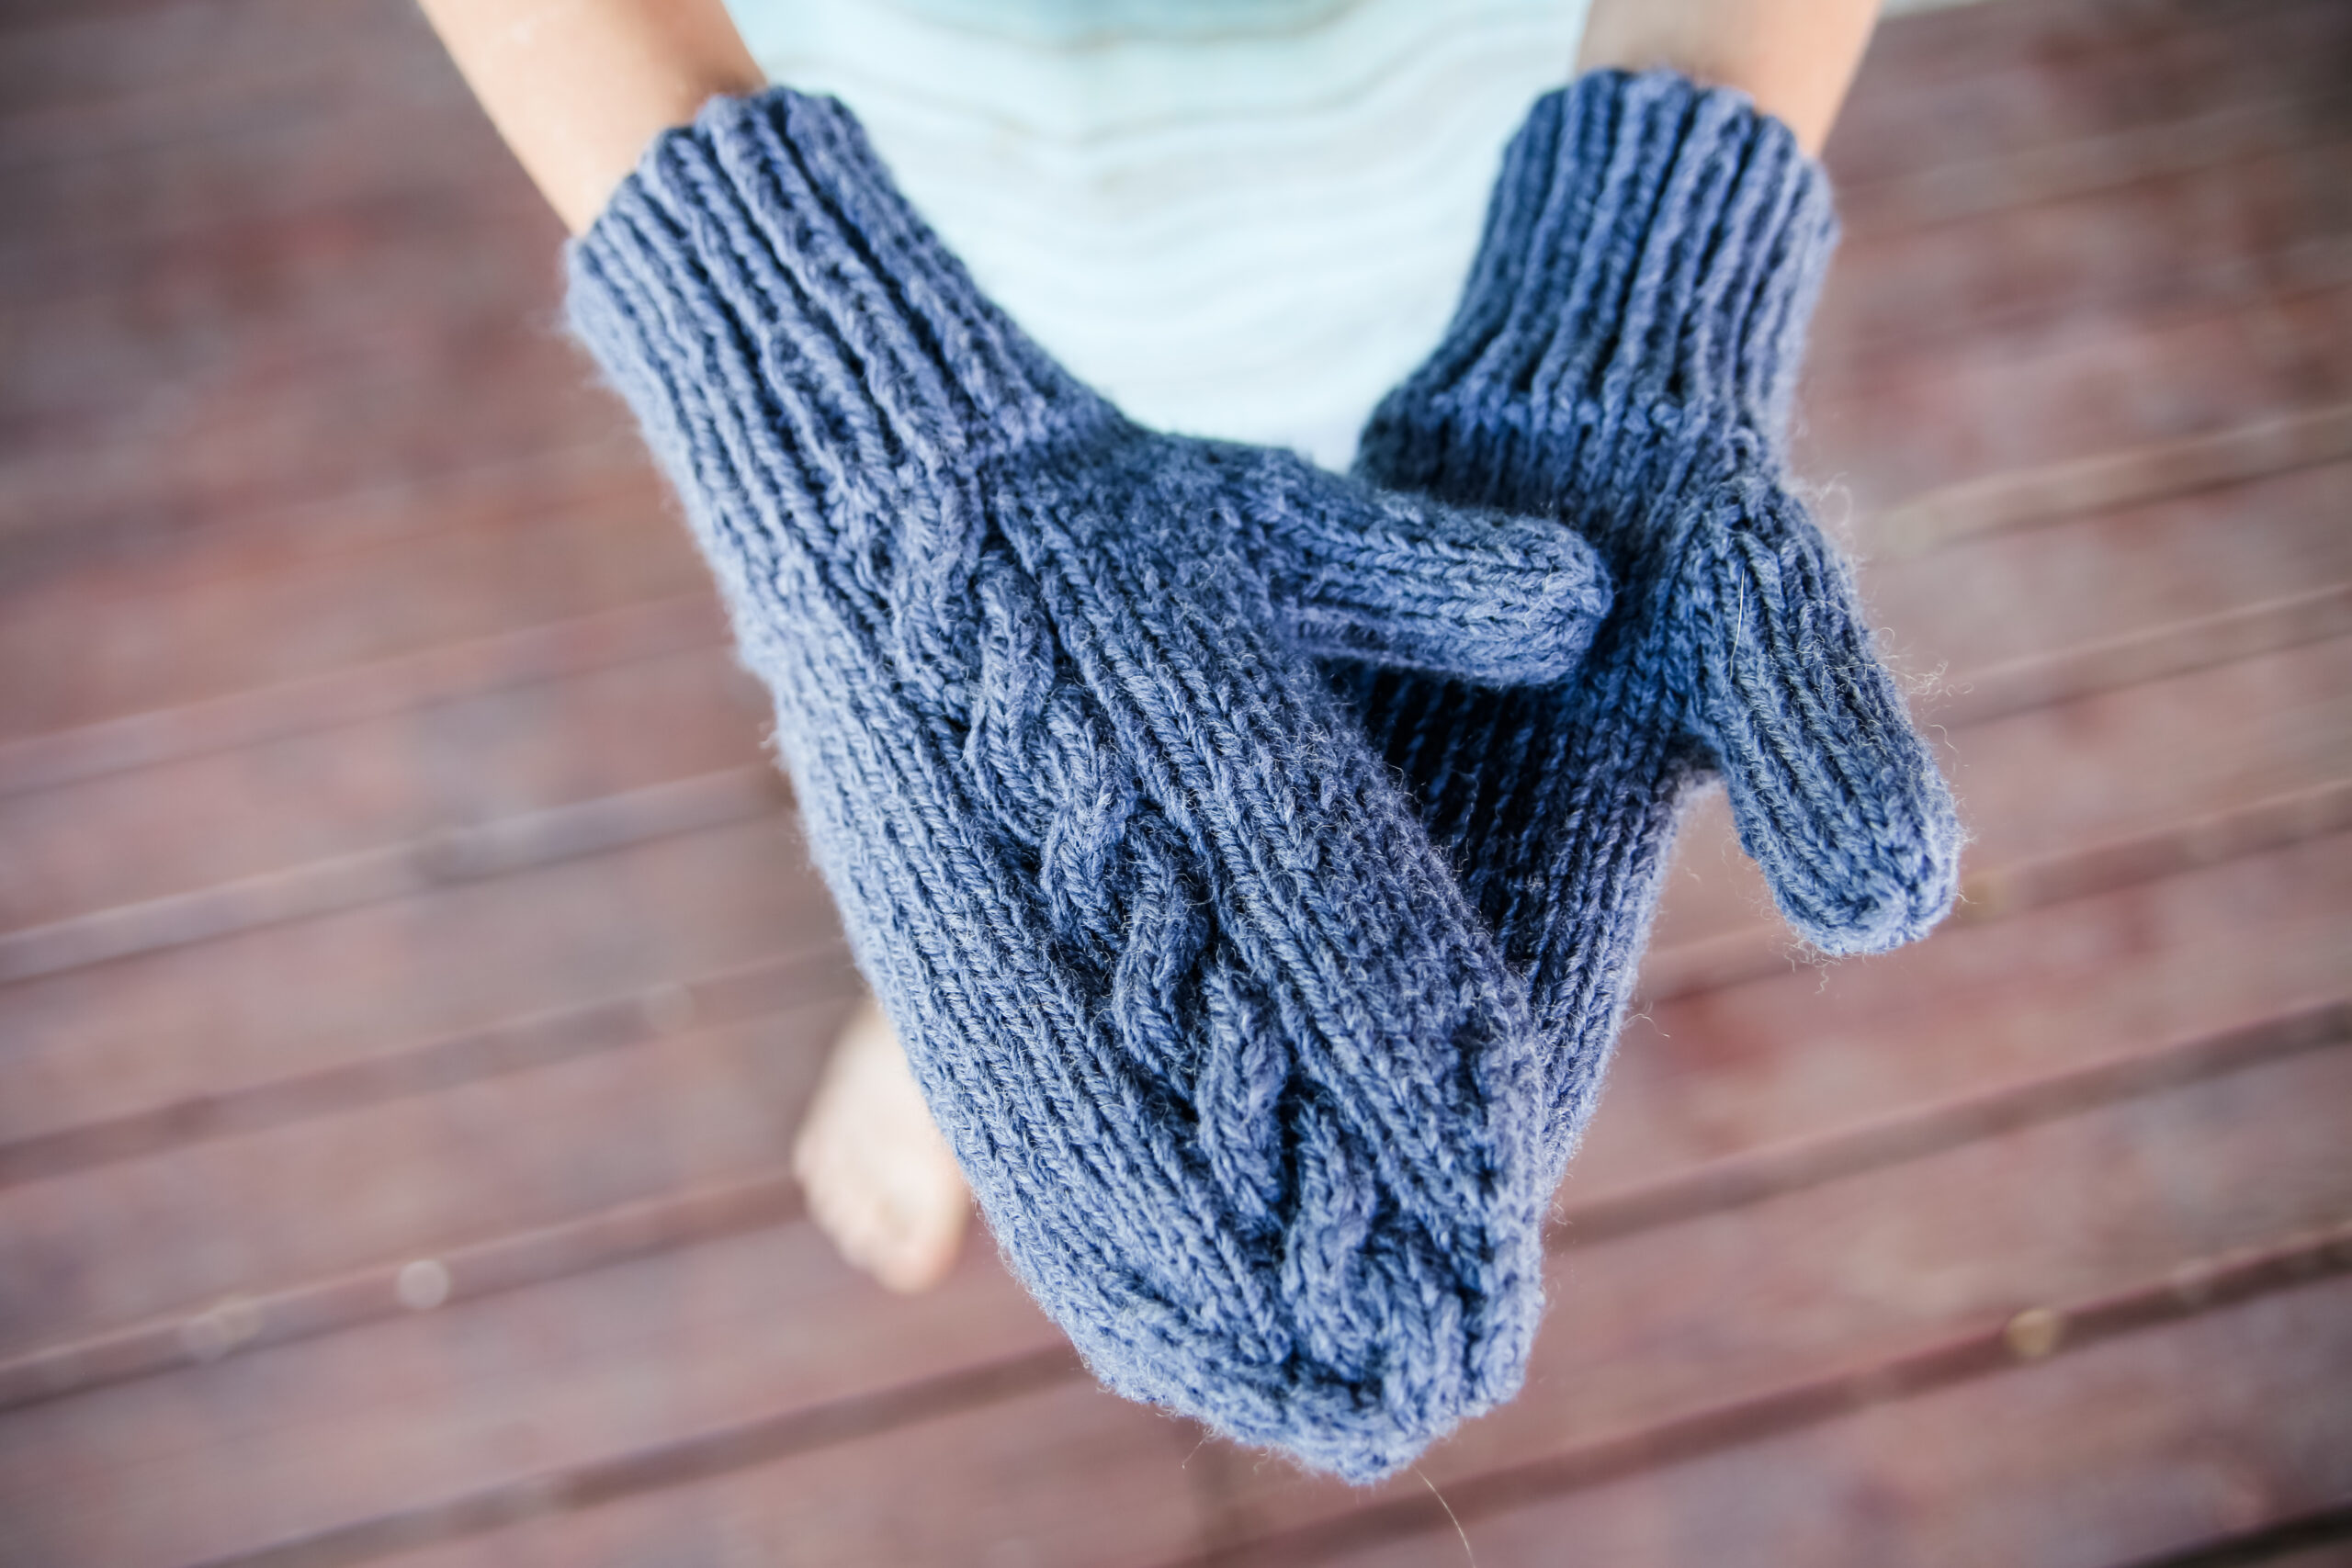
The Angie Bulky Mittens are worked with bulky weight yarn, so they knit up faster than mittens made with thinner yarn while still creating a thick fabric for cold winter days. With sizes for toddlers, children, teens, ladies, and men, you can use this knitted mitten pattern to make a pair for nearly anyone in your family. The mittens are worked from the cuff upward in the round, with a simple cable running along the top of each hand.

The Angie Bulky Mittens are a great choice when you want a mitten pattern that feels interesting without becoming overly complicated. The center cable adds texture and gives the mittens a more finished look, but you are only working the cable over four stitches.
Bulky yarn also makes this a satisfying project when you need a useful winter accessory or handmade gift without committing to weeks of knitting. Once you finish the first mitten, the second one comes together before you know it.
What Yarn and Needles Do You Need for This Free Mitten Knitting Pattern?
The Angie Bulky Mittens use approximately 80–160 yards of bulky weight yarn, depending on the size you are making. I used Lion Brand Hue + Me, which creates a thick, soft fabric with clear stitch definition that helps the center cable stand out.
You will also need size US 8 / 5 mm double-pointed needles or a long circular needle if you prefer the magic loop method. Although Hue + Me is commonly knit on larger needles, using the smaller needle size creates the dense fabric you want for warm mittens.
A cable needle is helpful for working the four-stitch cable, and you will also need stitch markers and a yarn needle. The stitch markers help divide the top and bottom of the mitten while you shape the hand and work the decreases.

Gauge is especially important when knitting mittens because even a small difference can change how they fit around the hand. The pattern gauge is approximately 3.5 stitches and 6 rows per inch, so take time to knit a swatch before beginning.
A firm fabric will help block cold air while still leaving enough room for comfortable movement. Check both your stitch and row gauge so the hand and thumb reach the correct finished length.
How Do You Knit the Angie Bulky Mittens?
These bulky knit mittens are worked from the bottom up in the round. You will begin with a stretchy knit-one, purl-one cuff before increasing for the hand and establishing the center cable panel.
The left and right mittens are written separately so the cable sits neatly along the top of each hand. After establishing the mitten, you will increase for the thumb gusset and place those thumb stitches on waste yarn or a stitch holder.
The hand is then worked in the round until it reaches the correct length. Paired decreases shape the top of the mitten, and the remaining stitches are joined with Kitchener stitch for a smooth finish.

When picking up stitches for the thumb, take a moment to check the corners for small gaps. Picking up an additional stitch at each corner and decreasing it on the following round can help prevent holes if needed.
The thumb is finished by threading the yarn through the remaining stitches and pulling them closed. Weave in the ends securely, then follow the directions for the opposite hand to complete your pair.
What Other Free Mitten Knitting Patterns Can You Make?
Once you finish the Angie Bulky Mittens, you may want to add a few more handmade mitten patterns to your winter knitting list.
The Simple Bulky Mittens are a helpful option when you want a basic mitten without a decorative cable. The Peace Mittens have a classic look, while the Paul and Aaron Mittens offer additional texture for knitters who enjoy stitch patterns.

Having several free mitten patterns to choose from makes it easier to match the project to your yarn, skill level, and the person who will wear them. You can make a simple everyday pair, try a different texture, or knit several styles for winter gifts.
The Angie Bulky Mittens are especially helpful when you want a faster project with a cable that looks impressive without requiring a large or complicated chart.
Angie Bulky Mittens Free Pattern
Materials: 80-160yds bulky weight (size 5) yarn (I used Lion Brand Two of Wands Hue and Me in Magic Hour), size 8 (5mm) dpn or circular needles(for magic loop method), yarn needle, stitch marker, cable needle
Gauge: appx 3.5sts x 6rows per inch GAUGE IS IMPORTANT! SWATCH FIRST!
Sizes – toddler, child, teen/ladies, men
Cable Stitch Pattern
Round 1-5 – p1, k4, p1
Round 6 – p1, cb4, p1
Wrist
Cast on 22 (26, 30, 34)sts. Join in the round. Place beginning of round marker.
K1P1 ribbing for 12(16, 20, 20) rounds
Left Mitten
Round 1 – m1, k 4(5, 6, 7), pm, m1, k4, m1, pm, k3 (4, 5, 6), m1, k11(13, 15, 17) [26 (30, 34, 38)sts]
Round 2 – knit to marker, sm, work in cable stitch pattern to marker, sm, knit to end of round
Repeat round two 1 more time for teen/ladies, and 2 more times for men size
Right Mitten
Round 1 – m1, k11(13, 15, 17), m1, k4(5, 6, 7), pm, m1, k4, m1, pm, k3(4, 5, 6) [26(30, 34, 38)sts]
Round 2 – knit to marker, sm, cable stitch pattern to marker, sm, knit to end of round
Repeat round two 1 more time for teen/ladies, and 2 more times for men size
Thumb Gusset
Round 3 – m1, k2, m1, knit to marker, sm, cable stitch pattern to marker, sm, knit to end of round 28(32, 36, 40)sts
Round 4 – knit to marker, sm, cable stitch pattern to marker, sm, knit to end of round
Round 5 – m1, k4, m1, knit to marker, sm, cable stitch pattern to marker, sm, knit to end of round 30(34, 38, 42)sts
Round 6 – knit to marker, sm, cable stitch pattern to marker, sm, knit to end of round
Size baby stop increases here and move to place stitch on hold
Round 7 – m1, k6, m1, knit to marker, sm, cable stitch pattern to marker, sm, knit to end of round x (36, 40, 44)sts
Round 8 – knit to marker, sm, cable stitch pattern to marker, sm, knit to end of round
Size child stop increases here and move to place stitch on hold
Round 9 – m1, k8, m1, knit to marker, sm, cable stitch pattern to marker, sm, knit to end of round x (x, 42, 46)sts
Round 10 – knit to marker, sm, cable stitch pattern to marker, sm, knit to end of round
Size small adult/teen stop increases here and move to place stitch on hold
Round 11 – m1, k8, m1, knit to marker, sm, cable stitch pattern to marker, sm, knit to end of round x (x, x, 48)sts
Round 12 – knit to marker, sm, cable stitch pattern to marker, sm, knit to end of round
Place Stitches on hold
After the last increase round place thumb sts on a stitch holder or spare yarn and remover marker. 24(28, 32, 36)sts
Hand
cast on 1, pm, cast on 1, knit to marker, sm, work in cable stitch pattern to marker, sm, knit 4 (5, 6, 7) pm (this is your mitten decrease marker), knit to end of round. 26(30, 34, 38)sts
Work in Work in pattern, sm as you get to them for 12(16, 20, 24) rounds
Decrease
Round 1 – k1, ssk, Work in pattern to 3sts before mitten decrease marker, k2tog, k2, ssk, Work in pattern to 3sts before end of round. 22(26, 30, 34)sts
Round 2 – work in pattern around sm as you get to them
Repeat round 1 and 2 until you have 14 (14, 14, 18) sts left ending after completing a round 1.
Left Mitten
k1, ssk, sm, work in cable stitch pattern to marker, sm, k2tog, knit around [12(12, 12, 16) sts]
Right Mitten
K7(7, 7, 9), ssk, sm, work in cable stitch pattern to marker, sm, k2tog, k1 [12(12, 12, 16) sts]
Kitchener stitch the remaining sts.
Thumb
Pick up 4sts along the cast on edge, place the sts on the stitch holder on your needles. 10(12, 14, 16)sts
Work in stockinette for 8(10, 14, 16) rounds.
Next Round – k2tog around 5(6, 7, 8)sts
Do not bind off. Cut yarn leaving 8-10ins to weave ends. Thread the yarn through your remaining sts and cinch closed.
Weave in all ends, make another mitten for your other hand, and enjoy your toasty warm hands.
Stitch Key
Cb4 – place 2 sts on cable needle, hold in back, knit 2 stitches from working needle, knit 2 stitches from cable needle
K – knit
K2tog – knit 2 together
M1 – make 1 increase
P – purl
Pm – place marker
pu – pick up stitches
ssk – slip slip knit decrease
Sm – slip marker

Will you make your Angie Bulky Mittens in a classic neutral or a bright color that is easy to spot in the mitten basket? Tell me which size and color you are planning to knit in the comments!
This page contains affiliate links. If you choose to make a purchase after clicking a link, I may receive a commission at no additional cost to you. Thank you for supporting my work!