
Looking for a bulky knit ear warmer pattern that works up quickly and still feels pretty enough to wear all winter? This free ear warmer knitting pattern is a great choice when you want something warm, practical, and easy to make without committing to a big project. The Cindy Lo Ear Warmer is made with super bulky yarn, which means it knits up fast and has that thick, soft feel you want for cold weather. It is also open at the top, making it perfect for messy buns, ponytails, or anyone who wants warm ears without wearing a full hat. If you need a quick handmade gift or a simple winter accessory, this bulky knit ear warmer pattern is a fun one to cast on.

This ear warmer is especially helpful if you love the idea of a hat but do not always want your hair completely covered. It gives you the warmth around your ears while leaving the top open, so it is comfortable, wearable, and easy to grab on chilly days.
The thick yarn makes this project feel extra satisfying because you can see your progress right away. It is a great pattern for newer knitters, gift knitters, or anyone who wants a quick project that still has a cute finished look.
What Materials Do You Need for This Bulky Knit Ear Warmer Pattern?
For this bulky knit ear warmer pattern, you will need 1 skein of super bulky weight yarn, size 10 knitting needles, and a yarn needle for seaming. I used Lion Brand Wool-Ease Thick & Quick because it has the right amount of thickness, softness, and structure for a warm winter headband.
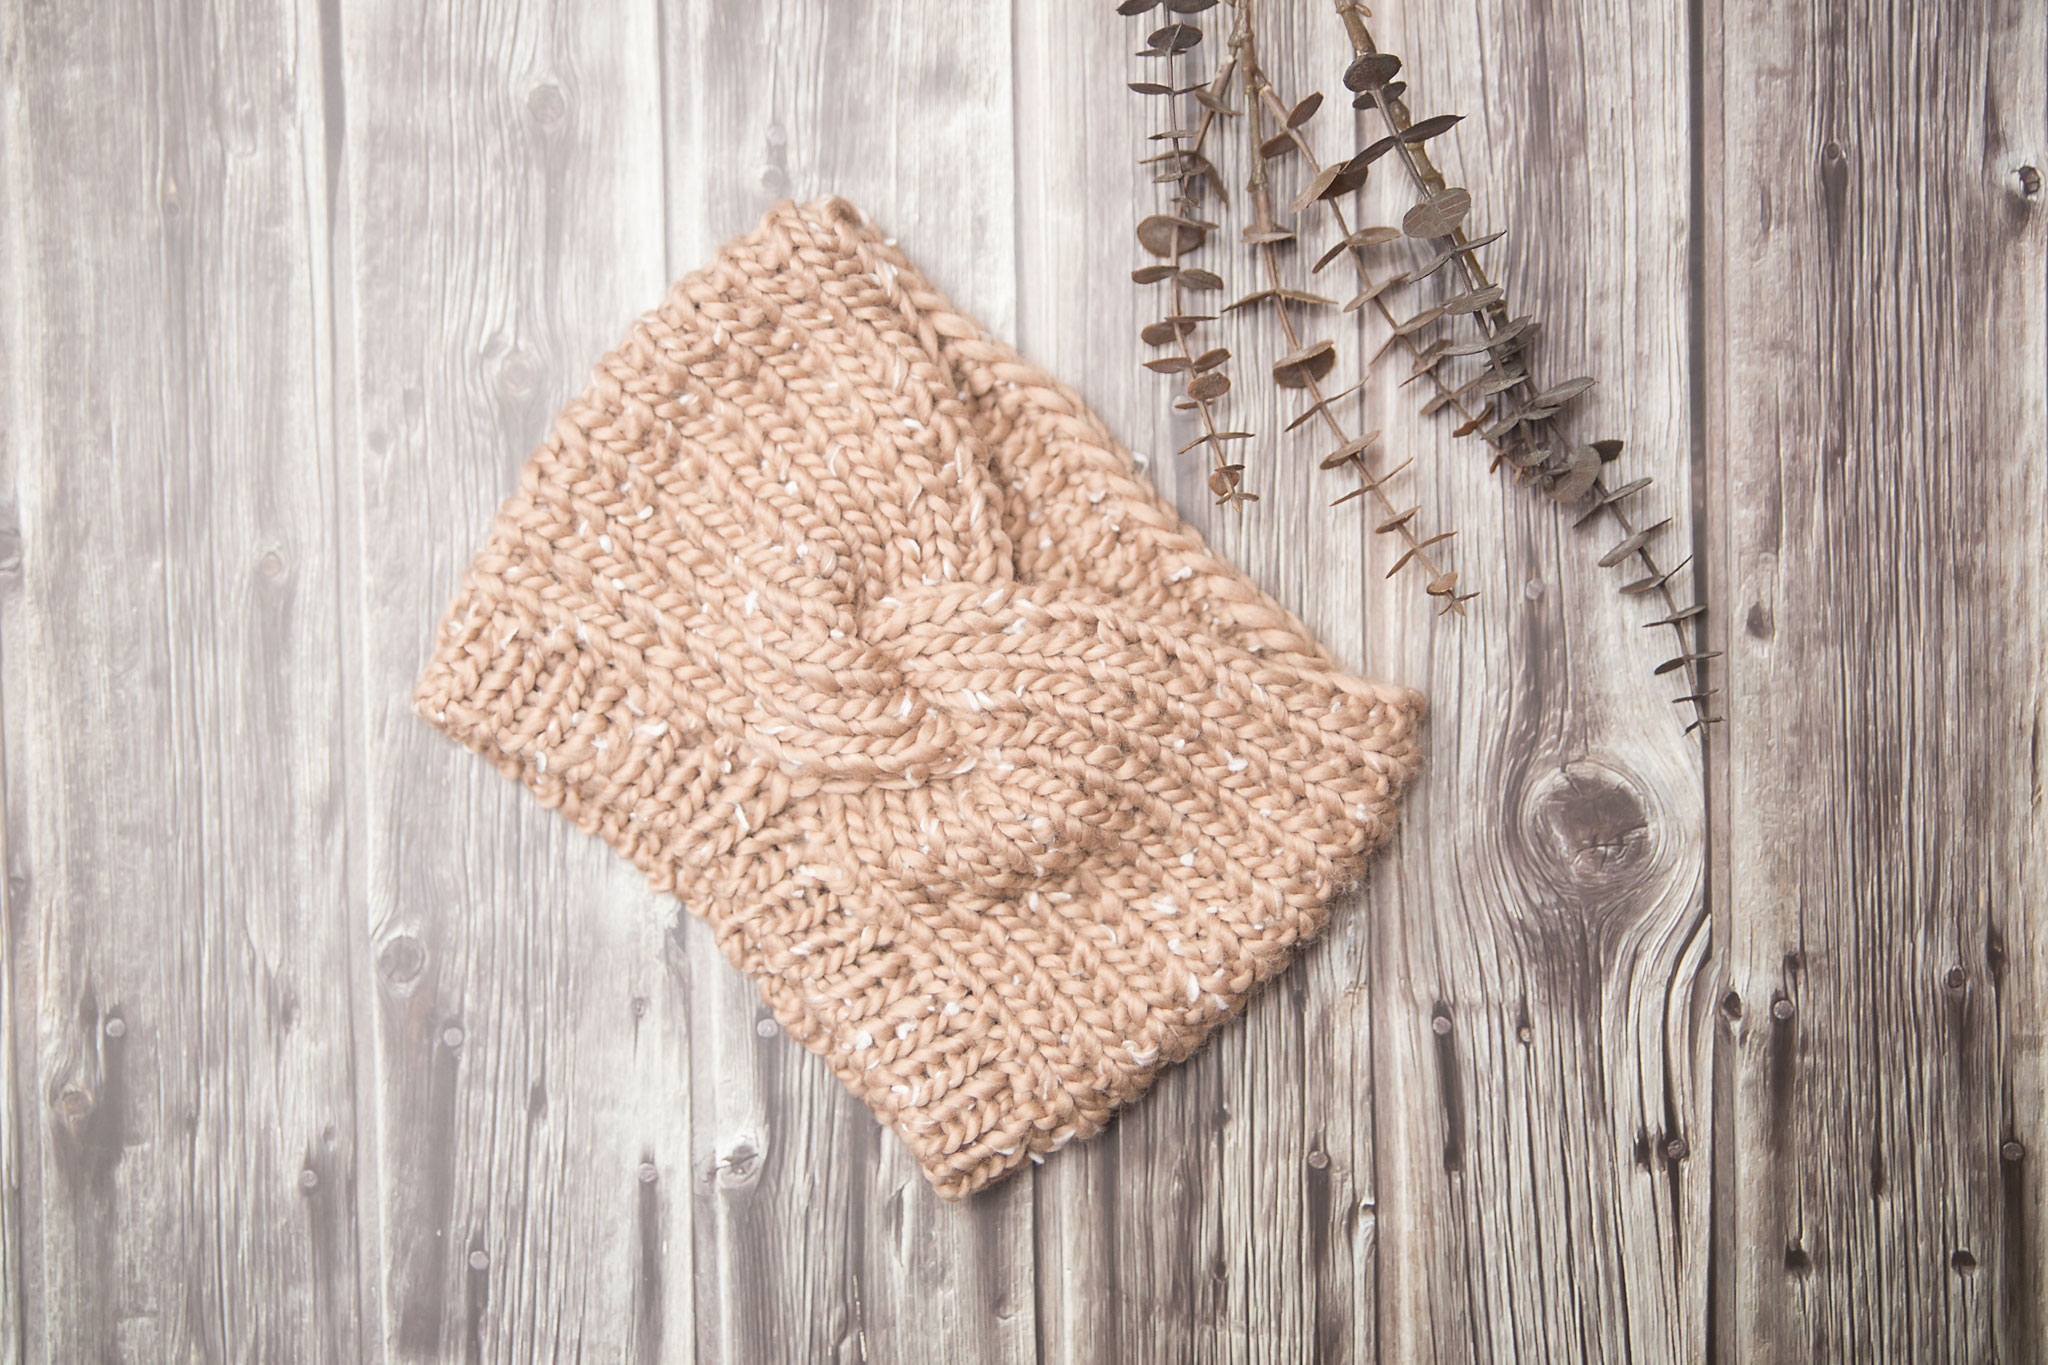
The gauge for this pattern is 7 stitches per 2 inches in the 1×1 broken rib pattern. The broken rib texture gives the ear warmer a little more interest than plain knitting while still keeping the pattern simple and beginner-friendly.
This pattern includes baby, toddler, child, and ladies sizes, so it is a great option if you want to make matching ear warmers or use the same pattern for several gifts. The head measurements range from baby sizes through adult sizes, which makes it easy to choose the best fit before you begin.

A super bulky yarn works best here because it helps the ear warmer stay warm and full without needing a complicated stitch pattern. You want the finished piece to feel thick enough to block the chill but still soft enough to wear comfortably around your head.
This is also a good project for using up a single skein from your stash. Since the pattern is small and quick, you can have fun trying different colors without needing a large amount of yarn.
How Do You Knit This Ear Warmer?
This ear warmer is knit flat first and then seamed to create the twist in the front. You will cast on the number of stitches for your chosen size, work in a simple broken rib pattern, and continue until your piece reaches the correct length.
The main pattern repeat is very easy. One row alternates knit and purl stitches, and the next row is knit across. That simple combination creates the texture while still keeping the knitting relaxing and easy to follow.
After the flat piece is finished, the ends are folded and layered together to make the twist knot in the front. Then you sew through all the layers to hold the twist in place. From there, stitches are picked up around the top opening, and a short ribbed edge is worked to finish it neatly.

The twist is what gives this bulky knit headband pattern its fun shape, but the construction is still very manageable. The biggest tip is to take your time lining up the cast on and bind off edges before sewing so the front twist looks clean and centered.
I also like using a stretchy bind off for the ribbed edge because it keeps the opening comfortable. A sewn bind off works beautifully if you want a neat, finished edge that still has some give.
What Other Ear Warmer Patterns Should You Try?
If you love this bulky knit ear warmer pattern, you may also enjoy these other headband and ear warmer patterns:
• Martha Headband
• Love Came Down Headband
• Peace Headband
These are great patterns to keep in mind if you like small accessories that are quick to knit and easy to gift. Ear warmers are one of those projects that do not take a huge amount of yarn, but they still feel useful when they are finished.

The Cindy Lo Ear Warmer is especially nice if you want something thick, warm, and bun-friendly. It has that satisfying chunky yarn look while still being simple enough for a relaxing evening project.
This is the kind of pattern that is easy to make more than once. You can knit one for yourself, make a few for gifts, or use different yarn colors to create a whole little stack of winter accessories.
Material and Info
Yarn –1 skein any super bulky weight (size 6) yarn
Gauge – 7st per 2in or 5cm in 1×1 broken rib pattern
Needles – 10 (6mm) straight and circular or dpn
Sizes – (baby, toddler), (child, ladies)
Head Measurement – (35-40, 40-45), (45-50, 50-55) cms or (14-16, 16-18), (18-20, 20-22) ins
Other –yarn needle

Cindy Lo Ear Warmer Pattern
BABY
Cast on 11sts with straight needles. I used long tail cast on because it leaves a defined edge to sew with.
Row 1 – [k1, p1] across to last st, k1
Row 2 – knit across
Repeat row 1 and 2 until your work measures appx 14insins (35cms) ending after completing a row 1.
Bind off. Leave a tail that is appx 10-12ins for sewing.
Sew your headband together by following the tutorial at the end of the pattern.
With circular of dpn starting on the opposite side of the headband from the sewn edge, with right side facing out, pick up and knit 2sts for every 3 rows. Make sure to end with an even number of stitches on your needles. Join in the round.
Work in a k1, p1 ribbing for 1in (2.5cms).
Bind off using your favorite stretchy bind off. I love a sewn bind off for a nice, finished edge.

TODDLER
Cast on 15sts with straight needles. I used long tail cast on because it leaves a defined edge to sew with.
Row 1 – [k1, p1] across to last st, k1
Row 2 – knit across
Repeat row 1 and 2 until your work measures appx 16ins (40cms) ending after completing a row 1.
Bind off. Leave a tail that is appx 10-12ins for sewing.
Sew your headband together by following the tutorial at the end of the pattern.
With circular of dpn starting on the opposite side of the headband from the sewn edge, with right side facing out, pick up and knit 2sts for every 3 rows. Make sure to end with an even number of stitches on your needles. Join in the round.
Work in a k1, p1 ribbing for 1in (2.5cms).
Bind off using your favorite stretchy bind off. I love a sewn bind off for a nice, finished edge.

CHILD
Cast on 17sts with straight needles. I used long tail cast on because it leaves a defined edge to sew with.
Row 1 – [k1, p1] across to last st, k1
Row 2 – knit across
Repeat row 1 and 2 until your work measures appx 18ins (45cms) ending after completing a row 1.
Bind off. Leave a tail that is appx 10-12ins for sewing.
Sew your headband together by following the tutorial at the end of the pattern.
With circular of dpn starting on the opposite side of the headband from the sewn edge, with right side facing out, pick up and knit 2sts for every 3 rows. Make sure to end with an even number of stitches on your needles. Join in the round.
Work in a k1, p1 ribbing for 1in (2.5cms).
Bind off using your favorite stretchy bind off. I love a sewn bind off for a nice, finished edge.

LADIES
Cast on 21sts with straight needles. I used long tail cast on because it leaves a defined edge to sew with.
Row 1 – [k1, p1] across to last st, k1
Row 2 – knit across
Repeat row 1 and 2 until your work measures appx 20ins (50cms) ending after completing a row 1.
Bind off. Leave a tail that is appx 10-12ins for sewing.
Sew your headband together by following the tutorial at the end of the pattern.
With circular of dpn starting on the opposite side of the headband from the sewn edge, with right side facing out, pick up and knit 2sts for every 3 rows. Make sure to end with an even number of stitches on your needles. Join in the round.
Work in a k1, p1 ribbing for 1in (2.5cms).
Bind off using your favorite stretchy bind off. I love a sewn bind off for a nice, finished edge.
How to Sew the Twist Knot in the Front:
Step 1 – Fold your completed and bound off length in half right sides together lengthwise

Step 2 – Bring the cast on edge and bound off edge together and interweave them.

Step 3 – Sew through all 4 layers.
Have you ever knit an ear warmer instead of a hat? I would love to know if you are team messy bun ear warmer, team full hat, or happily both. Leave a comment below and tell me what color you would make this bulky knit ear warmer pattern in first.
This page contains affiliate links. If you choose to make a purchase after clicking a link, I may receive a commission at no additional cost to you. Thank you for your support!