
This free ribbed hat pattern is a simple, reliable design that belongs in every knitter’s rotation, especially if you love browsing free hat knitting patterns that actually get worn. If you’ve ever struggled to find a hat that fits everyone without constant adjustments, this pattern solves that. The stretchy 1×1 ribbing molds comfortably to different head sizes, while the folded brim adds warmth without bulk. And because this free ribbed hat pattern uses chunky yarn, you can finish it quickly without sacrificing structure or durability. It’s the kind of project you can knit once—and then immediately cast on again for someone else.

This is one of those hats that checks every box: fast, practical, and easy to wear. The texture does the work for you, so even a simple stitch pattern looks polished.
It’s a great option when you need something dependable on your needles.
And it’s just as good for gifts as it is for your own everyday use.
What materials work best for a free ribbed hat pattern like this?
For this free ribbed hat pattern, I used Premier Anti-Pilling Bamboo Chunky yarn, and it really makes a difference. The softness is noticeable right away, but what I love most is how well it holds up over time. Since this hat is meant for everyday wear, having a yarn that resists pilling keeps it looking clean and finished even after repeated use.
Chunky yarn also gives the ribbing a bold, defined texture, which helps the stitches stand out without needing anything complicated. Pair that with a good set of circular needles and DPNs, and the whole project feels smooth from start to finish.
You’ll find that using quality materials here turns a simple pattern into something you’ll reach for again and again. It’s a small upgrade that makes a big difference.

Once you’ve knit this with a yarn you love, it’s hard to go back.
The combination of stretch, warmth, and structure just works.
How do you knit this free ribbed hat pattern step by step?
This free ribbed hat pattern is worked in the round from the brim up, starting with a stretchy cast on and moving straight into a 1×1 rib. That ribbing continues for the body of the hat, creating a fabric that naturally adjusts to the wearer without needing complicated shaping.
The real standout moment comes at the crown. The X-style decreases use simple stitches like ssk and k2tog, but they come together to form a clean, structured finish at the top. It looks polished without adding difficulty, which is exactly what I want in a go-to hat pattern.
If you’ve knit basic stitches before, you can absolutely handle this.
And once you’ve done the decreases once, they become second nature.

This is the kind of pattern you can memorize quickly.
Perfect for knitting while watching a show or chatting with your family.
Looking for more free hat knitting patterns like this one?
If you love this free ribbed hat pattern, there are a few more you’ll want to check out next:
Each one has a slightly different feel, but they all keep that same practical, wearable style. You can easily build a full set of go-to hats just by working through these patterns.
These are the kinds of projects that stay in rotation because they actually get worn.
Simple stitches, great fit, and easy repeats make all the difference.

Once you start knitting hats like this, it’s hard to stop. They’re quick, useful, and perfect for using up yarn in your stash.
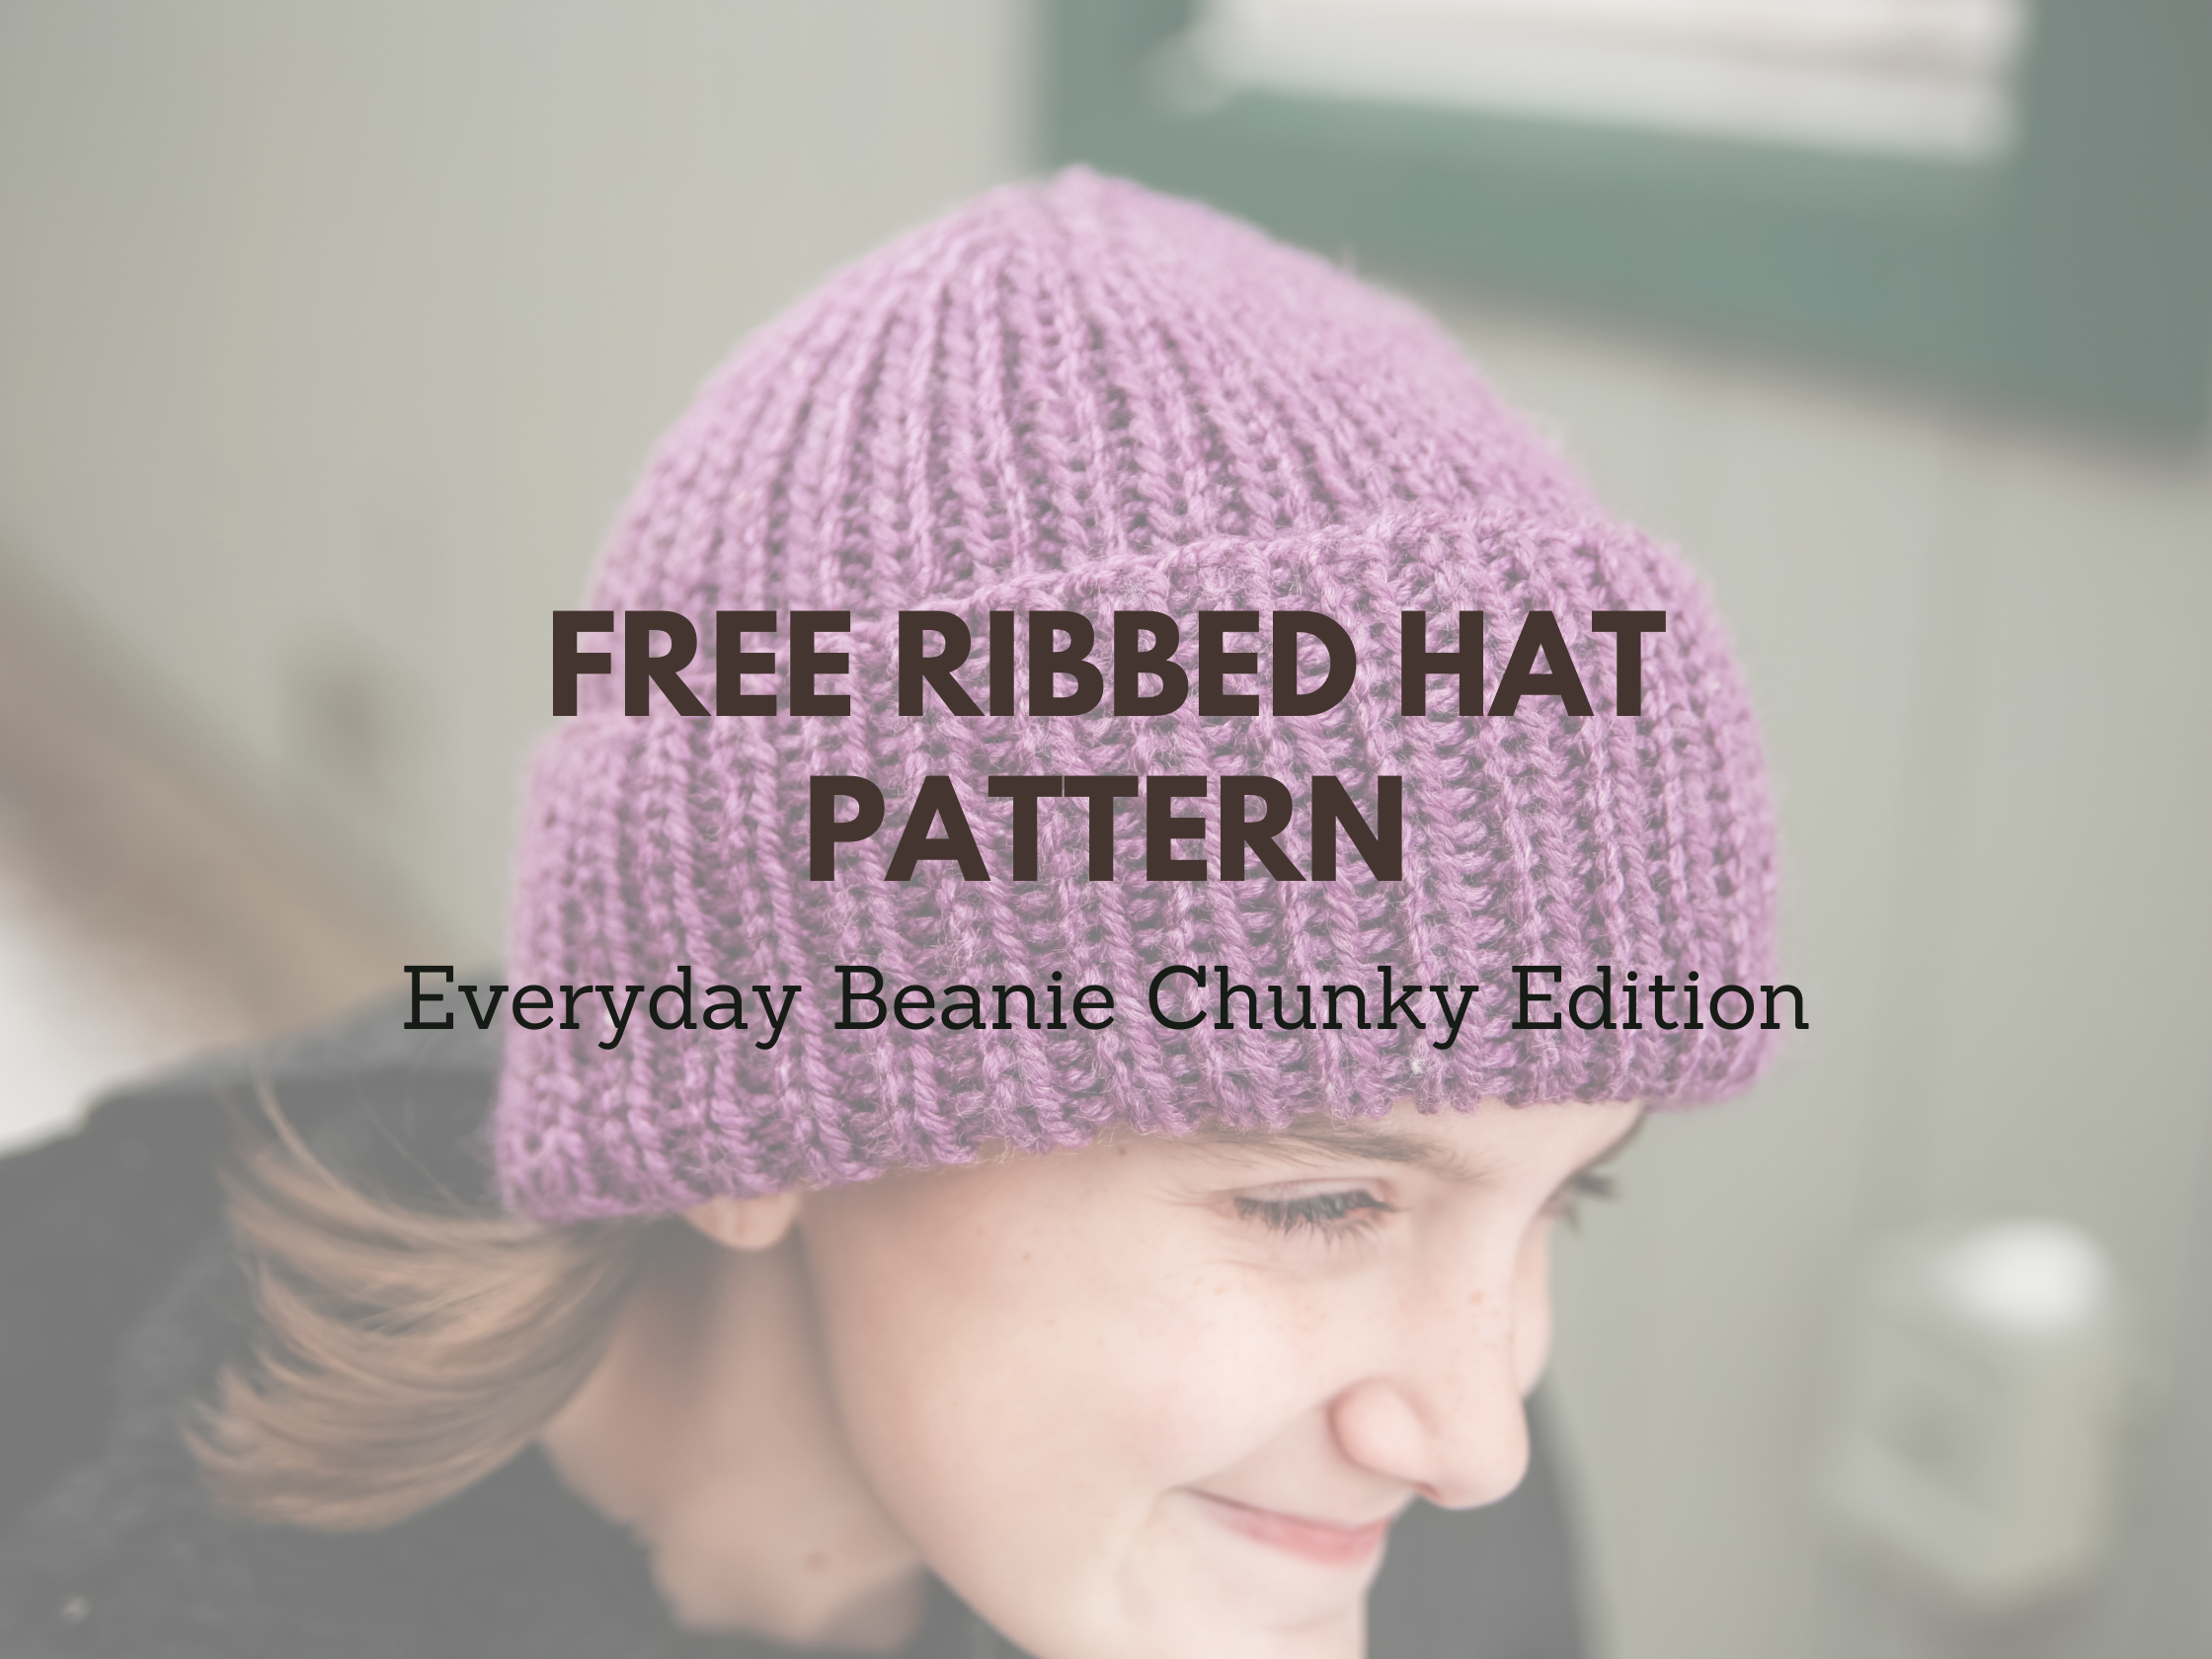
Everyday Beanie Chunky Free Pattern
Size
newborn, baby (toddler, child) adult small, adult large
Materials
Approximately 80-150yds of Premier Anti-Pilling Bamboo Chunky (131yd/100g) yarn needle, stitch markers
Needle Size
10(US) 5mm circular and dpn
Gauge (tension)
15sts & 22 rows to make 10cm square, using size 10(US) 6mm needles
Head Measurement
30, 35 (40, 47.5) 55, 60 cm
METHOD
This hat pattern is knit in the round. The decreases are ssk and k2tog. Instructions for this stitch can be found at the end in the abbreviations.
ABBREVIATIONS
K – knit
K2TOG – knit 2 stitches together
SL – slip stitch
SM – slip marker
ST – stitch
STS – stitches
SSK – slip slip knit -slip the next stitch knitwise, slip the next stitch knitwise, knit the slipped sts together
P – purl
PM – place marker
PSSO – pass slipped stitch over
BEANIE
Cast on 48, 56, (64, 72) 80, 88 stitches using your favorite stretchy cast on.
Join for working in the round being careful not to twist stitches.
Place a stitch marker on your right needle to mark the beginning of the round.
Work in a K1P1 ribbing for 17.5, 20 (22.5, 22.5) 25, 27.5cms (or desired length)
DECREASES
Round 1 – [ssk, work in k1p1 (keeping stitches in pattern as already established) for 7, 9 (11, 13) 15, 17 sts, k2tog, p1] repeat [to] around {40, 48 (56, 64) 72, 80 sts}
Round 2 – [ssk, work in k1p1 (keeping stitches in pattern as already established) for 5, 7 (9, 11) 13, 15 sts, k2tog, p1] repeat [to] around {32, 40 (48, 56) 64, 72 sts}
Round 3 – [ssk, work in k1p1 (keeping stitches in pattern as already established) for 3, 5 (7, 9) 11, 13 sts, k2tog, p1] repeat [to] around {24, 32 (40, 48) 56, 64 sts}
Round 4 – [ssk, work in k1p1 (keeping stitches in pattern as already established) for 1, 3 (5, 7) 9, 11 sts, k2tog, p1] repeat [to] around {16, 24 (32, 40) 48, 56 sts} If knitting size newborn skip to round 10
Round 5 – [ssk, work in k1p1 (keeping stitches in pattern as already established) for x, 1 (3, 5) 7, 9 sts, k2tog, p1] repeat [to] around {x, 16 (24, 32) 40, 48 sts} If knitting size baby skip to round 10
Round 6 – [ssk, work in k1p1 (keeping stitches in pattern as already established) for x, x (1, 3) 5, 7 sts, k2tog, p1] repeat [to] around {x, x (16, 24) 32, 40 sts} If knitting size toddler skip to round 10
Round 7 – [ssk, work in k1p1 (keeping stitches in pattern as already established) for x, x (x, 1) 3, 5 sts, k2tog, p1] repeat [to] around {x, x (x, 16) 24, 32 sts} If knitting size child skip to round 10
Round 8 – [ssk, work in k1p1 (keeping stitches in pattern as already established) for x, x (x, x) 1, 3 sts, k2tog, p1] repeat [to] around {x, x (x, x) 16, 24 sts} if knitting size adult small skip to round 10
Round 9 – [ssk, work in k1p1 (keeping stitches in pattern as already established) for x, x (x, x) x, 1 sts, k2tog, p1] repeat [to] around {x, x (x, x) x, 16 sts}
Round 10 – [sl1, k2tog, psso, p1] repeat [to] around {8sts}
DO NOT BIND OFF. Cut yarn leaving about a 20cm tail (or long enough to weave in ends). Pull yarn through remaining stitches and cinch the top tight. Weave in ends. Block as desired.
This hat is very versatile. It can be worn folded as pictured or unfolded like a slouchy style

If you try this free ribbed hat pattern, I’d love to hear how it turned out for you—drop a comment and tell me who you made it for!
Some links in this post are affiliate links, meaning I earn a small commission at no extra cost to you if you make a purchase through them.
Hi, this hat looks great! should the gauge for this hat be knit in the K1P1 ribbing or stockinette? I don’t see it specified so I’m thinking the K1P1 ribbing? Thank you,