
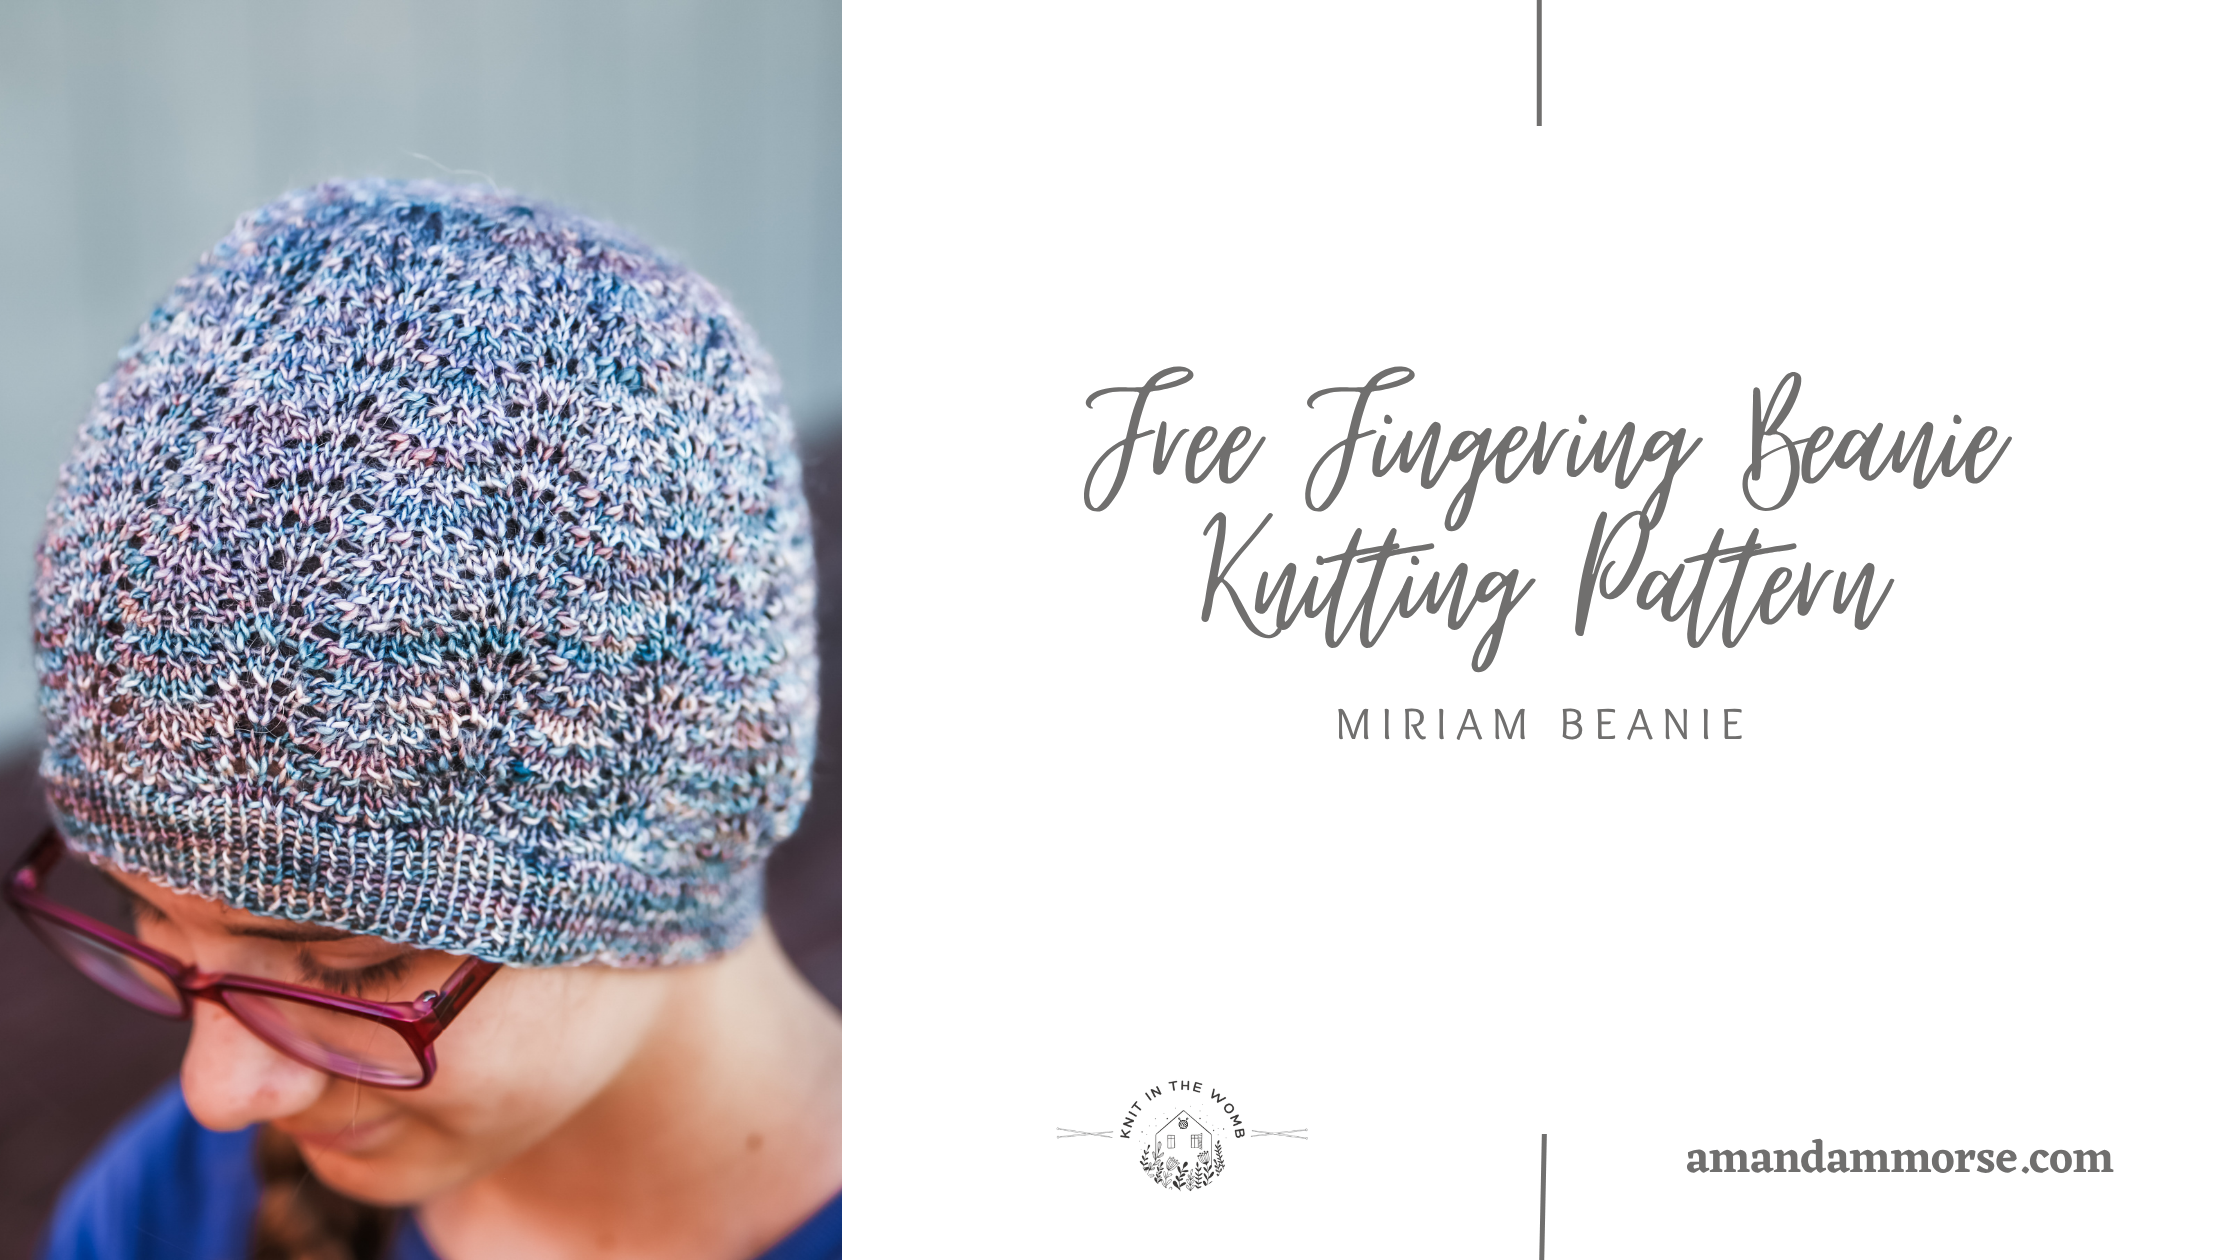
This fingering beanie knitting pattern is a lightweight, detailed design that fits right into your collection of free hat knitting patterns. If you’ve ever struggled to find a hat that feels delicate without being complicated, this one answers that perfectly. The Miriam Beanie uses a flowing lace ripple inspired by the Miriam Socks, giving you that beautiful, continuous texture from brim to crown. It’s designed for newborn through large adult, so you can knit it again and again for gifts or your own wardrobe. This fingering beanie knitting pattern is ideal when you want something refined, wearable, and satisfying to knit without feeling overwhelming.

If you love projects that look intricate but settle into a rhythm after a few repeats, this one is going to be hard to put down. The ripple lace keeps things interesting while still feeling relaxing on your needles.
It’s the kind of knit that holds your attention without slowing you down. And once you see that ripple start to form, it’s hard not to keep going just one more round.
What materials do you need for this fingering beanie knitting pattern?
For this fingering beanie knitting pattern, I used Madelinetosh Tosh Mo Light, which gives the lace ripple a soft, airy finish that really lets the stitch pattern shine. This yarn has a beautiful halo that adds just enough texture without hiding the detail, making it a perfect match for this design.
You’ll also need size 2.5 mm circular needles and double-pointed needles for the crown. Because this is a fingering weight project, the smaller needles help create a clean, defined fabric that still feels light and comfortable to wear.

I always reach for a yarn with a bit of drape when working lace, and this one delivers exactly that. It helps the ripple pattern open up just enough to show off every line.
The combination of fine yarn and small needles makes this a great project when you want something that feels a little more detailed without being difficult.
How do you knit the lace ripple in this fingering beanie knitting pattern?
The lace ripple in this fingering beanie knitting pattern is built on a simple repeat that creates a flowing wave effect across the entire hat. It’s the same ripple used in the Miriam Socks, so if you’ve knit those before, this will feel familiar right away.
The key is to stay consistent with your yarn overs and decreases so the waves stay even. Once you’ve worked through a couple repeats, the pattern becomes easy to read, and you’ll start to recognize where each stitch belongs.

If you’re newer to lace, don’t rush—take it one repeat at a time and use stitch markers if needed. It makes a big difference in keeping everything lined up.
By the time you reach the crown, the rhythm really clicks, and you’ll find yourself moving through rounds without even thinking about it.
Looking for more free hat knitting patterns like this one?
If you enjoyed this fingering beanie knitting pattern, here are a few more you might want to add to your queue:
• Harvest Beanie
• Sarah Beanie
• Martha Beanie
• Chain Beanie
• Rosebud Beanie
Each of these patterns brings a different texture or technique to the table, so you can keep your knitting fresh without having to learn something brand new every time.

The Miriam Beanie fits right alongside these as a lightweight option that still feels special. It’s a great way to mix lace into your regular rotation without committing to a larger project.
Miriam Beanie Free Pattern
MATERIALS AND INFO
Materials Needed: 100-300yds Madelinetosh Tosh Mo Light 420yd/384m/100g 2.5mm dpn or circular, yarn needle
Gauge: 30sts x 40rows per inch in stockinette
Sizes (appx head circumference) [appx finished measurements laid flat]:
Newborn (33cms,13ins) [16.5x13cms, 6.5x5ins]
baby (38cms, 15ins) [19×16.5cms, 7.5×6.5ins]
child (46cms,18ins) [23x19cms, 9×7.5ins]
teen/small adult (51cms, 20ins) [25.5x18cms, 10×8.5ins]
large adult (56cms, 22ins) [28x23cms, 11x9ins]
Abbreviations can be found on the last page.
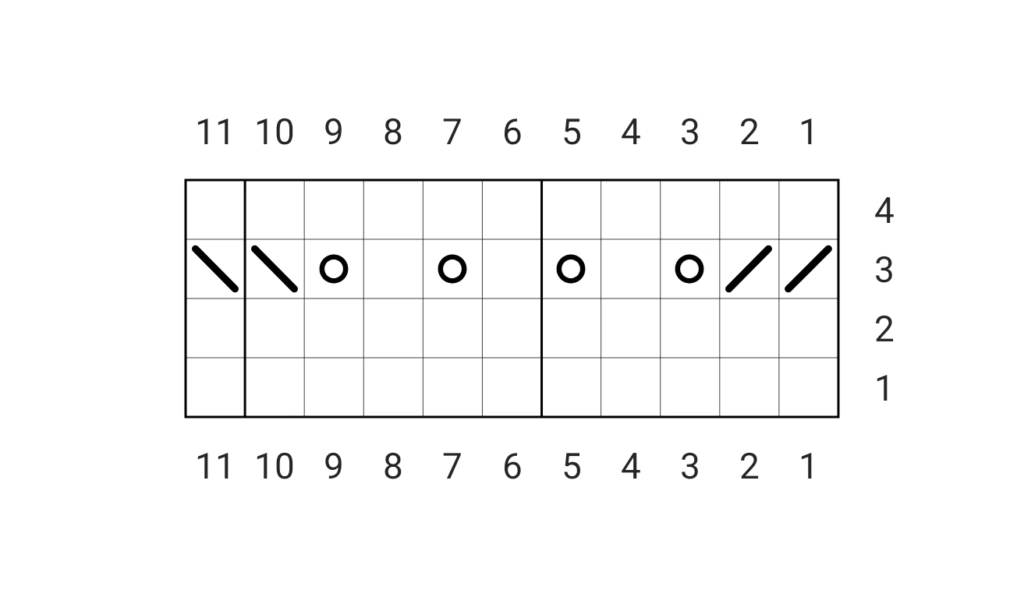
MIRIAM STITCH PATTERN
Round 1 – knit across
Round 2 – knit across
Round 3 – [k2tog, k2tog, yo, k1, yo, k1, yo, k1, yo, ssk, ssk] across
Round 4 – knit across
Cast on 100 (122, 132, 144) 154
Join in the round. Place bor marker.
Work 2 (2, 2.5, 2.5) 2.5cms or .75 (.75, 1, 1) 1ins k1p1 ribbing.
Set up Round for newborn, baby, and adult small only – k2tog, knit around
[99 (121, 132, 143) 154sts]
For all sizes, work in charted stitch pattern until your work measures appx 7.5, (10, 12.5, 15) 17.5 cms or 3 (4, 5, 6) 7 ins from cast on edge ending.
DECREASES
Round 1 – [k2tog, k2tog, k1, yo, k1, yo, k1, ssk, ssk] around [81 (99, 108, 117) 126sts]
Round 2 – knit around
Round 3 – knit around
Round 4 – knit around
Round 5 – [k2tog, k2tog, yo, k1, yo, ssk, ssk] around [63 (77, 84, 91) 98sts]
Round 6 – knit around
Round 7 – knit around
Round 8 – knit around
Round 9 – [k2tog, k3, ssk] around [45 (55, 60, 65) 70sts]
Round 10 – knit around
Round 11 – knit around
Round 12 – knit around
Round 13 – [k2tog, k1, ssk] around [27 (33, 36, 39) 42sts]
Round 14 – knit around
Round 15 – knit around
Round 16 – knit around
Round 17 – [k2tog, 1] around [18 (22, 24, 26) 28 sts]
Round 18 – knit around
Round 19 – [k2tog around [9 (11, 12, 13) 14sts]
Do not bind off. Cut yarn leaving a long enough tail to weave in ends. Pull yarn through remaining stitches and cinch the top tight. Weave in ends. Block as desired.
Abbreviations
Bor- beginning of round
k – knit
k2tog -knit 2 stitches together
P – purl
pm – place marker
ssk – slip next st knitwise, slip next st knitwise, place stitches back onto left needle, knit both slipped sts together
sm – slip maker
st – stich
sts – stitchesyo – yarn over

I’d love to hear what you think of this fingering beanie knitting pattern! Let me know in the comments if you’ve tried the Miriam ripple before or if this is your first time working with lace.
This post may contain affiliate links, which means I may earn a small commission at no extra cost to you if you make a purchase through one of these links.