
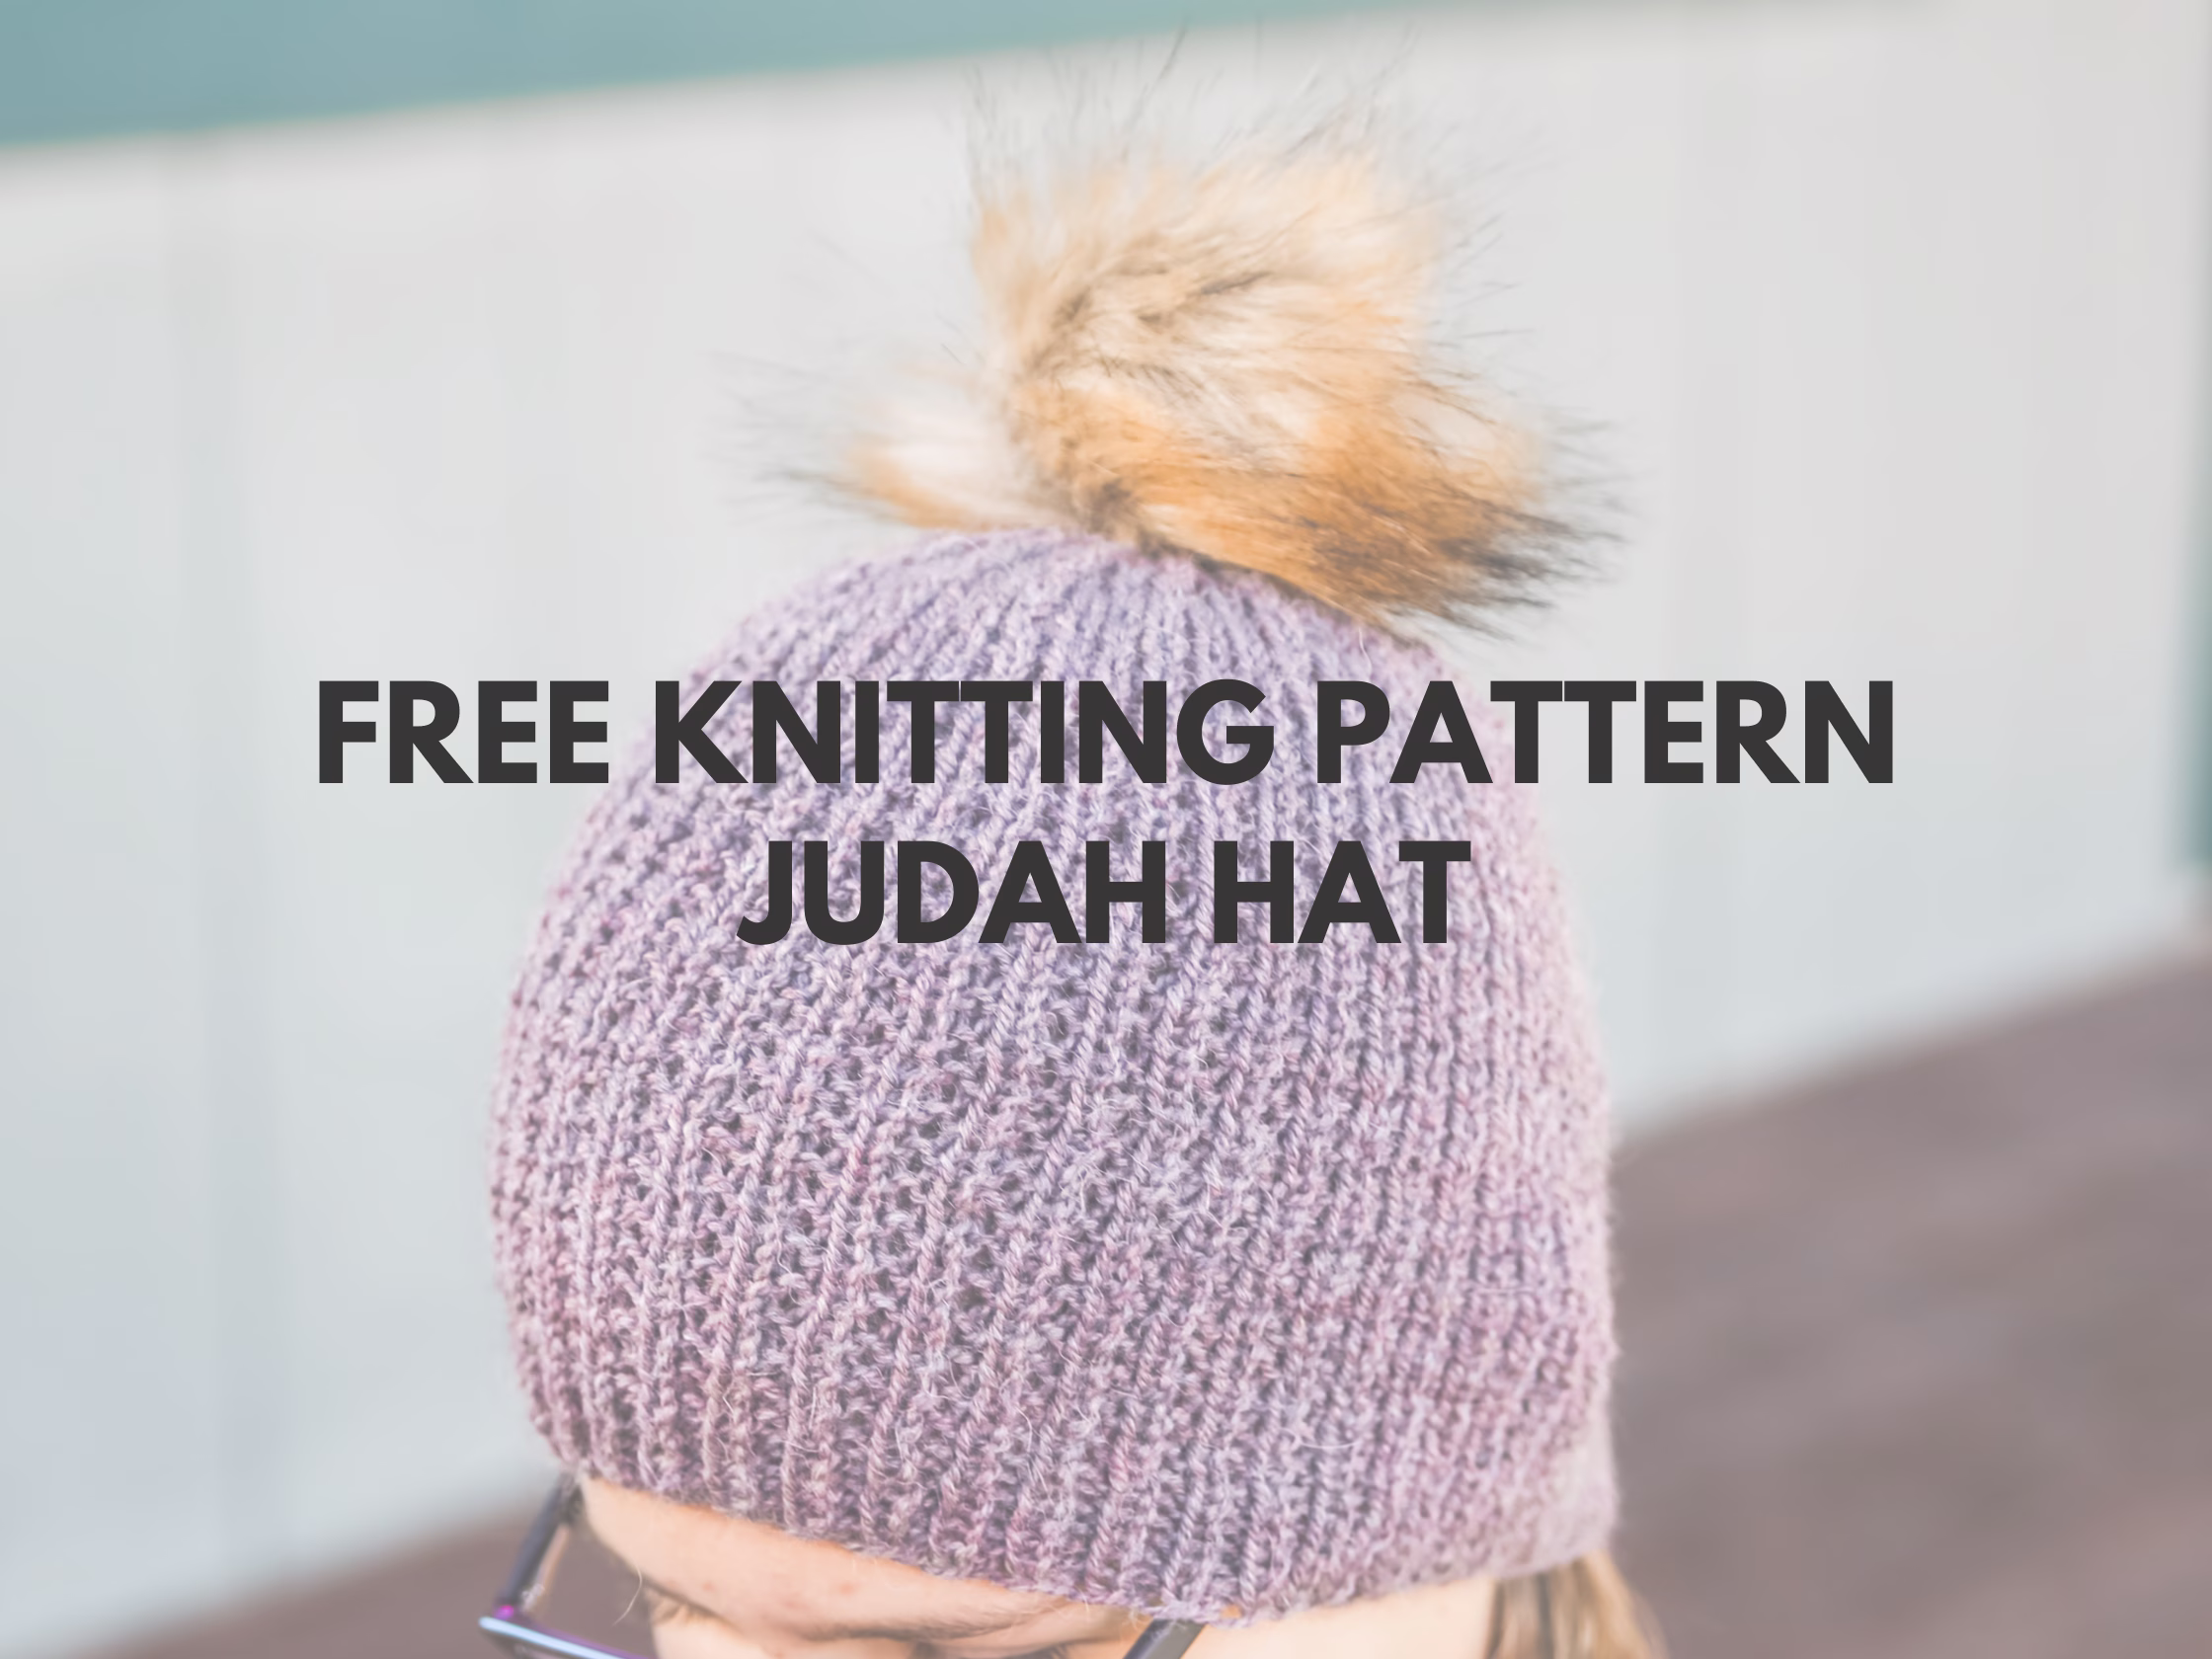
This ribbed hat pattern is part of my growing collection of free hat knitting patterns, designed to give you a simple, wearable project you’ll actually finish and love. If you’ve ever started a hat that felt too complicated or slow, this post solves that problem with a ribbed hat pattern that’s easy to follow and quick to knit. The Judah Hat is built for real life—something you can pick up, enjoy, and finish without overthinking every stitch. Whether you’re knitting for yourself or making gifts, this ribbed hat pattern keeps things approachable while still looking polished.
If you’ve been searching for a ribbed hat pattern that feels relaxing instead of overwhelming, this one fits right in. It’s the kind of project that keeps your hands busy and your mind at ease.

This ribbed hat pattern is all about simple stitches doing the heavy lifting. The texture gives it that finished look without adding extra steps, so you can enjoy the process just as much as the result.
It’s easy to memorize, easy to repeat, and easy to come back to whenever you need a dependable knit.
Don’t forget to pair this ribbed hat pattern with the matching Judah Scarf, which uses the same broken rib texture to create a simple, classic set you’ll reach for all winter.
What materials work best for this ribbed hat pattern?
For this ribbed hat pattern, I used KnitPicks Upcycle Alpaca which is discontinued so a great replacement is Berroco Ultra Alpaca. The alpaca has a soft, slightly fluffy texture that gives the hat warmth without feeling bulky, which is exactly what I want in an everyday piece. Paired with size 7 (4.5mm) needles, it creates a fabric that holds its shape while still having a nice stretch from the ribbing.
This combination works especially well for a ribbed hat pattern because it highlights the texture without making the stitches look stiff. You’ll notice how the broken rib catches light just enough to give the hat depth.

If you’re pulling from your stash, look for a yarn with a similar weight and softness so you get that same balance of structure and comfort. It’s one of those small choices that really changes how often you reach for the finished hat.
How does this ribbed hat pattern come together?
This ribbed hat pattern is worked in the round from the brim up, starting with a classic 1×1 rib before moving into a broken rib texture for the body. The stitch pattern is simple—just knits and purls arranged in a way that adds interest without slowing you down.
Once you get into the rhythm, it becomes the kind of project you can work on while watching a show or chatting with family. The decreases are straightforward too, so you’re not stuck second-guessing the finishing steps.

A helpful tip is to keep your cast-on loose so the brim stays comfortable and stretchy. That small detail makes a big difference in how the hat fits and feels once it’s done.
Looking for more free hat knitting patterns?
If you enjoyed this ribbed hat pattern, there are plenty of other free hat knitting patterns on the blog that follow that same simple, wearable style:
• Everyday Hat Worsted
• Everyday Hat Chunky
• Ribbed Beanie Worsted
• Ezra Beanie
• Michael Beanie
Each one has its own texture and feel, but they all keep the focus on practical designs you’ll actually use.
There’s something really satisfying about building a small collection of go-to hat patterns. Once you find a few you love, you always have something ready to cast on.

So if you’ve been wanting a ribbed hat pattern that’s simple, quick, and worth repeating, the Judah Hat is a great place to start. It’s the kind of project you’ll come back to again and again.
Judah Beanie Free Pattern
Materials Needed: 75-250yds KnitPicks Upcycle Alpaca 219y/100g, size 7 (4.5mm) dpn or circular, yarn needle, stitch marker
Gauge (tension): 20sts & 32 rows in garter stitch to make 10cm square, using size 7(US) 4.5mm needles in stockinette
Sizes (appx head circumference) [appx finished measurements laid flat]:
Newborn (33cms,13ins) [16.5x13cms, 6.5x5ins]
baby (38cms, 15ins) [19×16.5cms, 7.5×6.5ins]
child (46cms,18ins) [23x19cms, 9×7.5ins]
small adult (51cms, 20ins) [25.5x18cms, 10×8.5ins]
large adult (56cms, 22ins) [28x23cms, 11x9ins]
JUDAH BEANIE INSTRUCTIONS
Cast on 60 (72, 84, 96) 108. Join in the round.
Work 2.5cms or 1ins k1p1 ribbing.
Round 1 – Knit 1 around
Round 2 – k1p1 around
Work in rounds 1 and 2 until your work measures appx 9 (10, 14, 17) 19.5 cms or 3.5 (4, 5.5, 6.5) 7.5 ins from cast on edge ending after completing a round 2.
DECREASES
Round 1 – [ssk, k4] around (50 (60, 70, 80) 90sts)
Round 2 – [k2, p1, k1, p1] around
Round 3 – [ssk, k3] around (40 (48, 56, 64) 72sts)
Round 4 – [k1, p1] around
Round 5 – [ssk, k2] around (30 (36, 42, 48) 54sts)
Round 6 – [k2, p1] around
Round 7 – [ssk, k1] around (20 (24, 28, 32) 36sts)
Round 8 – [k1p1] around
Round 9 – [ssk] around (10 (12, 14, 16) 18sts)
Round 10 – knit around
Round 11 – [ssk] around (5 (6, 7, 8) 9sts)
Do not bind off. Cut yarn leaving a long enough tail to weave in ends. Pull yarn through remaining stitches and cinch the top tight. Weave in ends. Block as desired.
Stitch Key:
cms -centimeters
ins – inches
K – knit
p – purl
ssk – slip slip knit – slip the next stitch as if to knit, slip the next stitch as if to knit, knit the 2 slipped stitches together
st(s) – stitch(es)
I’d love to hear from you—do you prefer a snug ribbed fit or something a little slouchy? Drop a comment below and tell me what you’d choose!
This post contains affiliate links. This means I may earn a small commission (at no extra cost to you) if you make a purchase through one of my links. Thank you for supporting my designs and keeping my patterns free!
looks great,I must try do it