
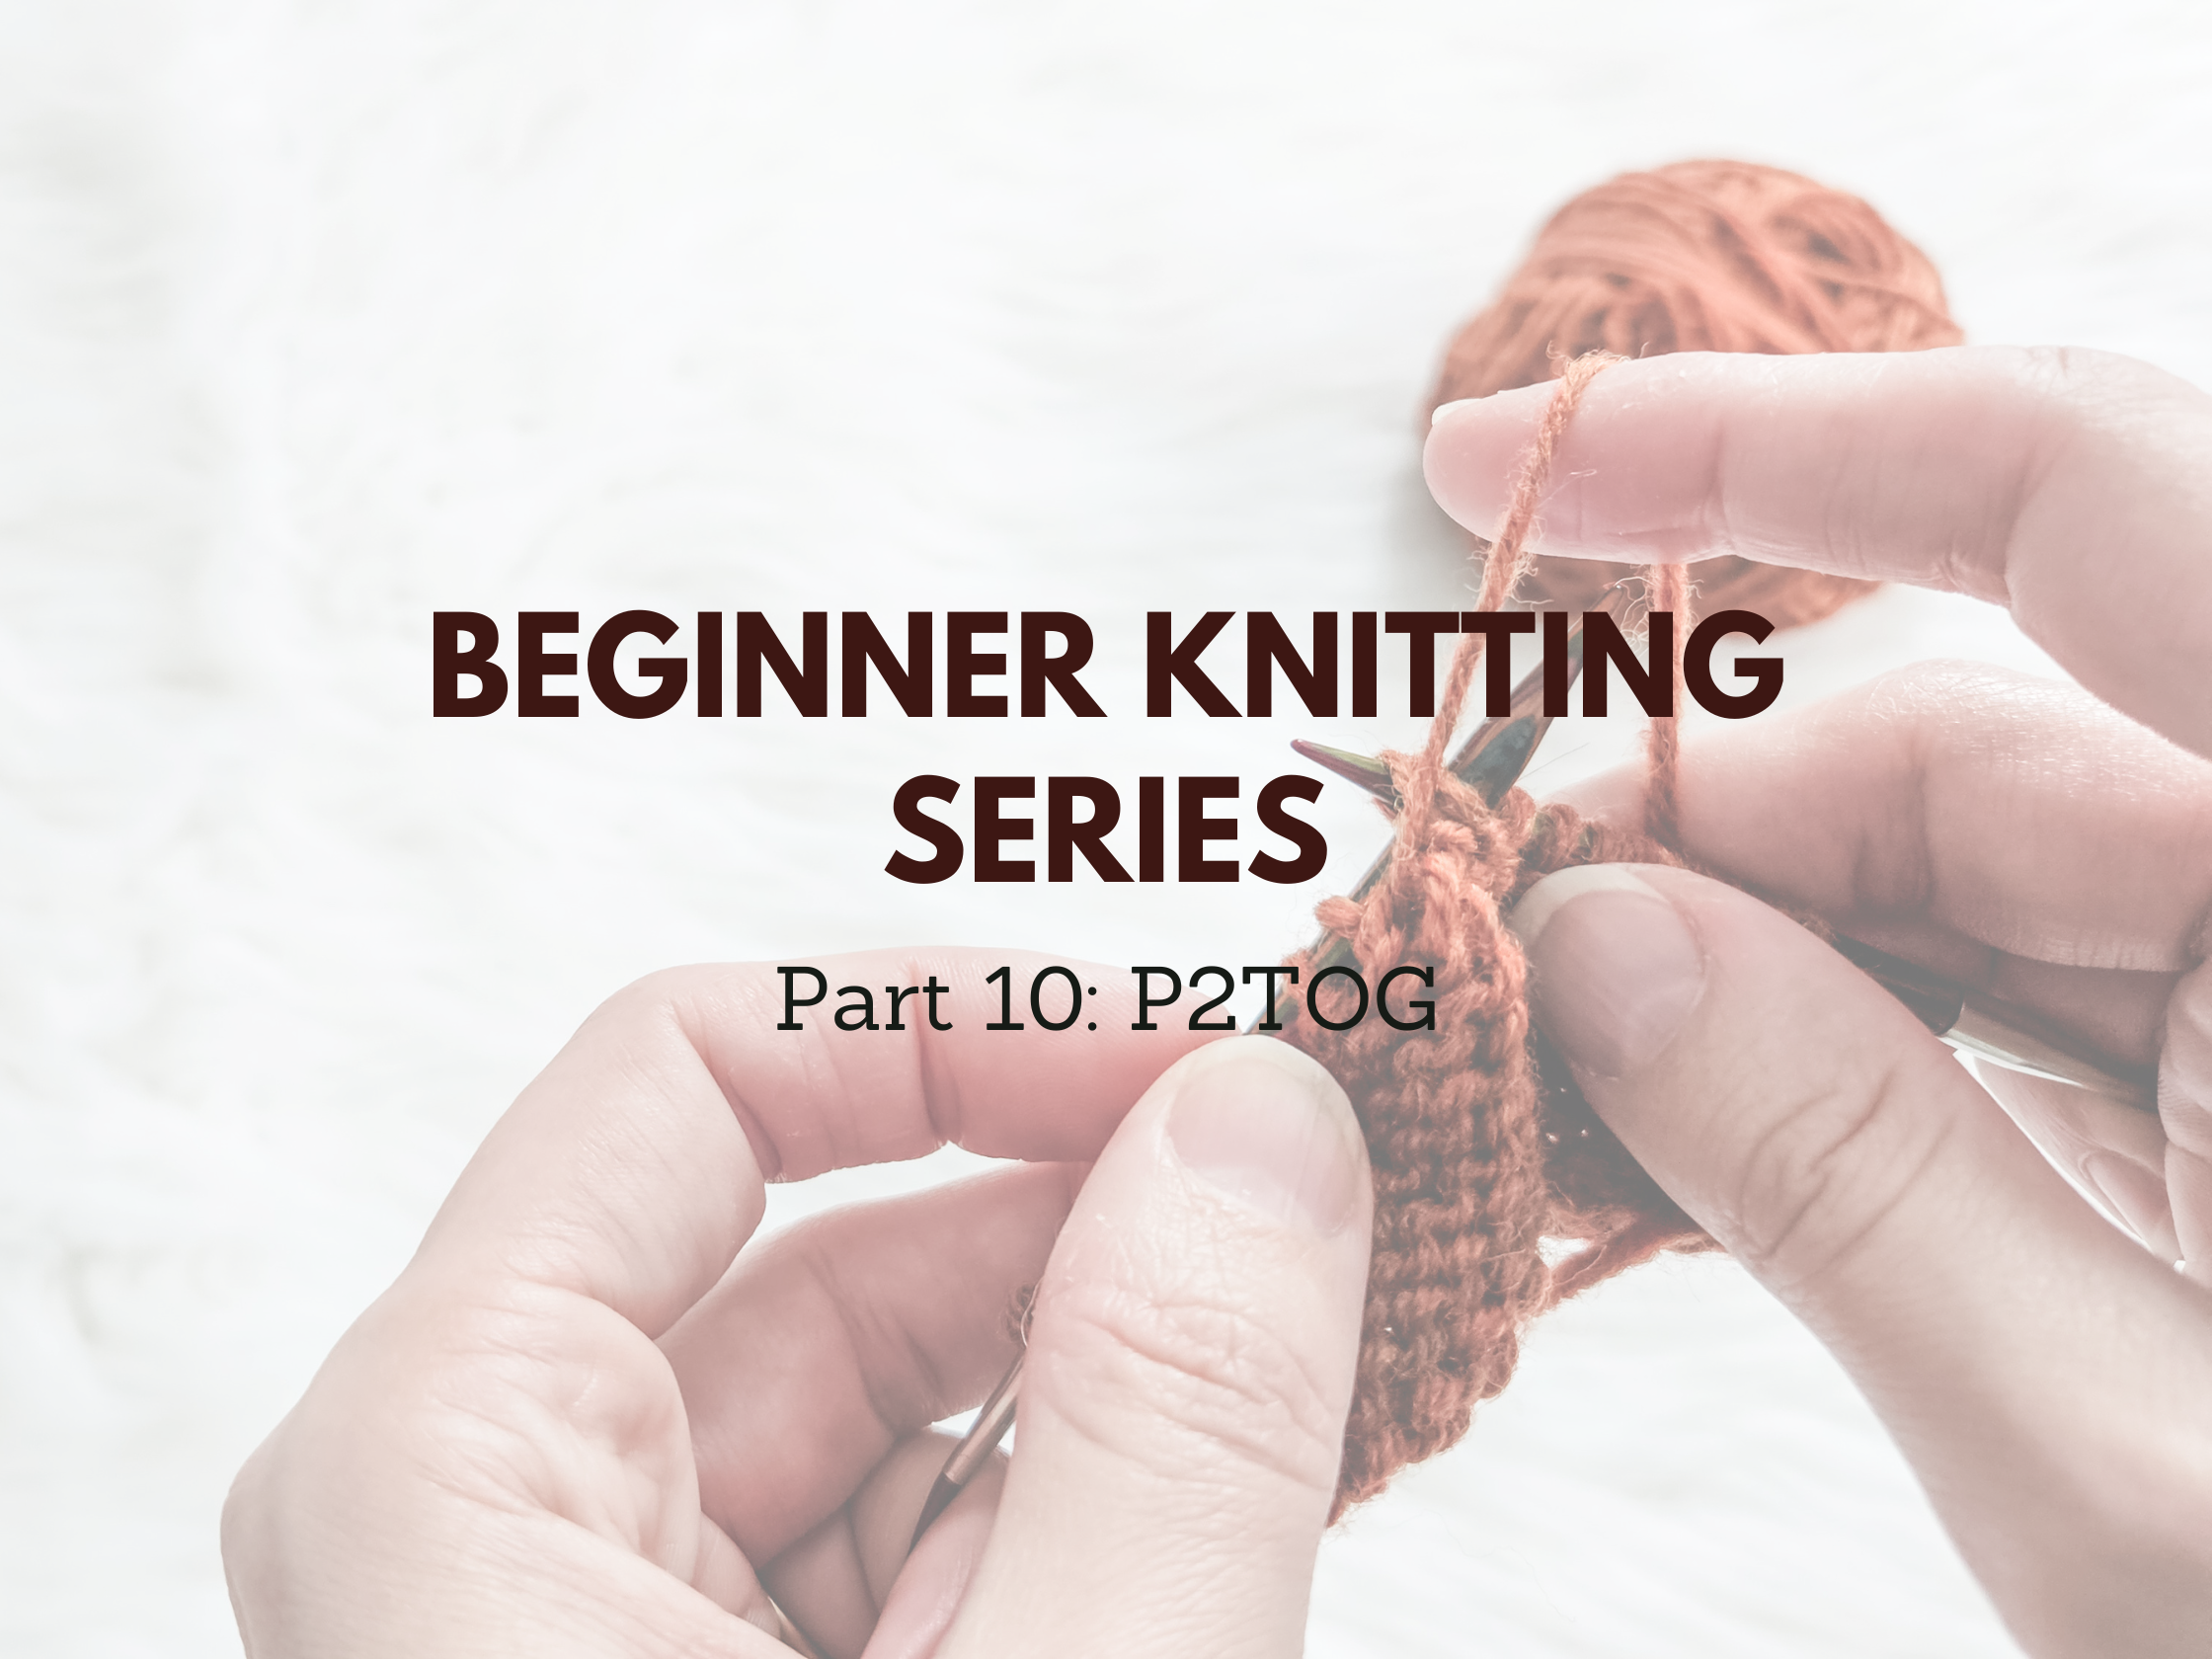
Mastering decreases? Learn how to do the p2tog stitch with my step-by-step guide and video tutorial! Be sure to check out all of our free knitting tutorials here.

If you’ve been following along with my Beginner Knitting Series, you know we’ve covered a lot of ground already! Today, we’re tackling an essential decrease that will take your knitting skills up a notch— the p2tog stitch. This little technique might seem small, but trust me, it makes a big difference in shaping your projects. Whether you’re working on ribbing, lace, or any project that needs a clean and subtle decrease, the p2tog stitch is your new best friend.
In this tutorial, I’ll show you exactly how to do the p2tog stitch, step by step, using Cascade 220 Superwash (affiliate link) and my trusty Knit Picks Needles (affiliate link). If you’re a left-handed knitter, I’ve also got you covered with a dedicated video tutorial on YouTube (more on that later!). So, grab your needles, and let’s get started!
What is the P2TOG Stitch?
Before we dive into how to do the p2tog stitch, let’s break it down. “P2TOG” stands for “purl two together,” which is exactly what it sounds like—a decrease stitch that combines two purl stitches into one. It’s commonly used in patterns that involve purl stitches, such as ribbing or textured stitch patterns.
Unlike the K2TOG (knit two together), which leans right when decreasing, the p2tog stitch is worked on the purl side and creates a decrease that is less noticeable in purl-heavy textures. This is especially useful in garments where you need symmetrical shaping on both knit and purl sides.
Now that we know what it is, let’s get into how to do the p2tog stitch step by step.
How to Do the P2TOG Stitch Step by Step
If you’ve never tried the p2tog stitch before, don’t worry—it’s super simple! Just follow these steps:
Hold your work with the yarn in front – Since this is a purl stitch, make sure your working yarn is positioned in front of the needles.
Insert your right-hand needle – Slide your right-hand needle from right to left into the next two purl stitches on your left-hand needle.

Wrap the yarn around the needle – Just like you would for a regular purl stitch, bring the yarn over the needle counterclockwise.
Purl both stitches together – Use the right-hand needle to pull the yarn through both stitches, creating a single purl stitch.

Slide the old stitches off – The two original stitches are now replaced by one, completing the decrease.

And just like that, you’ve mastered it! If you want a visual demonstration, be sure to check out my left-handed video tutorial on YouTube.
When to Use the P2TOG Stitch
Now that you know how to do the p2tog stitch, let’s talk about when you’ll actually need it.
This stitch is most commonly used in:
- Shaping in ribbing – If you’re making a hat, sweater, or sock with a ribbed section, the p2tog stitch can help decrease stitches while maintaining the ribbing pattern.
- Lace knitting – Some lace patterns call for decreases on the purl side to maintain the design.
- Textured stitch patterns – If a pattern has purl-heavy sections that require a decrease, the p2tog stitch helps keep everything smooth.
- Garment shaping – Need to taper the waist of a sweater or shape the crown of a beanie? This decrease is a great tool.
If you’re following a pattern, it will usually tell you exactly where to place the p2tog stitch, but once you get comfortable, you’ll start spotting places where it just makes sense!
Left-Handed Knitters, I’ve Got You Covered!
As a left-handed knitter myself, I know how hard it can be to find tutorials that actually make sense for us. That’s why I created a left-handed video tutorial on how to do the p2tog stitch. In this video, I show you exactly how to hold your yarn and needles to make the decrease smooth and easy.
If you’ve ever struggled with decrease stitches because they just don’t seem to look right, this tutorial will help clear things up. Whether you’re new to knitting or just need a refresher, you’ll find it super helpful. Be sure to check it out on my YouTube channel and subscribe for more left-handed knitting tips!
Troubleshooting Common P2TOG Mistakes
Even though this decrease is straightforward, mistakes happen! Here are a few common issues and how to fix them:
- The stitch feels too tight – Try keeping a looser tension when inserting the needle. If your stitches are too snug, it can be tough to work the decrease.
- The decrease looks uneven – Double-check that you’re inserting the right-hand needle into both stitches properly. If one stitch is twisted, the decrease won’t sit right.
- It doesn’t match my other decreases – If you’re combining p2tog with other decreases, make sure the placement is correct for symmetry in your pattern.
- The stitch disappears – If you accidentally drop a stitch while working the p2tog stitch, pick it up with a crochet hook before moving on.
The more you practice, the easier it gets. Keep at it!
Practice Pattern: Try the P2TOG Stitch in a Swatch
Want to get comfortable with how to do the p2tog stitch before using it in a full project? Try this simple swatch pattern:
Materials:
Pattern Instructions:
- Cast on 30 stitches
- Row 1: K2, P2 across
- Row 2: P2, K2 across
- Repeat Rows 1 & 2 until swatch measures 4 inches
- Decrease Row: P2TOG, P2 across
- Knit one more row in pattern
- Bind off and weave in ends
This small practice piece will help you get comfortable with the stitch before using it in a bigger project.
Final Thoughts on How to Do the P2TOG Stitch
I hope this guide helped you feel more confident in how to do the p2tog stitch! It’s one of those tiny but mighty techniques that will make your knitting look polished and professional. Whether you’re working on ribbing, lace, or garment shaping, the p2tog stitch is a skill every knitter should have in their toolbox.
If you tried this tutorial, I’d love to hear from you! Drop a comment below and let me know how it went. Did you find the p2tog stitch easy? Did you run into any challenges? Let’s chat in the comments!
Happy knitting!
Affiliate Disclaimer: This post contains affiliate links. If you purchase through these links, I may earn a small commission at no extra cost to you. Thank you for supporting my blog!