
I’m always on the lookout for functional yet beautiful accessories that I can knit myself. Lately, I’ve been obsessed with knitting practical pieces that can be used every day, and I was inspired to create this Cable Crossbody Bag Free Knitting Pattern. This project became one of my favorite knitting experiences, and while I intended to keep it for myself, well… things didn’t quite go as planned! But more on that later.

The Perfect Blend of Style and Function
What makes this free knit bag pattern stand out from others is its combination of intricate yet subtle details that give the bag a modern, chic look. The centerpiece of this design is a lovely cable pattern that runs down the front and back, adding a touch of texture and elegance without being too fussy. The bag’s shape is formed using a raglan-style “make one” increase along the sides, which not only creates the perfect depth and size but also keeps the knitting process interesting.
For the yarn, I chose KnitPicks CotLin. This cotton/linen blend was a dream to work with—it’s sturdy yet soft, which made it ideal for a durable, long-lasting bag. The linen fibers give the yarn strength and structure, while the cotton adds softness and a bit of drape. I wanted a material that could withstand frequent use, and this yarn didn’t disappoint. It also comes in so many gorgeous colors that it was hard to choose! I finally settled on a soft, neutral tone that would match almost any outfit.

The Unique Features of This Free Knit Bag Pattern
One of the best things about this free knit bag pattern is its versatility. The cable panel is eye-catching enough to make the bag stand out, but the rest of the design is clean and minimal. The raglan increases along the sides give the bag a structured, triangular shape, which looks modern and sleek without being bulky.
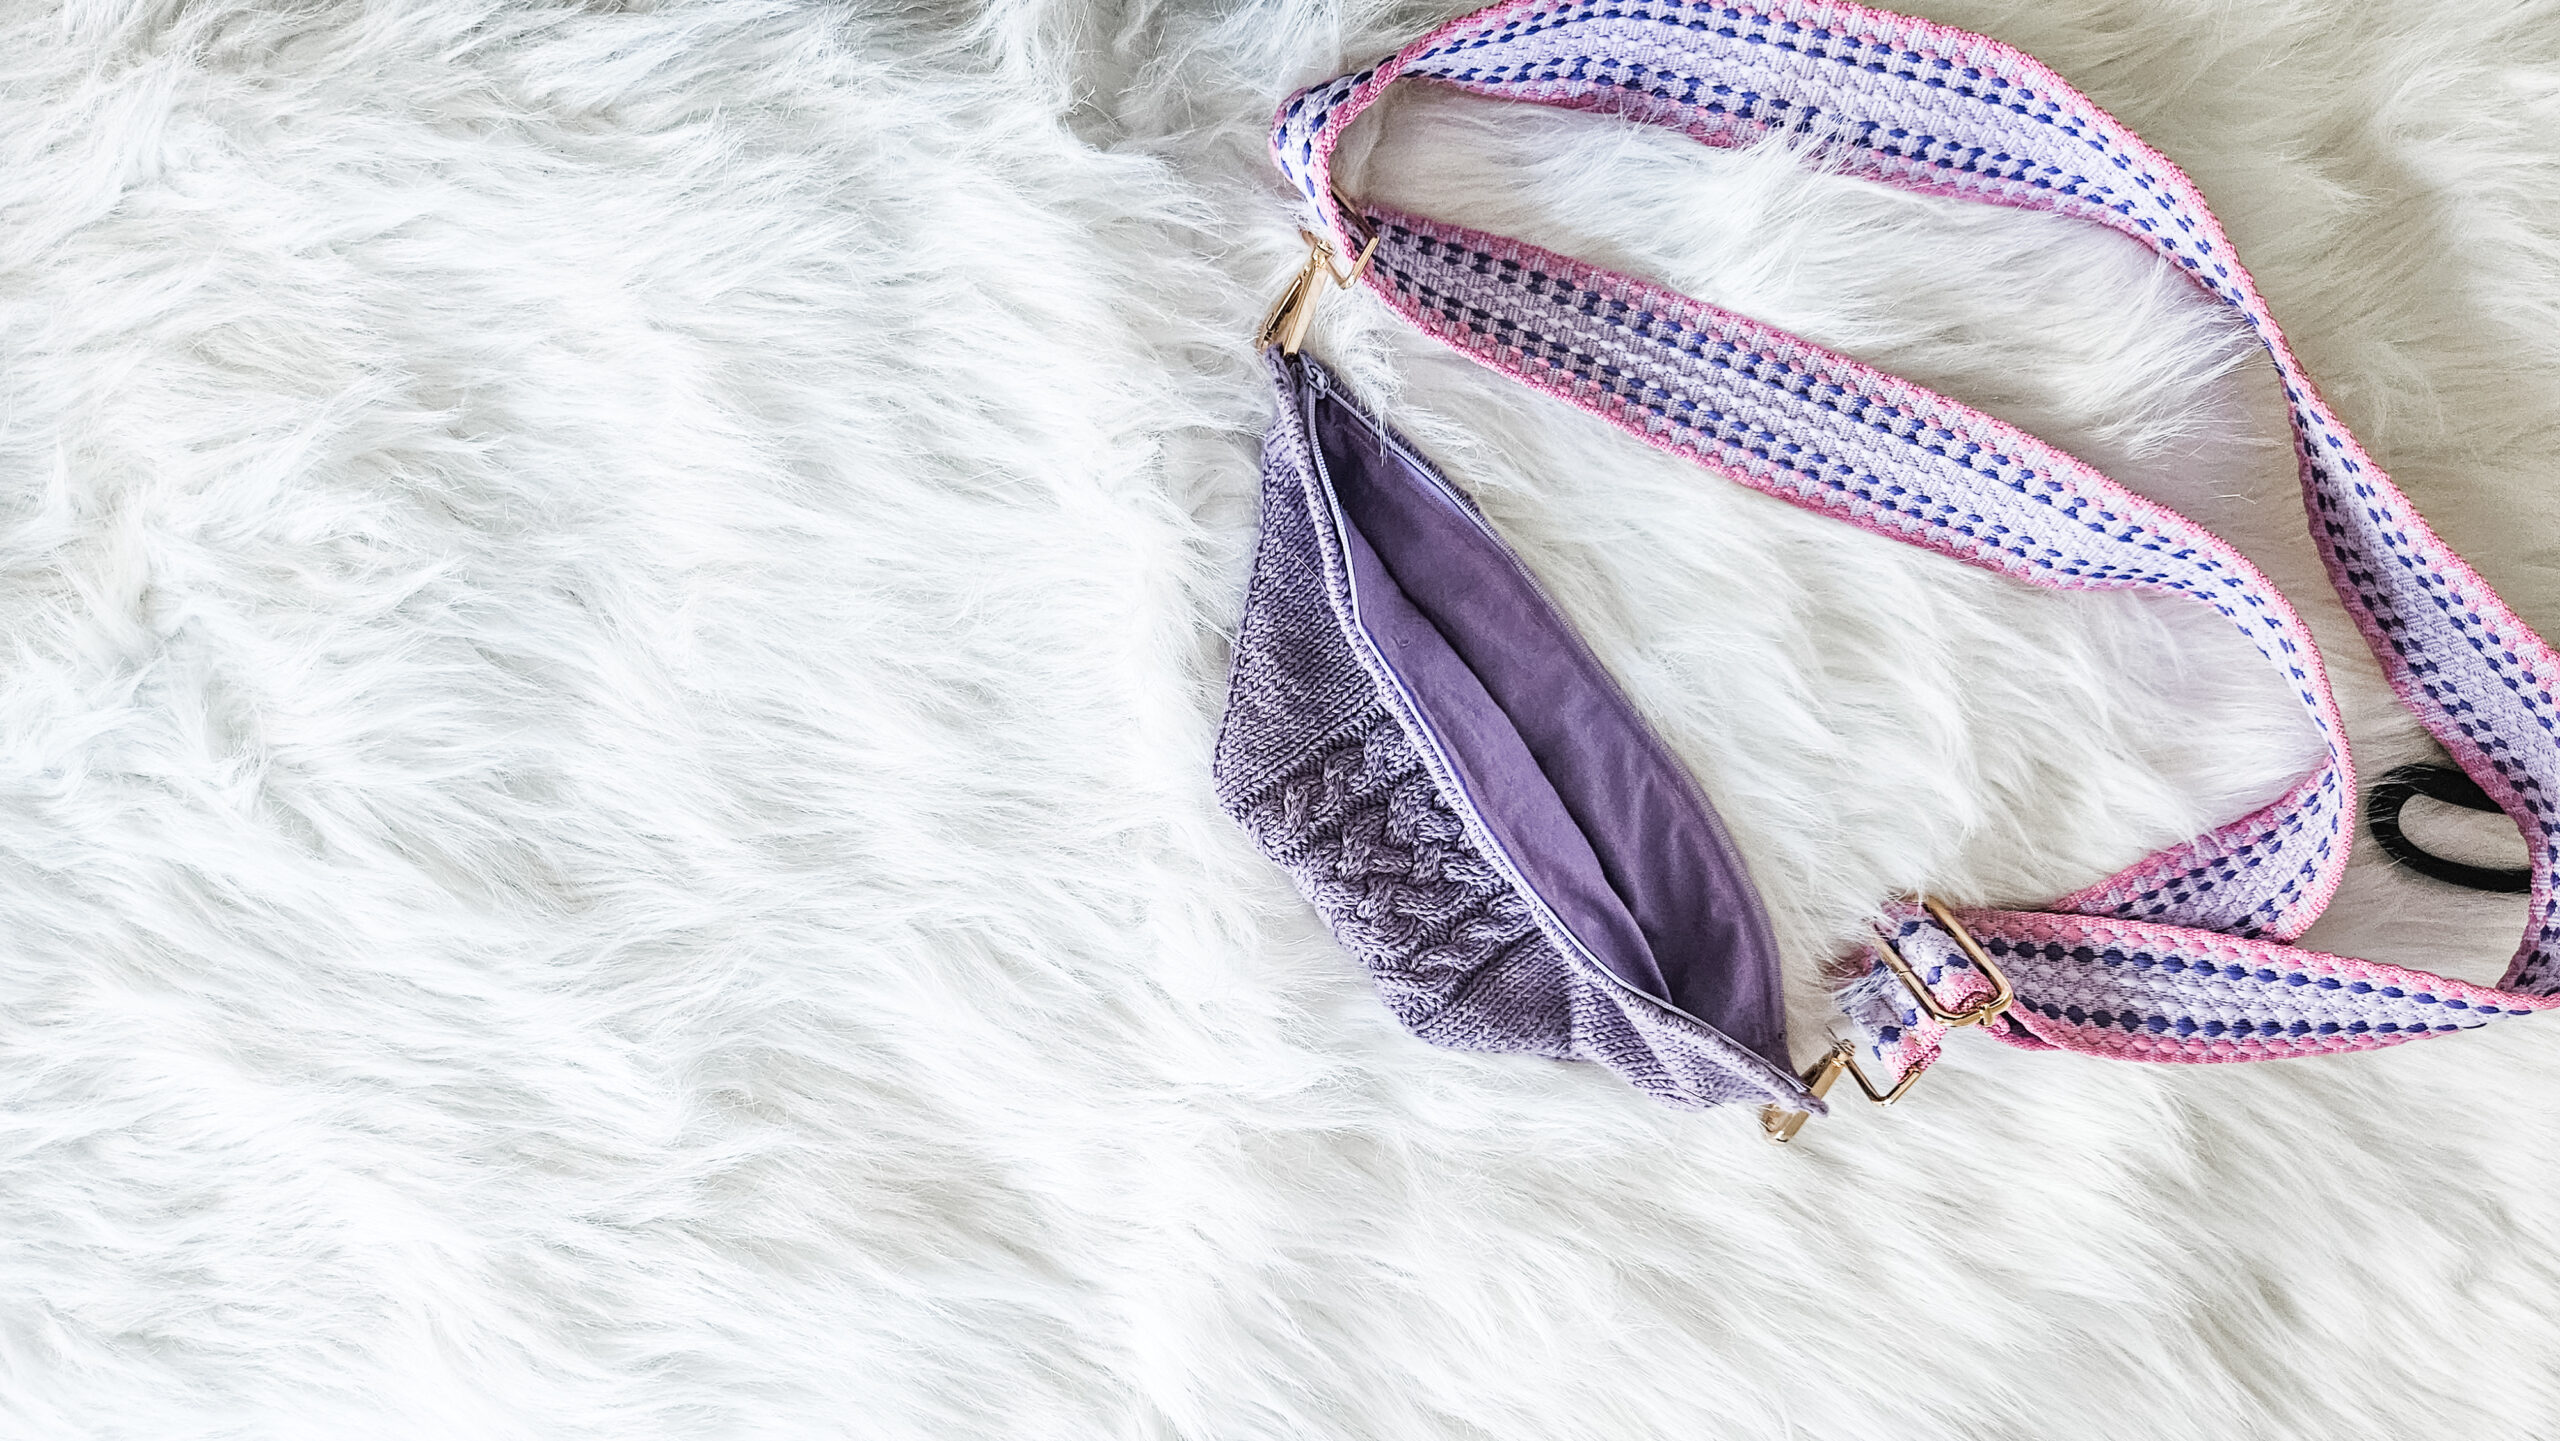
There’s also an optional sewn cloth lining with a zipper—because who doesn’t love a little extra polish on their handmade accessories? I know that some knitters shy away from sewing, but trust me, adding a lining is well worth the effort. It not only gives the bag a professional finish but also adds durability, making it better suited for carrying everyday essentials.
The pattern also includes a loop where you can attach any purse strap you like. I found a fantastic strap on Amazon that worked perfectly with my finished bag. However, if you prefer to knit your own strap or use something more unique like a colorful fabric or chain, the loop gives you that flexibility.

Knitting Process: Challenging Yet Rewarding
When I sat down to knit this bag, I was excited but a bit nervous about the cable center panel. Cables can sometimes feel intimidating, especially if you’re relatively new to them, but this free knit bag pattern keeps things manageable with simple, repetitive stitches that quickly become familiar. The raglan increases were also a new technique for me in a non-garment project, but I was thrilled with how they worked to create the bag’s shape. It felt like a fresh and clever way to build dimension into a knit accessory.
The rest of the bag is done in plain stockinette, which allowed me to settle into a nice rhythm once the cables were set up. There’s something so soothing about watching a project like this come together, stitch by stitch.

A Fun Twist: From My Closet to My Daughter’s
Now, here’s the fun part. I originally made this bag for myself—I had visions of carrying it to all sorts of outings, from running errands to casual brunches. But as soon as I finished, my daughter saw it and immediately fell in love. How could I say no to that? She’s always been a big fan of my knitting, and she often helps me pick out yarn and patterns, so it wasn’t a huge surprise when she asked if she could have the bag.
I have to admit, it looks fantastic on her! The neutral tone I chose for the yarn goes perfectly with her style, and she loves the cable design as much as I do. I could see how happy it made her, so of course, I handed it over without a second thought. Besides, it’s always a good excuse to knit another one, right? I already have my eye on a bright, fun color for the next version!

Customizing Your Own Free Knit Bag Pattern
The beauty of this free knit bag pattern is how easily customizable it is. If cables aren’t your thing, you could substitute a different texture or stitch pattern in the center panel. The raglan increases and the basic bag construction are adaptable to different styles, so feel free to get creative with your yarn choices or embellishments.
You can also play around with the size by adjusting the number of increases or even changing the yarn weight. A chunkier yarn would make for a bulkier, more substantial bag, while a finer yarn could give you a smaller, more delicate version. And don’t forget that strap—I went with a leather strap, but the possibilities are endless.

The Optional Lining and Zipper
Although it’s totally optional, I highly recommend adding the sewn cloth lining and zipper to your bag. Not only does it give the bag a polished, finished look, but it also makes it much more practical. The lining prevents any small items from slipping through the stitches, and the zipper adds an extra level of security when you’re out and about.
If you’re nervous about sewing, don’t be! I’m not a master seamstress by any means, but the process was pretty straightforward. I just measured the inside of the bag, cut my fabric to size, and hand-sewed it into place. Adding the zipper was a similar process—just take your time, and you’ll be surprised how professional your finished bag will look.

Final Thoughts
This Crossbody Bag Free Knitting Pattern is one of my all-time favorite projects. Not only is it practical and stylish, but it’s also a fantastic way to showcase your knitting skills. The combination of cables, raglan increases, and optional lining makes it both fun to knit and functional to use.
Whether you make it for yourself or end up giving it to someone special like I did, this free knit bag pattern is sure to be a hit. I can’t wait to cast on another one for myself (this time, I’ll try to actually keep it!). So grab your needles, pick your favorite yarn, and let’s get knitting!

Materials and Info
MATERIALS AND INFO
Materials: 1 skein of KnitPicks Cotlin, yarn needle, stitch markers, crossbody bag strap, 12 in zipper, a fat quarter of a matching fabric, thread, needle (or you can use a sewing machine if you have one!)
Needle Size: 5(US) 3.75mm needles
Gauge (tension): 24sts to make 10cm across
Finished Chest Measurement: 31cms across top x 11cms across bottom x 13cms tall
METHOD
This pattern is worked bottom up, working in the round. The bottom (cast on edge) is sewn shut after completed. I like to add a fabric lining to keep the bag from stretching but that is not required. Here is a link to a youtube video how I added my fabric lining.

Cable A
Row 1 – p2, k4, p2
Row 2 – p2, k4, p2
Row 3 – p2, c2b, p2
Row 4 – p2, k4, p2
Row 5 – p2, k4, p2
Row 6 – p2, k4, p2

Cable B
Row 1 – knit across
Row 2 – knit across
Row 3 – k3, c3f, c3f
Row 4 – knit across
Row 5 – knit across
Row 6 – knit across
Row 7 – c3b, c3b, k3
Row 8 – knit across

Cable C
Row 1 – p2, k4, p2
Row 2 – p2, k4, p2
Row 3 – p2, c2f, p2
Row 4 – p2, k4, p2
Row 5 – p2, k4, p2
Row 6 – p2, k4, p2
ABBREVIATIONS
k – knit
P – purl
pm – place marker
sm – slip marker
bor – beginning of round
m1l – make 1 left
m1r – make 1 right
yo – yarn over
st – stitch
c2b – place 2 sts on cable needle, hold in back, knit 2 sts from working needle, knit 2 sts from cable needle.
C2f – place 2 sts on cable needle, hold in front, knit 2 sts from working needle, knit 2 sts from cable needle.
C3b – place 3 sts on cable needle, hold in back, knit 3 sts from working needle, knit 3 sts from cable needle.
C3f – place 3 sts on cable needle, hold in front, knit 3 sts from working needle, knit 3 sts from cable needle.

Cable Crossbody Bag Knitting Pattern
MAIN BODY OF BAG
Cast on 70sts
Set-up round – k2, p2, k4, p2, k15, p2, k4, p2, k2, pm, k2, p2, k4, p2, k15, p2, k4, p2, k2
Round 1 – k1, m1l, k1, cable a chart, cable b chart, cable c chart, k1, m1r, k1, sm, k1, m1l, k1, cable a chart, cable b chart, cable c chart, k1, m1r, k1,
Round 2 – knit to cable a, work cable a, b and c, knit to marker, sm knit to cable a, work cable a, b and c, knit to bor marker
Continue working rounds 1 and 2 until you have worked a total of 22 increases.
HEM
Knit for 5 rounds
Fold over hem and sew it down.
I-CORD LOOP (make 2)
Work an i-cord for 6 rows leaving a long enough tail on the cast on and bind off.
Sew the loop to the inside where the increase sections created corners at the top. This will make a loop to attach your bag strap.
FINISHING
Sew bottom cast on edge closed.
OPTIONAL LINING
Fold the fat quarter in half, place your bag down and draw about a half centimeter bigger than the bag (this gives you a seam allowance). Cut the fabric out. With right sides together sew the side and bottom edges of the fabric. (it doesn’t need to be perfect since it will be inside the bag.) You can use a sewing machine here if you have one. Leave the top open.
Place your cloth bag inside your knit bag. I highly suggest tacking the cloth bag down in a few spots along the increase edge and the bottom seam.
When adding your zipper place it between the knit bag and cloth bag, pin it, and sew well. Again, a sewing machine can be used here. You can hide your zipper seam in the hem seam.
Weave in all ends. Load with all of your necessities and enjoy!

Cable Crossbody Bag PDF
Disclaimer: This page contains affiliate links. If you choose to make a purchase after clicking a link, I may receive a commission at no additional cost to you. Thank you for your support!