
Looking for a quick and cozy bulky knit ear warmer pattern? Find this one at the bottom and more on my hat pattern page!

Sometimes, a crochet design just begs to be translated into knitting—and that’s exactly what happened with the Cindy Lo Ear Warmer. I kept seeing this wide, whimsical, messy-bun-ready crochet headband pop up everywhere, and I finally caved. I had to make a knit version. So, I grabbed my needles and some squishy yarn and got to work on what would become one of my favorite winter accessories: a bulky knit ear warmer pattern that combines style, warmth, and that fun top-open flair.
If you’re on the hunt for a bulky knit ear warmer pattern that’s beginner-friendly, fast to make, and cute enough to gift, this is it. And yep—this exact pattern is waiting for you at the bottom of the post. But if you’re in the mood to browse a few more cozy makes, I’ve got a whole collection of options on the free hat pattern page!

Why I Fell in Love With This Bulky Knit Ear Warmer Pattern
It all started with a messy bun. No really—this bulky knit ear warmer pattern is perfect for high ponytail and topknot lovers like me. There’s just something genius about leaving the top open while keeping your ears warm. I loved the original crochet version (shoutout to the Cindy Lo original), but my knitting brain kicked in and said, Let’s make it with needles instead of a hook.
And that’s how this bulky knit ear warmer pattern was born. It’s squishy, fast to make, and absolutely adorable perched atop a bun or peeking out from under a puff of curls.

The Yarn That Made It Happen
For this project, I reached for Lion Brand Thick and Quick yarn (affiliate link)—a go-to in my winter knitting stash. It’s chunky, soft, and makes anything look instantly cozy. Plus, it knits up so fast. I mean, blink twice and your ear warmer’s already halfway done.
This bulky knit ear warmer pattern truly shines when you use a thick yarn that holds structure without feeling stiff. Thick and Quick delivered that balance, and I loved playing with the different color options (affiliate link).

Designing the Cindy Lo: Knit Edition
When I started sketching out ideas for this bulky knit ear warmer pattern, I knew it needed to be:
- Wide enough to fully cover your ears
- Soft and stretchy
- Open at the top (because buns deserve the spotlight too)
- Beginner-friendly but still textured enough to feel special
I went through a few swatches before I landed on a simple, elegant texture that gives the ear warmer just enough visual interest. No overly complicated stitches here—just a pretty, knittable design that even newer knitters can tackle with confidence.

The Knitting Process
There’s something so satisfying about a project that doesn’t drag on for days. This bulky knit ear warmer pattern takes just a couple of hours—even with breaks for snacks or chasing toddlers.
I cast on using size 13 needles with my Thick and Quick yarn (affiliate link) and immediately got into that cozy knitting zone. It’s knit flat and then seamed, with the top left open. That means no shaping, no fancy tricks—just knit, bind off, seam, and you’re done.
If you’re looking for a relaxing evening project, this bulky knit ear warmer pattern is your new best friend.
Customizing Your Bulky Knit Ear Warmer Pattern
One of my favorite things about this pattern is how easy it is to make it your own.
- Striped version? Yes, please.
- Ombre yarn? Stunning.
- Add a bow or pompom on the front? Why not!
I even tried one with a simple garter stitch bow tacked to the front and got so many compliments, you’d think I’d invented knitting. That’s the power of a good bulky knit ear warmer pattern—it lets your creativity shine.

The Final Knit
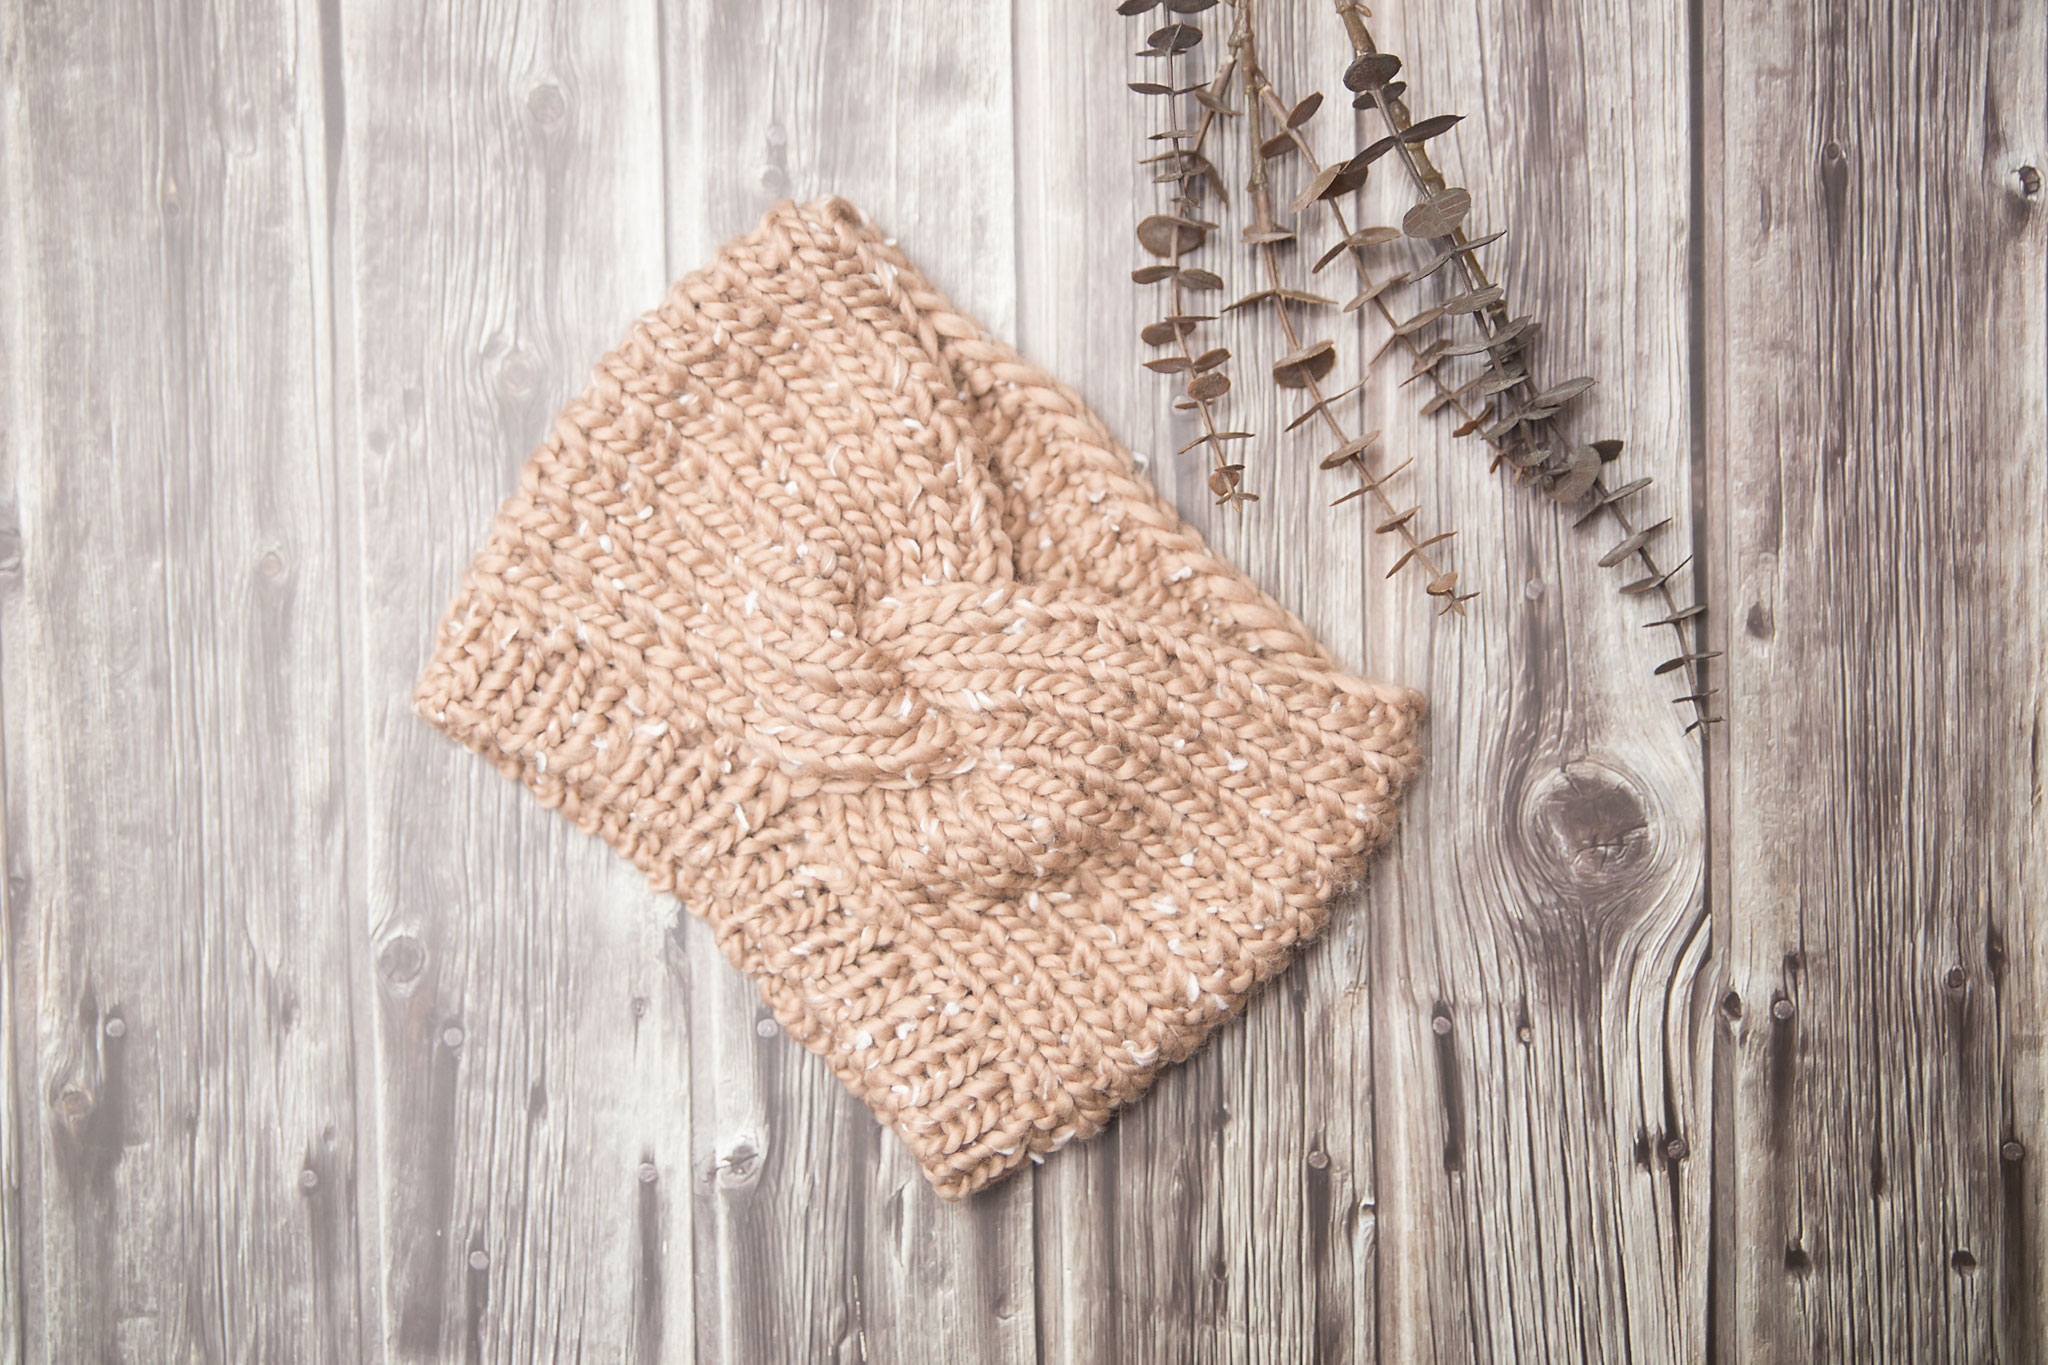
After a few fun hours, my Cindy Lo-inspired ear warmer was complete. The Thick and Quick yarn (affiliate link) made it soft, fluffy, and thick enough to block the chill without being too bulky. It sits snugly on the head, covers the ears beautifully, and lets my high bun peek through like a little crown.
If you’re anything like me and get tired of choosing between cute hairstyles and warm ears—this bulky knit ear warmer pattern is going to be your winter MVP.
Who Should Try This Bulky Knit Ear Warmer Pattern?
Honestly? Anyone. But here’s a quick breakdown:
- Newbie knitters looking for a first or second project that doesn’t feel too plain
- Gift givers who need a last-minute handmade present
- Moms (hi!) who need five of these in five colors because your daughters keep swiping them
- People who hate hat hair but still want warm ears
It checks all the boxes. And the chunky yarn means it’s just as fun to knit as it is to wear.

Pattern at the Bottom, More at the Link
If you’re excited to try this bulky knit ear warmer pattern, you’ll find the full pattern at the bottom of this post. And if you’re in the mood to browse a few more cozy accessories, check out my full library of hat and ear warmer patterns right here.
I’ve packed that page with beginner-friendly, fun-to-knit, totally giftable patterns. You might just find your next favorite there.
Final Thoughts on This Bulky Knit Ear Warmer Pattern
Knitting the Cindy Lo Ear Warmer brought together everything I love about designing: inspiration from beautiful handmade pieces, quick and satisfying projects, and the chance to add my own creative twist. It’s one of those patterns that reminds me how fun knitting can be—especially when you end up with something that’s both practical and pretty.
So whether you’re knitting for yourself, your best friend, or your whole crew of messy bun queens, I hope this bulky knit ear warmer pattern brings you as much joy as it brought me.
Happy knitting, and don’t forget to tag me if you make one—I’d love to see your color combos and personal touches!

Material and Info
Yarn –1 skein any super bulky weight (size 6) yarn (affiliate link)
Gauge – 7st per 2in or 5cm in 1×1 broken rib pattern
Needles – 10 (6mm) straight and circular or dpn
Sizes – (baby, toddler), (child, ladies)
Head Measurement – (35-40, 40-45), (45-50, 50-55) cms or (14-16, 16-18), (18-20, 20-22) ins
Other –yarn needle

Cindy Lo Ear Warmer Pattern
BABY
Cast on 11sts with straight needles. I used long tail cast on because it leaves a defined edge to sew with.
Row 1 – [k1, p1] across to last st, k1
Row 2 – knit across
Repeat row 1 and 2 until your work measures appx 14insins (35cms) ending after completing a row 1.
Bind off. Leave a tail that is appx 10-12ins for sewing.
Sew your headband together by following the tutorial at the end of the pattern.
With circular of dpn starting on the opposite side of the headband from the sewn edge, with right side facing out, pick up and knit 2sts for every 3 rows. Make sure to end with an even number of stitches on your needles. Join in the round.
Work in a k1, p1 ribbing for 1in (2.5cms).
Bind off using your favorite stretchy bind off. I love a sewn bind off for a nice, finished edge.

TODDLER
Cast on 15sts with straight needles. I used long tail cast on because it leaves a defined edge to sew with.
Row 1 – [k1, p1] across to last st, k1
Row 2 – knit across
Repeat row 1 and 2 until your work measures appx 16ins (40cms) ending after completing a row 1.
Bind off. Leave a tail that is appx 10-12ins for sewing.
Sew your headband together by following the tutorial at the end of the pattern.
With circular of dpn starting on the opposite side of the headband from the sewn edge, with right side facing out, pick up and knit 2sts for every 3 rows. Make sure to end with an even number of stitches on your needles. Join in the round.
Work in a k1, p1 ribbing for 1in (2.5cms).
Bind off using your favorite stretchy bind off. I love a sewn bind off for a nice, finished edge.

CHILD
Cast on 17sts with straight needles. I used long tail cast on because it leaves a defined edge to sew with.
Row 1 – [k1, p1] across to last st, k1
Row 2 – knit across
Repeat row 1 and 2 until your work measures appx 18ins (45cms) ending after completing a row 1.
Bind off. Leave a tail that is appx 10-12ins for sewing.
Sew your headband together by following the tutorial at the end of the pattern.
With circular of dpn starting on the opposite side of the headband from the sewn edge, with right side facing out, pick up and knit 2sts for every 3 rows. Make sure to end with an even number of stitches on your needles. Join in the round.
Work in a k1, p1 ribbing for 1in (2.5cms).
Bind off using your favorite stretchy bind off. I love a sewn bind off for a nice, finished edge.

LADIES
Cast on 21sts with straight needles. I used long tail cast on because it leaves a defined edge to sew with.
Row 1 – [k1, p1] across to last st, k1
Row 2 – knit across
Repeat row 1 and 2 until your work measures appx 20ins (50cms) ending after completing a row 1.
Bind off. Leave a tail that is appx 10-12ins for sewing.
Sew your headband together by following the tutorial at the end of the pattern.
With circular of dpn starting on the opposite side of the headband from the sewn edge, with right side facing out, pick up and knit 2sts for every 3 rows. Make sure to end with an even number of stitches on your needles. Join in the round.
Work in a k1, p1 ribbing for 1in (2.5cms).
Bind off using your favorite stretchy bind off. I love a sewn bind off for a nice, finished edge.
How to Sew the Twist Knot in the Front:
Step 1 – Fold your completed and bound off length in half right sides together lengthwise

Step 2 – Bring the cast on edge and bound off edge together and interweave them.

Step 3 – Sew through all 4 layers.
Cindy Lo Ear Warmer PDF
Disclaimer: This page contains affiliate links. If you choose to make a purchase after clicking a link, I may receive a commission at no additional cost to you. Thank you for your support!