
Knit up some woodland charm! The Little Rascal Raccoon Beanie pattern is at the bottom—find more photo prop patterns here!

As a knitter and photographer, there’s nothing quite like combining your two passions to create something truly special. Newborn photography props are always in demand, and creating them yourself adds a personal touch that can make your photoshoots even more memorable. Today, I’m excited to share with you the Little Rascal Raccoon Beanie, a free knitting pattern that’s perfect for newborn photo sessions. Crafted with KnitPicks Brava yarn, this beanie is not only adorable but also practical, easy to care for, and delightful to knit.
The Inspiration Behind the Little Rascal Raccoon Beanie
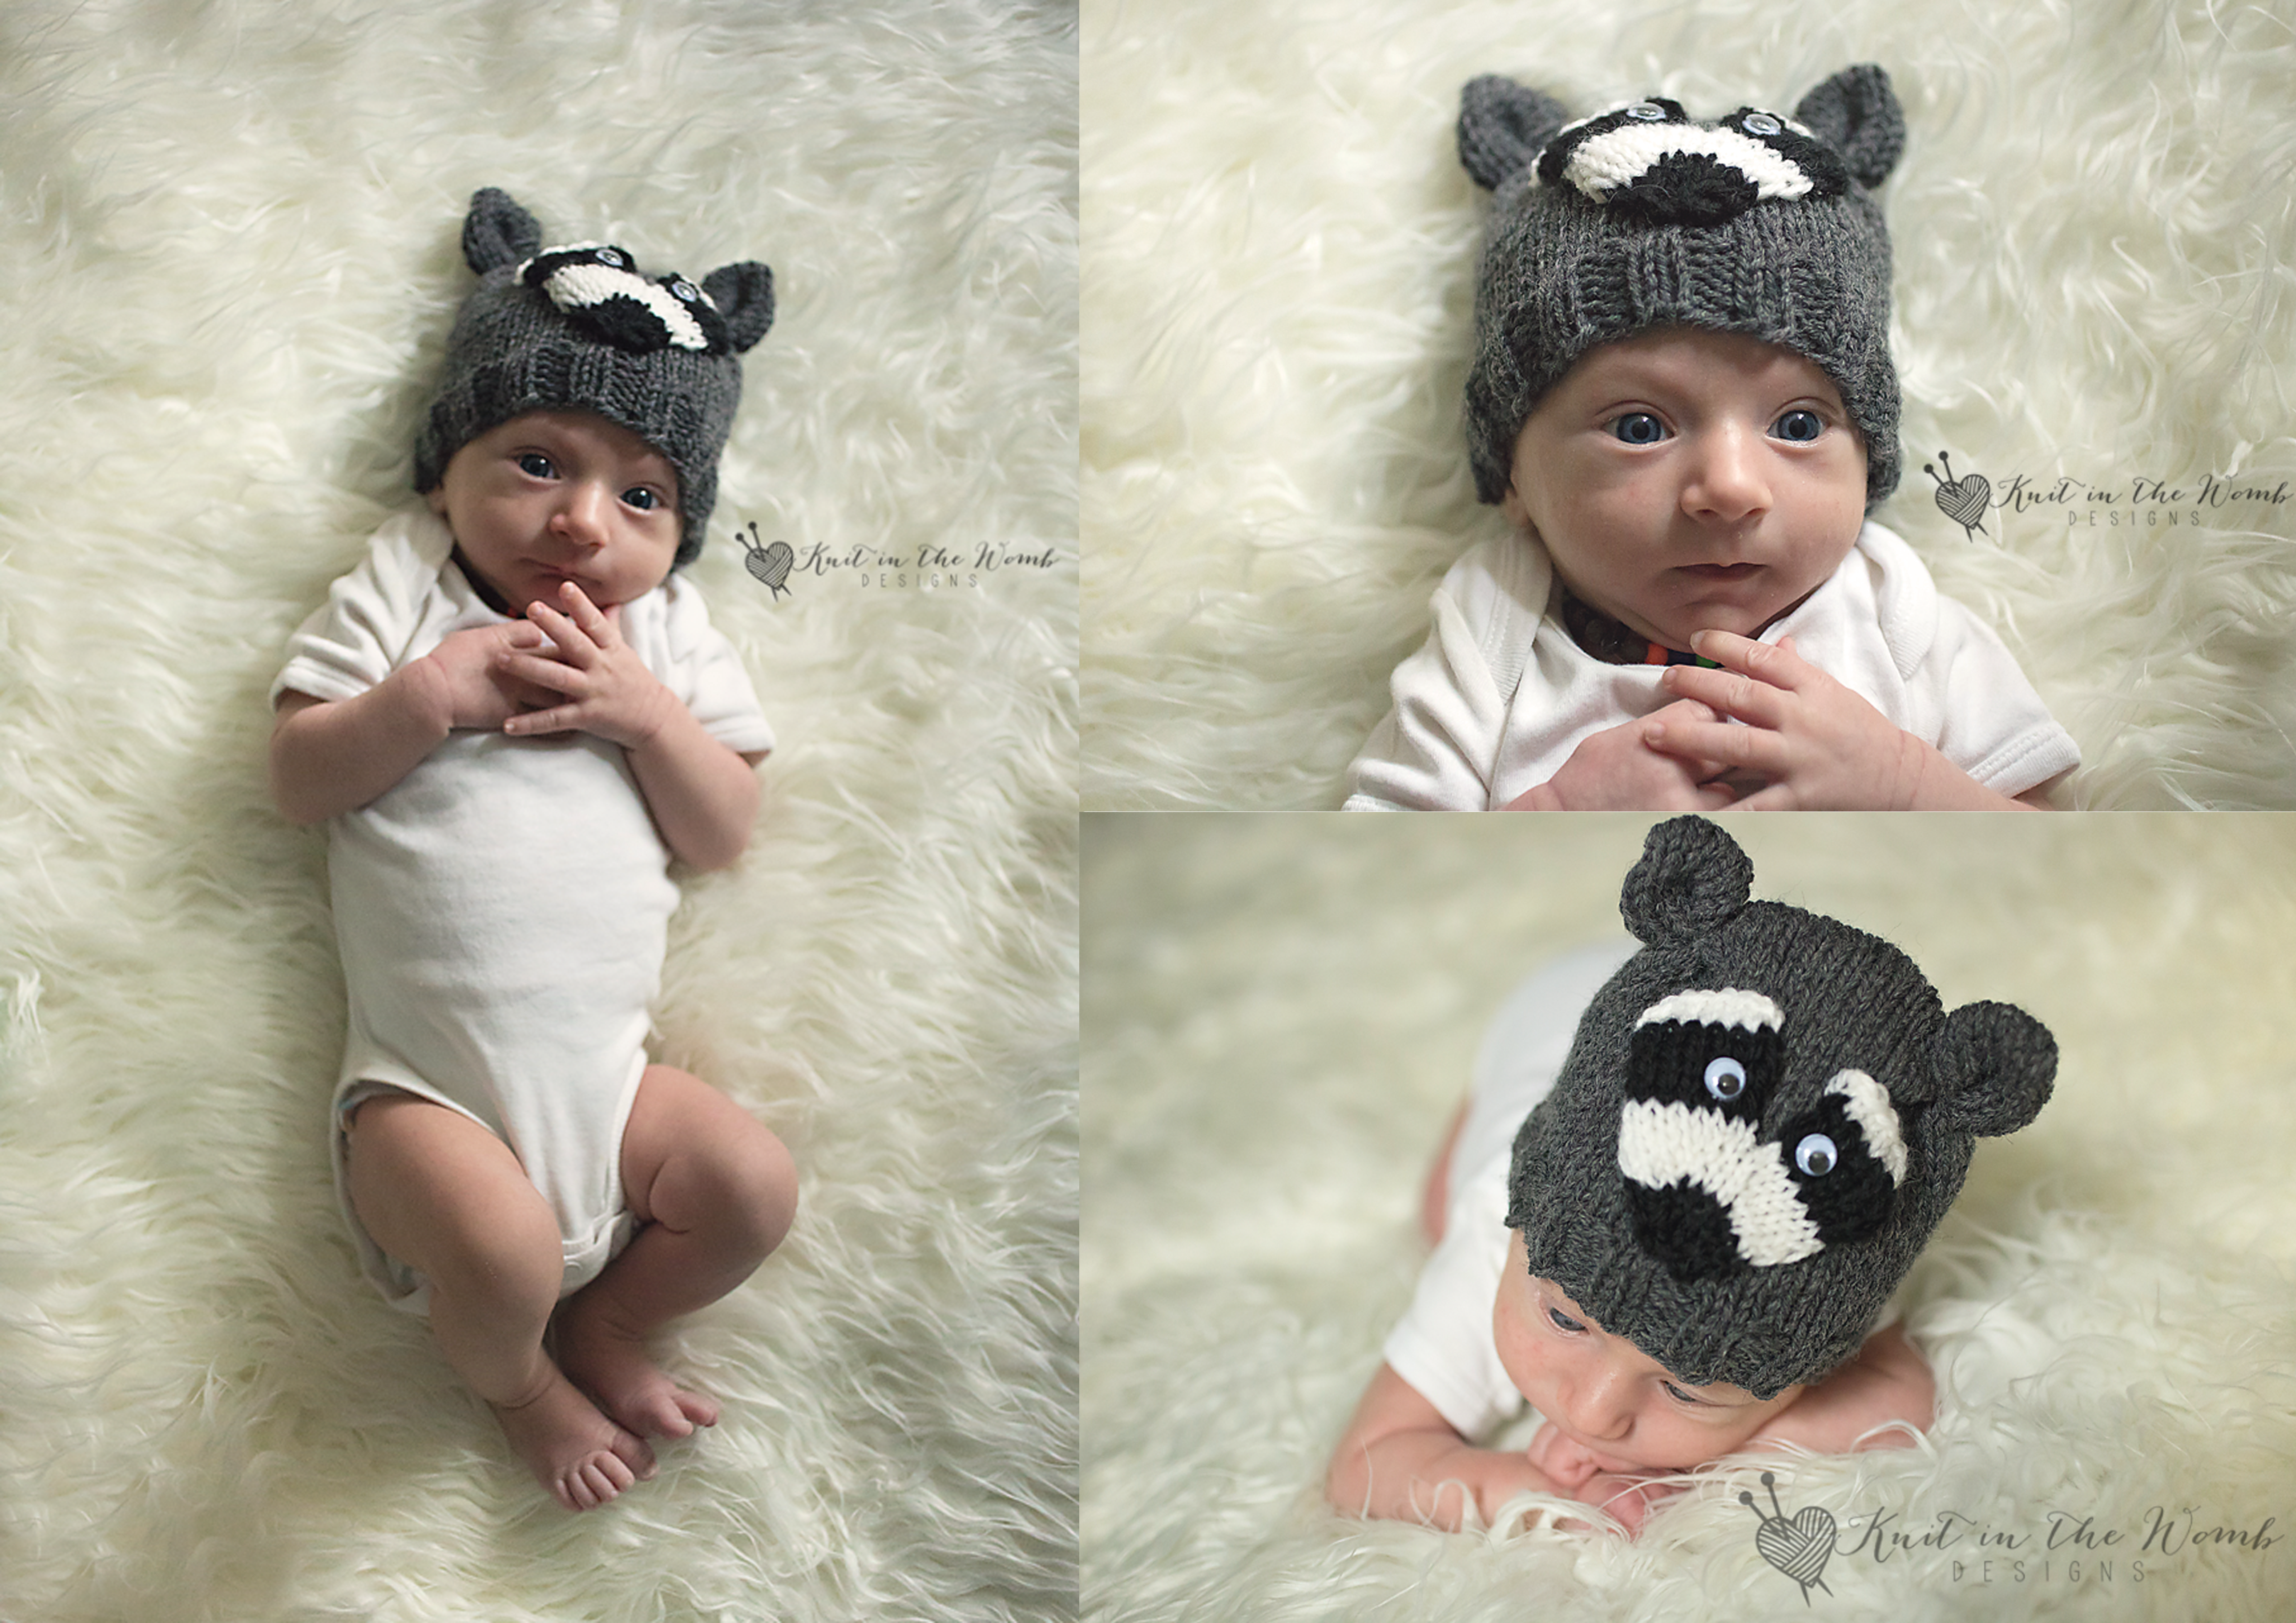
The inspiration for the Little Rascal Raccoon Beanie came from my love of woodland creatures and the playful spirit of raccoons. Raccoons, with their distinctive masks and curious nature, have always fascinated me. Their mischievous personalities make them the perfect muse for a whimsical newborn beanie. The beanie’s design captures the essence of a raccoon’s playful nature, making it an ideal prop for capturing those precious first moments of a newborn’s life.
Why Choose KnitPicks Brava Yarn?
When it comes to knitting for newborns, choosing the right yarn is crucial. You want something that is soft against their delicate skin, durable enough to withstand multiple washes, and available in a range of colors to suit your design needs. KnitPicks Brava yarn ticks all these boxes and more. Here’s why it’s my go-to yarn for this project:
- Softness: Brava is incredibly soft, which makes it perfect for newborns. It won’t irritate their skin, and it feels comfortable to wear.
- Durability: Made from 100% premium acrylic, Brava is machine washable and dryable, which is essential for baby items that need frequent cleaning.
- Affordability: Brava offers excellent quality at an affordable price, allowing you to create beautiful items without breaking the bank.
- Color Variety: With a wide range of colors available, you can easily find the perfect shades to bring your raccoon beanie to life.

Knitting the Little Rascal Raccoon Beanie
While I won’t be including the pattern in this post, I’d like to walk you through the key elements of knitting the Little Rascal Raccoon Beanie. This beanie is designed for intermediate knitters, but beginners looking for a challenge will also find it manageable with a bit of patience and practice.
Materials Needed
- Yarn: KnitPicks Brava Worsted in three colors: Cobblestone Heather (main color), Black (contrast color for the mask and ears), and White (for the eyes).
- Needles: US size 7 (4.5 mm) circular needles or double-pointed needles for the beanie and size 5 (3.75 mm) for the ear and mask details.
- Notions: Stitch markers, tapestry needle, and stuffing for the ears (optional).
Key Techniques
- Ribbing: The beanie starts with a simple ribbed brim to ensure a snug fit. This part is straightforward and helps in getting comfortable with the yarn and needles.
- Stockinette Stitch: The body of the beanie is worked in stockinette stitch, which is just knit stitches on the right side and purl stitches on the wrong side. This creates a smooth fabric that’s perfect for the main part of the beanie.
- Colorwork: The raccoon’s mask and ears involve some basic colorwork. You’ll be using intarsia or stranded knitting techniques to create the mask’s distinctive look.
- Decreasing: As you approach the top of the beanie, you’ll need to decrease stitches to shape it properly. This part requires a bit of attention but is easy to follow with the pattern.
- Ear Construction: The ears are knit separately and then attached to the beanie. They can be stuffed lightly to give them a 3D effect, adding to the overall cuteness.
Tips for a Perfect Beanie
- Swatch First: Always knit a swatch to check your gauge. This ensures your beanie will fit a newborn’s head perfectly.
- Weave in Ends Neatly: With multiple colors in use, there will be several ends to weave in. Take your time to do this neatly, especially on the inside, to avoid any discomfort for the baby.
- Block the Beanie: Blocking the beanie once it’s finished helps to even out the stitches and gives it a professional finish. For acrylic yarn like Brava, a gentle steam block works well.
- Customize: Feel free to get creative! You can add a tiny pom-pom to the top or embroider little details to make your raccoon beanie unique.
Capturing the Perfect Photo
Once your Little Rascal Raccoon Beanie is complete, it’s time to put it to use in a newborn photoshoot. Here are some tips for capturing those perfect shots:
- Natural Light: Use soft, natural light to highlight the texture and colors of the beanie. Avoid harsh shadows by positioning your setup near a window.
- Simple Backgrounds: Keep the background simple to let the beanie and the adorable baby take center stage. A neutral-colored blanket or a wooden backdrop works well.
- Props: Add a few complementary props like soft toys, wooden blocks, or nature-inspired items to enhance the woodland theme.
- Angles: Experiment with different angles to capture the beanie’s details, like the ears and mask. Close-up shots of the baby’s face wearing the beanie can be particularly heartwarming.
Conclusion
The Little Rascal Raccoon Beanie is more than just a knitting project; it’s a keepsake that can be cherished for years to come. Whether you’re knitting it for your own newborn or as a gift for a friend, this beanie is sure to bring smiles and create precious memories. With KnitPicks Brava yarn, you can be confident that your creation will be soft, durable, and beautiful.
I hope you enjoy knitting the Little Rascal Raccoon Beanie as much as I did. Happy knitting, and happy photographing!
If you’ve enjoyed this post and want to see more knitting patterns and photography tips, be sure to subscribe to my blog. I love sharing my latest projects and ideas with fellow knitters and photographers. And if you knit your own Little Rascal Raccoon Beanie, don’t forget to share your photos—I’d love to see your creations!

Materials and Info
Materials: worsted weight yarn (I used KnitPicks Brava) appx 60-120yds, size 8 (5mm) double pointed needles or circular for magic loop method, yarn needle, eyes, stitch holder
Gauge: 4sts = 1in ~Gauge is important! Be sure you check before you start~
Sizes (appx finished head circumference): sm preemie (10ins), md preemie (11ins), lg preemie (12ins), newborn (13ins), 0-3mth (14ins), 3-6mths (15ins), 6-12mths (16ins), toddler (17ins), child (18ins)
Stitch Key:
k – knit
p – purl
k2tog – knit 2 together
m1 – make one

Little Rascal Raccoon Beanie Pattern
Preemie
Cast on 48 sts with grey and join in the round.
Rounds 1-6 – k2 p2 around
Work in stockinette stitch until your work measures 4.5ins from the cast on edge.
Divide your stitches onto 2 needles. Cut yarn leaving appx 3 times the length of your work laying flat. Work kitchener stitch. Finish off.
Cut 2 pieces of yarn (one for each ear) appx 8-10ins and tie around the top corners to form the ears.
Face
With black cast on 4sts.
Row 1 – purl across
Row 2 – k1, m1, k2, m1, k1 (6sts)
Row 3 – purl across
Row 4 – k2, m1, k2, m1 ,k2 (8sts)
Cut black and pick up white
Row 5 – purl across
Row 6 – k3, m1, k2, m1, k3 (10sts)
Row 7 – purl across
Row 8 – k4, m1, k2, m1, k4 (12sts)
Row 9 – purl across
Row 10 – k5, m1, k2, m1, k5 (14sts)
Cut white and pick up black
Row 11 – purl 7 put remain sts on stitch holder
Rows 12-15 – work in stockinette st
Cut black and pick up white
Rows 16 – 17 – work in stockinette st
Bind off
Pick up the remain 7 sts.
In black with the back side facing you, purl across then repeat rows 12-17 and bind off. Sew (or glue) the face down in the center of the front of your hat. Sew/glue your eyes on and weave in all ends.
Newborn
Cast on 52 sts with grey and join in the round.
Rounds 1-6 – k2 p2 around
Work in stockinette stitch until your work measures 5ins from the cast on edge.
Divide your stitches onto 2 needles. Cut yarn leaving appx 3 times the length of your work laying flat. Work kitchener stitch. Finish off.
Cut 2 pieces of yarn (one for each ear) appx 8-10ins and tie around the top corners to form the ears.
Face
With black cast on 4sts.
Row 1 – purl across
Row 2 – k1, m1, k2, m1, k1 (6sts)
Row 3 – purl across
Row 4 – k2, m1, k2, m1 ,k2 (8sts)
Cut black and pick up white
Row 5 – purl across
Row 6 – k3, m1, k2, m1, k3 (10sts)
Row 7 – purl across
Row 8 – k4, m1, k2, m1, k4 (12sts)
Row 9 – purl across
Row 10 – k5, m1, k2, m1, k5 (14sts)
Cut white and pick up black
Row 11 – purl 7 put remain sts on stitch holder
Rows 12-15 – work in stockinette st
Cut black and pick up white
Rows 16 – 17 – work in stockinette st
Bind off
Pick up the remain 7 sts.
In black with the back side facing you, purl across then repeat rows 12-17 and bind off. Sew (or glue) the face down in the center of the front of your hat. Sew/glue your eyes on and weave in all ends.
0-3mths
Cast on 56 sts with grey and join in the round.
Rounds 1-6 – k2 p2 around
Work in stockinette stitch until your work measures 5.5ins from the cast on edge.
Divide your stitches onto 2 needles. Cut yarn leaving appx 3 times the length of your work laying flat. Work kitchener stitch. Finish off.
Cut 2 pieces of yarn (one for each ear) appx 8-10ins and tie around the top corners to form the ears.
Face
With black cast on 4sts.
Row 1 – purl across
Row 2 – k1, m1, k2, m1, k1 (6sts)
Row 3 – purl across
Row 4 – k2, m1, k2, m1 ,k2 (8sts)
Cut black and pick up white
Row 5 – purl across
Row 6 – k3, m1, k2, m1, k3 (10sts)
Row 7 – purl across
Row 8 – k4, m1, k2, m1, k4 (12sts)
Row 9 – purl across
Row 10 – k5, m1, k2, m1, k5 (14sts)
Cut white and pick up black
Row 11 – purl 7 put remain sts on stitch holder
Rows 12-15 – work in stockinette st
Cut black and pick up white
Rows 16 – 17 – work in stockinette st
Bind off
Pick up the remain 7 sts.
In black, purl across then repeat rows 12-17 and bind off. Sew (or glue) the face down in the center of the front of your hat. Sew/glue your eyes on and weave in all ends.
3-6mths
Cast on 60 sts with grey and join in the round.
Rounds 1-7 – k2 p2 around
Work in stockinette stitch until your work measures 6ins from the cast on edge.
Divide your stitches onto 2 needles. Cut yarn leaving appx 3 times the length of your work laying flat. Work kitchener stitch. Finish off.
Cut 2 pieces of yarn (one for each ear) appx 8-10ins and tie around the top corners to form the ears.
Face
With black cast on 4sts.
Row 1 – purl across
Row 2 – k1, m1, k2, m1, k1 (6sts)
Row 3 – purl across
Row 4 – k2, m1, k2, m1 ,k2 (8sts)
Cut black and pick up white
Row 5 – purl across
Row 6 – k3, m1, k2, m1, k3 (10sts)
Row 7 – purl across
Row 8 – k4, m1, k2, m1, k4 (12sts)
Row 9 – purl across
Row 10 – k5, m1, k2, m1, k5 (14sts)
Cut white and pick up black
Row 11 – purl 7 put remain sts on stitch holder
Rows 12-15 – work in stockinette st
Cut black and pick up white
Rows 16 – 17 – work in stockinette st
Bind off
Pick up the remain 7 sts.
In black with the back side facing you, purl across then repeat rows 12-17 and bind off. Sew (or glue) the face down in the center of the front of your hat. Sew/glue your eyes on and weave in all ends.
6-12mths
Cast on 64 sts with grey and join in the round.
Rounds 1-7 – k2 p2 around
Work in stockinette stitch until your work measures 6.5ins from the cast on edge.
Divide your stitches onto 2 needles. Cut yarn leaving appx 3 times the length of your work laying flat. Work kitchener stitch. Finish off.
Cut 2 pieces of yarn (one for each ear) appx 8-10ins and tie around the top corners to form the ears.
Face
With black cast on 4sts.
Row 1 – purl across
Row 2 – k1, m1, k2, m1, k1 (6sts)
Row 3 – purl across
Row 4 – k2, m1, k2, m1 ,k2 (8sts)
Cut black and pick up white
Row 5 – purl across
Row 6 – k3, m1, k2, m1, k3 (10sts)
Row 7 – purl across
Row 8 – k4, m1, k2, m1, k4 (12sts)
Row 9 – purl across
Row 10 – k5, m1, k2, m1, k5 (14sts)
Row 11 – purl across
Row 12 – k6, m1, k2, m1, k6 (16sts)
Cut white and pick up black
Row 13 – purl 8 put remain sts on stitch holder
Rows 14-17 – work in stockinette st
Cut black and pick up white
Rows 18 – 19 – work in stockinette st
Bind off
Pick up the remain 8 sts.
In black with the back side facing you, purl across then repeat rows 14-19 and bind off. Sew (or glue) the face down in the center of the front of your hat. Sew/glue your eyes on and weave in all ends.
Toddler
Cast on 68 sts with grey and join in the round.
Rounds 1-8 – k2 p2 around
Work in stockinette stitch until your work measures 7ins from the cast on edge.
Divide your stitches onto 2 needles. Cut yarn leaving appx 3 times the length of your work laying flat. Work kitchener stitch. Finish off.
Cut 2 pieces of yarn (one for each ear) appx 8-10ins and tie around the top corners to form the ears.
Face
With black cast on 4sts.
Row 1 – purl across
Row 2 – k1, m1, k2, m1, k1 (6sts)
Row 3 – purl across
Row 4 – k2, m1, k2, m1 ,k2 (8sts)
Cut black and pick up white
Row 5 – purl across
Row 6 – k3, m1, k2, m1, k3 (10sts)
Row 7 – purl across
Row 8 – k4, m1, k2, m1, k4 (12sts)
Row 9 – purl across
Row 10 – k5, m1, k2, m1, k5 (14sts)
Row 11 – purl across
Row 12 – k6, m1, k2, m1, k6 (16sts)
Cut white and pick up black
Row 13 – purl 8 put remain sts on stitch holder
Rows 14-17 – work in stockinette st
Cut black and pick up white
Rows 18 – 19 – work in stockinette st
Bind off
Pick up the remain 8 sts.
In black with the back side facing you, purl across then repeat rows 14-19 and bind off. Sew (or glue) the face down in the center of the front of your hat. Sew/glue your eyes on and weave in all ends.
Child
Cast on 72 sts with grey and join in the round.
Rounds 1-8 – k2 p2 around
Work in stockinette stitch until your work measures 7.5ins from the cast on edge.
Divide your stitches onto 2 needles. Cut yarn leaving appx 3 times the length of your work laying flat. Work kitchener stitch. Finish off.
Cut 2 pieces of yarn (one for each ear) appx 8-10ins and tie around the top corners to form the ears.
Face
With black cast on 4sts.
Row 1 – purl across
Row 2 – k1, m1, k2, m1, k1 (6sts)
Row 3 – purl across
Row 4 – k2, m1, k2, m1 ,k2 (8sts)
Cut black and pick up white
Row 5 – purl across
Row 6 – k3, m1, k2, m1, k3 (10sts)
Row 7 – purl across
Row 8 – k4, m1, k2, m1, k4 (12sts)
Row 9 – purl across
Row 10 – k5, m1, k2, m1, k5 (14sts)
Row 11 – purl across
Row 12 – k6, m1, k2, m1, k6 (16sts)
Cut white and pick up black
Row 13 – purl 8 put remain sts on stitch holder
Rows 14-17 – work in stockinette st
Cut black and pick up white
Rows 18 – 19 – work in stockinette st
Bind off
Pick up the remain 8 sts.
In black with the back side facing you, purl across then repeat rows 14-19 and bind off. Sew (or glue) the face down in the center of the front of your hat. Sew/glue your eyes on and weave in all ends.
Teen
Cast on 76 sts with grey and join in the round.
Rounds 1-8 – k2 p2 around
Work in stockinette stitch until your work measures 8ins from the cast on edge.
Divide your stitches onto 2 needles. Cut yarn leaving appx 3 times the length of your work laying flat. Work kitchener stitch. Finish off.
Cut 2 pieces of yarn (one for each ear) appx 8-10ins and tie around the top corners to form the ears.
Face
With black cast on 4sts.
Row 1 – purl across
Row 2 – k1, m1, k2, m1, k1 (6sts)
Row 3 – purl across
Row 4 – k2, m1, k2, m1 ,k2 (8sts)
Row 5 – purl across
Row 6 – k3, m1, k2, m1, k3 (10sts)
Cut black and pick up white
Row 7 – purl across
Row 8 – k4, m1, k2, m1, k4 (12sts)
Row 9 – purl across
Row 10 – k5, m1, k2, m1, k5 (14sts)
Row 11 – purl across
Row 12 – k6, m1, k2, m1, k6 (16sts)
Row 13 – purl across
Row 14 – k7, m1, k2, m1, k7 (18sts)
Row 15 – purl across
Row 16 – k8, m1, k2, m1, k8 (20sts)
Cut white and pick up black
Row 17 – purl 8 put remain sts on stitch holder
Rows 18-23 – work in stockinette st
Cut black and pick up white
Rows 24 – 25 – work in stockinette st
Bind off
Pick up the remain 10 sts.
In black with the back side facing you, purl across then repeat rows 18-25 and bind off. Sew (or glue) the face down in the center of the front of your hat. Sew/glue your eyes on and weave in all ends.
Adult Small
Cast on 80 sts with grey and join in the round.
Rounds 1-8 – k2 p2 around
Work in stockinette stitch until your work measures 8.5ins from the cast on edge.
Divide your stitches onto 2 needles. Cut yarn leaving appx 3 times the length of your work laying flat. Work kitchener stitch. Finish off.
Cut 2 pieces of yarn (one for each ear) appx 8-10ins and tie around the top corners to form the ears.
Face
With black cast on 4sts.
Row 1 – purl across
Row 2 – k1, m1, k2, m1, k1 (6sts)
Row 3 – purl across
Row 4 – k2, m1, k2, m1 ,k2 (8sts)
Row 5 – purl across
Row 6 – k3, m1, k2, m1, k3 (10sts)
Cut black and pick up white
Row 7 – purl across
Row 8 – k4, m1, k2, m1, k4 (12sts)
Row 9 – purl across
Row 10 – k5, m1, k2, m1, k5 (14sts)
Row 11 – purl across
Row 12 – k6, m1, k2, m1, k6 (16sts)
Row 13 – purl across
Row 14 – k7, m1, k2, m1, k7 (18sts)
Row 15 – purl across
Row 16 – k8, m1, k2, m1, k8 (20sts)
Cut white and pick up black
Row 17 – purl 8 put remain sts on stitch holder
Rows 18-23 – work in stockinette st
Cut black and pick up white
Rows 24 – 25 – work in stockinette st
Bind off
Pick up the remain 10 sts.
In black with the back side facing you, purl across then repeat rows 18-25 and bind off. Sew (or glue) the face down in the center of the front of your hat. Sew/glue your eyes on and weave in all ends.
Adult Large
Cast on 84 sts with grey and join in the round.
Rounds 1-8 – k2 p2 around
Work in stockinette stitch until your work measures 9ins from the cast on edge.
Divide your stitches onto 2 needles. Cut yarn leaving appx 3 times the length of your work laying flat. Work kitchener stitch. Finish off.
Cut 2 pieces of yarn (one for each ear) appx 8-10ins and tie around the top corners to form the ears.
Face
With black cast on 4sts.
Row 1 – purl across
Row 2 – k1, m1, k2, m1, k1 (6sts)
Row 3 – purl across
Row 4 – k2, m1, k2, m1 ,k2 (8sts)
Row 5 – purl across
Row 6 – k3, m1, k2, m1, k3 (10sts)
Cut black and pick up white
Row 7 – purl across
Row 8 – k4, m1, k2, m1, k4 (12sts)
Row 9 – purl across
Row 10 – k5, m1, k2, m1, k5 (14sts)
Row 11 – purl across
Row 12 – k6, m1, k2, m1, k6 (16sts)
Row 13 – purl across
Row 14 – k7, m1, k2, m1, k7 (18sts)
Row 15 – purl across
Row 16 – k8, m1, k2, m1, k8 (20sts)
Cut white and pick up black
Row 17 – purl 8 put remain sts on stitch holder
Rows 18-23 – work in stockinette st
Cut black and pick up white
Rows 24 – 25 – work in stockinette st
Bind off
Pick up the remain 10 sts.
In black with the back side facing you, purl across then repeat rows 18-25 and bind off. Sew (or glue) the face down in the center of the front of your hat. Sew/glue your eyes on and weave in all ends.Kitchener Stitch: Hold the two pieces of knitting parallel to one another with the wrong sides facing. Thread the working yarn with a yarn needle. *Insert the yarn needle knitwise into the first stitch on the front knitting needle. Draw through the stitch and slip the stitch off of the front needle. Insert the yarn needle purlwise into the next stitch on the front knitting needle. Draw through the stitch. Leave the stitch on the needle. Insert the yarn needle purlwise into the first stitch on the back knitting needle. Draw through the stitch and slip the stitch off of the back needle. Insert the yarn needle knitwise into the next stitch on the back knitting needle. Draw through the stitch. Leave the stitch on the needle. Repeat these steps beginning at the * until all of your stitches have been grafted together.
Little Rascal Raccoon PDF
Disclaimer: This page contains affiliate links. If you choose to make a purchase after clicking a link, I may receive a commission at no additional cost to you. Thank you for your support!