
Looking for a free simple raglan sweater pattern that’s perfect for layering? The Youth Fern Pullover is a lightweight, stylish, and easy-to-knit design that’s been a favorite in my home for years! Keep reading for the story behind this sweater and how it became a staple in my daughters’ wardrobes. Plus, don’t forget to check out my free sweater patterns for another fun knit!

The Sweater That Almost Wasn’t
I’ll be honest—this free simple raglan sweater pattern almost never saw the light of day. I designed it way back when my oldest daughter needed a layering piece for her Easter dress. But then, self-doubt hit me hard. The math! The grading! What if I got it wrong? It sat untouched for two whole years while I second-guessed myself.
Spoiler alert: The math was fine, and the sweater turned out amazing. So if you’re ever hesitating on a project, take it from me—just go for it!
Why I Chose KnitPicks CotLin (Affiliate Link)
For this free simple raglan sweater pattern, I needed a yarn that was soft, breathable, and easy to care for—because let’s be real, kids are messy! Knitpicks Cotlin (50g 123yd) was the perfect choice. It’s a cotton-linen blend, which means it’s machine washable but won’t get too hot like wool can.
One of my favorite things about Knitpicks Cotlin (50g 123yd) is that it holds its shape beautifully. Have you ever knit something for a child only to have it stretch out after a few wears? Not fun. This yarn keeps the sweater looking great, even after passing it down from kid to kid.
The Best Part? The Lace Raglan!
The standout feature of this free simple raglan sweater pattern is the lace detail at the raglan seams. It’s such a simple touch, but wow, does it make a difference! The delicate lacework pops against the clean stockinette body, making the sweater look intricate without being complicated to knit.
If you’ve never knit a lace raglan before, don’t worry! This pattern is beginner-friendly, with just enough detail to keep things interesting without being overwhelming.

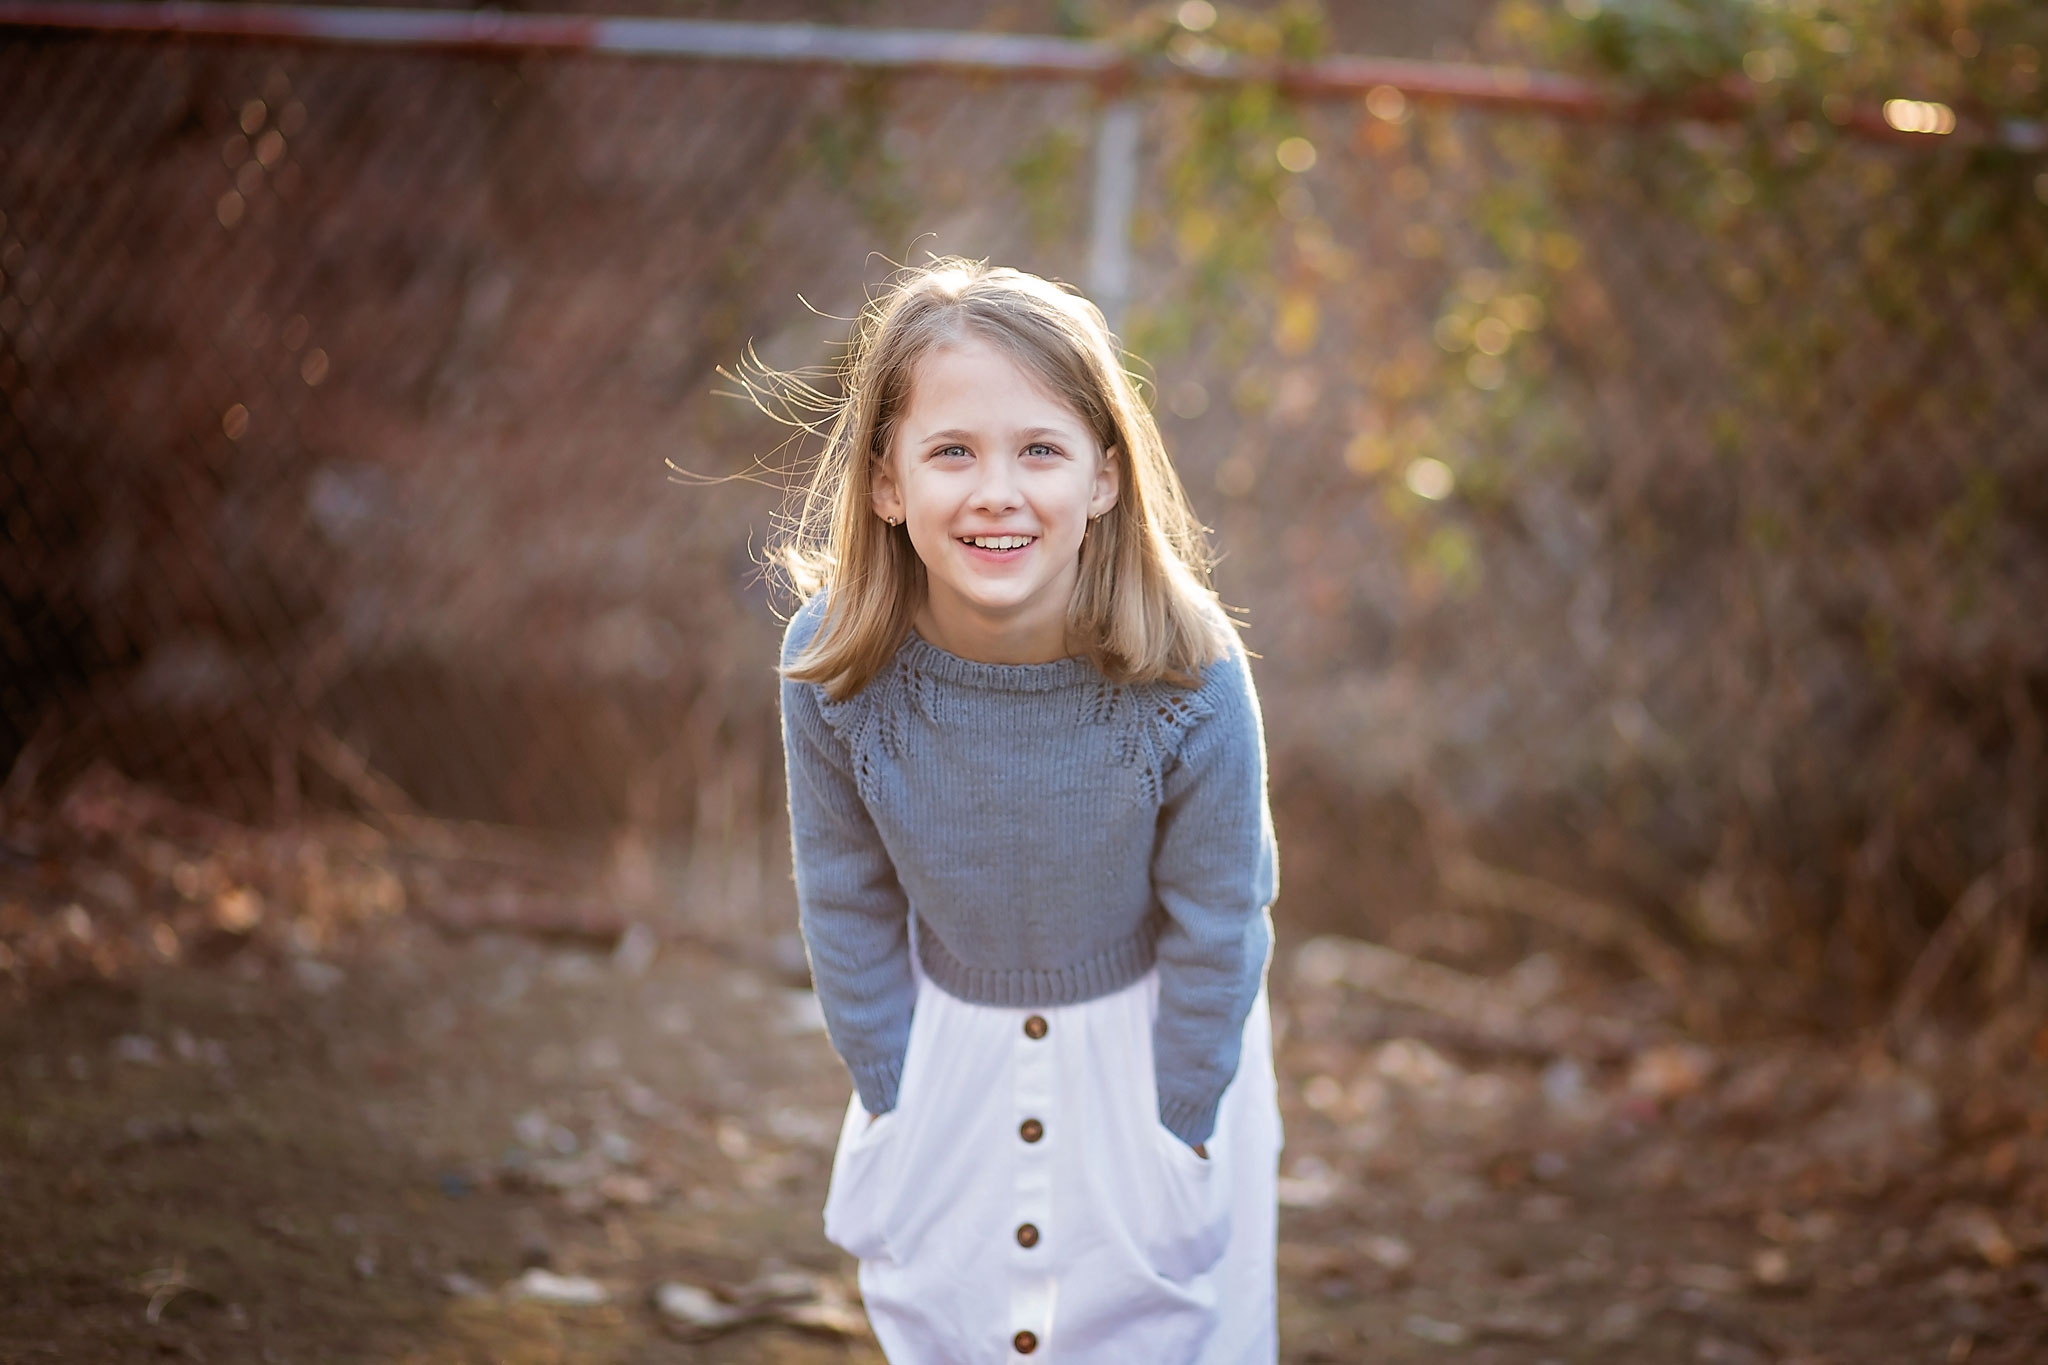
A Cropped Fit with Options
I originally designed this free simple raglan sweater pattern as a cropped layer to wear over dresses. My daughter’s Easter dress was sleeveless, and I needed something warm but stylish. The cropped length was perfect!
But if cropped isn’t your thing, don’t worry. The pattern includes instructions to lengthen the body for a more traditional fit. Whether you prefer a trendy cropped look or a full-length cozy sweater, this pattern has you covered!
From One Kid to the Next
Here’s the best part of this free simple raglan sweater pattern—it lasts! My oldest daughter may not have worn it that Easter (thanks, 2020), but it quickly became a wardrobe staple. She wore it all the time, then passed it down to her sister. Now, my younger two daughters are getting their turn with it!
That’s four kids wearing the same hand-knit sweater. And you know what? It still looks fantastic. That’s the magic of choosing the right yarn (hello, Knitpicks Cotlin (50g 123yd)) and a timeless design.
Knit Your Own Youth Fern Pullover
If you’re looking for a free simple raglan sweater pattern that’s practical, cute, and perfect for layering, this is the one! Whether you knit it cropped or full length, in a neutral color or a bold shade, it’s sure to become a go-to piece in your child’s wardrobe.
So grab your needles, pick out some Knitpicks Cotlin (50g 123yd), and get started! And if you need another fun knit, check out my free sweater patterns for a quick and stylish project.
Happy knitting!

Materials and Info
Yarn – 4, 4, (5, 5), (6, 6), 7, 8 skeins Knitpicks Cotlin (50g 123yd)
Gauge – 22sts x 28rows per 4x4in or 10x10cm
Needles – 4 (3.5mm) dpn and circular 6 (4mm) circulars
Notions – stitch markers
Youth Sizes – 2, 4 (6, 8) (10, 12) 14, 16
Bust Measurement – 53, 58.5 (63.5, 67) (71, 76) 80, 82.5cms or 21, 23 (25, 26.5) (28,30) 31.5, 32.5ins
Cropped Fern Sweater is a top-down seamless raglan in an easy-care yarn.
Abbreviations can be found on the last page.
Note: choose size based on bust measurement for best fit.

Youth Fern Pullover Pattern
NECK
With smaller needle, cast on 68, 76 (80, 84) (88, 96) 100, 100 stitches being careful not to twist.
Place a marker at the beginning of your round.
Work 2, 2 (2, 2) (2.5, 2.5) 2.5, 2.5cm or .75, .75 (.75, .75) (1, 1) 1, 1ins in 1×1 ribbing (k1, p1 around).
Switch to larger needles.
Set up round – p1, k8,10 (10,12) (12,14) 14,14sts, p1, pm, p1, k22 ,24 (26,26) (28, 30) 32, 32sts, p1, pm p1, k8,10 (10,12) (12,14) 14,14sts, p1, pm, p1, k22 ,24 (26,26) (28, 30) 32, 32sts, p1sm (this marker is your start of round marker)
Raglan round 1 – (p1, yo, k1, yo, k1, ssk, knit to 5sts before marker, k2tog, k1, yo, k1, yo, p1, sm) repeat around
Raglan round 2 – (p1, knit to 1stitch before marker, p1) Repeat around
Raglan round 3 – (p1, k1, yo, k1, yo, k1, ssk, knit to 6sts before marker, k2tog, k1, yo, k1, yo, k1, p1, sm) repeat around
Raglan round 4 – (p1, knit to 1stitch before marker, p1) Repeat around
Raglan round 5 – (p1, k2, yo, k1, yo, k1, ssk, knit to 7sts before marker, k2tog, k1, yo, k1, yo, k2, p1, sm) repeat around
Raglan round 6 – (p1, knit to 1stitch before marker, p1) Repeat around
Raglan round 7 – (p1, k3, yo, k1, yo, k1, ssk, knit to 8sts before marker, k2tog, k1, yo, k1, yo, k3, p1, sm) repeat around
Raglan round 8 – (p1, knit to 1stitch before marker, p1) Repeat around
Raglan round 9 – (p1, k4, yo, k1, yo, k1, ssk, knit to 9sts before marker, k2tog, k1, yo, k1, yo, k4, p1, sm) repeat around
Raglan round 10 – (p1, knit to 1stitch before marker, p1) Repeat around
Repeat raglan rounds 1-10 until a total of 20, 22 (24, 26) (27, 29) 30, 31 raglan increases have been completed (a total of 40, 44 (48, 52) (54, 58) 60, 62 raglan rounds). 228, 252 (272, 292) (304, 328) 340, 348sts
BODY
Now divide the sts into sleeves and body, while at the same time casting on new sts at each underarm, as follows: place the next 50, 56 (60, 66) (68, 74) 76, 78 sts (right sleeve) on a stitch holder, remove marker, cast on 4sts for the armhole using the backward loop method, knit 64, 70 (76, 80) (84, 90) 94, 96sts (front), remove marker, place the next 50, 56 (60, 66) (68, 74) 76, 78 sts (left sleeve) on a stitch holder, remover marker, cast on 4sts for the armhole using the backward loop method, knit 64, 70 (76, 80) (84, 90) 94, 96sts (back). There are now 136, 148 (160, 168) (176, 188) 196, 200 sts on the needles for the body.
Work in stockinette st in the round until your work measures appx 5, 6 (7.5, 11) (14, 15) 15, 16 or 2, 2.5 (3, 4.5) (5.5, 6) 6, 6.5ins from the underarm stitches.
Work in a 1×1 ribbing (k1 p1) for appx 3, 3 (3, 3) (4, 4) 4, 4cms or 1.25, 1.25 (1.25, 1.25) (1.5, 1.5) 1.5, 1.5ins. Bind off using your favorite stretchy bind off for 1×1 ribbing.
SLEEVES
Place on hold stitches for the first sleeve onto larger double-pointed or circular needles. Pick up and knit 4 sts along the sts that were cast on at the underarm when working the body. There are now a total of 54, 60 (64, 70) (72, 78) 80, 82sts on the needle.
Working in the round in stockinette st.
Decrease as follows:
K1, k2tog, knit to last 3 sts, ssk, k1.
You have just decreased 2 sts.
Decrease as above every 5th round 9, 10 (11, 13) (13, 14) 14, 15more times for a total of 10, 11 (12, 14) (14, 15) 15, 16 times. 34, 38 (40, 42) (44, 48) 50, 50sts
Continuing working in the round in stockinette until your sleeve measures 18, 23 (25, 27.5) (30, 33.5) 36, 37.5cms or 7.25, 9.25 (10, 11) (12, 13.5) 14.5, 15ins OR 3, 3 (3, 3) (4, 4) 4, 4cms or 1.25, 1.25 (1.25, 1.25) (1.5, 1.5) 1.5, 1.5ins less than your desired sleeve length.
Change to smaller double-pointed needles and work 3, 3 (3, 3) (4, 4) 4, 4cms or 1.25, 1.25 (1.25, 1.25) (1.5, 1.5) 1.5, 1.5ins of 1×1 (k1, p1,) ribbing.
Bind off using your favorite stretchy k1p1 bind off.
Work the other sleeve identically.
Weave in all ends and block as desired. I like to use a clothing steamer for blocking but use the method that you are most comfortable with.

Abbreviations
K – knit P – purl
PM – place marker SM – slip marker
K2tog -knit 2 stitches together YO – yarn over
SSK – slip, slip, knit the slipped sts together
Download Youth Fern Pullover PDF

Disclaimer: This page contains affiliate links. If you choose to make a purchase after clicking a link, I may receive a commission at no additional cost to you. Thank you for your support!