
If you’ve been searching for a lace ankle sock pattern that is pretty, practical, and actually enjoyable to knit, the Sophia Socks may be exactly what you need.
They combine delicate lace detail with wearable everyday styling for a sock that feels feminine without being over-the-top. If lace is your thing, be sure to browse all of my free sock knitting patterns too—this one is just one favorite from the collection.
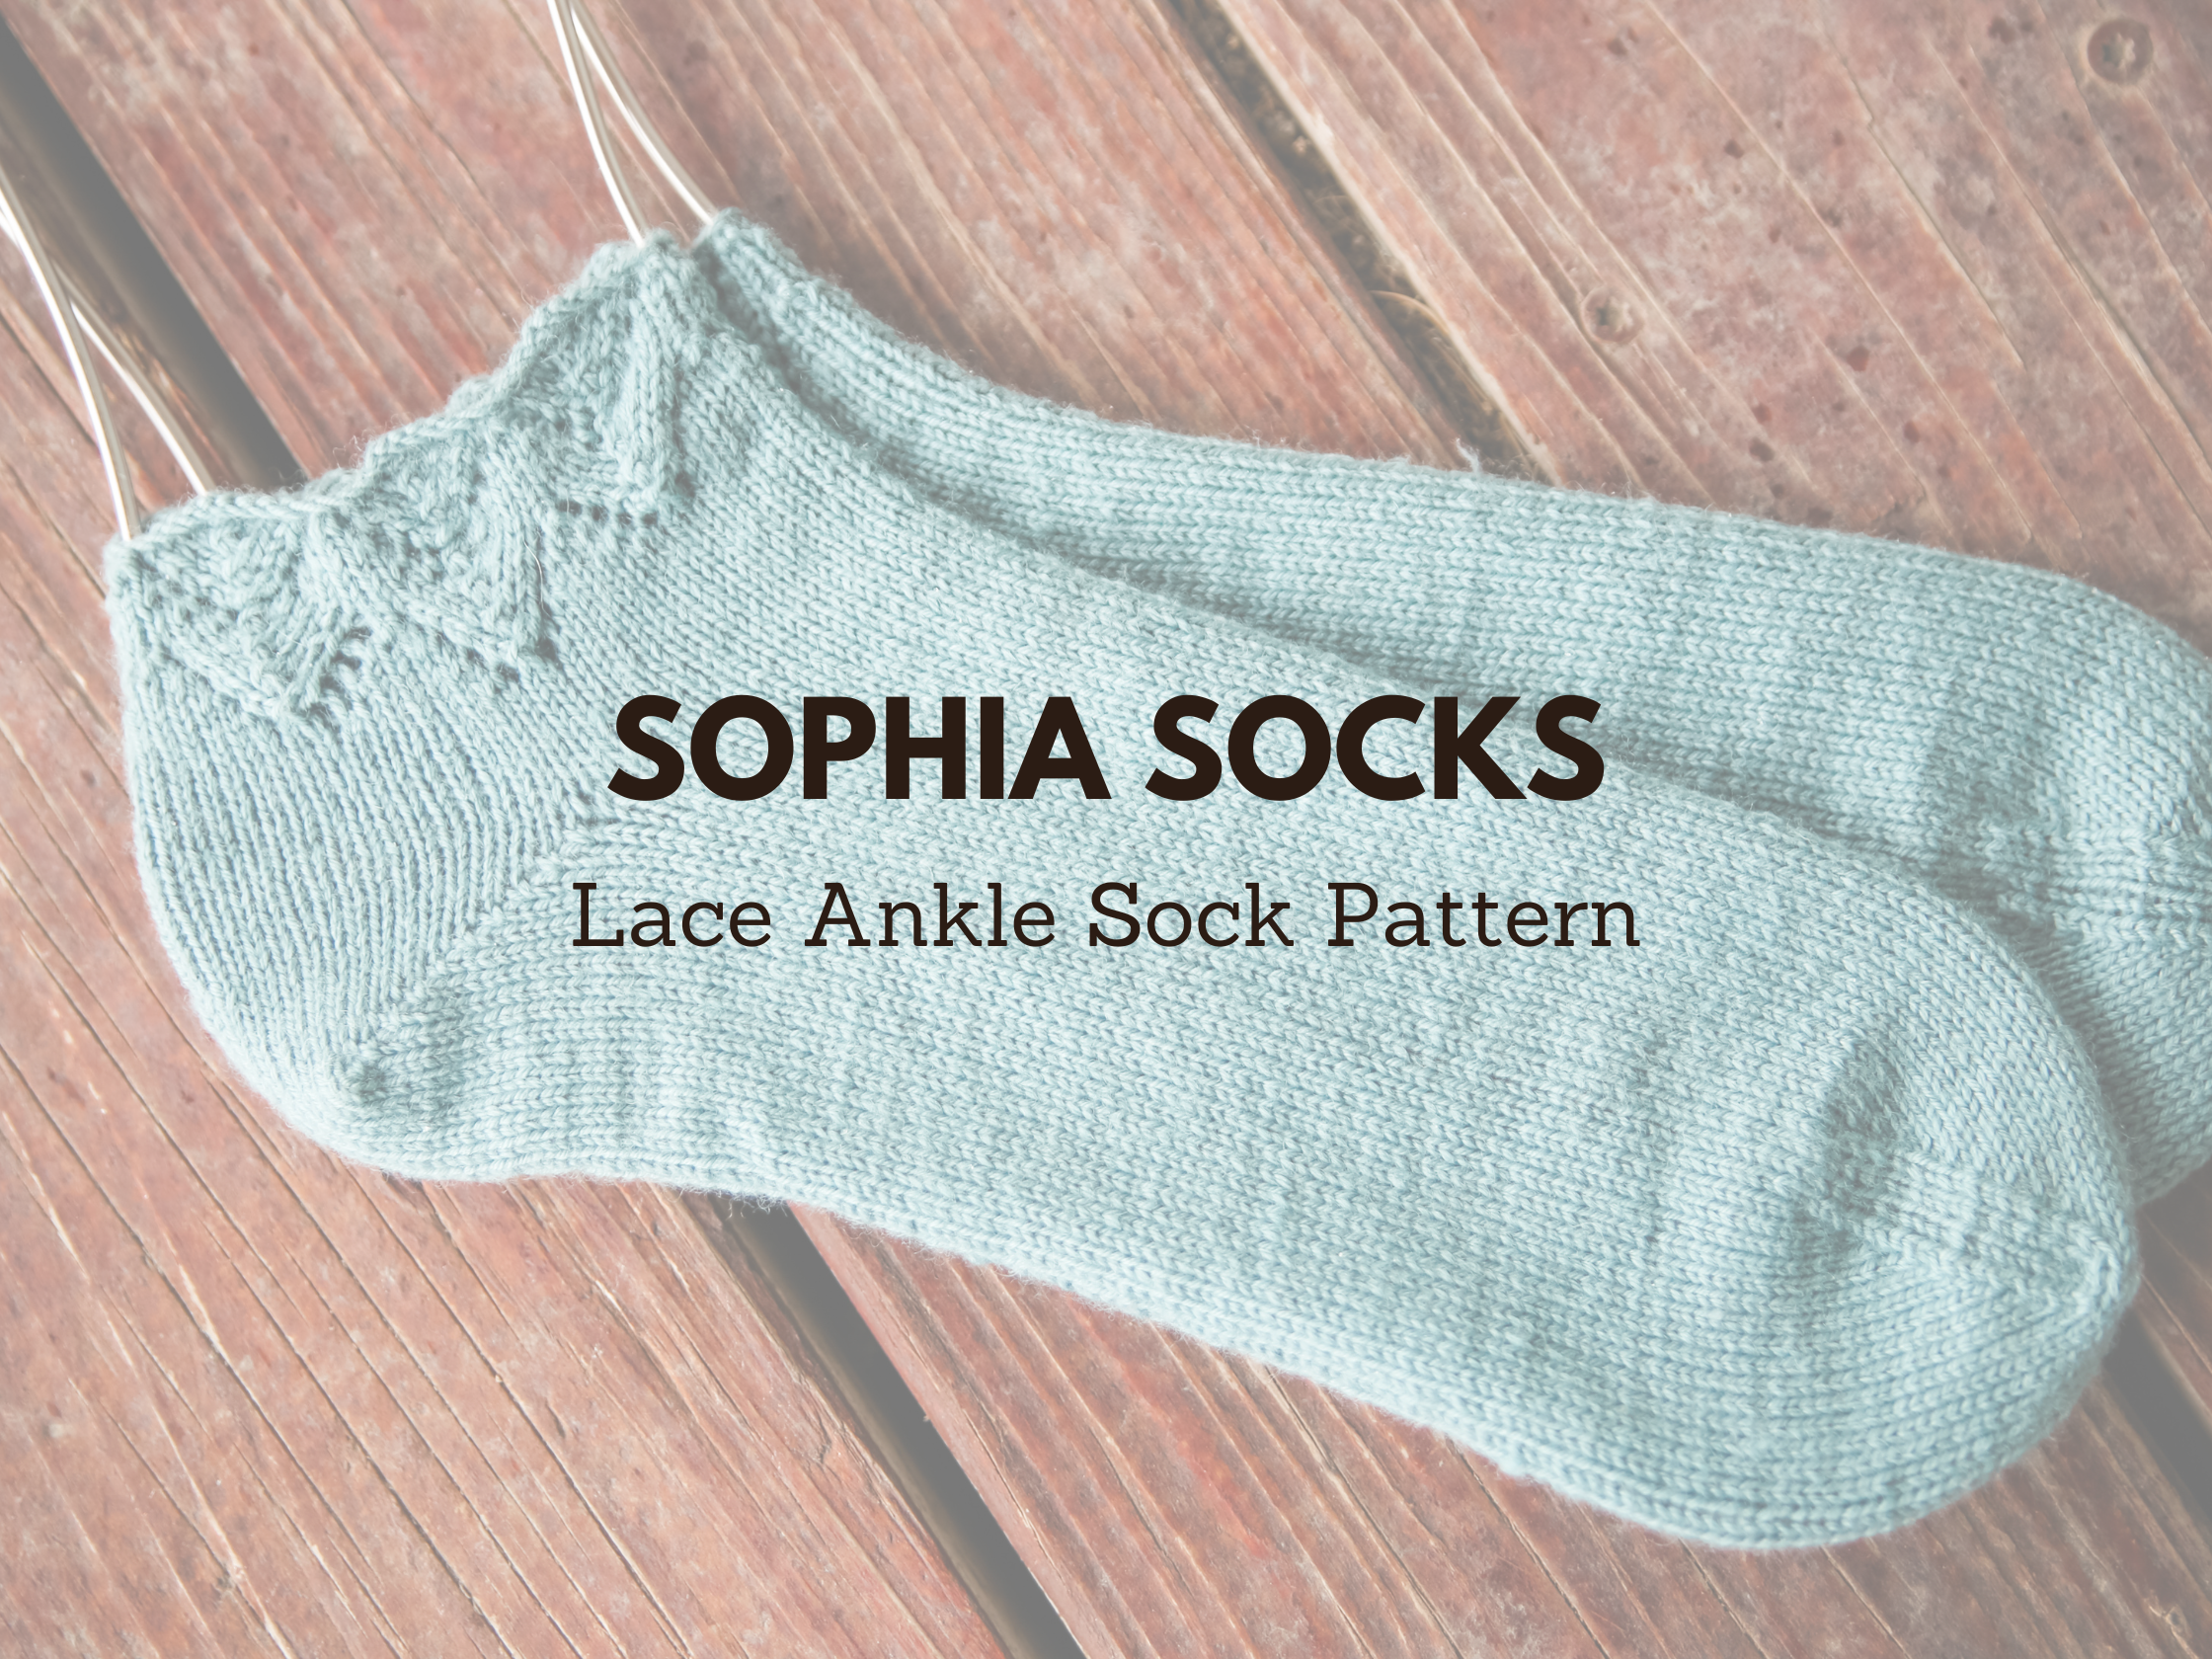
The Sophia Socks are a lightweight top-down ankle sock with a decorative lace cuff, short-row heel, and smooth stockinette foot for comfortable everyday wear. They’re quick enough to finish in a reasonable amount of time but still have enough detail to keep things interesting on your needles. Whether you want a polished handmade pair for yourself or a thoughtful gift knit, this lace ankle sock pattern is a fun option that looks far fancier than it actually is to make.

What I love most about this design is that the lace is concentrated right where it has the most impact—at the cuff—so you get that beautiful decorative touch without having to work lace over the entire foot. It keeps the knitting relaxing while still giving the finished socks plenty of personality.
These socks are worked top down with a short-row heel and classic rounded toe, making them a great project for knitters who want to branch out from basic vanilla socks without diving into anything overly complicated.
What Materials Do You Need for This Lace Ankle Sock Pattern?
To knit the Sophia Socks, you’ll need fingering weight sock yarn with good stitch definition so the lace edging really stands out. I used Hobbii Unicorn Solids or Cascade Yarn Heritage, which gives these socks beautiful drape and crisp stitch definition while still holding up well for wear.
You’ll also need:
Because this is a fitted sock project, I highly recommend sticking with a true sock yarn blend that includes nylon for durability. A soft merino blend may feel lovely in the skein, but for socks, strength matters.

The pastel and tonal shades in Unicorn Solids work especially well for this design because they let the lace edging remain the star of the show without competing with busy color changes.
How Is This Lace Ankle Sock Pattern Constructed?
This lace ankle sock pattern is worked from the cuff down, beginning with the decorative lace edge. Once the lace cuff is complete, you’ll move into heel shaping with a wrapped short-row heel before continuing down the foot in stockinette stitch.
If you’ve never knit a short-row heel before, don’t let that scare you off. Short-row heels are much easier than they look once you understand the rhythm, and they create a neat, streamlined heel that pairs beautifully with ankle sock designs.
Because the lace is only at the cuff, the rest of the sock is wonderfully mindless knitting—perfect for TV knitting or catching up on your favorite podcast.

The rounded toe is finished with Kitchener stitch for a smooth seam-free fit, giving the socks a polished professional finish.
This pattern includes instructions for:
- Child
- Adult Small
- Adult Large
That makes it easy to knit matching pairs for multiple family members or adjust sizing for gift knitting.
Looking for More Free Sock Knitting Patterns?
If you enjoy this lace ankle sock pattern, here are a few more free sock knitting patterns you may want to cast on next:
Each of these patterns offers a different take on sock knitting, from lace and texture to simple everyday staples. If you love building a handmade sock drawer, they pair nicely with the Sophia Socks for a well-rounded collection.

I especially recommend the Deborah and Simone Ankle Socks if you enjoy shorter sock styles like this one. They have the same quick-to-knit appeal while offering a totally different finished look.
Sophia Sock Pattern
Materials:
Yarn: approximately 350, 400, 450yds of fingering weight sock yarn Hobbii Unicorn Solids (Affiliate Link) 437yd/100g
Needles: US #1 / 2.25mm DPNs (or circular for magic loop) I like KnitPicks Reflections
Notions: stitch markers, needle
Gauge: 10sts x 18rows per inch
sizing:
child, adult small, adult large
Finished measurements (unstretched):
Foot Length (adjustable): 7.5, 9, 10ins or 19, 22.5, 25cms
Cuff length (adjustable): 4, 5, 6ins or 10, 12.5, 15cms
This pattern is a top down, heel flap sock. If you are a left-handed knitter (working left to right) there are no modifications required for this pattern.
Abbreviations can be found on the last page.
Cuff
Cast on 50, 60, 70 sts, join for working in the round.
Separate stitches on your dpn as follows:
1st needle – 25, 30, 35sts
2nd needle – 10, 15, 20sts
3rd needle – 15, 15,15sts
If you are using magic loop or circular needles place markers instead.
Knit 1 round
Round 1 – [yo, k3, sl1, k2tog, psso, k3, yo, k1] around
Round 2 – knit around
Round 3 – [k1, yo, k2, sl1, k2tog, psso, k2, yo, k2] around
Round 4 – knit around
Round 5 – [k2, yo, k1, sl1, k2tog, psso, k1, yo, k3] around
Round 6 – knit around
Round 7 – [k3, yo, sl1, k2tog, psso, yo, k4] around
Round 8 – knit around
Repeat rounds 1-8 1 more time.
Work 0, 4, 6 more rounds in stockinette stitch.
Heel
Knit until 1 stitch remains on needle 3; Wrap and Turn.
Purl until 1 stitch remains on needle 2, W&T.
Turn and knit to 1 st before wrapped st; W& T.
Turn and purl to 1 st before wrapped st, W&T.
Continue in this manner until there are 9, 12,13 sts between wrapped sts.
With RS facing, K to first wrapped st, pick up the wrap and K it together with the st it wraps; Turn
Slip 1, Purl to first wrapped st, pick up the wrap and P it together with the st it wraps, turn
Slip 1, knit across to next wrapped stitch, pick up the wrap and K it together with the st it wraps; Turn
Slip 1, Purl to next wrapped st, pick up the wrap and P it together with the st it wraps, turn
Continue working the last 2 rows, working one more st each row.
When you have worked the last wrapped st on the WS, turn and K back; continue in the round, working in pattern across the instep where you left off.
Foot
Needle 1 should now have 25, 30, 35 sts
Needle 2 should have 13, 15, 18 sts
Needle 3 should have 12, 15, 17 sts
The new beginning of round is now needle 1.
Continue working in the round in stockinette stitch until the piece measures 5.5, 7, 8ins or 14, 17.5, 20cms (or desired length) from back of heel, or 1.5, 2, 2.25ins or 4, 5, 5.5 cms short of desired foot length. (Example: I wear a US size 10 and need to knit to 8.25ins before the toe decreases.)
Toe
Round 1: k1, ssk, knit to 3 sts before marker, k2tog, k2, ssk, knit to 3 sts before end of round, k2tog, k1 [4 sts dec]
Round 2: knit
Work rounds 1-2 a total of 7, 9, 11 times. Until 22, 24, 26 sts remain.
For a left-handed tutorial of these decreases visit my youtube here
Cut yarn leaving a tail long enough to sew the toe closed, then graft toe using Kitchener stitch.
Weave in all ends
Kitchener stitch:
Place half the stitches on one needle, half the stitches on the other needle, (top and bottom NOT side to side)
Cut yarn (leaving a long yarn tail) and thread through a blunt needle.
Set-up steps: Insert needle purlwise (back to front) through the first st on front needle, leaving the st on the needle. Then insert needle knitwise (front to back) through the first st on the back needle, leaving the st on the needle.
Step 1: Insert needle knitwise through first st on front needle, then slip this st off the needle.
Step 2: Insert needle purlwise through the second st on front needle, leaving the st on the needle.
Step 3: Insert needle purlwise through first st on back needle, then drop this stitch off the needle.
Step 4: Insert needle knitwise through second st on back needle, leaving the st on the needle.
From this point to the end, repeat steps 1-4.
Kitchener stitch can be intimidating, but you get into a rhythm:
Front needle: knitwise drop off, purlwise leave on,
Back needle: purlwise drop off, knitwise leave on,
Repeat!
At the end of the row, there is only 1 stitch left on each needle.
Work steps 1 and 3 once more.
For a left-handed video tutorial of this visit my youtube here
Abbreviations
bor – beginning of round
k – knit
k2tog -knit 2 stitches together
P – purl
pm – place marker
psso – pass slipped stitch over
sl – slip the next stitch as if to knit
sm – slip maker
ssk – slip next st knitwise, slip next st knitwise, place stitches back onto left needle, knit both slipped sts together
st – stich
sts – stitches
w&t – wrap and turn – wrap the yarn around the next stitch, turn the work (right to wrong side or wrong to right side)
yo – yarn over

If you knit this lace ankle sock pattern, I’d love to hear what color you make yours in—drop a comment below and let me know! Seeing your finished projects and color choices is always my favorite part of sharing new patterns.
This post contains affiliate links. If you purchase through them, I may earn a small commission at no extra cost to you. Thanks for supporting my blog!
ERRATA: When I made my final edits to the pattern my power was out and they didn’t save which I did not notice. The lace has been updated to be sl, k2tog, psso.
I love this pattern but I don’t have DPNs! How would I keep track of the stitches using magic loop?
You can always use stitch markers to mark off your needle 1, 2 and 3.