
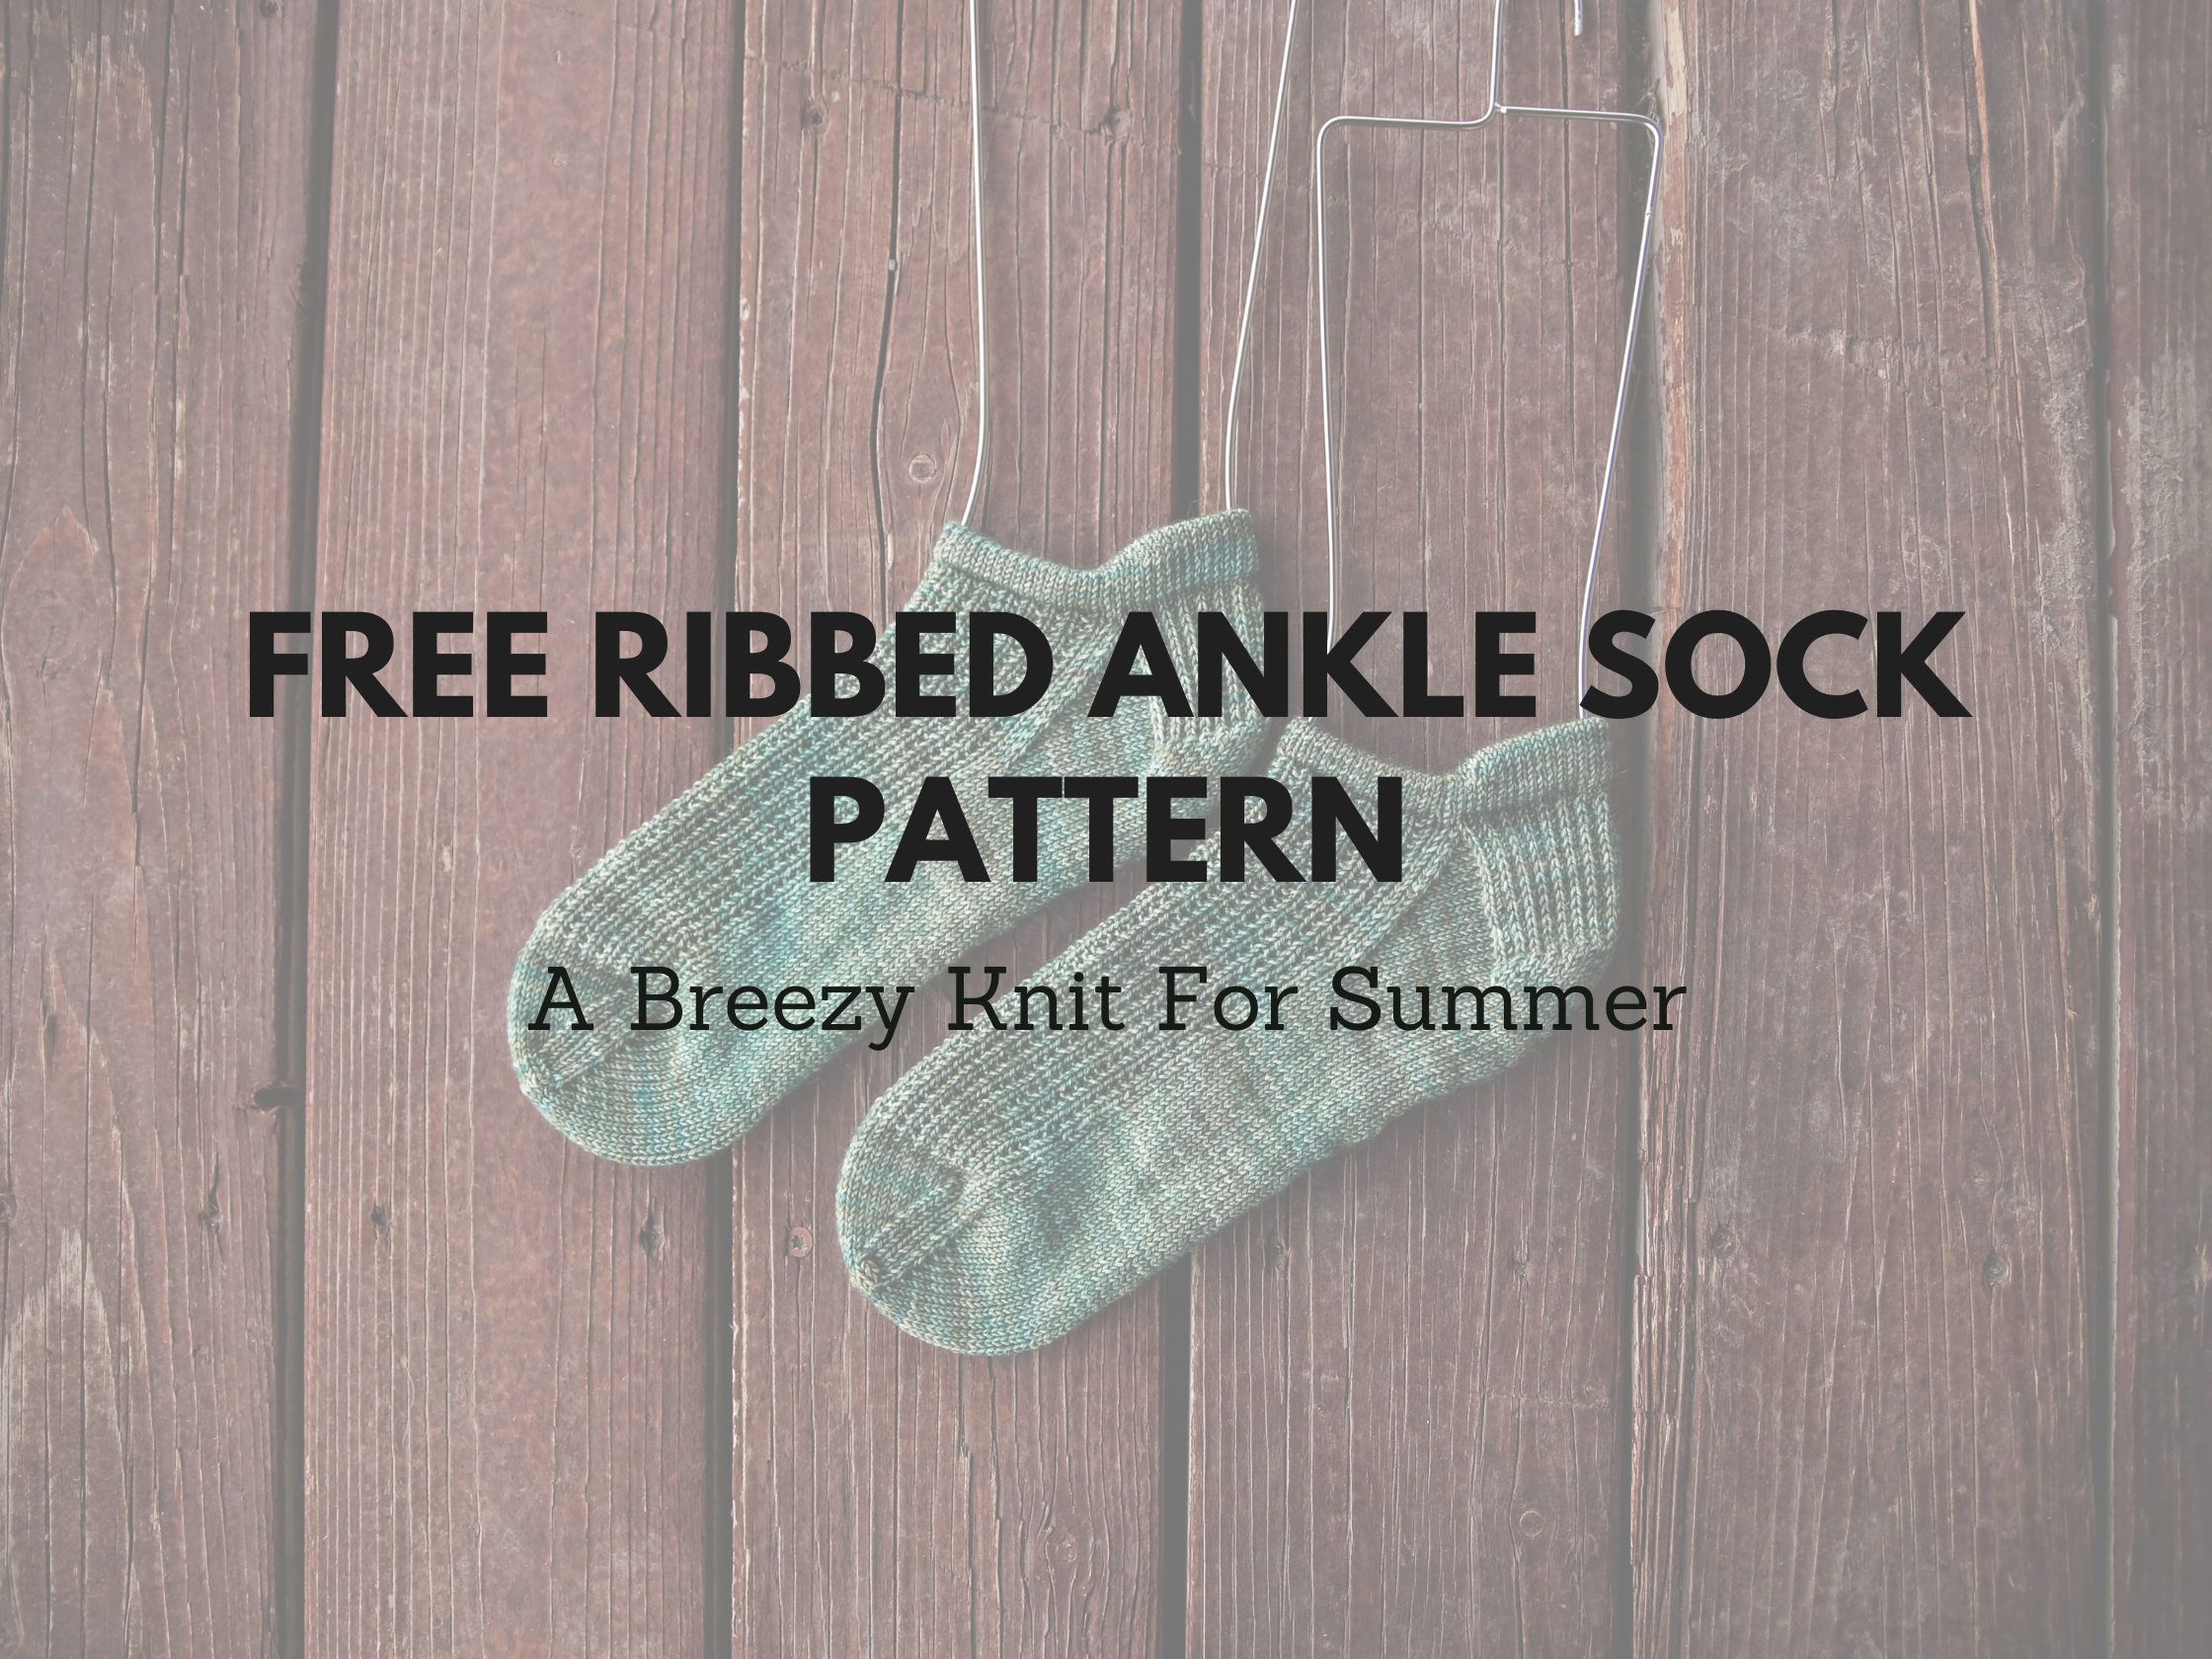
This free ribbed ankle sock pattern is summer-ready! Find more socks on my free sock pattern page, with this pattern at the bottom.

Meet Your New Favorite Summer Socks!
Summer knitting is a whole different vibe. As the temperatures rise, my projects get lighter, brighter, and a lot breezier. Socks have always been my favorite go-to knit, but who wants to wear tall, cozy socks when it’s 85 degrees and sunny? Enter the free ribbed ankle sock pattern.
I created this little ankle-friendly gem as a summer version of the popular Judah Sock pattern you’ve all come to love. And the best part? You can snag this free ribbed ankle sock pattern at the bottom of this post. But hold on! Before you scroll down, let me show you where you can explore even more sock love at my free sock pattern page. It’s bursting with inspiration, I promise!

Why I Love This Free Ribbed Ankle Sock Pattern
Let’s talk socks for a second. Specifically, ankle socks—my absolute favorites for warm-weather knitting. When I first dreamed up the original Judah Sock pattern, it quickly became a fan favorite thanks to its delightful ribbed texture and comfy fit. But summer required a twist—a shorter, sweeter version. So, I designed this free ribbed ankle sock pattern just for those of us who want cool feet without sacrificing style.
I knit these socks up in KnitPicks Hawthorne (affiliate link), which has quickly become one of my favorite sock yarns. If you’ve never tried it, the subtle color shifts and squishy-soft feel are delightful! Plus, it’s durable enough to handle everyday wear, and trust me—you’re going to want to wear these socks every single day!

The Perfect Yarn for Ankle Socks
Why KnitPicks Hawthorne (affiliate link)? I’m so glad you asked! For a sock pattern that hits right at the ankle, the yarn choice matters more than ever. Summer socks demand comfort, breathability, and durability—three boxes easily checked by KnitPicks Hawthorne (affiliate link). I genuinely can’t get enough of this yarn, and that’s exactly why I chose it for this free ribbed ankle sock pattern. You won’t regret knitting with this yarn; just follow my affiliate link and give it a try!

Tabbed Hem Ankle Comfort
What sets this free ribbed ankle sock pattern apart from others is the thoughtful addition of a tabbed hem at the ankle. Have you ever worn ankle socks that keep sliding down into your shoes? Annoying, right? Well, that problem is solved with this clever little tab. It sits just above your shoe line, making these socks extra comfy and perfect for walking, hiking, or just lounging around at home.
I also kept the original heel flap construction because, honestly, if it ain’t broke, don’t fix it. The heel flap is sturdy and perfectly hugs your heel—no slipping, no bunching, just comfy feet all summer long!

Ribbed Socks: Always in Style
The ribbing is my favorite part of this pattern—no doubt about it. Not only does it look great, but the ribbing also makes these socks incredibly stretchy and comfortable. This is particularly important for ankle socks, which need that extra elasticity to stay comfortably in place.
If you’ve knit my original Judah Sock, you’ll recognize the familiar rib pattern. For this free ribbed ankle sock pattern, I kept that beloved texture because it’s just too good to change. Trust me, your feet will thank you!

My Favorite Needles for Knitting Ankle Socks
Let’s chat quickly about needles. I knit these socks using my trusty 2.25mm double-pointed needles (DPNs). I absolutely love how precise and neat my stitches come out with DPNs of this size. If you’re new to knitting socks or even a seasoned pro, using 2.25mm needles for this free ribbed ankle sock pattern will give you the perfect gauge—nice, snug socks that won’t stretch out or feel too tight.

Perfect for Gift Knitting
Here’s another bonus: ankle socks knit up faster than regular socks, making this free ribbed ankle sock pattern ideal for gift knitting! Whether it’s birthdays, holidays, or just a thoughtful “thinking of you” gift, these socks knit up quickly enough to be a low-stress project, but the recipient will absolutely adore them.
And let’s be real: who wouldn’t want handmade ankle socks? I certainly would!

How to Customize Your Free Ribbed Ankle Sock Pattern
The beauty of knitting your own socks is that you can customize them to your heart’s content. Love bright colors? Choose vibrant shades of KnitPicks Hawthorne (affiliate link)! Prefer subtle neutrals? They’ve got that covered too. You could even experiment by adding contrasting toe or heel colors, turning your free ribbed ankle sock pattern into a personalized masterpiece.

Don’t Forget to Visit the Sock Pattern Page!
While you’re here for this free ribbed ankle sock pattern, don’t miss out on all the other fantastic sock patterns I have waiting for you. My free sock pattern page has patterns suitable for every knitter, from total beginners to seasoned pros looking for a fresh challenge.
All the other amazing sock patterns are featured there, so make sure to pop over and bookmark that page. But remember, you’ll find this free ribbed ankle sock pattern exclusively at the bottom of this post!

Wrapping It Up: Knit Your Own Ankle Socks Today!
So there you have it—my favorite summer knit, wrapped up in this delightful free ribbed ankle sock pattern. It’s quick, easy, comfy, and stylish—what’s not to love?
Grab your favorite shade of KnitPicks Hawthorne (affiliate link), your size 2.25mm DPNs, and get ready to cast on the cutest ankle socks you’ll knit all season. Your summer knitting just got a whole lot cooler!

Grab Your Free Ribbed Ankle Sock Pattern Now!
Ready to knit? Scroll down to get the full free ribbed ankle sock pattern. Don’t forget to tag me in your projects—I absolutely love seeing your finished socks!
Happy knitting!
(Pattern is available at the bottom of this post!)

Materials and Info
Materials:
Yarn: 1 skein of KnitPicks Hawthorne fingering (affiliate link) 357yd/100g
Needles: US #1 / 2.25mm DPNs (or circular for magic loop)
Notions: stitch markers, needle
Gauge: 32sts x 44rows per 4x4ins or 10x10cms
sizing:
(toddler, child,) lg child, adult S, (M, L)
Finished measurements (unstretched):
Foot Length (adjustable): 4, (6, 7.25), 8, 9, (10, 11.25) ins or 10 (15, 18.5) 20, 23 (25.5, 28.5) cms
The model size is a medium adult for a shoe size of ladies US size 10.
Abbreviations can be found on the last page
Judah Stitch Pattern
Row 1 – knit around
Row 2 – (k1, p1) around
Judah Ankle Sock Pattern
Cuff
Cast on 40 (44, 52) 56, 60, (64, 72) sts, join for working in the round.
Separate stitches on your dpn as follows:
1st needle 20 (22, 26) 28, 30 (32, 36) sts
2nd and 3rd needle 10 (11, 13) 14, 15 (16, 18) sts each needle
Work in Stockinette for 4 (5, 5) 5, 5, (5, 6) rounds.
Short rows:
Row 1 – Work across 1st needle to 1 st remaining on needle, W&T.
Row 2 – Work across to 1 st remaining on the needle, W&T.
Row 3 – Work across to 1 st before last wrap, W&T.
Row 4 – Work across to 1 st before last wrap, W&T.
Repeat rounds 3 & 4: 1 (1, 2) 2, 2 (2, 3) times.
Next round: Work across cuff in stockinette, picking up wraps and working them together with the sts they wrap as you complete this round.
Work in stockinette for 4 (5, 5) 5, 5, (5, 6) rounds.
Next Round: Fold the cast on edge into the sock, lining up the cast on edge with the current working sts. *Pick up the cast on stitch directly above the current stitch, k2tog, rep from * to the end of the rnd, the stitch count will not change.
Heel Flap
Next round: You will work the heel flap on the next 20 (22, 26), 28, 30, (32, 36), sts. Place the remaining 20 (22, 26), 28, 30, (32, 36), sts on hold.
Row 1 (RS): (sl1, k1) to end, turn work.
Row 2 (WS): sl1, purl to end, turn work.
Repeat rows 1-2 a total of 8 (10, 12), 13, 14, (16, 18) times.
This is a total of 16 (20, 24), 26, 28, (32, 36) rows.
Heel Turn
Row 1 (RS): sl1, k12 (12, 14), 15, 16, (18, 20), ssk, k1, turn work.
Row 2 (WS): sl1, p7 (5, 5) 5, 5, (7, 7), p2tog, p1, turn work.
Row 3: sl1, knit to 1 st before the gap, ssk, k1, turn work.
Row 4: sl1, purl to 1 st before the gap, p2tog, p1, turn work.
Repeat rows 3-4 until all stitches have been worked:
14 (14, 16), 16, 18, (20, 22) sts remain.
Knit across these heel stitches slipping the first st.
Gusset
Pick up and knit 9 (11, 13), 14, 15, (17, 19) sts along the edge of heel flap, PM,
Work across front 20 (22, 26), 28, 30, (32, 36) in pattern, PM,
Pick up and knit 9 (11, 13), 14, 15, (17, 19) sts along heel flap,
k7 (7, 8) 8, 9, (10, 11) sts, mark the new BOR (located at the bottom of the foot).
[52 (58, 68) 72, 78, (86, 96) sts]
Round 1: knit to marker, work front 20 (22, 26), 28, 30, (32, 36) in pattern, knit to bor marker
Round 2: knit to 3 sts before marker, k2tog, k1, sm, work in pattern to next marker, sm, k1, ssk, knit to end [2 sts dec]
Work rounds 1-2 a total of 6 (7, 8) 8, 9, (11, 12) times.
[40 (44, 52) 56, 60, (64, 72) sts]
Foot
Continue working in the round in established pattern until the piece measures 3 (5, 6) 6.5, 7, (8, 9)ins or 7.5 (12.5, 15) 16.5, 18 (20.5, 23)cms from back of heel, or 1 (1, 1.5) 1.75, 2, (2, 2.25)ins or 2.5 (2.5, 3.5) 4.5, 5 (5, 5.5) cms short of desired foot length.
Toe
Round 1: k1, ssk, knit to 3 sts before marker, k2tog, k2, ssk, knit to 3 sts before end of round, k2tog, k1 [4 sts dec]
Round 2: knit
Work rounds 1-2 a total of 5 (6, 7) 8, 9, (9, 10) times. until 16 (16, 20) 20, 20, (24, 24) sts remain.
For a left-handed tutorial of these decreases visit my youtube here
Cut yarn leaving a long enough tail to sew the toe closed, then graft toe using Kitchener stitch.
Weave in all ends
Kitchener stitch:
Place half the stitches on one needle, half the stitches on the other needle, (top and bottom NOT side to side)
Cut yarn (leaving a long yarn tail) and thread through a blunt needle.
Set-up steps: Insert needle purlwise (back to front) through the first st on front needle, leaving the st on the needle. Then insert needle knitwise (front to back) through the first st on the back needle, leaving the st on the needle.
Step 1: Insert needle knitwise through first st on front needle, then slip this st off the needle.
Step 2: Insert needle purlwise through the second st on front needle, leaving the st on the needle.
Step 3: Insert needle purlwise through first st on back needle, then drop this stitch off the needle.
Step 4: Insert needle knitwise through second st on back needle, leaving the st on the needle.
From this point to the end, repeat steps 1-4.
Kitchener stitch can be intimidating, but you get into a rhythm:
Front needle: knitwise drop off, purlwise leave on,
Back needle: purlwise drop off, knitwise leave on,
Repeat!
At the end of the row, there is only 1 stitch left on each needle.
Work steps 1 and 3 once more.
For a left-handed video tutorial of this visit my youtube here
Stitch Key
Abbreviations
k – knit
P – purl
sm – slip maker
pm – place marker
st – stich
sts – stitches
k2tog -knit 2 stitches together
ssk – slip next st knitwise, slip next st knitwise, place stitches back onto left needle, knit both slipped sts together
w&t – wrap the yarn around the next stitch, turn work
Judah Ankle Socks PDF
Affiliate Disclaimer:
This post contains affiliate links, which means if you purchase through one of these links, I may earn a small commission at no extra cost to you. Thanks for supporting my blog!
ERRATA: The heel flap which was missing from the instructions is now included. If you had previously downloaded the pattern, file above has been corrected.