
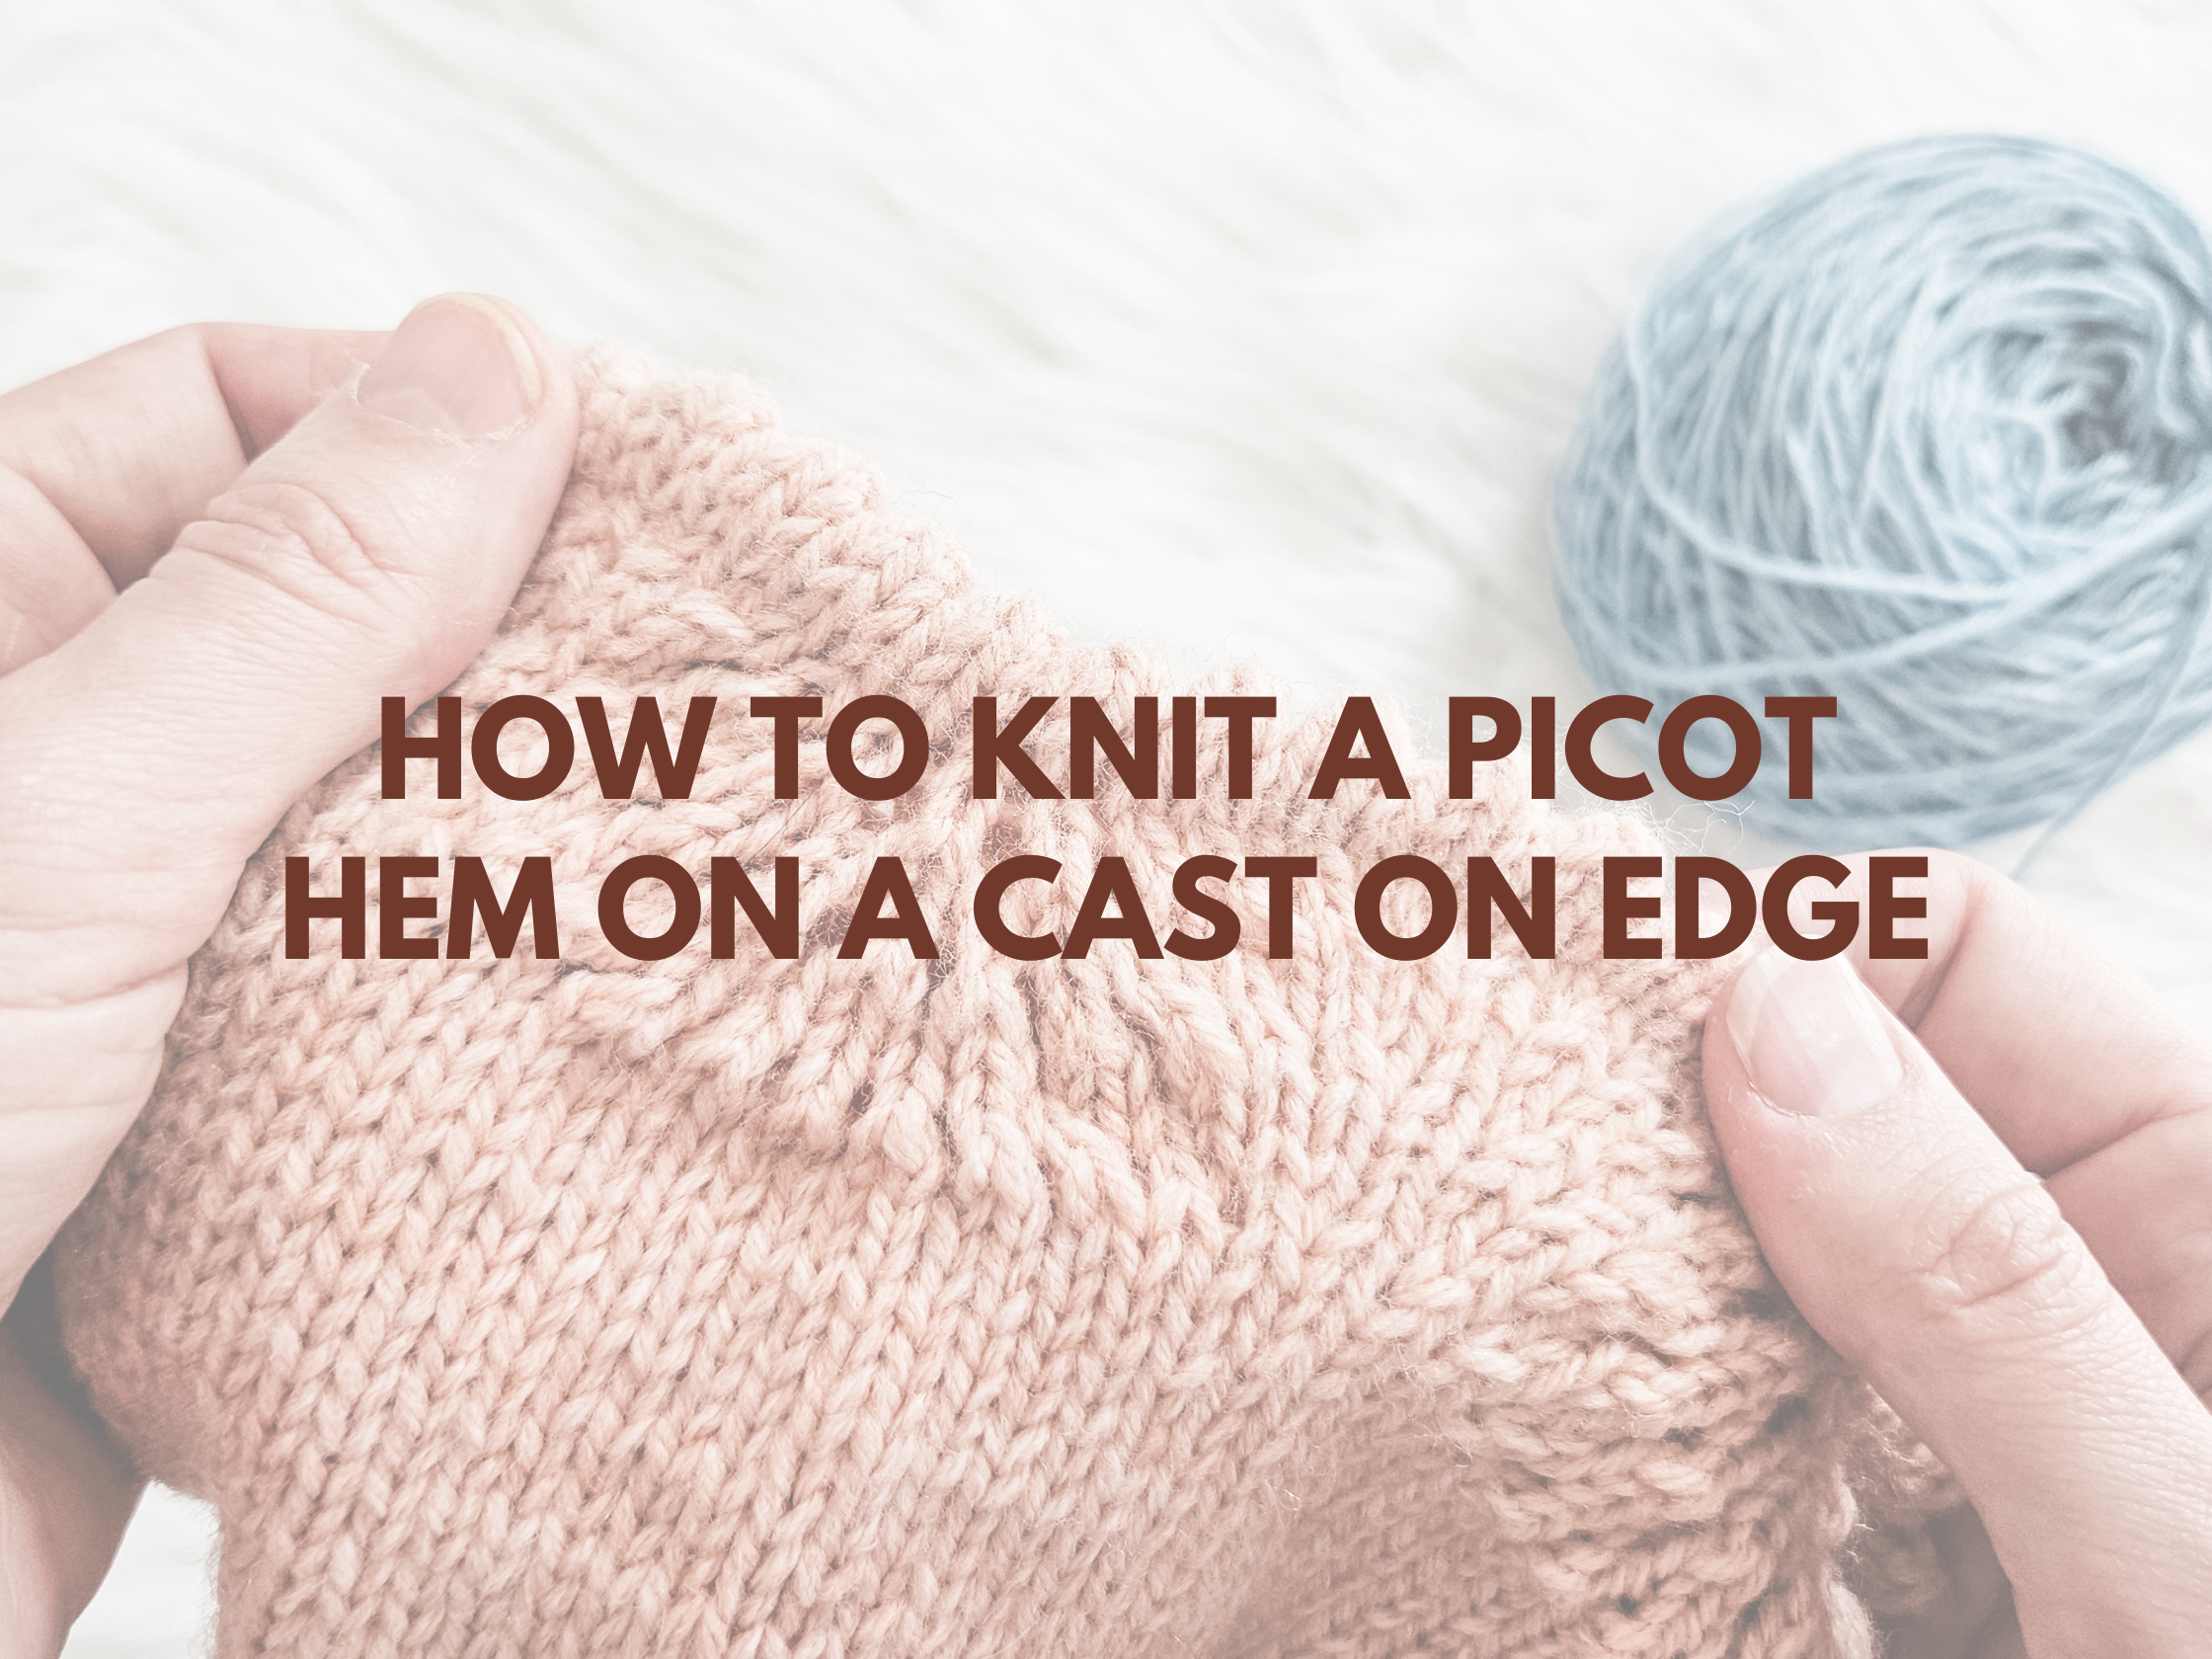
Ready to learn how to knit a picot hem? This beginner-friendly tutorial is now up on my knitting tutorial page and answers all your hem questions!

If you’ve ever looked at a delicate baby bonnet or a sweet little dress edge and wondered how did they get that perfect row of tiny teeth along the hem?, this post is for you! In today’s tutorial, I’m going to walk you through exactly how to knit a picot hem step-by-step. Specifically, I’m going to focus on one of the trickiest parts for new knitters—the row that joins the cast on edge to the working stitches to form that tidy, turned-under hem.
I’ve had quite a few people ask about this since posting patterns like the Mary Bonnet and Ocean Bonnet, both of which use this hem technique. So if you’ve been stuck or just too nervous to try it—don’t worry! We’re tackling it together, one stitch at a time.
What Is a Picot Hem?
Before we get into the how, let’s talk about the what. A picot hem is a folded edge that hides the cast on inside, forming a double layer at the edge of your work. What makes it pop is the little row of points—called picots—that give it that delicate, decorative finish. You’ve probably seen it on baby garments, socks, or even on some sweater sleeves or necklines.
When you knit a picot hem, you’re not just creating a hemline—you’re adding a professional finish and a cute visual detail, all rolled into one.

When to Use a Picot Hem
Personally, I love using a picot hem when I want a girly, polished touch. Two of my most popular patterns with this detail are:
- Mary Bonnet – A dainty lace bonnet with that signature picot edge around the face
- Ocean Bonnet – A feather and fan style with just the right amount of charm added by the hem
You’ll often see me include this detail on newborn and baby patterns, but it works anywhere you want that crisp, vintage finish.
Materials I Used (affiliate links)
For this tutorial, I used:
- Yarn: KnitPicks Heatherly Sport (affiliate link)
- Needles: KnitPicks Majestic Interchangeable Circular Needles (affiliate link)
Heatherly Sport is one of my go-to yarns for baby items. It’s soft, springy, and just the right weight for a project like this. And the Majestic interchangeable circular needles? They’re smooth, sturdy, and so pretty—perfect for getting that picot hem folded just right.
Left-handed Video Tutorial
I know that seeing it in action can make all the difference, especially for us lefties. That’s why I filmed a full left-handed video tutorial for how to knit a picot hem, including close-ups of the cast on, the picot row, and that all-important folding and knitting together section.
You can watch it over on my YouTube channel, or directly from the knitting tutorial page on my blog. Trust me, if you’ve ever felt confused by the written instructions, the video will clear it right up.
Step-by-Step: How to Knit a Picot Hem
Now for the good stuff! Let’s dive into how to knit a picot hem using the long tail cast on.
Step 1: Long Tail Cast On
Start with a long tail cast on. Cast on an even number of stitches. (We’ll divide these up for the picots in a minute.)
Step 2: Knit 3 Rows in Stockinette
This means knit on the right side rows and purl on the wrong side rows.
Step 3: Create the Picot Row
This is where the fun begins! On the next right-side row:
Knit 1, yo, k2tog; repeat from * to last stitch, knit 1
This row of yarn overs and decreases is what forms those cute little points!
Step 4: Knit 3 More Rows in Stockinette
Again, knit the right-side rows and purl the wrong-side rows.
At this point, you’ve got a band of stockinette with a picot row running right through the middle. Now it’s time to fold it in half.
The Trickiest Part: Folding and Knitting Together
This is the part that gets the most questions, especially from beginners. Let me break it down.
You’re going to fold your work at the picot row toward the inside (wrong side) so the cast on edge meets the stitches on your needle. You’ll then knit the cast on edge together with your current live stitches.
Here’s how to do it:
Insert your needle into the first cast on stitch from behind (as if you were picking up stitches).

Then knit this cast on stitch together with the first stitch on your working needle.

Repeat this all the way across: insert needle into cast on stitch, then knit it together with the live stitch.
You’ve now created a clean, folded hem that hides your cast on edge inside and shows off the pretty little picots on the outside.
My Honest Thoughts on Learning How to Knit a Picot Hem
The first time I tried this, I wasn’t sure I was doing it right. Holding the folded edge and trying to knit through two layers felt awkward at first. But once I made it across the row and saw the edge—oh my goodness—it looked so good.
The hem just sat there, all neat and tidy, and those little points were perfectly spaced. If you’re anything like me, once you master how to knit a picot hem, you’re going to want to add it to everything.
Tips and Troubleshooting
Here are a few things I’ve learned the hard way that might help you avoid a headache:
- Count your stitches before and after the picot row! The yarn overs can be sneaky.
- When you’re knitting the two layers together, make sure you’re not skipping any of the cast on edge stitches.
- If your hem looks too loose or too tight, try adjusting your tension or using a different needle size for the cast on row.
- It helps to knit the first three rows on a smaller needle size. That gives the fabric more pull toward the inside, making the hem lay flat better.

Practice Makes Pretty
Like most new techniques, learning how to knit a picot hem takes a bit of trial and error. But don’t let that stop you! Once you get the hang of it, it becomes second nature. And the polished result is so worth the extra effort.
I recommend practicing it on a small swatch before jumping into a full pattern. That way, you can get a feel for the motion without the pressure of a full project.
Bonus Ideas: Where Else Can You Use a Picot Hem?
Once you’ve mastered how to knit a picot hem, there’s no end to where you can use it! Try it on:
- Sock cuffs (for a cute scalloped edge)
- Baby sweater sleeves or waistbands
- Dress hems (especially for little girls’ dresses like Baby June Dress!!)
- Hat brims (yes, really—it’s adorable just check out Mary Bonnet)
- Skirt edges (like Ocean Skirt!)
You can even add it as a decorative edge to a blanket or shawl. It’s such a versatile technique once you’ve added it to your knitting toolbox.

Let’s Chat!
Have you tried knitting a picot hem before? What project did you use it on? Was there a moment where it finally clicked for you?
I’d love to hear about your experience. Drop a comment below and tell me:
- What pattern you’re using it on (especially if it’s one of mine! 😉)
- What yarn you’re working with
- Any tips or tricks that helped you learn
Let’s swap stories and help other knitters feel confident trying something new.
This post contains affiliate links. That means if you click through and make a purchase, I may earn a small commission at no extra cost to you. Thanks for supporting my blog!