
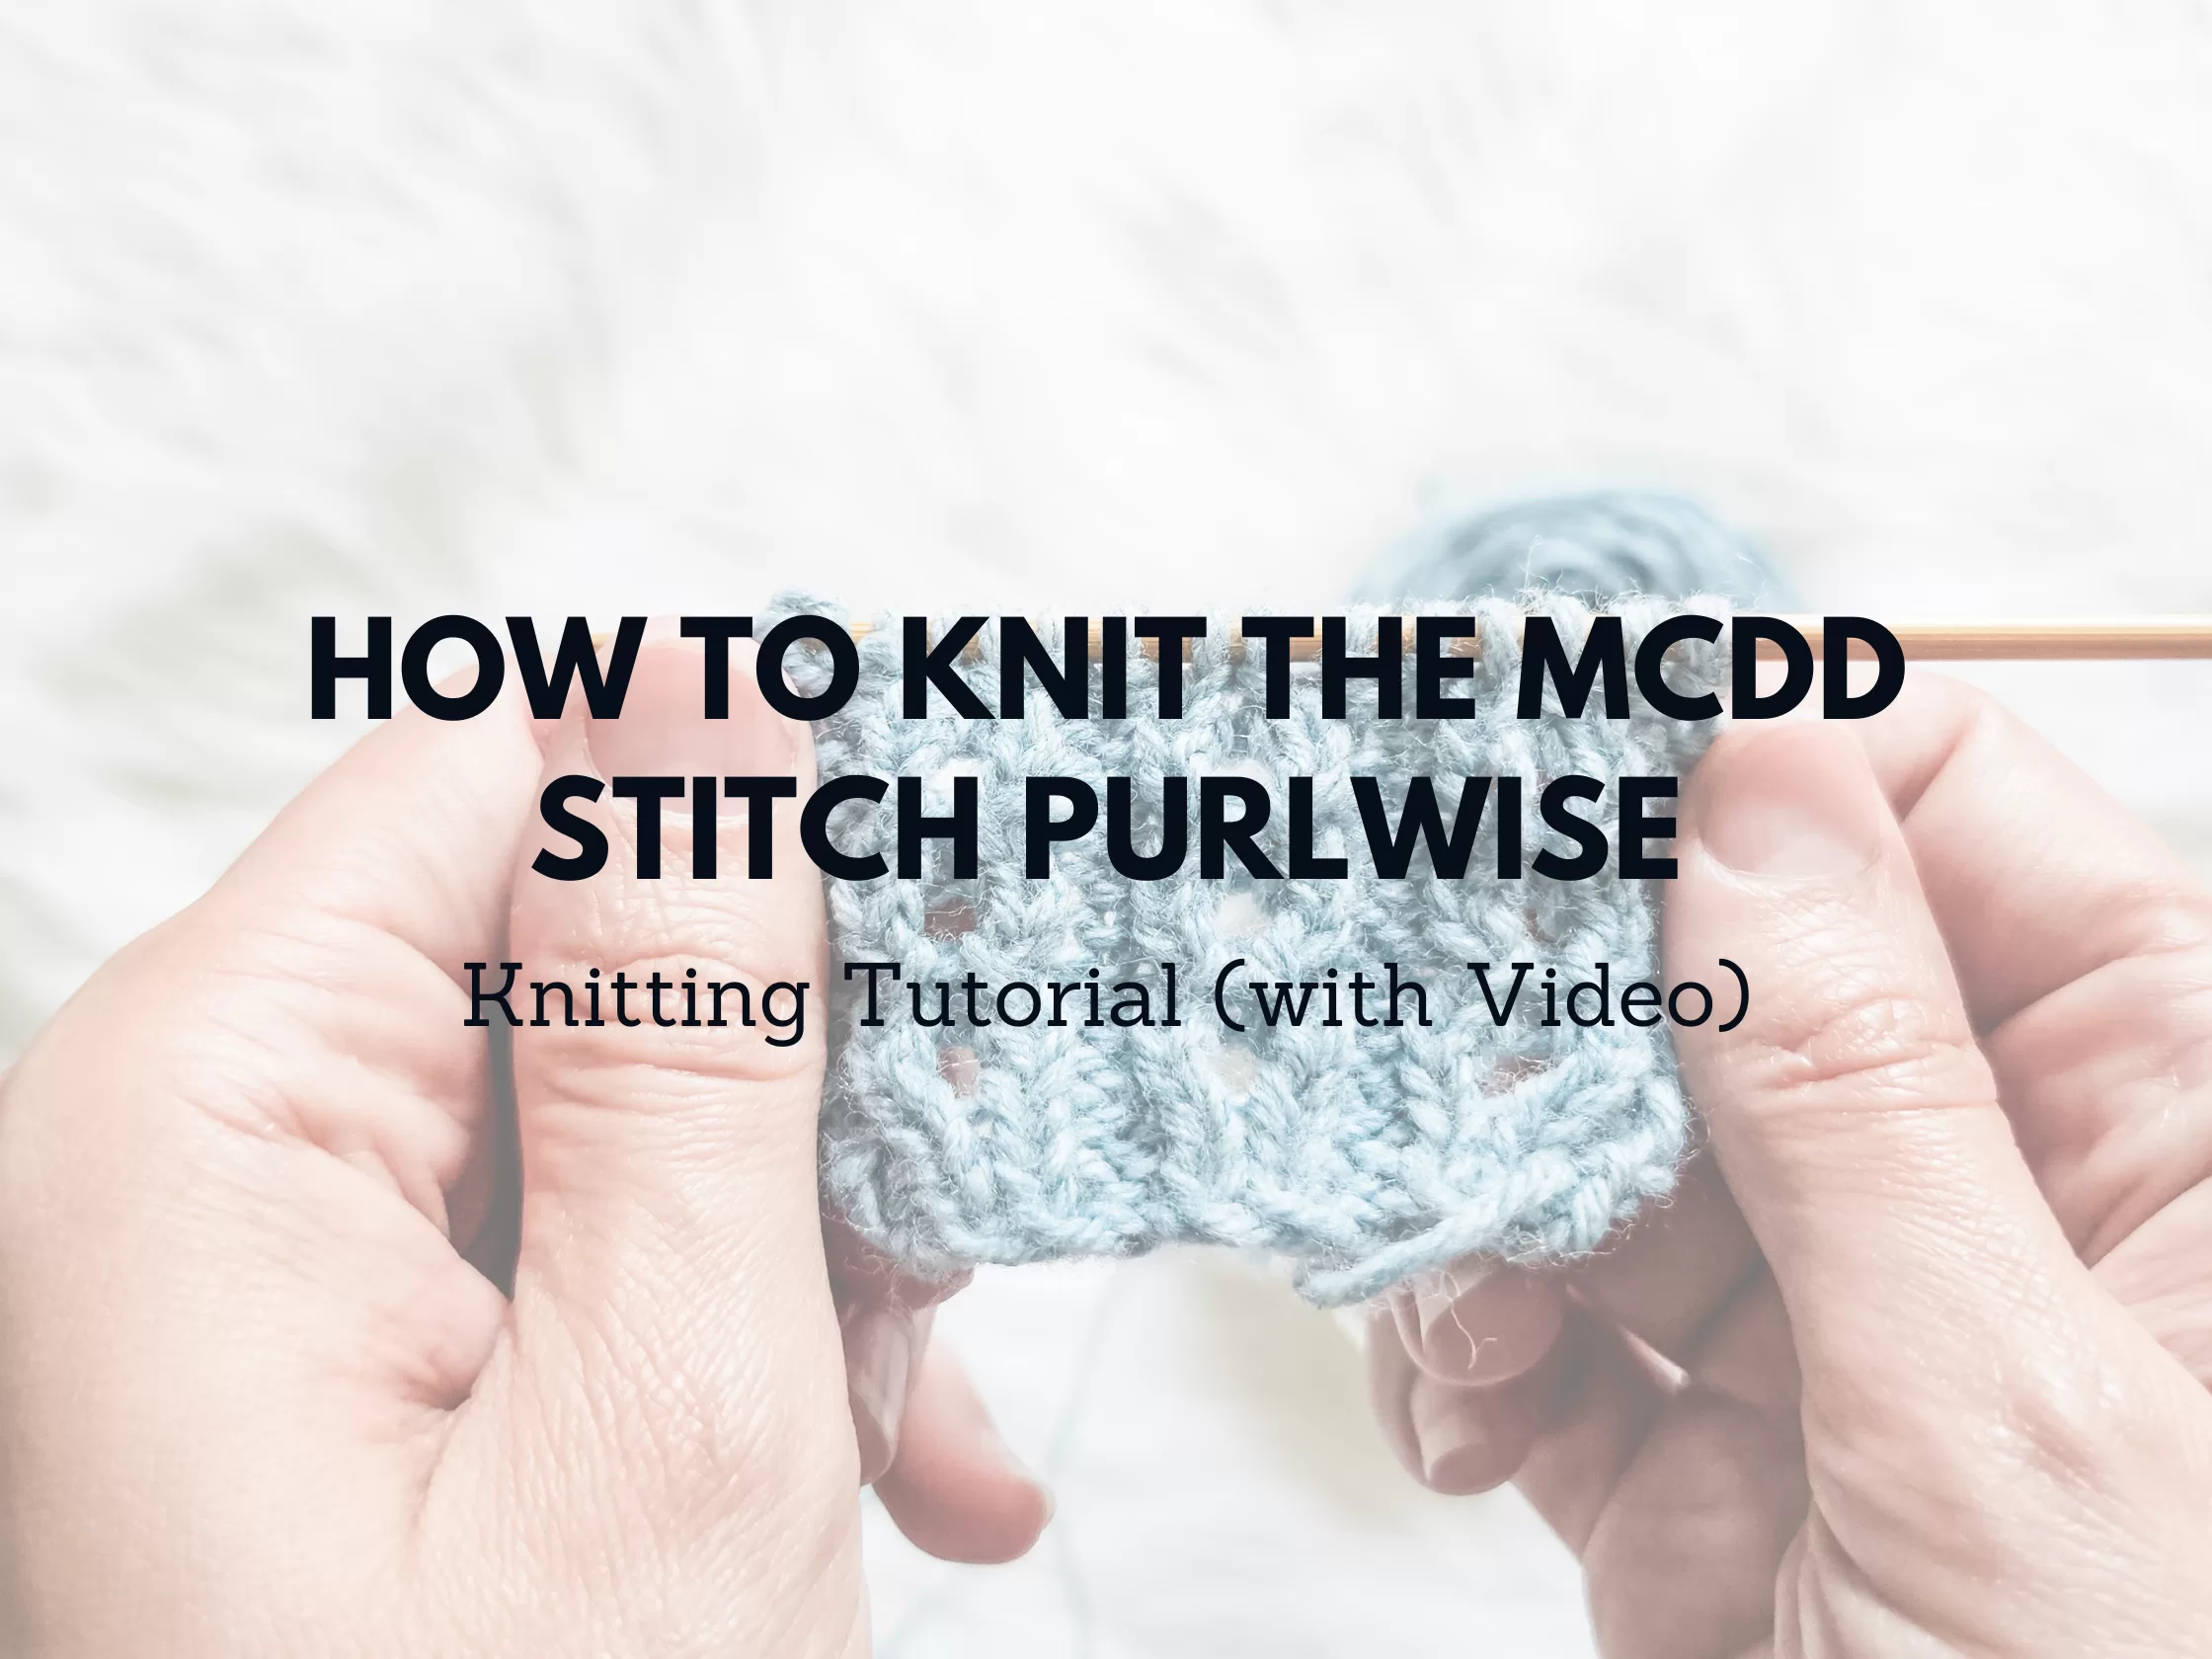
Learn how to knit the MCDD Stitch Purlwise in this step-by-step tutorial. For more tutorials head over to my knitting tutorial page!

If you’ve been eyeing the texture in my Chain Socks or admiring the detail in the Chain Bonnet, Chain Beanie, or the soon-to-be-released Chain Tee, you’re in for a treat. Today, I’m walking you through how to knit the MCDD Stitch Purlwise—a deceptively fancy little move that only looks complicated. Once you get the hang of it, this stitch brings movement and subtle texture to your fabric, all while working a clever decrease.
In this tutorial, we’ll go over exactly how to knit the MCDD Stitch Purlwise using both written instructions and a left-handed video tutorial, so whether you’re a righty or a lefty, you’ll feel right at home. I’ll also share some tips I’ve picked up while designing with it and explain why this stitch is worth adding to your toolkit.
I knit this tutorial sample using KnitPicks Heatherly Sport (affiliate link), one of my absolute favorites for baby and accessory knits. And I used my trusty Clover bamboo needles (affiliate link)—I love the slight grip and warm feel they have when working more detailed stitchwork like this.
Let’s get into how to knit the MCDD Stitch Purlwise!
What is the MCDD Stitch Purlwise?
The MCDD Stitch Purlwise is a textured decrease stitch that pulls together three stitches into two, creating a subtle leaning effect while adding vertical interest to the fabric. You’ll see this stitch used throughout the Chain Collection: in the socks, the bonnet, the beanie, and even in the soon-to-come Chain Tee.
What I love most about the MCDD Stitch Purlwise is how it blends in beautifully with ribbing and twisted stitch patterns. It keeps the integrity of the fabric intact while gently shaping your project.
And don’t let the name scare you—once you’ve done it a few times, it’ll feel like second nature.

How to Knit the MCDD Stitch Purlwise (Right- and Left-Handed)
Before we begin, let’s clarify needle terminology:
- The working needle is the one doing all the work (typically in your dominant hand).
- The holding needle is the one holding the stitches you’re knitting into you’ve already worked (typically in your non-dominant hand).
Here are the written instructions for how to knit the MCDD Stitch Purlwise. These instructions work for both right- and left-handed knitters.
Step-by-step:
Purl 2 together (P2TOG) using the first two stitches on the holding needle.

Pick up the back loop of the stitch two rows above the yarn over. You’ll recognize it as the same stitch you just purled as the second stitch of your P2TOG.
Insert the working needle from back to front through that back loop and place it on your working needle.

Slip the next stitch on the holding needle as if to knit.

Purl the picked-up stitch together through the back loop with the slipped stitch.

Done! You’ve now decreased one stitch over three stitches, giving you a beautifully sculpted line in your fabric. And per follower requests, I have flipped my left-handed video and made a youtube short for you to see it right-handed, incase you need a moving visual.
This stitch uses the same base as the standard MCDD (which is done knitwise) but flips the script for purl-heavy sections, allowing the texture to sit in reverse stockinette or ribbing sections like a dream.
Watch the Left-Handed Video Tutorial
If you’re a left-handed knitter, I haven’t forgotten about you—I’ve got a full video tutorial just for you on my YouTube channel that walks through how to knit the MCDD Stitch Purlwise in real time.
This video shows every step clearly from the left-handed perspective, including how to pick up that elusive stitch two rows below. Whether you’re a visual learner or just want a little extra clarity, this video is the perfect companion to the written instructions above.
Make sure you’re subscribed to my channel for more left-handed tutorials—I’ve got dozens more covering increases, decreases, cast ons, and more!
Where You’ll See This Stitch
The MCDD Stitch Purlwise and the orginal MCDD Stitch (get the tutorial for that here) isn’t just a party trick—it’s a hardworking decrease that adds charm and structure to your knits. Here’s where I’ve featured it:
👉 Chain Socks: Used down the sides for sculpted detail that hugs the ankle.
👉 Chain Bonnet: Featured in the body of the bonnet to give it rhythm and motion.
👉 Chain Beanie: Adds a textured spiral effect that plays well with the hat’s round shaping.
Chain Tee (Coming Soon!): Will feature MCDD Stitch Purlwise in the shaping near the hem and sleeves—get ready!
I designed this stitch because I needed something that decreased without disrupting the flow of the fabric. And I ended up loving it more than I expected!

Tips for Knitting the MCDD Stitch Purlwise
Here are a few things I learned (sometimes the hard way) while working with this stitch:
- Use a yarn with good stitch definition. That’s why I chose KnitPicks Heatherly Sport (affiliate link) for this tutorial—it really shows off the movement of the stitch.
- Watch your tension. Because you’re working into a stitch essentially a row down, it’s easy to pull too tightly. Let the yarn breathe!
- Keep an eye on that slipped stitch. It’s easy to miss it if you’re in a rhythm, but it’s important for the structure of the decrease.
- Mark the beginning of the repeat. If you’re using this stitch in a regular rhythm across a row, place stitch markers (affiliate link) between each repeat to keep things tidy.
Common Mistakes (And How to Fix Them)
You’re not alone if this stitch feels a little awkward at first! Let’s troubleshoot a few things:
- “I can’t find the stitch two rows down.” Look for the yarn over and then trace up two rows. The back loop you need is the middle stitch of your p3 that you just used as the second stitch of your p2tog. It helps to spread the fabric gently with your fingers.
- “The decrease looks bulky or lumpy.” This usually means you’re pulling too tightly or twisting the stitches in the wrong direction. Try to stay relaxed and watch the orientation of each step.
- “My count is off.” Remember, this decreases 1 stitch over three stitches using 2 decreases that use the center stitch in both decreases. Double-check that you’re not picking up the wrong stitch for your second decrease.
Practice Pattern Swatch
Want to test it out before diving into a project? Try this little swatch pattern:
CO 14 sts.
Row 1 (RS): P2, K1, YO, K1 across to last 2sts, P2 P2, K2 across to last 2sts, P2.
Row 2 (WS): K2, P2 across to last 2sts, K2.
Row 3: P2, K2 across to last 2sts, P2.
Row 4: K2, work MCDD Stitch Purlwise, across to last 2 sts, P2.
Repeat Rows 1–4 several times to see the texture grow!
Why I Love the MCDD Stitch Purlwise
This stitch has become a staple in my designer toolbox. It solves the problem of decreasing in purl-heavy fabrics, and it adds such a subtle beauty to projects without feeling flashy or overwhelming.
Plus, it’s always fun to have one of those “sneaky” stitches in your back pocket that makes other knitters ask, “Wait…what did you just do there?”
Whether you’re knitting socks, bonnets, beanies, or a breezy tee, I hope you’ll try this stitch and fall in love with it too.
Ready to Give it a Try?
I’d love to hear how the MCDD Stitch Purlwise works for you! Leave a comment below and let me know where you’re planning to use it—or if you have any questions. And if you try one of the Chain patterns, tag me on Instagram @knitinthewomb so I can cheer you on!
This post contains affiliate links. That means if you click through and purchase, I may earn a small commission at no extra cost to you. Thanks for supporting my work and helping me keep these tutorials free!