
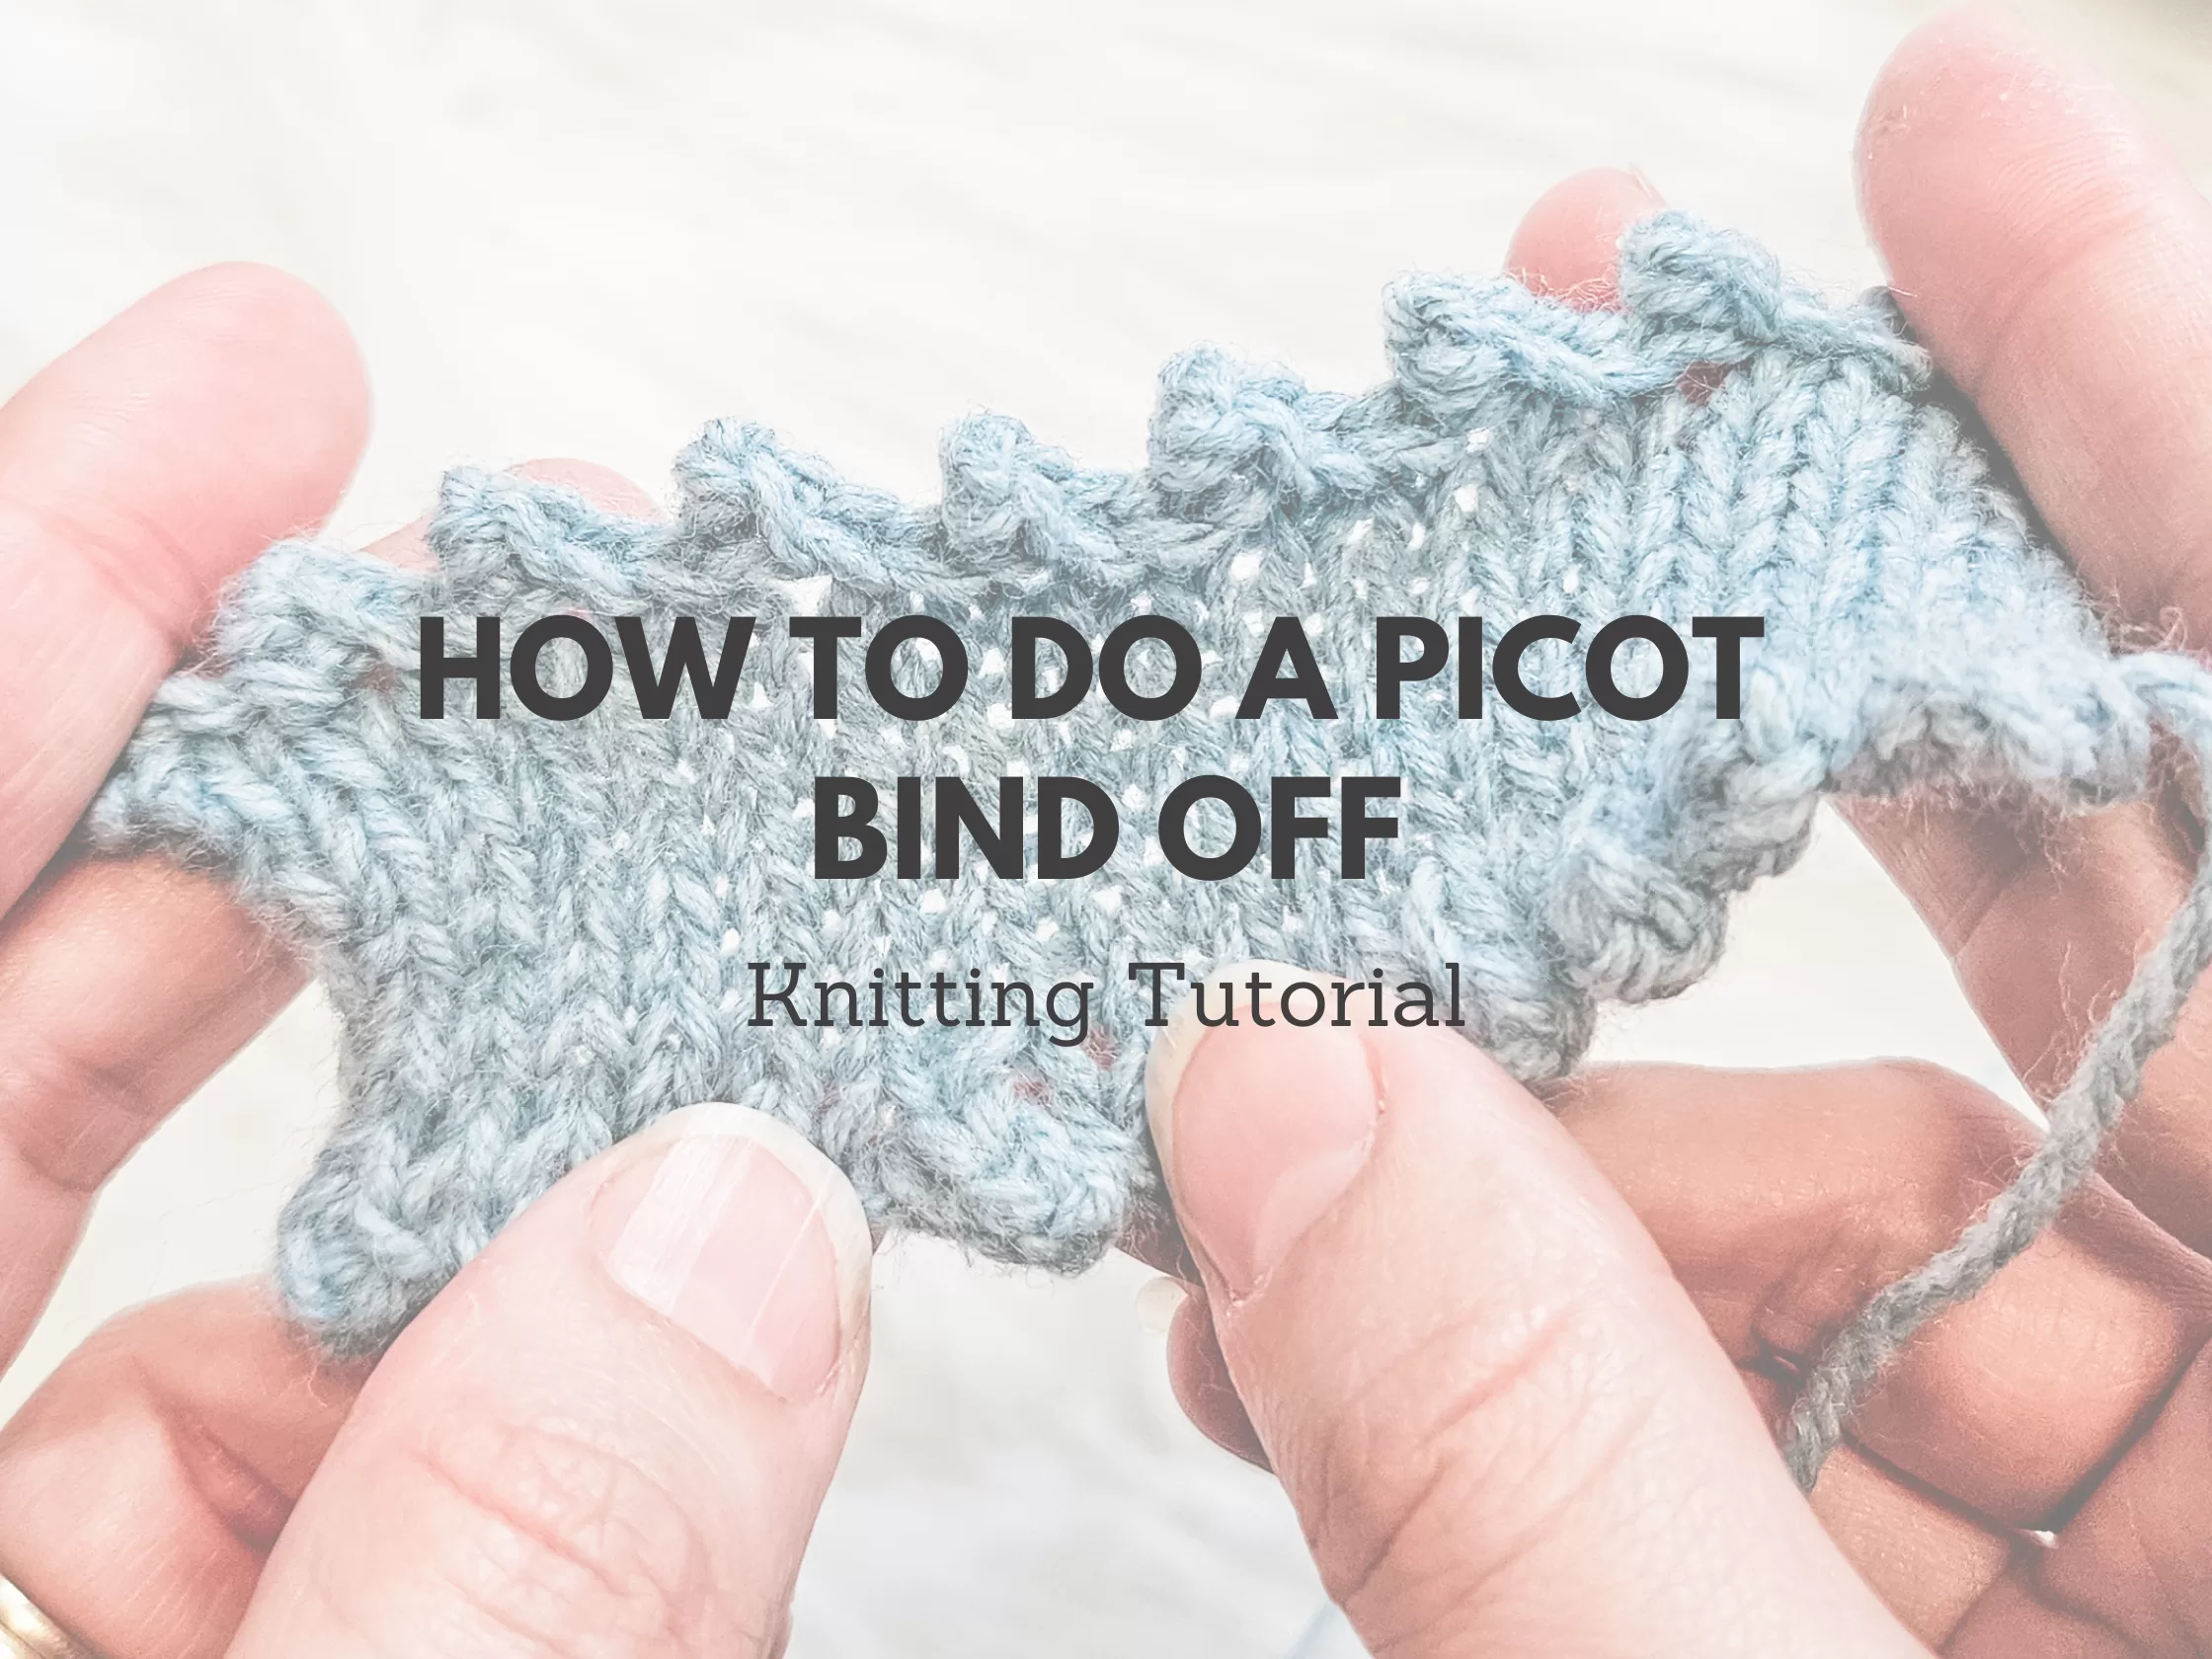
Learning how to do a picot bind off is the perfect next step after mastering a picot cast on! Find even more tutorials on my knitting tutorial page!

If you’ve fallen head-over-heels in love with the charming little bumps of a picot cast on, guess what? You’re going to be just as smitten when you learn how to do a picot bind off! It’s one of those finishing touches that can really make a project shine — and better yet, it’s not hard at all once you get into the rhythm.
In today’s tutorial, I’m going to walk you through how to do a picot bind off using KnitPicks Heatherly Sport yarn (affiliate link) and my trusty Clover bamboo circular size 6 needles (affiliate link). These are some of my favorite tools to work with when I want my edges to look soft, stretchy, and polished — exactly what you want for a picot edge!
Let’s dive right in!
When Should You Use a Picot Bind Off?
Before we get into the how-to, let’s talk about the why. A picot bind off is used when you want a decorative, slightly stretchy edge that adds a feminine, playful finish to your knitting. It’s especially popular for baby items (like bonnets, dresses, or socks), shawls, and anything that could use a little extra flair.
If you used a picot cast on at the beginning of your project, odds are the pattern will call for a matching picot bind off. It keeps the design cohesive and balanced. Trust me, it’s totally worth the extra couple of minutes! Learning how to do a picot bind off makes all the difference for projects where a plain bind off would just feel… unfinished.

Tools and Materials
For this tutorial on how to do a picot bind off, here’s what I used:
- Yarn: [KnitPicks Heatherly Sport](affiliate link) — soft, bouncy, and perfect for crisp little picots!
- Needles: [Clover bamboo circular size 6](affiliate link) — a nice, grippy surface that helps control stitches during the bind off.
If you’re using different yarn or needles, no worries! The technique for how to do a picot bind off is the same across the board.
Before We Begin: Working Needle and Holding Needle
When I explain how to do a picot bind off, I use the terms working needle and holding needle to make the instructions friendly for both right-handed and left-handed knitters.
- The working needle is the needle with the live stitches you are actively knitting.
- The holding needle is the one holding your waiting stitches.
Ready to get started? Let’s walk through the steps for how to do a picot bind off!
How to Do a Picot Bind Off (Written Instructions for Right and Left-Handed Knitters)
Here’s how to do a picot bind off step-by-step:
Cast on two stitches onto the working needle using the knitted cast on method. (This creates the little “bump” or picot.)


Bind off four stitches:
Knit two stitches.
Pass the first stitch over the second and off the needle.
Knit one stitch.
Pass the previous stitch over the new stitch.
Repeat until you have bound off a total of four stitches (counting the cast-on stitches).


Repeat: Cast on two stitches again and bind off four stitches.

Continue this sequence across your entire row until you have no stitches left on the holding needle.
And that’s it! That’s how to do a picot bind off — easy, rhythmic, and a little addictive once you get going!
A Quick Tip for Beautiful Picots
As you work through how to do a picot bind off, try to keep your cast-on stitches snug but not too tight. If you pull them too tightly, the little picots can look squished instead of bouncy. If you keep a nice even tension, your finished edge will have just the right amount of pop and polish.
Matching Your Cast On and Bind Off
If you used a picot cast on at the beginning of your project (and I have a whole tutorial here if you need it), doing a picot bind off will create a beautiful bookend effect. Learning how to do a picot bind off is an easy way to add that professional-looking touch that makes your handmade project look extra thoughtful and intentional.
Plus, since both the cast on and bind off edges have those same cute points, the project won’t look lopsided or “unfinished” at the top or bottom. They’ll match like a dream!
Left-Handed Knitters — You’re Covered!
If you’re a left-handed knitter, don’t worry — I have a full left-handed video tutorial showing how to do a picot bind off on my YouTube channel. I walk through it slowly so you can follow along stitch by stitch without flipping the instructions around in your head.
I know how tough it can be when every video feels backward, so I always try to include lefty-friendly versions of my tutorials whenever I can! If you want a clear visual guide to how to do a picot bind off, definitely go check it out!
Why I Love Using a Picot Bind Off
Honestly, the first time I learned how to do a picot bind off, I thought it looked way harder than it actually is. I put it off for ages thinking it was some kind of fancy technique only for super advanced knitters. (Spoiler: it’s not!)
Once I finally gave it a shot, I couldn’t believe how easy and satisfying it was. Now, it’s one of my favorite ways to finish off special projects. It gives such a cheerful, boutique feel without adding tons of extra time. If you can bind off normally, you can totally handle a picot bind off — and once you learn it, you’re going to want to use it everywhere.
Quick Recap: How to Do a Picot Bind Off
Here’s a lightning review:
- Cast on two stitches.
- Bind off four stitches.
- Repeat across your row.
- Keep even tension for best results.
- Smile and admire your adorable little edge when you’re done!
Seriously, once you get the rhythm down, it flies by and feels so satisfying.
Let’s Chat!
Have you tried a picot bind off before? I’d love to hear what project you used it on! Leave me a comment below and let’s chat about what you’re making. I always love seeing your progress and hearing your ideas!
This post contains affiliate links. This means I may earn a small commission (at no extra cost to you) if you click through and purchase. Thank you for supporting my blog!