
Learn how to block knitting with my steam blocking method—perfect for synthetics! Find more tutorials on my knitting tutorial page.

When it comes to finishing a knit piece, blocking is one of those things that can take your project from “oh that’s nice” to “WOW, did you really make that?!” If you’ve been wondering how to block knitting and you’re working with synthetic yarns like acrylic or blends that just shrug off water like it’s nothing, then let me introduce you to my favorite trick: steam blocking!
Today, I’m walking you through exactly how to block knitting using steam, why you shouldn’t do it on cotton, the tools I use (with affiliate links), and which of my own patterns this has worked beautifully on. Get comfy, grab your steamer, and let’s talk about how to block knitting like a pro—even when you’re short on time.
Why Use Steam? A Quick Look at Why This Method Works
Let’s be honest. Blocking acrylic can be a nightmare. You soak it, pin it, let it dry—and the next day it’s like nothing ever happened. That’s because acrylic and synthetic yarns don’t respond to water like natural fibers do. They need a little heat. A little persuasion. Enter: the steam.
Steam blocking essentially relaxes the fibers and helps “kill” the synthetic memory just enough to hold your desired shape. When you know how to block knitting using steam, you can fix curling edges, open up lace, or smooth out those stubborn stitches that just won’t lie flat.

When NOT to Steam Block
Before we go any further, let me be clear: do NOT steam block cotton. Cotton can scorch or become overly limp with too much heat, and water blocking works beautifully for it anyway. Reserve steam blocking for acrylics, acrylic blends, and other synthetics—yarns that don’t hold a shape well after wet blocking.
Tools I Use for Steam Blocking
I’ve tested a few setups over the years, but this is my go-to trio for steam blocking success:
- Knitters Pride Blocking Combs (affiliate link) – These make it super easy to get straight, even edges without a million pins.
- Blocking Mats (affiliate link) – I use the foam puzzle kind so I can create a surface big enough for anything from socks to sweaters.
- Clothing Steamer (affiliate link) – Mine was under $30 on Amazon and it’s been worth every penny.
And the yarn in my tutorial today? I’m using KnitPicks Heatherly Sport (affiliate link). It’s soft, stretchy, and responds really well to steam without going limp.

How to Block Knitting Using Steam (Step-by-Step)
Ready for the method? Here’s exactly how to block knitting using steam:
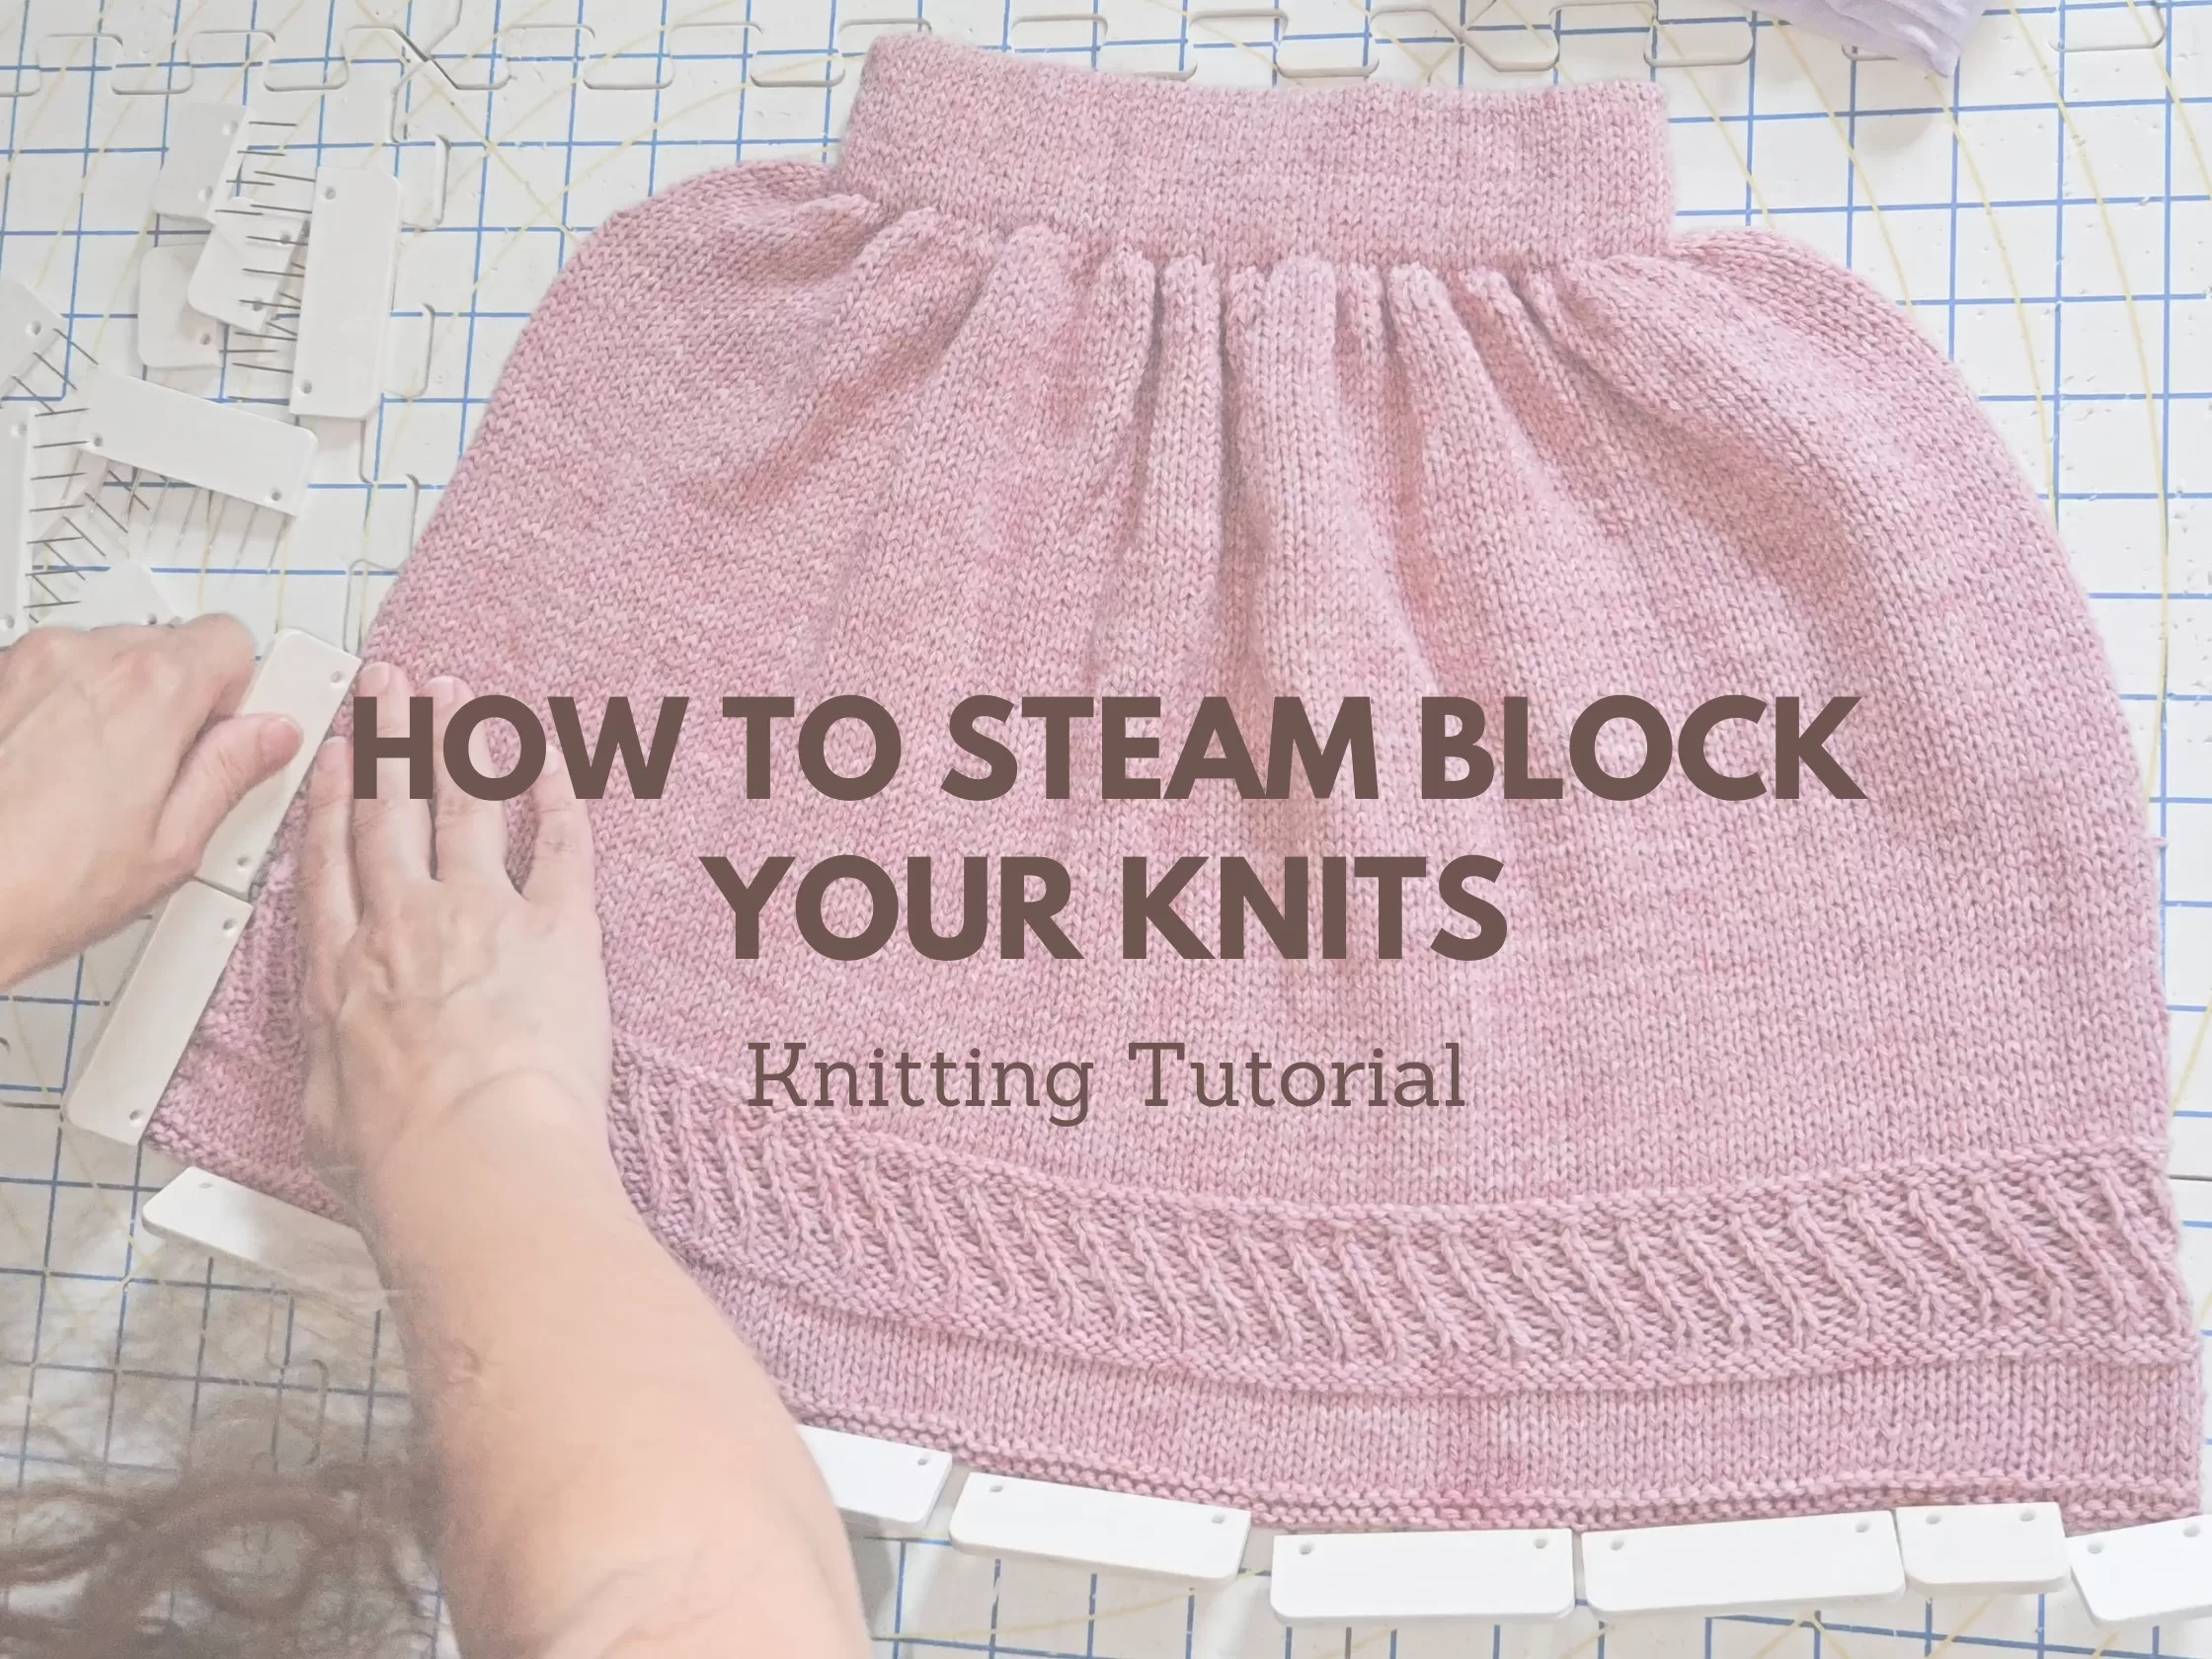
- Pin Your Finished Project
Lay your piece out on your blocking mats and use blocking combs (or T-pins) to secure the edges in the shape you want. Don’t stretch it more than needed—just enough to shape it nicely. - Run the Steamer Over the Project
Hover your clothing steamer just above the fabric and move it slowly across the surface. Press gently with your hand (or the back of a wooden spoon if it’s hot) to encourage the steam to move through the fabric. The goal is to get the heat to the back side without scorching the yarn. - Let It Dry (5–10 Minutes)
After steaming, let your piece rest and cool for about 5–10 minutes. It should dry quickly since we didn’t saturate the fabric. - Unpin and Enjoy Your Finished Project
Once it’s dry, unpin your piece. You’ll notice the edges stay flatter, the lace more open, and the overall look just more polished.
That’s it! That’s literally how to block knitting with steam—fast, easy, and incredibly effective.
Watch the Steam Blocking Process in Action
If you’re a visual learner like me, you’ll love the full tutorial I’ve posted on YouTube. I walk through the entire steam blocking process using the same KnitPicks Heatherly Sport yarn and show the difference between pre-blocked and post-blocked fabric. Make sure you’re subscribed to my channel for more how-to videos like this one!
Patterns I’ve Used Steam Blocking On
This method isn’t just a theory—I use it all the time on my own patterns, especially when I’m working with synthetic yarns or just need a project photo-ready fast. Here are a few patterns I’ve steam blocked with great results:
👉 Michael Pullover – The wide rib settles so much better after steam.
👉 Daisy Bonnet – Those lacy flowers need a little steam to stay sweet and round.
👉 Damask Socks – Perfect for opening up the pattern without soaking your whole sock.
👉 Nicolas Cowl – Steam blocking helps even out the cable sections sections.
👉 Baby Damask Cardigan – That textured stitch pattern really shines after a good steam!
Each one of these turned out crisp and clean after a quick steam block. If you’ve been hesitant to try blocking, this is a great place to start.
Frequently Asked Questions About How to Block Knitting with Steam
Can I steam block wool or natural fibers?
You can, but I don’t usually recommend it. Most natural fibers respond really well to wet blocking, and steam can sometimes flatten the texture in a way you don’t want. I stick to wet blocking for wool and use steam only for acrylics and blends that don’t hold shape otherwise (unless I’m in a hurry and need the object RIGHT NOW!)
How close should I hold the steamer?
You can hold it right on the project (but be really gentle). I like to hover right above. You want the steam to go through the fabric so both sides are steamed at the same time. Keep the steamer moving and don’t press too hard because it will stretch your project.
Is there such a thing as over-steaming?
Yes but only If you have a high heat steamer. You can “kill” the fibers too much and end up with a floppy or overly drapey piece. One pass over each section is usually enough. You want to reshape, not completely melt your project. This is why I like the steamer I use. It doesn’t get hot enough to melt your project into oblivion. You can pick it up here (affiliate link).

Why Steam Blocking Might Be Your New Best Friend
I know wet blocking gets all the love, but once you know how to block knitting with steam, you’ll see why I keep my steamer handy at all times. It’s fast. It’s clean. And it works wonders on yarns that otherwise just… don’t listen.
Plus, when you’re on a deadline (hello, last-minute baby shower gift), steam blocking can give your project that finished, professional look in under 15 minutes. No soggy towels. No overnight drying. Just quick, glorious results.
Want More Knitting Tutorials?
Steam blocking is just one of the many finishing techniques I cover on my knitting tutorial page. If you’re curious about casting on, seaming, ribbing, or adding picot hems, there’s a tutorial waiting for you! And yes—most of them come with a left-handed video, too.
Whether you’re a beginner or have been knitting for decades, knowing how to block knitting in different ways helps you take your projects to the next level. Steam blocking is a simple, accessible way to give your finished piece that polished look—especially if you’re not working with natural fibers.
Let’s Chat!
Have you tried steam blocking before? Did it change your life or totally flop the first time? (No judgment here—I melted my first swatch.) Drop a comment below and tell me what yarns you’ve used this method with. I’d love to hear your experience and answer any questions!
This post contains affiliate links. That means I may earn a small commission if you click through and purchase—at no extra cost to you. Thank you for supporting free tutorials and patterns on my blog!