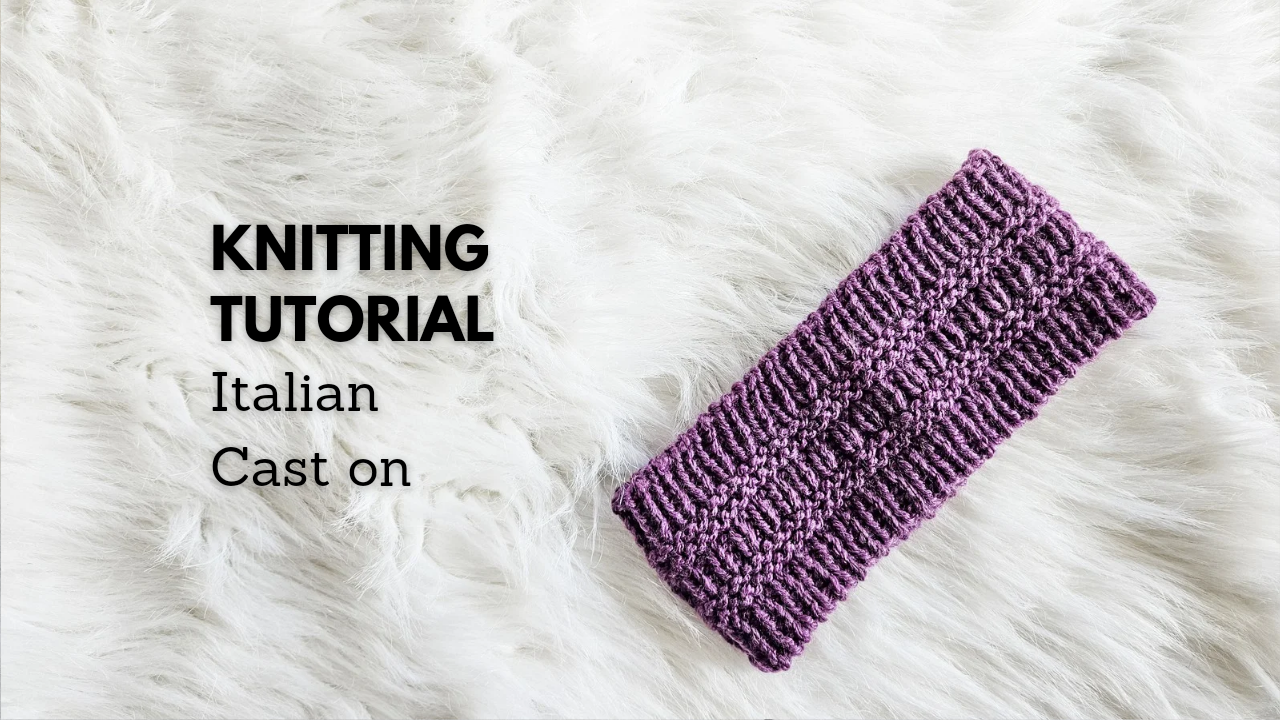
Looking for a smooth, stretchy cast-on for ribbing? Learn the Italian cast-on in this step-by-step guide! Check out my free knitting patterns like the Peace Cowl and Peace Beanie for perfect project ideas.

What Is the Italian Cast-On?
The Italian cast-on is a versatile, stretchy cast-on method perfect for 1×1 ribbing. Its seamless edge blends beautifully into your knits, creating a polished, professional look.
This technique is particularly great for projects like the Peace Cowl and Peace Beanie, where a neat edge complements the overall design. If you’re planning to knit the Peace Ear Warmer, coming to the blog November 28th, the Italian cast-on will also work wonderfully.
Why Choose the Italian Cast-On?
If you’ve ever struggled with a tight or uneven cast-on edge, the Italian cast-on tutorial is here to help. Benefits include:
- Stretchiness: Ideal for ribbing and wearable knits.
- Seamless Finish: The edge flows naturally into the ribbing.
- Professional Look: Great for showcasing your skill in handmade gifts.
For those working on projects like the Peace Cowl or Peace Beanie, this method adds the perfect finishing touch.
Materials Needed for the Italian Cast-On
To get started, gather your supplies:
- Yarn: I recommend Premier Yarns Anti-Pilling Bamboo Chunky, (affiliate link) which I used in my video tutorial. Its softness and durability make it perfect for accessories.
- Needles: I used Knit Picks Radiant Needles, (affiliate link) which glide smoothly through every stitch.
- Patience: While the technique is simple, it may take practice to master!
Affiliate links:
- Premier Yarns Anti-Pilling Bamboo Chunky: [Buy here].(affiliate link)
- Knit Picks Radiant Needles: [Buy here]. (affiliate link)
How to Do the Italian Cast-On
Step 1: Create a Slip Knot
Begin by making a slip knot and placing it on your needle. This forms the starting point of your Italian cast-on.
Step 2: Position Your Yarn
Hold your yarn in the long-tail cast-on position, with the tail over your thumb and the working yarn over your index finger.
Step 3: Create the First Stitch
- Insert the needle under the yarn on your thumb.
- Bring the needle over the yarn on your index finger.
- Pull the loop through and tighten gently.
Step 4: Alternate Loops
- For knit stitches: Insert the needle under the thumb yarn, then over the index finger yarn.
- For purl stitches: Insert the needle under the index finger yarn, then over the thumb yarn.
Alternate these movements to create a 1×1 ribbing base.
Tips for Mastering the Italian Cast-On
- Keep Tension Even: Avoid pulling too tightly to maintain stretchiness.
- Practice: It may feel awkward at first, but muscle memory will kick in.
- Watch My Left-Handed Tutorial: If you’re a left-handed knitter, check out my YouTube video for a visual guide.
Projects to Practice the Italian Cast-On
The Italian cast-on tutorial is perfect for projects like:
- Peace Cowl : This cozy cowl benefits from the smooth, stretchy edge. Click here to try it out.
- Peace Beanie: Achieve a professional look with this seamless start. Click here to try it out.
- Peace Ear Warmer: Coming November 28th, this pattern pairs beautifully with the Italian cast-on for a polished finish.
Troubleshooting Common Issues
- Loose Stitches: Tighten each stitch slightly as you go.
- Uneven Edges: Focus on consistent tension and positioning.
- Running Out of Tail: Measure your tail generously before starting (about 3x the width of your project). You you’ve been following me for a while you know my motto: It’s better to have too much than not enough!
Frequently Asked Questions
Can I use the Italian cast-on for other projects?
Yes! While it’s ideal for ribbing, the Italian cast-on can also be used for stockinette or textured patterns.
Is the Italian cast-on difficult to learn?
Not at all! It just takes practice. My Italian cast-on tutorial on YouTube breaks it down step-by-step.
Final Thoughts
The Italian cast-on tutorial is an essential skill for knitters of all levels. Whether you’re working on the Peace Cowl, Peace Beanie, or the upcoming Peace Ear Warmer, this method will elevate your projects.
Don’t forget to visit amandammorse.com for more free patterns and resources. Pair this technique with my left-handed tutorial video for a complete guide to mastering this cast-on.
This blog post contains affiliate links. If you purchase through them, I may earn a small commission at no extra cost to you.


Comments are closed.