
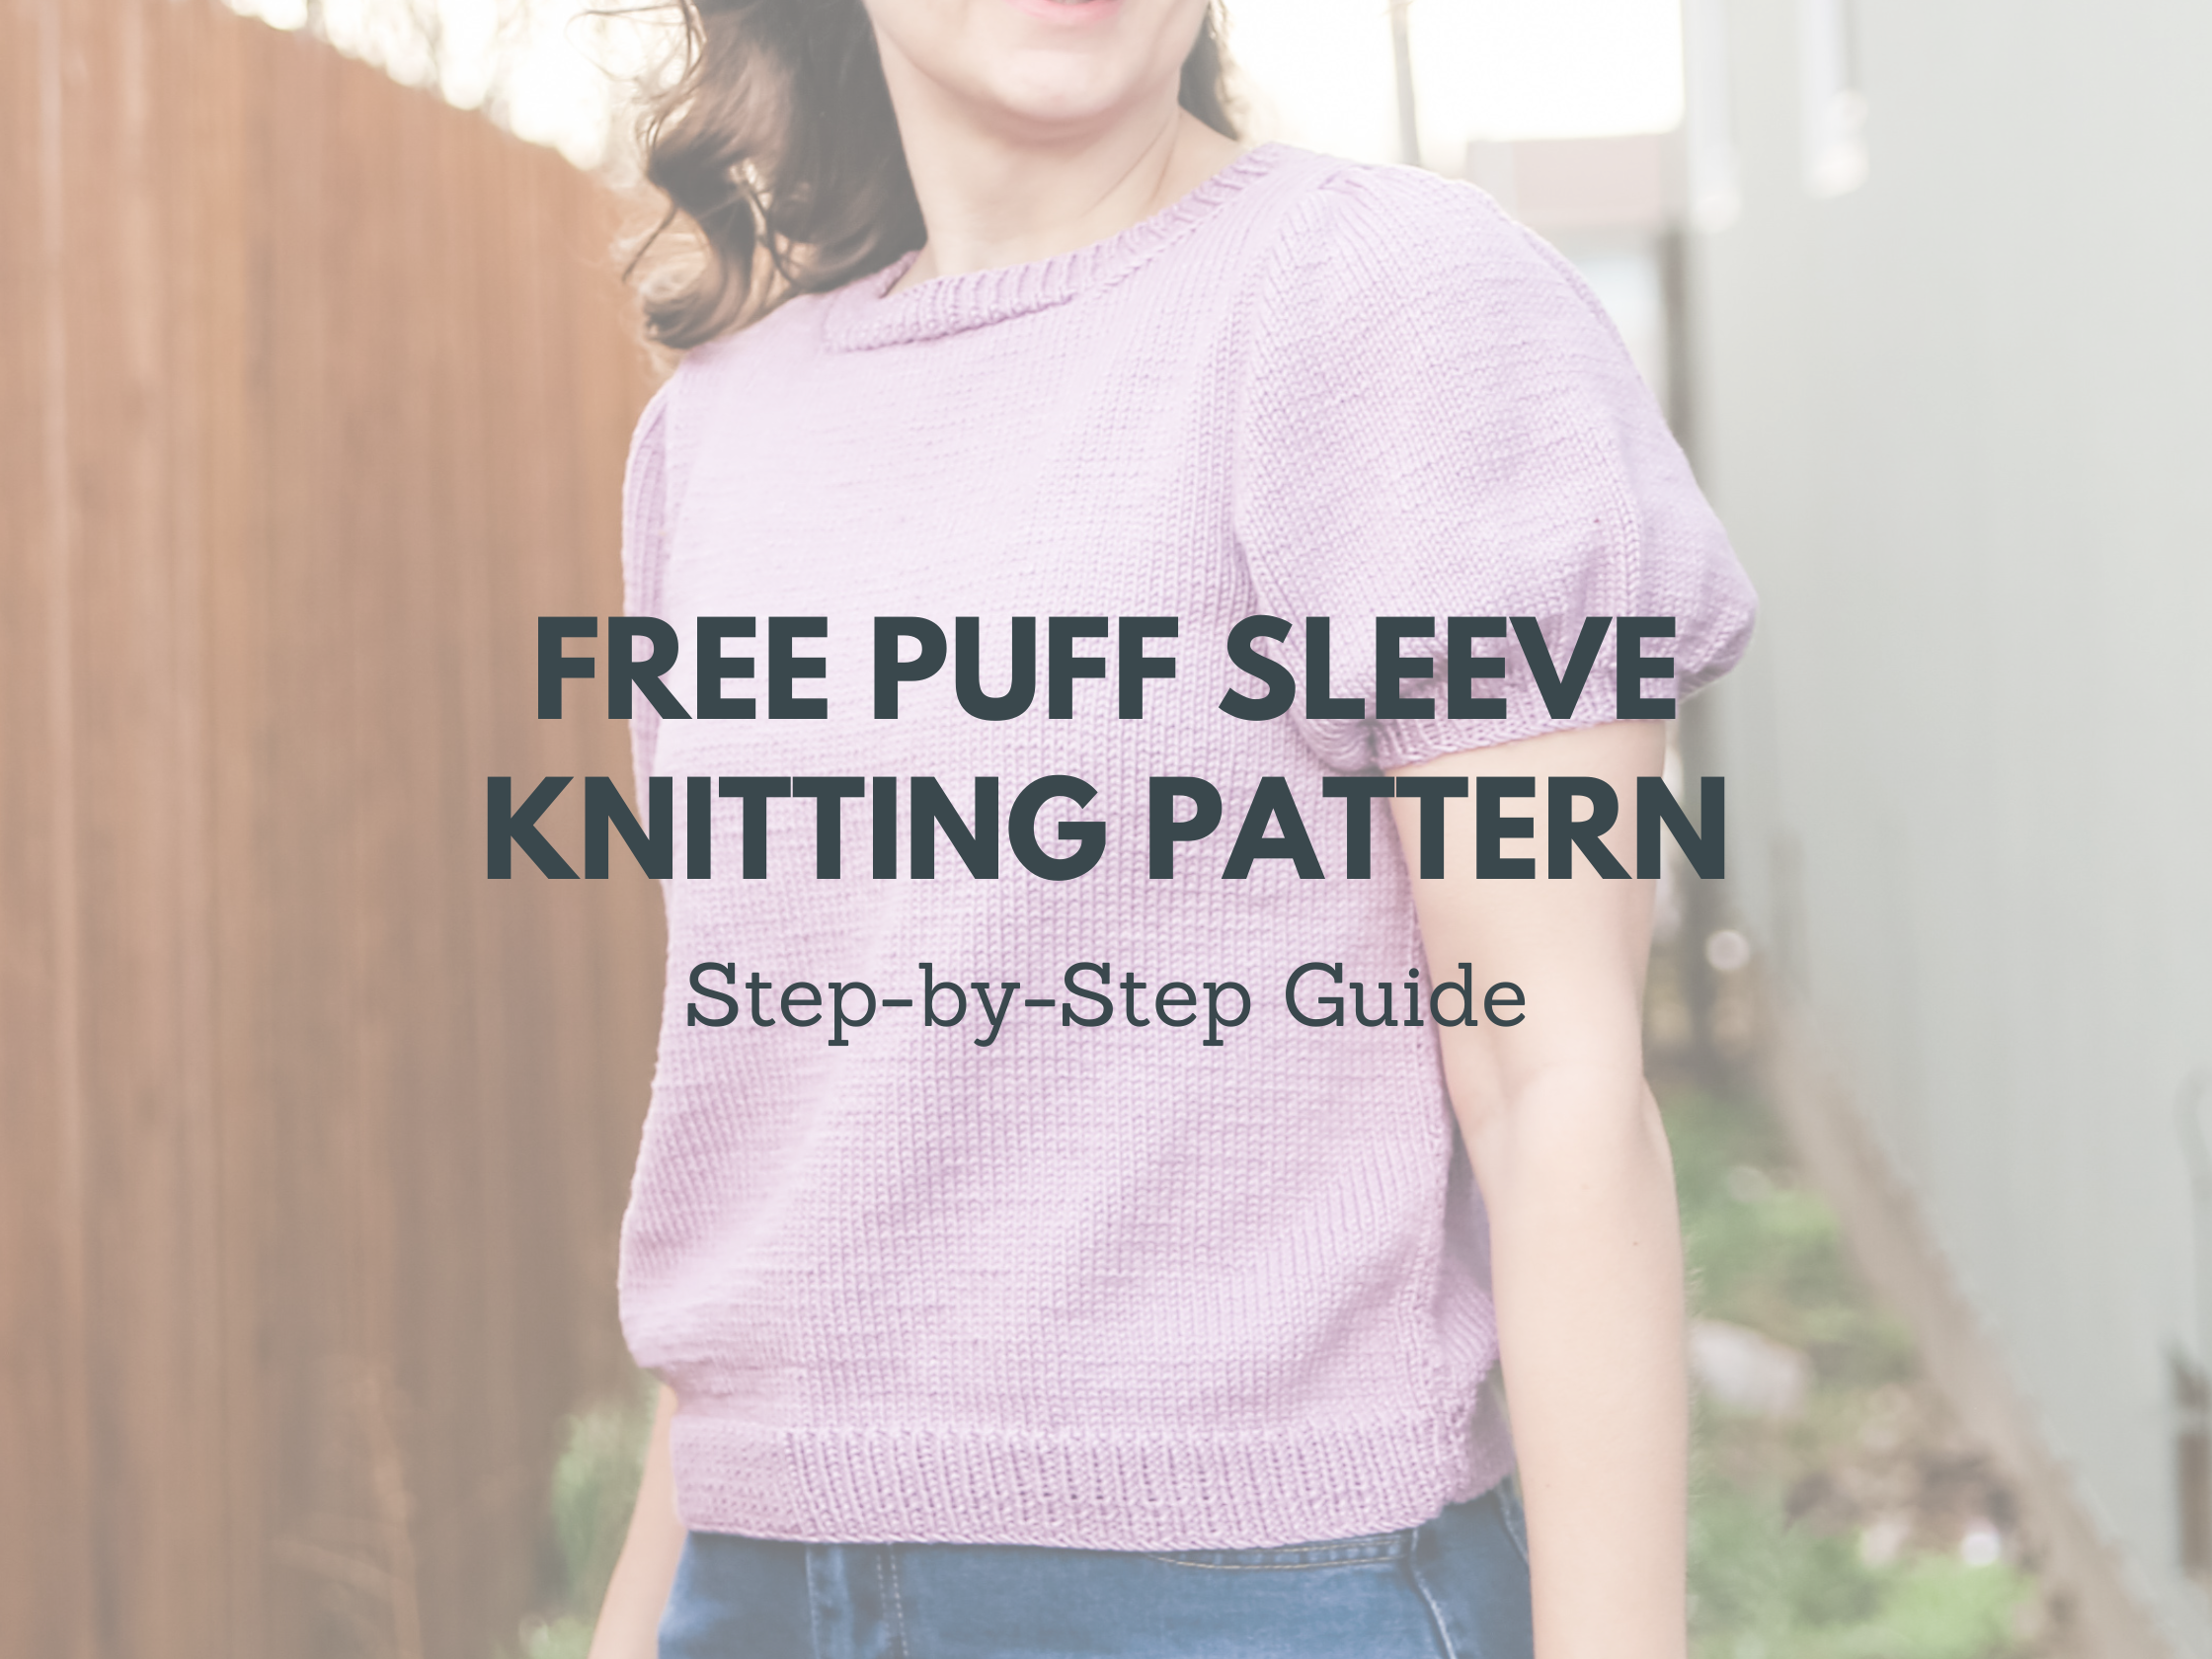
Get ready to fall in love with this puff sleeve knitting pattern! Find this tee and more sweater patterns on my free sweater pattern page.

There’s something about a puff sleeve knitting pattern that just makes my heart do a little happy dance. I don’t know if it’s the whimsical flair, the sweet vintage vibe, or just the way it instantly makes any outfit cuter — but when I set out to design my Adult Puff Sleeve Tee, I knew it needed to be everything I loved rolled into one cheerful project.
Today, I’m taking you behind the scenes of the Adult Puff Sleeve Tee, a puff sleeve knitting pattern that is fun, fresh, and surprisingly easy to knit! (And yes, the free pattern is waiting for you at the bottom of the post, along with links to even more sweater patterns you’ll love.)

Why a Puff Sleeve Knitting Pattern?
Honestly, why not a puff sleeve knitting pattern? I feel like every wardrobe deserves a little drama — the good kind! Puff sleeves give you that little extra flair without going overboard. When I started working on the Adult Puff Sleeve Tee, I wanted it to be lightweight, wearable, and a little bit playful.
This puff sleeve knitting pattern isn’t just about looks, though. It’s comfy enough to wear on a casual day and cute enough to dress up for church or a lunch date. Plus, with the wide range of sizes (XS through 4X), it’s a puff sleeve knitting pattern that everyone can enjoy.

All About the Construction: Flat and Fabulous
The Adult Puff Sleeve Tee is worked flat from the bottom up, which I love because it keeps everything neat and manageable. I used KnitPicks Vividie (affiliate link) for the sample, and oh my goodness — if you haven’t knit with this yarn yet, you’re missing out! It’s soft, vibrant, and made the entire process even more enjoyable. Most cotton yarn is very prone to splitting but not this one!
The ribbing is done on a size 4 needle to give it a nice, snug fit around the edges, and then I switched to a size 6 needle for the body to keep it light and airy. This puff sleeve knitting pattern uses classic mattress stitch to seam everything up, so if you love those clean, invisible seams (and who doesn’t?), you’re in for a treat.

Let’s Talk About Those Puff Sleeves
Now, onto the star of this puff sleeve knitting pattern: the sleeves! I put a lot of thought into how to create that perfect puff without making the sleeves look too exaggerated. The magic happens with special increases and decreases that shape the sleeve cap just right.
The sleeves are set-in, which means they are worked separately and sewn into the armholes after the body is finished. This construction really lets the puff sleeves shine. I used KnitPicks Vividie (affiliate link) again for the sleeves, of course, and the drape was absolutely spot-on.
If you’ve been a little nervous about trying a puff sleeve knitting pattern, don’t worry — the shaping is simple but effective, and I’ve made sure the instructions are clear every step of the way.

Sizing Options for Everyone
One of the things I’m most excited about with the Adult Puff Sleeve Tee is that this puff sleeve knitting pattern comes in sizes XS through 4X. No matter where you are on your knitting journey or your personal style, you can make a version of this tee that fits you perfectly.
Because it’s worked flat, you can even tweak the length a little if you want a cropped look or a more tunic-style tee. Either way, this puff sleeve knitting pattern gives you room to make it your own.

A Family Affair: The Child Puff Sleeve Tee
Guess what? If you love the Adult Puff Sleeve Tee, there’s a kid-size version too! I designed the Child Puff Sleeve Tee with the same adorable puff sleeve details, so you can twin with your little ones if you want to. (Matching outfits, anyone?)
This puff sleeve knitting pattern for kids uses the same basic techniques, and just like the adult version, it’s soft, comfortable, and just too sweet to resist. I knit both using KnitPicks Vividie (affiliate link), and I’m already dreaming about a whole lineup of matching tees in different colors!
👉 Child Puff Sleeve Tee Free Pattern

Why You’ll Love Knitting the Adult Puff Sleeve Tee
If you’ve been on the hunt for the perfect puff sleeve knitting pattern, I really think you’re going to love the Adult Puff Sleeve Tee. Here’s why:
- Simple construction: Worked flat, easy shaping, and minimal seaming with mattress stitch.
- Show-stopping sleeves: Well placed increases and decreases create the perfect puff.
- Size inclusive: Instructions for XS through 4X so everyone can join the fun.
- Soft, vibrant yarn: KnitPicks Vividie (affiliate link) adds a beautiful finish to every stitch.
- Matching options: Twin with your little one with the Child Puff Sleeve Tee!
And best of all, this puff sleeve knitting pattern is designed to be a fun, joyful project from cast-on to bind-off. Whether you’re looking to expand your handmade wardrobe or simply want to try something new and cute, the Adult Puff Sleeve Tee is ready to become your next favorite knit.

Where to Find the Pattern
The Adult Puff Sleeve Tee free puff sleeve knitting pattern is ready for you to download at the bottom of this post! You’ll also find a whole page of other sweater patterns linked nearby so you can keep your needles busy once you fall in love with this style.
So grab your size 4 and size 6 needles, a few skeins of KnitPicks Vividie (affiliate link), and get ready to create a puff sleeve knitting pattern that’s as fun to knit as it is to wear. I can’t wait to see your finished tees — don’t forget to tag me when you share them!

Adult Puff Sleeve Tee Pattern
MATERIALS AND INFO
Size: XS, S (M, L) XL, 2X (3X, 4X)
Materials: Approximately 6, 6 (7, 7) 8, 9 (10, 11) balls of KnitPick Vividie 190y/100g (affiliate link) yarn needle, stitch markers
Needle Size: 6(US) 4mm circular needles and dpn, 4(US) 3.5mm circular and dpn
Gauge (tension): 22sts & 32 rows to make 10cm square, using size 6(US) 4mm needles working in stockinette stitch
Chest Measurement of person: 75, 85 (95, 105) 115, 125 (135, 145) cm or 30, 34 (38, 42) 46, 50 (54, 58) ins
METHOD
Puff Sleeve Tee is bottom-up set in sleeve pullover in an easy-care yarn. It is worked flat. Created for our 7th child. She wanted something fun and girly for summer. Once I saw it on her I wanted one for me!!!
Abbreviations can be found on the last page.
Note: choose size based on bust measurement for best fit
1X1 RIB PATTERN
Row 1 (right side row) – (k1, p1) across
Row 2 – knit all the knit stitches, purl all the purl stitches.

BACK
Cast on using smaller circular needle: 96, 102 (112, 124) 134, 146 (156, 168) sts.
Work in 1×1 ribbing for 4cms or 1.5ins.
Switch to larger needles.
Work in stockinette st until your work measures 35, 35 (35, 35) 35, 34.5 (34.5, 34) cms or 14, 14 (14, 14) 14, 13.75 (13.75, 13.5) ins from cast on edge or to your desired length.
SHAPE BACK ARMHOLES
Cast off 6, 6 (6, 6) 6, 6 (6, 6) stitches at beginning of next 2 rows. 78, 90 (100, 112) 122, 134 (144, 156) sts
Decrease 1 st at each end of following 2, 5 (7, 11) 11, 14 (17, 20) rows. 74, 80 (86, 90) 100, 106 (110, 116) sts
Then decrease 1 st each end of every other row 2, 2 (3, 4) 4, 6 (6, 7) times 70, 76 (80, 82) 92, 94 (98, 102) sts
Then decrease 1 st each end of every 4th row 1, 1 (1, 1) 1, 1 (2, 2)
68, 74 (78, 80) 90, 92 (94, 98) sts
Continue without shaping until work measures 53.5, 54 (54, 55) 55.5, 56.5 (57.5, 58) cms or 21.5, 21.75 (21.75, 22) 22.25, 22.5 (23, 23.25) ins
SHAPE BACK SHOULDERS
Bind off 4, 4 (5, 5) 6, 6 (6, 6) sts at beginning of the next 2 rows.
Bind off 4, 4 (5, 5) 6, 6 (6, 6) sts at beginning of row, k6, 8 (7, 7) 9, 9 (9, 10) [7, 9 (8, 8) 10, 10 (10, 11) sts on right needle].
Put remaining sts on stitch holder.
Turn, bind off 3sts, work to end of row.
Turn, bind off remaining 4, 6 (5, 5) 7, 7 (7, 8) sts
With right side facing, rejoin yarn to stitches on hold, bind off 38, 40 (42, 44) 46, 48 (50, 52) knit remaining 11, 13 (13, 13) 16, 16 (16, 17) sts.
Turn, bind off 4, 4 (5, 5) 6, 6 (6, 6) sts work to end of row
Turn, bind off 3sts
Turn, bind off 4, 6 (5, 5) 7, 7 (7, 8) sts
FRONT
Cast on using smaller circular needle: 96, 102 (112, 124) 134, 146 (156, 168) sts.
Work in 1×1 ribbing for 4cms or 1.5ins.
Switch to larger needles.
Work in stockinette st until your work measures 35, 35 (35, 35) 35, 34.5 (34.5, 34) cms or 14, 14 (14, 14) 14, 13.75 (13.75, 13.5) ins from cast on edge or to your desired length.
Work in stockinette st until your work measures 35, 35 (35, 35) 35, 34.5 (34.5, 34) 34, 34 cms or 14, 14 (14, 14) 14, 13.75 (13.75, 13.5) 13.5, 13.5 ins from cast on edge.
SHAPE FRONT ARMHOLES
Cast off 6, 6 (6, 6) 6, 6 (6, 6) stitches at beginning of next 2 rows. 78, 90 (100, 112) 122, 134 (144, 156) sts
Decrease 1 st at each end of following 2, 5 (7, 11) 11, 14 (17, 20) rows. 74, 80 (86, 90) 100, 106 (110, 116) sts
Then decrease 1 st each end of every other row 2, 2 (3, 4) 4, 6 (6, 7) times 70, 76 (80, 82) 92, 94 (98, 102) sts
Then decrease 1 st each end of every 4th row 1, 1 (1, 1) 1, 1 (2, 2)
68, 74 (78, 80) 90, 92 (94, 98) sts
Continue in Stockinette st until you have worked 47, 47.5 (47.5, 48) 48.5, 49 (49, 49.5) 49.5, 50 cms or 18.75, 19 (19, 19.25) 19.5, 19.75 (19.75, 20) 20, 20 ins
LEFT FRONT NECK SHAPING
Work 21, 23 (25, 25) 29, 30 (30, 32) sts, put remaining sts on holder, turn.
Decrease 1 st at neck edge of next 5, 5 (6, 6) 6, 6 (6, 7) rows.
Then decrease 1 st at neck edge of every other row 3, 3 (3, 3) 3, 3 (3, 3) times.
Then decrease 1 st at neck edge of every 4th row 1, 1 (1, 1) 1, 2 (2, 2)
12, 14 (15, 15) 19, 19 (19, 20) sts remain.
Continue without shaping until work measures 53.5, 54 (54, 55) 55.5, 56.5 (57.5, 58) cms or 21.5, 21.75 (21.75, 22) 22.25, 22.5 (23, 23.25) ins
LEFT FRONT SHOULDER SHAPING
Starting on a right-side row, bind off 4, 4 (5, 5) 6, 6 (6, 6) sts, work across remains sts, turn.
Work 1 row with no decreases, turn.
Bind off 4, 4 (5, 5) 6, 6 (6, 6) sts, work across remains sts, turn.
Work 1 row with no decreases, turn.
Bind off remaining 4, 6 (5, 5) 7, 7 (7, 8) sts.
RIGHT FRONT NECK SHAPING
Rejoin yarn to work on stitch holder and bind off 26, 28 (28, 30) 32, 34 (34, 34) sts
Decrease 1 st at neck edge of next 5, 5 (6, 6) 6, 6 (6, 7) rows.
Then decrease 1 st at neck edge of every other row 3, 3 (3, 3) 3, 3 (3, 3) times.
Then decrease 1 st at neck edge of every 4th row 1, 1 (1, 1) 1, 2 (2, 2)
12, 14 (15, 15) 19, 19 (19, 20) sts remain.
Continue without shaping until work measures 53.5, 54 (54, 55) 55.5, 56.5 (57.5, 58) cms or 21.5, 21.75 (21.75, 22) 22.25, 22.5 (23, 23.25) ins
RIGHT FRONT SHOULDER SHAPING
Starting on a wrong-side row, bind off 4, 4 (5, 5) 6, 6 (6, 6) sts, work across remains sts, turn.
Work 1 row with no decreases, turn.
Bind off 4, 4 (5, 5) 6, 6 (6, 6) sts, work across remains sts, turn.
Work 1 row with no decreases, turn.
Bind off remaining 4, 6 (5, 5) 7, 7 (7, 8) sts.
SLEEVES (MAKE 2)
With smaller needles, cast on 50, 50 (52, 56) 62, 68 (74, 82) sts.
Work for 2.5cms or 1ins in 1×1 ribbing.
Change to larger needles and begin working in stockinette stitch (knit every right side row, purl every wrong side row).
SLEEVE SHAPING TO UNDERARM
Increase Row – k1, kfb across to last sts, k1
98, 98 (102, 110) 122, 134 (146, 162) sts
Work 27, 27 (29, 31) 31, 31 (33, 33) rows in stockinette st.
SLEEVE HEAD
Bind off 6, 6 (6, 6) 6, 6 (6, 6) sts of beginning of next 2 rows.
Decrease 1 st at each end of next 6, 6 (6, 6) 8, 10 (13, 18) rows.
Then every right-side row 5, 5 (5, 5) 5, 6 (4, 3) times.
Then every other right-side row 1, 1 (1, 1) 1, 1 (0, 1) times.
Work in stockinette without decreasing for 0, 2 (4, 0) 0, 0 (1, 1) rows.
Then every right-side row 4, 4 (5, 5) 5, 5 (4, 2) times.
Then decrease on the following 7, 7 (7, 8) 10, 10 (14, 16) rows.
Next row – k2tog across (if you end on a purl row than you with p2tog across)
Bind off remaining 20, 20 (22, 24) 26, 28 (32, 34) sts.
NECKBAND
Sew shoulder seams.
Pick up and knit 19, 19 (20, 20) 22, 22 (24, 25) sts down left front,
26, 28 (28, 30) 32, 32 (34, 34) sts across neck,
19, 19 (20, 20) 22, 22 (24, 25) sts up right front,
44, 46 (48, 50) 52, 54 (56, 58) sts around back.
Join in the round. 108, 112 (116, 120) 128, 130 (139, 142) sts
Neck rounds – work in k1p1 ribbing around
Continue repeating rounds until the neck measures 2.5cms or 1 ins.
Bind off in pattern.
FINISHING
Sew sleeve on to body and remaining side seams (I like to use a mattress stitch which you can find a tutorial for here), weave in all ends and block as desired.

ABBREVIATIONS
K – knit
P – purl
PM – place marker
SM – slip marker
K2tog -knit 2 stitches together
SSK – slip, slip, knit the slipped sts together
M1L – With left needle pick up strand between 2 stitches front to back. Knit through back loop
M1R – With left needle pick up strand between 2 stitches back to front. Knit through front loop
KFB – knit into the front and back of the next sts
Adult Puff Sleeve Tee PDF
Affiliate Disclaimer:
This post contains affiliate links. This means I may earn a small commission if you make a purchase through these links, at no extra cost to you. Thank you for supporting my blog and free patterns!
Comments are closed.