
Understanding knit bonnet sizing makes it much easier to choose from all those sweet free bonnet knitting patterns without wondering whether your finished project will actually fit. Age labels are a helpful starting point, but head circumference, bonnet depth, and the stretch of your knitted fabric tell you much more.
In this tutorial, I’ll walk you through the measurements to check, what negative ease means, and how to choose a size from a bonnet pattern. We’ll also look at small fit adjustments, because a bonnet can be the right size around the head and still need a little more coverage over the ears.
If you have ever finished a bonnet that looked adorable on your needles but sat a little strangely on the baby, you know why measurements matter! A few minutes with a measuring tape can save quite a bit of guessing.
The goal is a bonnet that follows the head comfortably, covers the intended areas, and sits neatly around the face. Getting there starts before you cast on.
What Materials Do You Need to Check Knit Bonnet Sizing?
You don’t need a complicated setup to check bonnet fit. Gather a flexible measuring tape, your pattern, your yarn and needles, and a gauge swatch worked in the stitch pattern specified for measuring gauge.
A little notebook is handy, too. Write down the head measurements, the size you plan to knit, and your stitch and row gauge after washing and drying the swatch according to the yarn’s care instructions.
Your yarn choice matters because two yarns of the same weight can make fabrics with different amounts of stretch and recovery. For help choosing yarn for your project, visit my Best Yarn for Knitted Bonnets guide.

Measure your swatch relaxed, without stretching it to reach the numbers in the pattern. If the bonnet switches from flat knitting to knitting in the round, remember that your tension can change when you make that switch.
Matching stitch gauge helps you get the intended width, while row gauge affects depth and shaping length. Both deserve a quick check before you begin.
How Do You Choose the Right Size From a Bonnet Pattern?
Start by reading the sizing notes and checking what the measurements actually describe. A measurement labeled “to fit head circumference” describes the wearer. A “finished measurement” describes the knitted bonnet itself.
Those numbers are not interchangeable. If the pattern already tells you which head measurement a size fits, use that information directly rather than subtracting extra ease yourself.
Measure the head circumference first
Wrap a flexible measuring tape around the fullest part of the head, above the eyebrows and ears and around the fullest part at the back. Keep it level and comfortably against the head without pulling tight.
Measure again to check your result. This is your starting measurement when the pattern lists sizes by head circumference.
Age-based labels such as newborn, infant, baby, and toddler help organize the sizes, but they aren’t a substitute for measuring. Two babies of the same age can need different bonnet sizes, and the same size name can mean different measurements in different patterns.
If you are knitting a gift and cannot measure the baby, use the pattern’s age guidance as an estimate. Think about when the bonnet will be worn, too—a bonnet intended for next season needs a different size choice from one intended for this week.
Understand what negative ease means
Negative ease means a finished measurement is smaller than the corresponding body measurement, allowing stretchy knitting to expand for a close fit. For example, a closed hat measuring 15 inches around on a 16-inch head has 1 inch of negative ease.
With bonnets, you need to be more careful about that comparison. An open-front bonnet does not form the same complete band around the head as a beanie, and its flat width may follow an entirely different path.
Do not compare a bonnet’s cast-on width directly with head circumference unless the pattern specifically tells you to. Follow the designer’s sizing notes and schematic instead of applying a beanie formula to every bonnet.
There is no single negative-ease amount that works for every bonnet. Ribbing, garter stitch, lace, cables, fiber content, and construction all affect how the fabric fits. If the pattern gives a “to fit” range, the intended fit should already be accounted for in the design.
Check bonnet depth and coverage
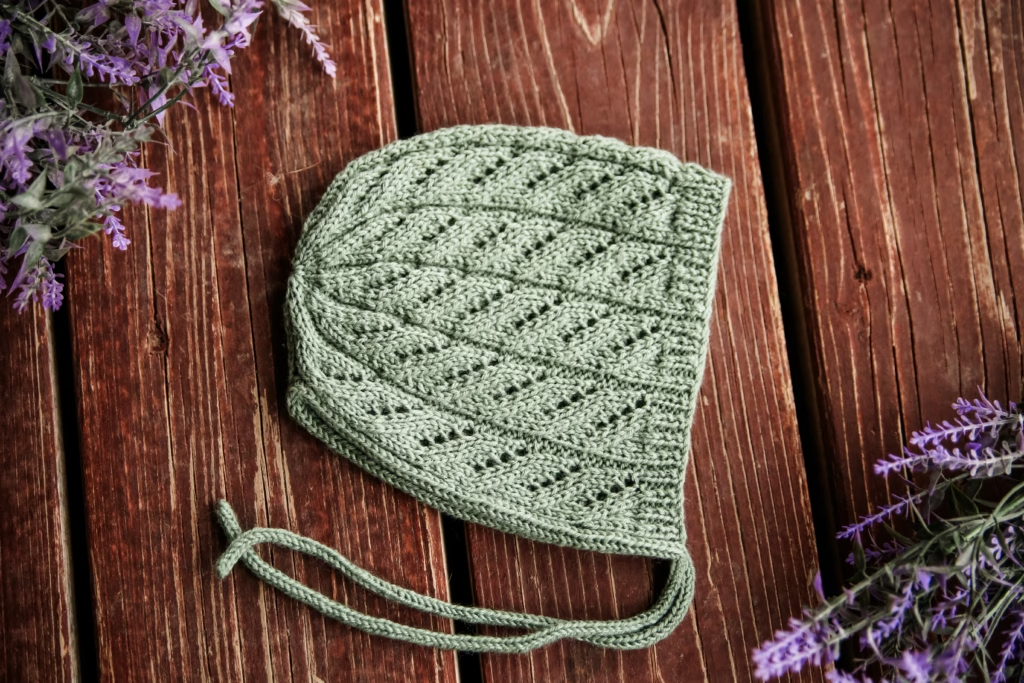
Circumference helps you select a size, but depth helps you understand where the bonnet will sit. For many styles, the useful depth runs from the intended front edge toward the back of the head. Always check the pattern’s definition, because “depth” is not measured the same way in every design.
Also consider the distance from one lower front corner, up over the head, to the other lower front corner. This helps you assess coverage around the face and ears. Compare it only with a schematic measurement that follows the same route.
If you already have a bonnet that fits well, it makes a useful reference. Measure it relaxed and note where its front edge, lower corners, and back shaping sit when worn.
Remember that an instruction to work a certain length before beginning the crown usually describes only part of the bonnet. The crown shaping adds fabric, so that length is not automatically the finished front-to-back depth.
Choose the size before changing the pattern
Use this order when deciding what to knit:
- Measure the wearer’s head circumference.
- Find the pattern’s corresponding “to fit” size range.
- Confirm your washed and dried gauge.
- Check the depth, coverage, and construction notes.
- Decide whether a small adjustment is needed.
If two size ranges overlap, look at the intended fit and fabric before deciding. Automatically choosing the larger size can leave extra fabric around the face, while automatically choosing the smaller one can reduce coverage.
How Can You Adjust a Bonnet That Needs a Different Fit?
First, work out which dimension needs changing. A bonnet that pulls backward from the face may need more front-to-back depth, while one that leaves the ears exposed may need more coverage around the face. Going up a whole size changes several dimensions at once.
For many bonnets worked from the face toward the crown, adding a small amount of length before shaping can increase front-to-back depth without changing the cast-on count. Check the construction first, and preserve any required row repeats or instructions about which row to finish on.
As an example, adding half an inch at a row gauge of 8 rows per inch means adding approximately 4 rows. If your stitch pattern has an 8-row repeat, you will need to consider whether a partial repeat works with the next section.
Changing the cast-on count is a larger adjustment. It may affect the stitch-pattern repeats, edge stitches, crown decreases, and final stitch count, so it is usually easier to begin with an existing size that gives the right coverage.
Avoid changing needle size just to make the bonnet larger or smaller unless you are prepared to recalculate the fit. It changes the fabric as well as the measurements.
Finally, check the finishing. A tight cast-on, bind-off, or applied edging can restrict an otherwise well-sized bonnet. Ties finish the fit, but they should not have to pull a poorly fitting bonnet into place.
What Should You Knit Next?
Ready to put those measurements to work? Choose a bonnet you love, then check its own sizing notes before casting on:
Each pattern is a chance to practice choosing a size by measurements rather than relying on the label alone. Keep your gauge and fit notes so you have a helpful reference for the next bonnet you make.

Knit bonnet sizing becomes much less confusing once you know what each measurement means. Start with the wearer’s head circumference, follow the pattern’s intended fit, and check depth and coverage before making adjustments.
Which part of bonnet sizing gives you the most trouble—choosing a size, getting enough depth, or keeping the front edge sitting neatly? Leave a comment below!
This post may contain affiliate links. If you purchase through one of these links, I may earn a small commission at no additional cost to you. Thank you for supporting my blog and helping me continue to share free knitting patterns and tutorials.