
Learning how to turn a hat pattern into an ear warmer gives you another way to use a stitch design you already love. Browse my Free Headband Knitting Patterns and Hat Patterns for inspiration! For a simple bottom-up hat, you can usually keep the original circumference and stitch pattern, shorten the body, and replace the crown shaping with a finished top edge.
The trick is deciding which parts of the hat belong in your smaller accessory. You want enough width to cover your ears, complete stitch repeats, and edges that stretch comfortably. This tutorial walks through those choices so your finished ear warmer looks intentional and feels good to wear.
Maybe you love the texture of a beanie but prefer having room for a ponytail. Or maybe you want a smaller project that coordinates with a hat you have already made. An ear warmer lets you enjoy that same stitch pattern with fewer rounds to knit.
You will still need to check your gauge and fit, but you do not have to start the design from scratch. Think of it as choosing your favorite section of the hat and giving it two finished edges.
What Materials Do You Need to Turn a Hat Pattern into an Ear Warmer?
Start with your chosen hat pattern, yarn that matches its gauge, and the needles recommended for the brim and body. You will also need a measuring tape, a beginning-of-round marker, and a yarn needle for weaving in ends. Extra markers can help you keep track of lace or cable repeats.
For a hat worked in the round, choose a circular needle that lets the stitches move comfortably around the cable, or use your preferred small-circumference knitting method. Keeping the original construction makes the conversion easier because you can follow the existing stitch instructions.
An ear warmer sits against your forehead and ears, so choose yarn that feels comfortable there. My Best Yarn for Earwarmers guide can help you consider softness, warmth, and how well the finished fabric holds its shape.
Swatch the main stitch pattern and wash it as you plan to wash the finished accessory. Measure it after it dries, then gently stretch it to see how the fabric behaves. If you change the yarn or gauge, the original hat stitch count may no longer give you the same circumference.
How Do You Turn a Hat Pattern into an Ear Warmer?
The easiest starting point is a bottom-up hat with a separate brim, a straight body section, and crown decreases. You will keep the parts that wrap around the head and replace the crown with a top border and bind-off.
A top-down hat takes more planning because its starting stitches are for the crown. For that construction, use the full body stitch count as your starting point and check whether the stitch pattern can be worked in the original direction from your new cast-on edge. This tutorial focuses on the simpler bottom-up conversion.
Start with the hat size that fits
If the hat already fits well and you are using the same yarn and gauge, its circumference is a useful starting point. Keep the original cast-on count, along with any brim-to-body increases or decreases needed for the stitch pattern.
A slouchy or deliberately oversized hat may need a smaller circumference for an ear warmer. You want gentle stretch that holds it over your ears, so use the measuring and gauge tips in How To Knit A Headband That Fits before committing to the stitch count.
Decide how wide to make it
For an adult ear warmer, about 3–4 inches wide is a practical starting point. You might prefer a wider band for more coverage or a narrower one for a lighter accessory. Measure over the intended wearer’s ears to decide what will feel comfortable, especially for children.
Include both borders in that measurement. For example, a 4-inch ear warmer with a ¾-inch border at each edge leaves about 2½ inches for the main stitch pattern. That is much less space than a hat body, so you may only need a few repeats.
Keep the ribbing when it helps the fit
The original brim often makes a good lower edge. Ribbing helps the band stretch over the head and sit close to the ears, and repeating it at the top can give the accessory a balanced finish.
You can shorten a deep hat brim to leave more room for the decorative stitches. A folded brim needs extra planning because the folded fabric adds thickness and uses more knitted length than its visible width.
If you leave out the ribbing, choose another border that suits your fabric. Garter stitch or seed stitch can help control curling, though neither behaves exactly like ribbing. Plain stockinette edges tend to roll, so allow for that if a rolled edge is part of your plan.
Begin and end at sensible points in the stitch pattern
Keep any setup rounds that establish the body stitch count or arrange the stitches for the chart. Begin with the first complete repeat rather than jumping into a decorative round halfway through.
For simple knit-and-purl texture, finish a full repeat before adding the top border. For cables, aim to leave enough rounds after the final crossing for the cable to settle. For lace, keep the yarn overs and their balancing decreases together so you do not accidentally change the stitch count.
Some designs include a finishing round after the last repeat. Keep that round when it completes the motif or makes a smoother transition into the border. The best stopping point is not always the exact round where your tape measure reaches the target width.

Check the stitch-pattern multiples
Your stitch count must work with the body repeat and the edging. A 12-stitch repeat needs a body count divisible by 12 when worked continuously in the round. Basic 1×1 ribbing needs an even count, while 2×2 ribbing needs a multiple of four.
For example, 120 stitches work for a 12-stitch body repeat and either of those ribbing patterns. If your fit calculation gives you 116 stitches, compare nearby compatible counts and use your gauge to check their finished circumferences before choosing.
Sometimes the original hat already solves this by increasing after the brim. Keep that transition, then check whether you need to reverse it before the top ribbing. Patterns worked flat may also include edge stitches outside the repeat, so keep those separate from the repeating motif.
Replace the crown with a finished top edge
Stop before the crown decreases begin. Work your chosen top border, adjusting the stitch count first if the border requires it, and bind off with enough stretch to pass comfortably over the head.
Do not gather the remaining stitches as you would at the top of a hat. Your ear warmer needs an open upper edge with roughly the same circumference as the lower edge.
Wash or block according to the yarn’s care instructions, allowing the fabric to relax without stretching it beyond your intended measurements. Then check the fit again. How To Knit A Headband That Fits is a helpful companion if you need to adjust the circumference or coverage for another version.
How Does the Miriam Headband Show This Idea?
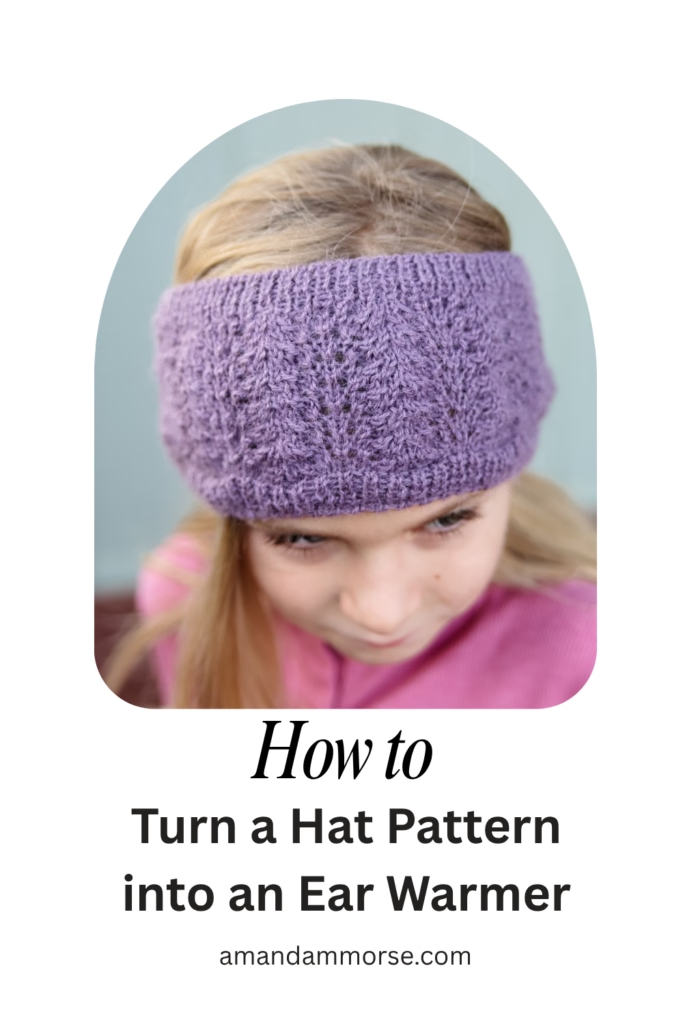
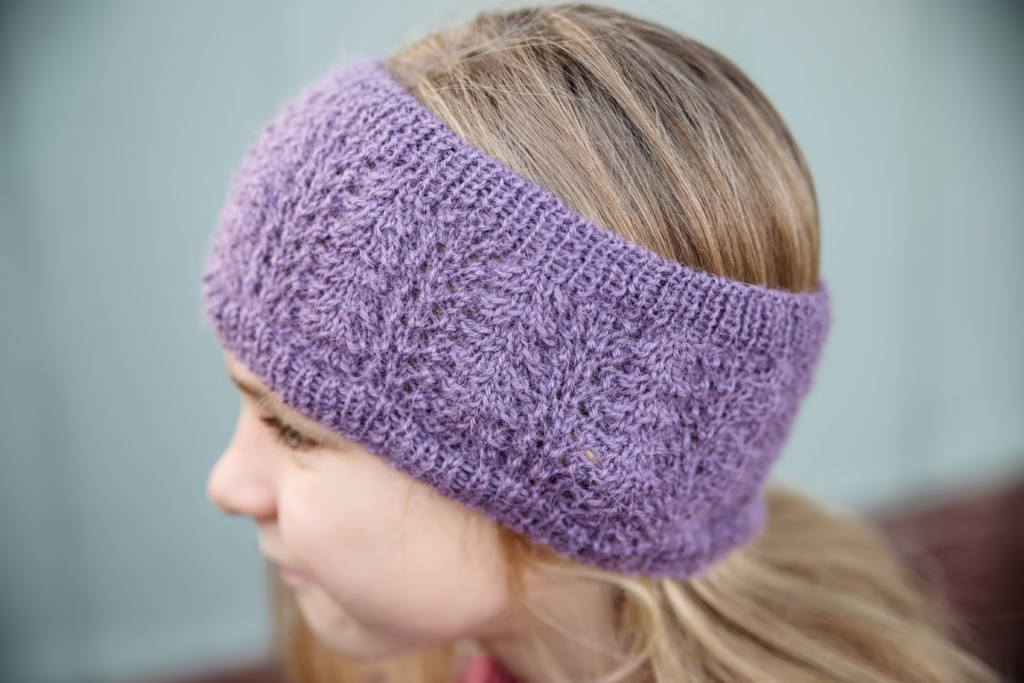
The Miriam Headband is an example of how a hat-style lace design can work beautifully in a smaller accessory. I used Hobbii Soft Alpaca and 3mm circular needles, with ribbed edges framing the lace through the center.
Its construction illustrates why the transitions matter. The 1×1 ribbing needs an even stitch count, while the lace uses an 11-stitch repeat. Some sizes include a one-stitch adjustment before the lace and a matching adjustment before returning to ribbing.
The lace section also ends with an extra plain round before the transition back to the border. Those small details help the stitch pattern sit neatly between the edges instead of looking abruptly cut off.
You can use the same approach with another hat design: check the edging, keep the complete decorative repeat, and finish the upper edge thoughtfully. For colder or windier weather, remember that open lace gives less coverage than a dense textured fabric.
What Patterns Can You Knit Next?
Ready to try a smaller accessory or choose a hat design to adapt? These patterns give you a few different textures to explore:
- Miriam Headband — try an existing headband pattern with lace framed by ribbing.
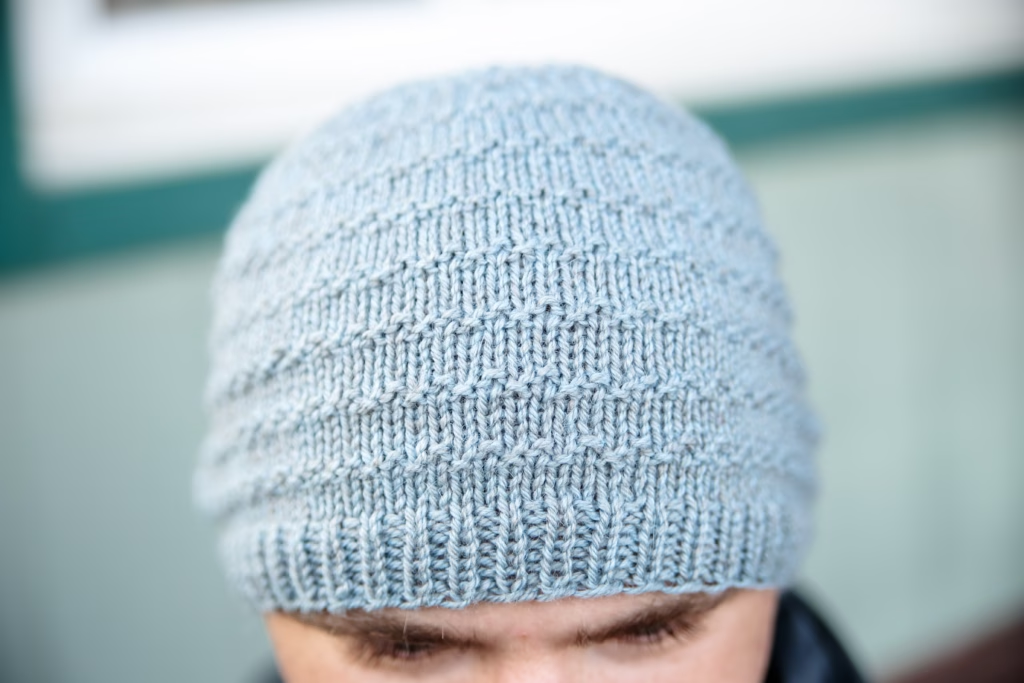
- Roman Beanie — consider its knit-and-purl texture as inspiration for a shorter band.
- Ezra Earwarmer — see how cables and ribbed edges work together in an ear warmer.
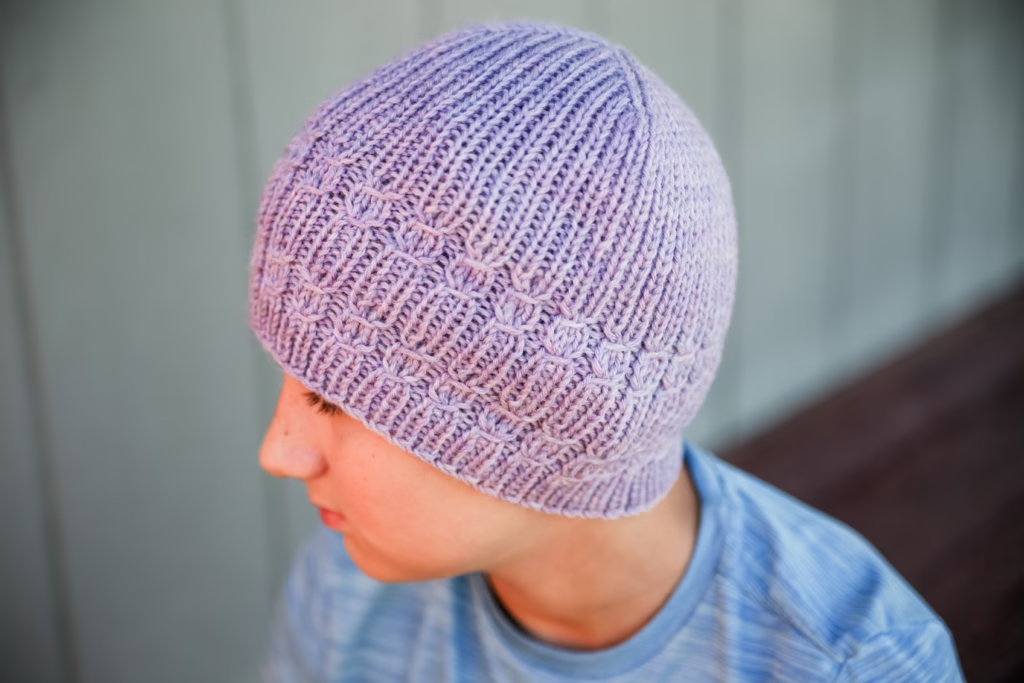
- Hezekiah Beanie — explore a hat with faux cable texture and ribbing.
The Miriam Headband and Ezra Earwarmer give you finished headband instructions to follow. If you choose the Roman or Hezekiah hat as a starting point, plan the width and borders before casting on your adapted version.
Once you understand how to turn a hat pattern into an ear warmer, you can give favorite stitch designs another place in your knitting queue. Keep the circumference comfortable, leave room for complete repeats, and give both edges a finish that works with the fabric.
Which hat pattern would you turn into an ear warmer first? Tell me in the comments—I would love to hear what you are planning to knit!
This post may contain affiliate links. If you purchase through one of those links, I may earn a small commission at no extra cost to you. Thank you for supporting my free knitting patterns and tutorials.