
Learning how to knit a headband that fits helps you make comfortable ear warmers that stay in place without squeezing too tightly or sliding up as you wear them. This simple guide is a helpful companion to my collection of free headband knitting patterns, whether you are making a narrow everyday headband, a wide cable ear warmer, or a stretchy ribbed accessory for colder weather.
A knitted headband may seem like a quick project, but the fit can make a big difference in whether it becomes a favorite. Head circumference, yarn choice, stitch gauge, ribbing, and the finished width all affect how the headband feels around the ears and hairline. This tutorial will show you how to knit a headband that fits, including how much negative ease to use, how to measure the wearer, and how to choose a width that gives the coverage you want.
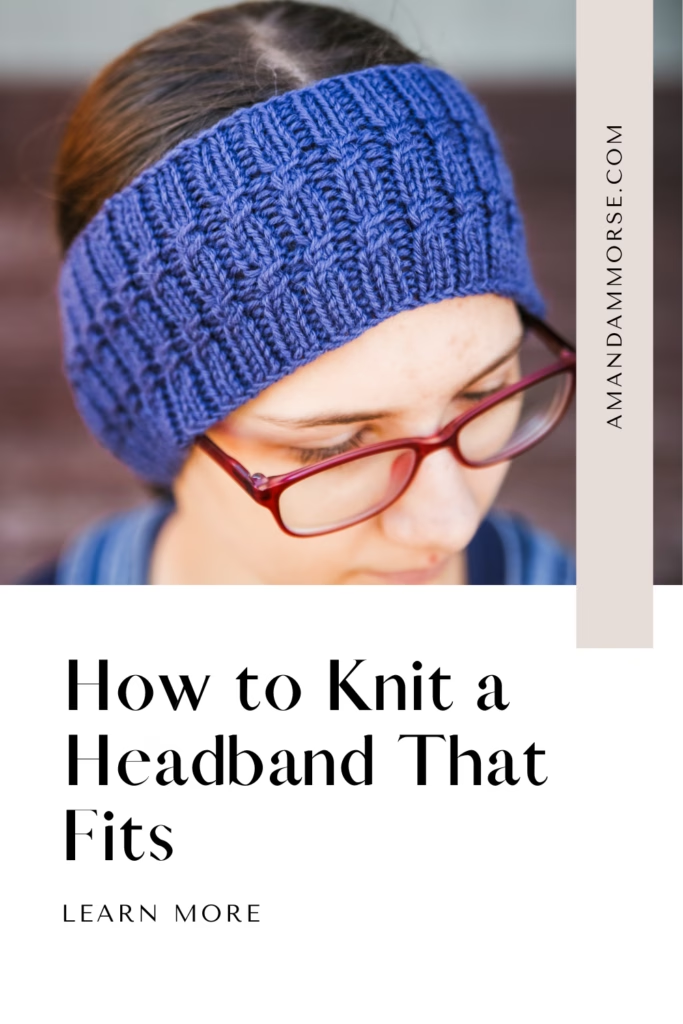
A well-fitting headband should feel secure enough to stay put while still being comfortable for errands, school mornings, walks outside, ponytails, and messy buns.
Most headbands need a little stretch built in. That is why measuring the head and checking your gauge before casting on can save you from ending up with an ear warmer that is too loose or too tight.
What Do You Need to Knit a Headband That Fits?
To knit a headband that fits, you need a flexible yarn, knitting needles that create a fabric you like, a measuring tape, and a gauge swatch. The best yarn depends on the style you are making, but worsted weight wool or wool blends are especially helpful for warm ear warmers because they have natural stretch and recovery.
For many of my headband patterns, I enjoy using Knit Picks Wool of the Andes because it creates a sturdy fabric with clear stitch definition. It works especially well for cables, ribbing, textured stitches, and other patterns where you want the detail to stay visible.
A soft superwash wool, acrylic blend, or washable worsted yarn can also work well when you need a headband that is easier to care for. Try to avoid choosing yarn only by weight, though. Two worsted weight yarns can stretch very differently, especially when one has more wool content than the other.
Your stitch pattern matters, too. A headband made with 1×1 ribbing will stretch more than one made in garter stitch, seed stitch, or a cable panel. The more stretch your stitch pattern has, the more negative ease you can usually use.
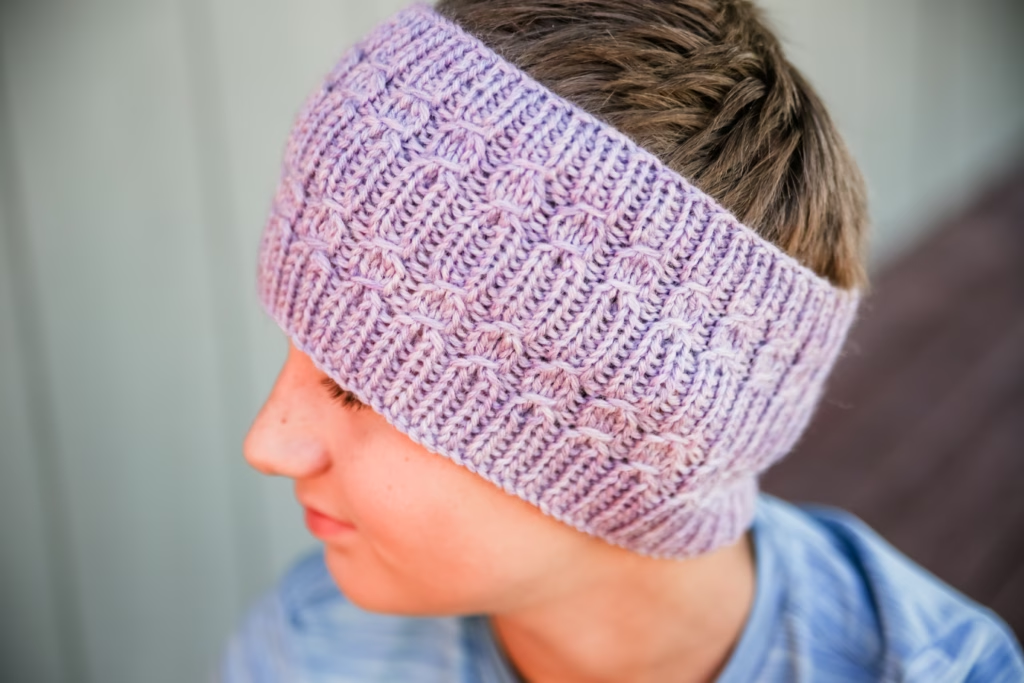
Before you begin, knit a small swatch in the stitch pattern you plan to use. Measure the stitches per inch without stretching the fabric, then gently stretch it to see how much it gives and whether it springs back into shape.
That quick check makes it easier to choose a cast-on number that fits the actual yarn and stitch pattern instead of relying only on the yarn label.
How Do You Measure for a Knitted Headband?
Start by measuring around the head where the finished headband will sit. For most ear warmers, wrap a flexible measuring tape around the forehead, over the ears, and around the back of the head. Keep the tape level and snug without pulling it tight.
This measurement is the wearer’s head circumference. A knitted headband should usually be smaller than that measurement because the stretch in the fabric helps it stay in place. This difference is called negative ease.
For a stretchy ribbed headband, you can often make the finished circumference about 1 to 2 inches smaller than the head measurement. A headband with a firmer stitch pattern, such as cables, garter stitch, or textured knit and purl panels, may need less negative ease. In that case, starting about ½ to 1 inch smaller is often a safer choice.
For example, if the head circumference measures 21 inches and your stitch pattern has good stretch, you may aim for a finished headband circumference of about 19 to 20 inches. Then, use your stitch gauge to calculate how many stitches to cast on.
To find your cast-on number, multiply your stitches per inch by the finished headband circumference you want. For example, at 4.5 stitches per inch and a 20-inch finished circumference:
4.5 stitches per inch × 20 inches = 90 stitches
You may need to adjust that number slightly so it works with your ribbing repeat, cable repeat, or stitch pattern multiple.

Do not worry if the headband looks a little small before you try it on. A stretchy knitted ear warmer should expand comfortably around the head.
The goal is not to make it match the head circumference exactly while lying flat. The goal is to make it stretch gently into a secure and comfortable fit.
How Wide Should a Knitted Ear Warmer Be?
The width of a knitted headband depends on how much coverage you want around the ears. A narrow headband may be only 1 to 2 inches wide and works well as a simple hair accessory or lightweight layer.
For a traditional ear warmer, around 3 to 4 inches wide is a practical starting point. This width gives enough coverage for the ears while still fitting comfortably under loose hair, a ponytail, or a messy bun.
A wider headband can measure 4 to 5 inches or more. These styles work especially well for colder weather, larger cable patterns, or stitch designs that need more room to stand out. A wide ear warmer can also feel like a lighter alternative to a full beanie when you want warmth without covering the top of your head.
Consider the wearer’s age and head size, too. A child’s headband may look more balanced at a narrower width, while an adult headband can handle a wider cable panel or larger textured section.
Ribbing is helpful along the top and bottom edges because it gives the ear warmer a little structure while helping it stay close to the head. You can also use a garter stitch border, seed stitch edge, or simple rolled stockinette edge depending on the look you want.
Which Headband Patterns Can You Knit Next?
Once you understand how to knit a headband that fits, you can use the same measuring and gauge tips for all kinds of headband styles. Whether you prefer cables, lace, garter stitch, or simple texture, a good fit makes every pattern more enjoyable to wear.
The Asa Headband is a great choice when you want a classic cable knit ear warmer with a little texture and warmth. The Martha Headband has garter stitch and lace details, while the Hezekiah Headband uses a wider textured design for extra ear coverage.
The Love Came Down Headband and Cedar Headband are also good options when you want to try different stitch patterns while using the same basic fitting ideas. You can measure the wearer once, check your gauge, and choose the amount of negative ease that works best for the fabric.

A headband is one of those projects that can look simple but feels much better when the sizing is intentional. Taking a few minutes to measure head circumference and check stitch gauge can help you make an ear warmer that feels comfortable from the first wear.
Remember that yarn and stitch pattern both affect stretch. A ribbed headband may need more negative ease, while a firm cable or garter stitch headband may fit better with a little extra room.

What kind of headband do you like to knit most: a wide ear warmer, a cable headband, or a simple ribbed style? Let me know in the comments!
This post may contain affiliate links. If you make a purchase through one of my links, I may earn a small commission at no extra cost to you. Thank you for supporting my blog and free knitting patterns.
Can you recommend a washable yarn suitable for headbands?
Knitpciks swish is great or Premier yarns Anti-pilling everyday is a great option too