
Understanding sock knitting sizing helps you choose a pair that fits your actual feet, and you can use these tips with any of my free sock knitting patterns. The best starting point is your foot circumference and length, along with the pattern’s sizing notes.
Shoe size can give you a rough idea of foot length, but it tells you very little about width. Two people wearing the same shoe size might need different sock sizes! Let’s walk through measuring your feet, understanding negative ease, and choosing a size when your measurements land between the options.
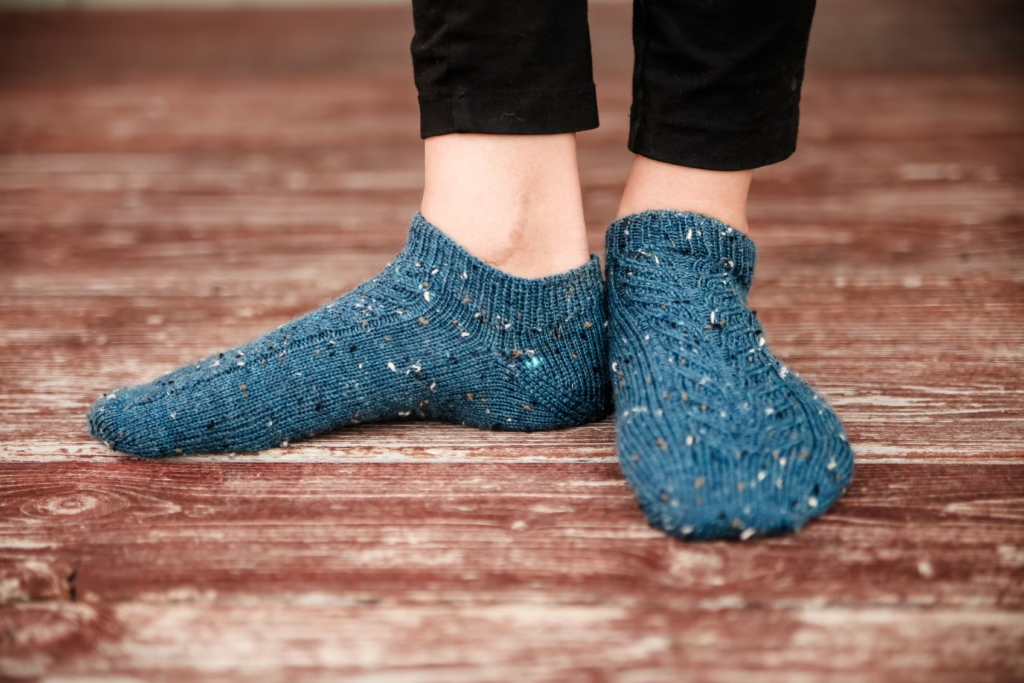
A comfortable sock should gently hug your foot without squeezing your toes or leaving extra fabric bunching inside your shoes. Getting that fit starts before you cast on.
The good news? You can usually choose the width you need and adjust the foot length separately. Your feet do not have to match every measurement listed for one pattern size.
What Do You Need to Choose the Right Sock Size?
You only need a flexible measuring tape, your sock pattern, and somewhere to write down your measurements. A ruler and a piece of nonstretch string will also work if you do not have a measuring tape handy.
When you are ready to swatch, use the yarn and needles you plan to knit the socks with. My guide to The Best Yarn for Knitting Socks You’ll Actually Love can help you think through yarn choices, while Best DPNs for Sock Knitting covers needle options.
Your needle size is a starting point. The size that gives you the pattern’s gauge may be different from the size listed in the materials.

Wash and dry your swatch according to the care routine you will use for the finished socks, then measure it without stretching. Swatching in the round is especially helpful because that is how most socks are knitted.
Check the stitch pattern specified for the gauge, too. Stockinette, ribbing, and textured stitches can behave differently, even when you use the same yarn and needles.
How Do You Measure Your Feet for Knitted Socks?
For sock knitting sizing, start with two measurements: foot circumference and foot length. Measure both feet, since they may be slightly different.
Measure Your Foot Circumference
Wrap the tape around the ball of your bare foot, near the widest part just behind the toes. Keep your foot resting naturally on the floor and the tape comfortably against your skin without pulling it tight.
Write down the actual measurement. Do not subtract anything yet—you will use the pattern’s sizing information to decide how much smaller the sock should be.
Circumference matters because the number of stitches around the foot determines the sock’s width. Adding more rounds makes a sock longer, but it does not fix a sock that is too narrow.
Measure Your Foot Length
Measure from the back of your heel to the tip of your longest toe. Your longest toe might be your second toe, so check rather than automatically measuring to your big toe.
An easy method is to stand on a piece of paper, mark the back of your heel and the end of your longest toe, and measure between those points.
For more help with toe-up construction, visit How to Measure Foot Length for Toe Up Socks. Keep the actual foot length in your notes, then follow your chosen pattern’s instructions for when to begin the heel.
For longer socks, check the ankle and leg measurements as well. A sock can fit beautifully around the foot and still need an adjustment through the leg.
If you have a high instep, pay attention to the heel construction, too. The sock needs enough room through that area, and the cuff and leg must stretch enough to pass over your heel.
What Is Negative Ease in Sock Knitting Sizing?
Negative ease means the finished sock is smaller than the foot it will fit. The knitted fabric stretches when you put it on, helping the sock stay comfortably in place.
Without enough negative ease, socks may slide around or bunch up during wear. Too much negative ease can make them difficult to pull on and uncomfortable once they are there.
For many wool-based socks, approximately 10% negative ease around the foot is a useful starting point. The pattern’s recommendation should come first because the yarn, stitch pattern, and construction all affect the fit.
For example, if your foot circumference is 8 inches:
- Actual foot circumference: 8 inches.
- Ten percent of that measurement: 0.8 inch.
- Target finished sock circumference: approximately 7.2 inches.
You would look for a finished circumference near that target, then consider the available sizes and how stretchy the fabric is.
Does the Pattern List Foot Measurements or Sock Measurements?
This is one of the most useful things to check before choosing a size.
“To fit a foot circumference of 8 inches” describes the wearer’s foot. Choose using your actual measurement; the designer has already allowed for the intended fit.
“Finished sock circumference: 8 inches” describes the knitted sock itself. Compare that number with your foot measurement to see how much negative ease it provides.
Do not subtract negative ease from your foot measurement and then use that smaller number to choose a “to fit” size. That can leave you with a sock smaller than intended.

Length needs its own consideration. Some patterns include a little negative ease in the foot length, but you should not automatically apply the same percentage used for circumference.
Follow the pattern’s length guidance and check that the finished heel sits properly while your toes have comfortable room. A sock should feel secure without pulling your toes backward.
How Much Should Knitted Socks Stretch?
Knitted socks need enough stretch to go over your heel and settle comfortably around your foot. They also need enough recovery to return toward their original shape after stretching.
Those are two different jobs! Fabric that stretches easily but stays stretched may become loose during wear.
Wool-based sock yarns often provide useful spring and recovery. Cotton-rich yarns and other less elastic blends can behave differently, so a sizing approach that works with one yarn may need adjusting with another.
The stitch pattern matters as well. Ribbing can be very stretchy, while cables, slipped stitches, and stranded colorwork may limit how far the fabric opens up.
When trying on your sock, look for a fit that:
- Slides over the heel without a struggle.
- Sits smoothly around the ball of the foot.
- Allows your toes to rest naturally.
- Keeps the heel in place.
- Feels comfortable around the cuff.
A little stretching is expected. Having to force the sock over your foot is a sign to stop and check the fit.
What Should You Do When You Fall Between Sock Sizes?
When your measurements fall between sizes, compare the finished circumferences and the pattern’s intended ease. Do not automatically choose the smaller size.
Imagine your foot measures 8½ inches around, and a pattern offers finished sock circumferences of 7½ and 8 inches. The smaller option gives about 12% negative ease, while the larger gives about 6%.
Either might work in the right fabric. A stretchy wool rib could accommodate the smaller option comfortably, while a firmer stitch pattern might make the larger option a better choice.
Choose Width First, Then Adjust Length
If your foot is narrow and long, you may need a smaller circumference with extra rounds in the foot. A wide, short foot may need a larger circumference with fewer foot rounds.
Follow the instructions for your chosen circumference, including its toe and heel shaping. Adjust the straight foot section where the pattern allows, rather than switching between size instructions halfway through shaping.
For toe-up socks, leave the amount of room required for that specific heel construction. For top-down socks, begin the toe early enough to include the full toe shaping.

If neither size gives you a comfortable fit, look for a pattern with more sizing options or a construction that better suits your foot. Changing needle size just to change the circumference also changes the fabric, so it is worth checking both gauge and feel before committing.
Keep a few notes after your first successful pair: yarn, needle size, stitch count, foot length, and any adjustments. Those details make the next pair much easier to plan.
What Should You Knit Next to Practice Sock Sizing?
Now that you know how to choose a size, put those measurements to work with your next pair of socks:
- Aaron Socks: A toe-up textured design with broken seed stitch and contrast toes, heels, and top ribbing.
- Lydia Socks: A toe-up option with an afterthought heel.
- Peace Socks: Another toe-up design to try as you practice planning foot length and heel placement.
- Vanilla Ankle Socks: A simple option when you want to concentrate on getting the fit right.
- September Ankle Socks: A shorter sock project for putting your measurements into practice.
Choose the design you want to wear, then check its sizing notes before casting on. The same foot measurements are useful across all five patterns, even though the construction and finished fabric may differ.
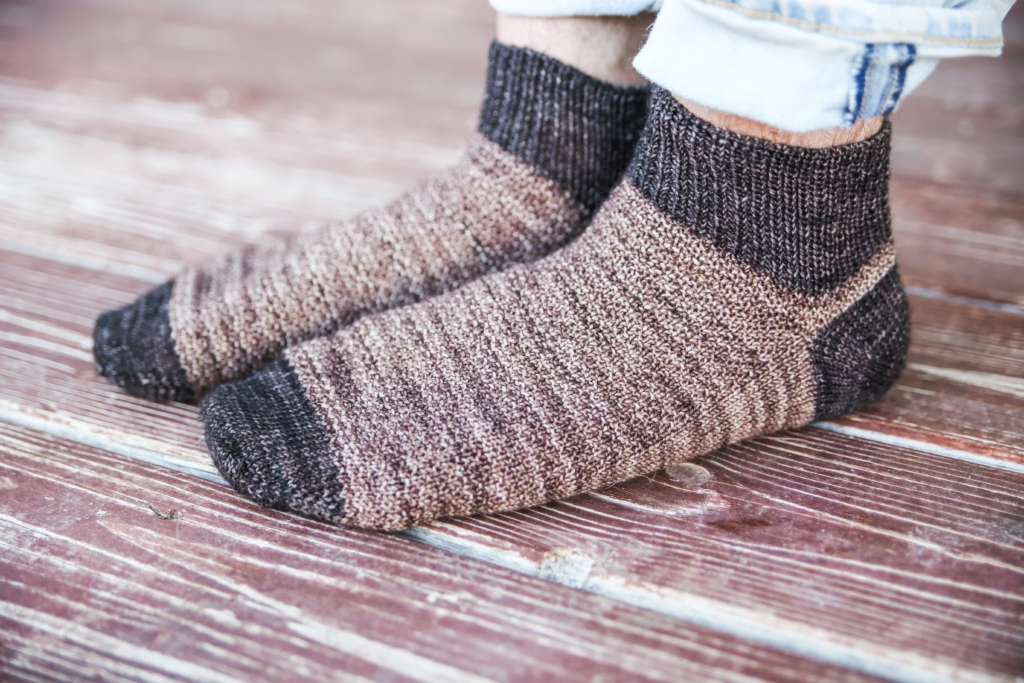
Sock knitting sizing becomes much less confusing when you separate width from length. Measure your foot, check whether the pattern lists body or finished measurements, and let the intended ease guide your size choice.
You do not need feet that match a standard size perfectly. You just need a clear starting point and a few thoughtful adjustments.

What is your biggest sock-fitting challenge: getting the width right, placing the heel, or finding enough room through the instep? Tell me in the comments!
This post may contain affiliate links. That means I may earn a small commission if you make a purchase through one of these links, at no additional cost to you. Thank you for supporting my free knitting patterns and tutorials.