
Looking for an afterthought heel sock pattern that is simple enough for relaxing knitting but still has a little something special? Meet the Lydia Socks, a new addition to my collection of free sock knitting patterns! This toe-up ankle sock pattern features a pretty lace panel running along the center of the foot, creating the look of tiny twisting cables without any actual cabling or cable needle required.
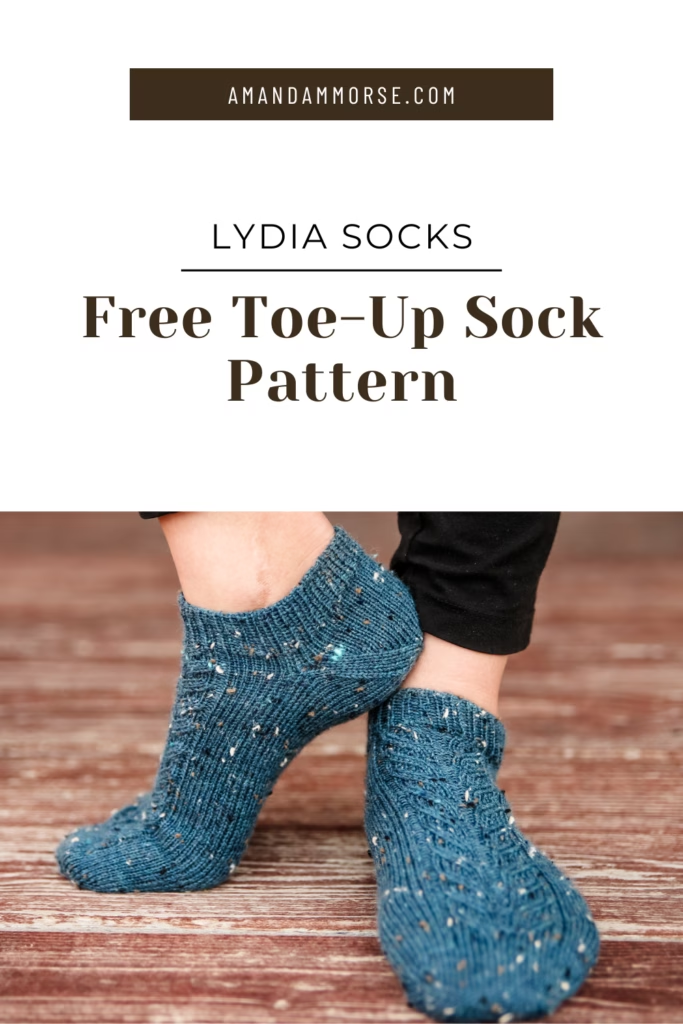
The Lydia Socks combine an easy-to-customize toe-up construction with a convenient afterthought heel. Because the heel is added after the main sock is finished, you can knit smoothly from the toe to the cuff without stopping to shape a heel. Instructions are included for sizes ranging from baby through adult, so you can make a pair for practically everyone on your handmade gift list.
This toe-up afterthought heel sock pattern is especially helpful when you want more control over the finished foot length. Simply knit until the sock reaches the correct measurement, add the waste yarn for the heel, and continue working the ankle and cuff.
The lace design gives the Lydia Socks a delicate, textured look without making the knitting feel overly complicated. It is a lovely choice for solid, tonal, lightly speckled, or subtly tweedy sock yarns.
Since the lace panel is worked only across the top of the foot, the sole remains smooth and comfortable inside your shoes. The result is a practical ankle sock that still feels polished and interesting.
What yarn and needles do you need for the Lydia Socks?
I knit my Lydia Socks with Knit Picks Stroll Tweed and 2.25 mm knitting needles. Stroll Tweed is a fingering-weight sock yarn with a blend that offers warmth, softness, and durability, while the tiny tweed flecks add extra depth to the lace-inspired design.
A traditional fingering-weight sock yarn works best for this pattern. Look for a yarn with some nylon or another durable fiber blended with wool, particularly when knitting socks that will be worn frequently.
Not sure which fiber combination to choose? Read my guide to popular yarn blends for knitting socks for help finding a yarn that balances comfort, stretch, and durability.
You will need:
- Knit Picks Stroll Tweed
- 2.25 mm knitting needles, or the size needed to obtain gauge
- Waste yarn in a contrasting color
- Stitch markers
- Tapestry needle
- Scissors
The amount of yarn required will depend on the size you are knitting and any adjustments you make to the foot or ankle length. An ankle-length design is also a wonderful way to use partial skeins left over from other sock projects.
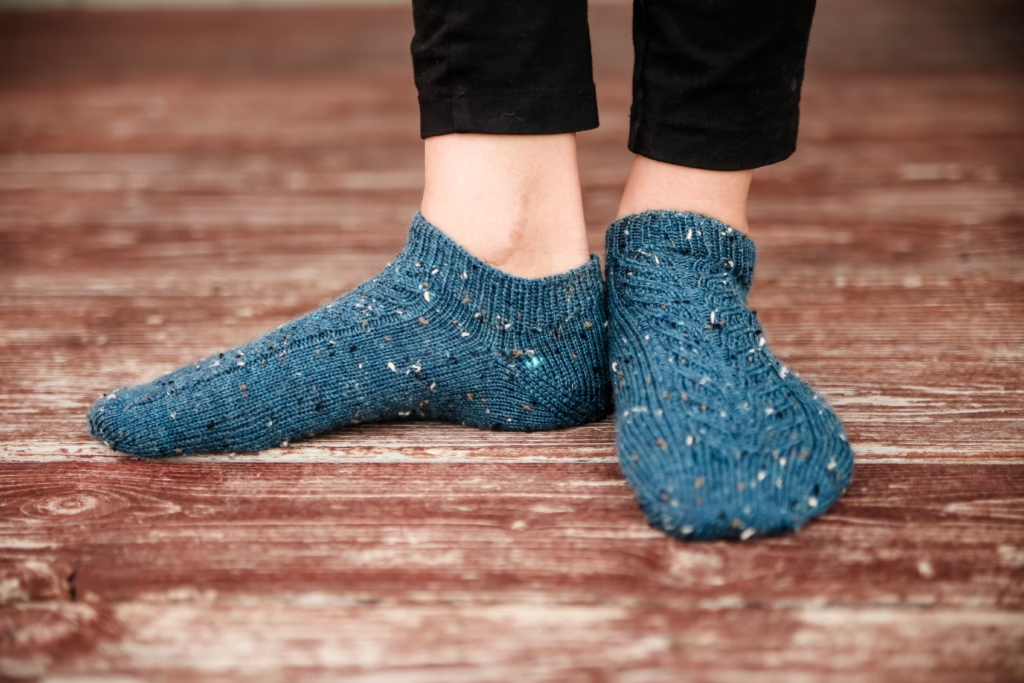
A yarn with good stitch definition will help the lace panel stand out clearly. Highly variegated yarns can still be used, but they may disguise some of the texture. Tonal, tweed, or lightly speckled colorways allow both the yarn and the stitch pattern to shine.
How do you knit this afterthought heel sock pattern?
The Lydia Socks begin at the toe and are worked upward in the round. After completing the toe increases, you will work the smooth stockinette sole and the decorative lace panel across the top of the foot.
Before beginning, measure the wearer’s foot so you know when to place the heel. My tutorial on how to measure foot length for toe-up socks will help you determine the correct length and avoid a sock that feels too short or bunches at the toe.
At the heel placement point, a section of the sock is worked with contrasting waste yarn. The waste yarn holds the stitches that will later become the heel opening. You will then continue knitting the ankle and cuff as directed.
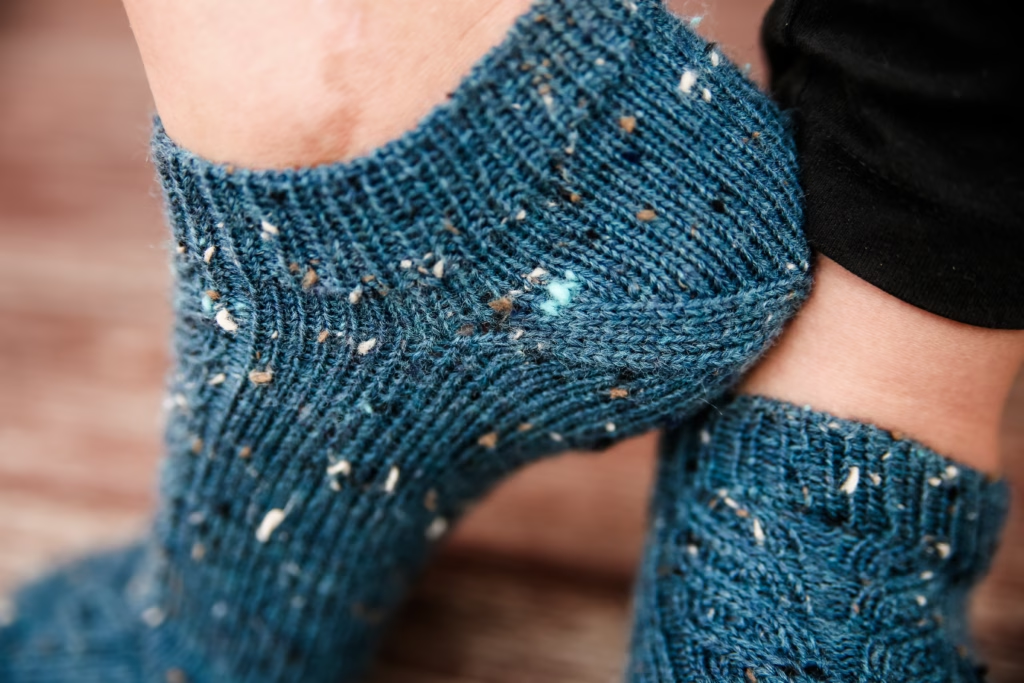
Once the main sock is complete, carefully remove the waste yarn and place the exposed stitches onto your needles. The heel is worked in the round with decreases that shape it in a way that is similar to the toe.
This construction is one of the reasons an afterthought heel sock pattern can feel so approachable. You do not need to interrupt your rhythm with heel-flap rows, picked-up gusset stitches, or short-row shaping while knitting the body of the sock.
Take your time when removing the waste yarn, and make sure every live stitch is securely placed on a needle before pulling the strand out completely. Using smooth waste yarn in a contrasting color makes this step much easier.
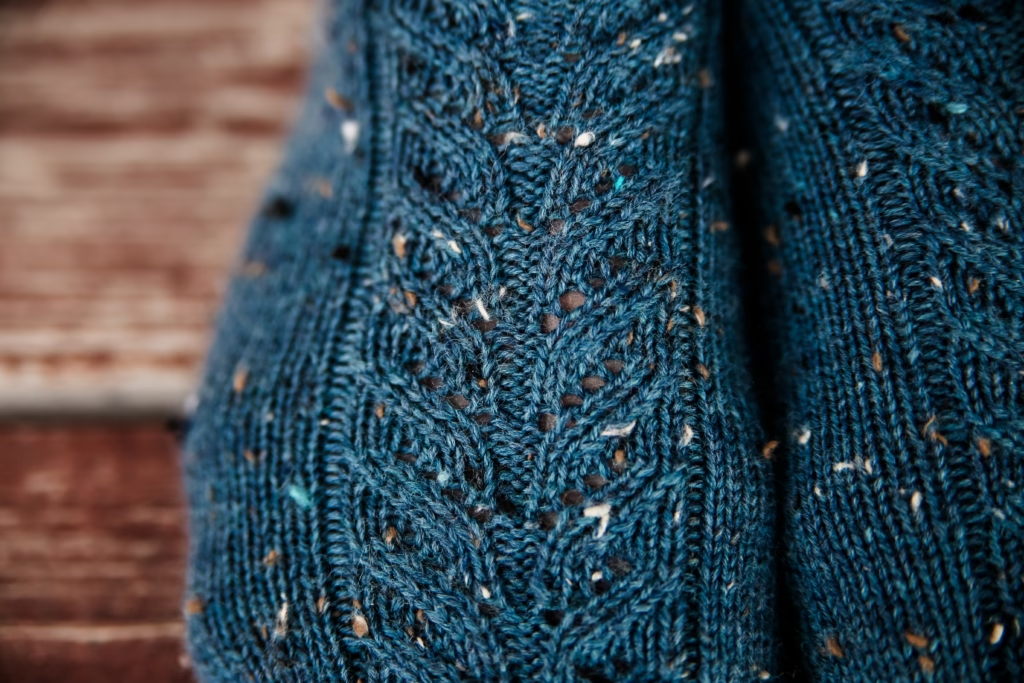
When working the lace panel, keep an eye on the stitch placement from round to round. The design resembles cables because of the way the decreases and yarn overs lean and travel, but all of the texture is created with basic lace-knitting techniques.
Blocking the finished socks will relax the stitches and open the lace pattern. A gentle wash and light shaping are usually enough to help the design settle beautifully.
What next?
Once you have finished your Lydia Socks, there are plenty of other toe-up and ankle sock patterns to add to your knitting queue and more posts to help you along with the project.
The Peace Ankle Socks are a great option when you want another quick, wearable pair. For a different decorative detail, try the Sorek Socks, or keep things beautifully simple with the Toe-Up Vanilla Ankle Socks.
Each of these projects is a useful way to practice toe-up sock construction while experimenting with different textures, yarns, and heel styles.
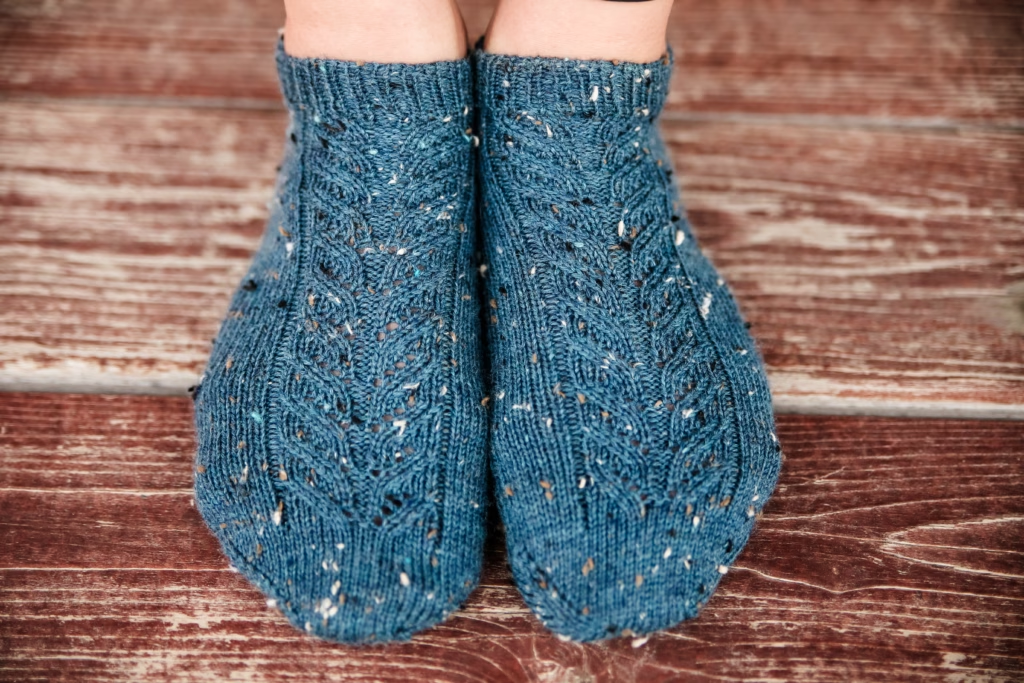
The Lydia Socks are an enjoyable mix of straightforward construction and eye-catching detail. The cable-like lace panel keeps the project interesting, while the smooth sole and ankle length make the finished socks comfortable for everyday wear.
With sizes from baby through adult, this is also a versatile pattern to return to whenever you need a quick gift or want to use a special skein of sock yarn.
Lydia Socks Free Pattern
Materials:
Yarn: 120 (180, 240), 300, 320, (380, 480) yards Knitpicks Stroll Tweed (affiliate link)
Needles: US #1 / 2.25mm DPNs (or circular for magic loop)
Notions: stitch markers, needle
Gauge: 8sts x 11rows per inch
sizing:
baby (toddler, child,) lg child, adult S, (M, L)
Finished measurements (unstretched):
Cuff (around): 5 (5.5, 6.5) 7, 7.5, (8, 9)ins/12.5 (14, 16) 17.5, 19 (20, 22.5)cms
Leg Length (adjustable): 2.5 (3.5, 4) 4.5, 5, (6, 7)ins/ 6 (9, 10) 11, 12.5 (15, 17.5)cms
Foot Length (adjustable): 4 (6, 7.25), 8, 9, (10, 11.25)ins/ 10 (15, 18) 20, 22.5 (25, 28)cms
- Stitch Chart
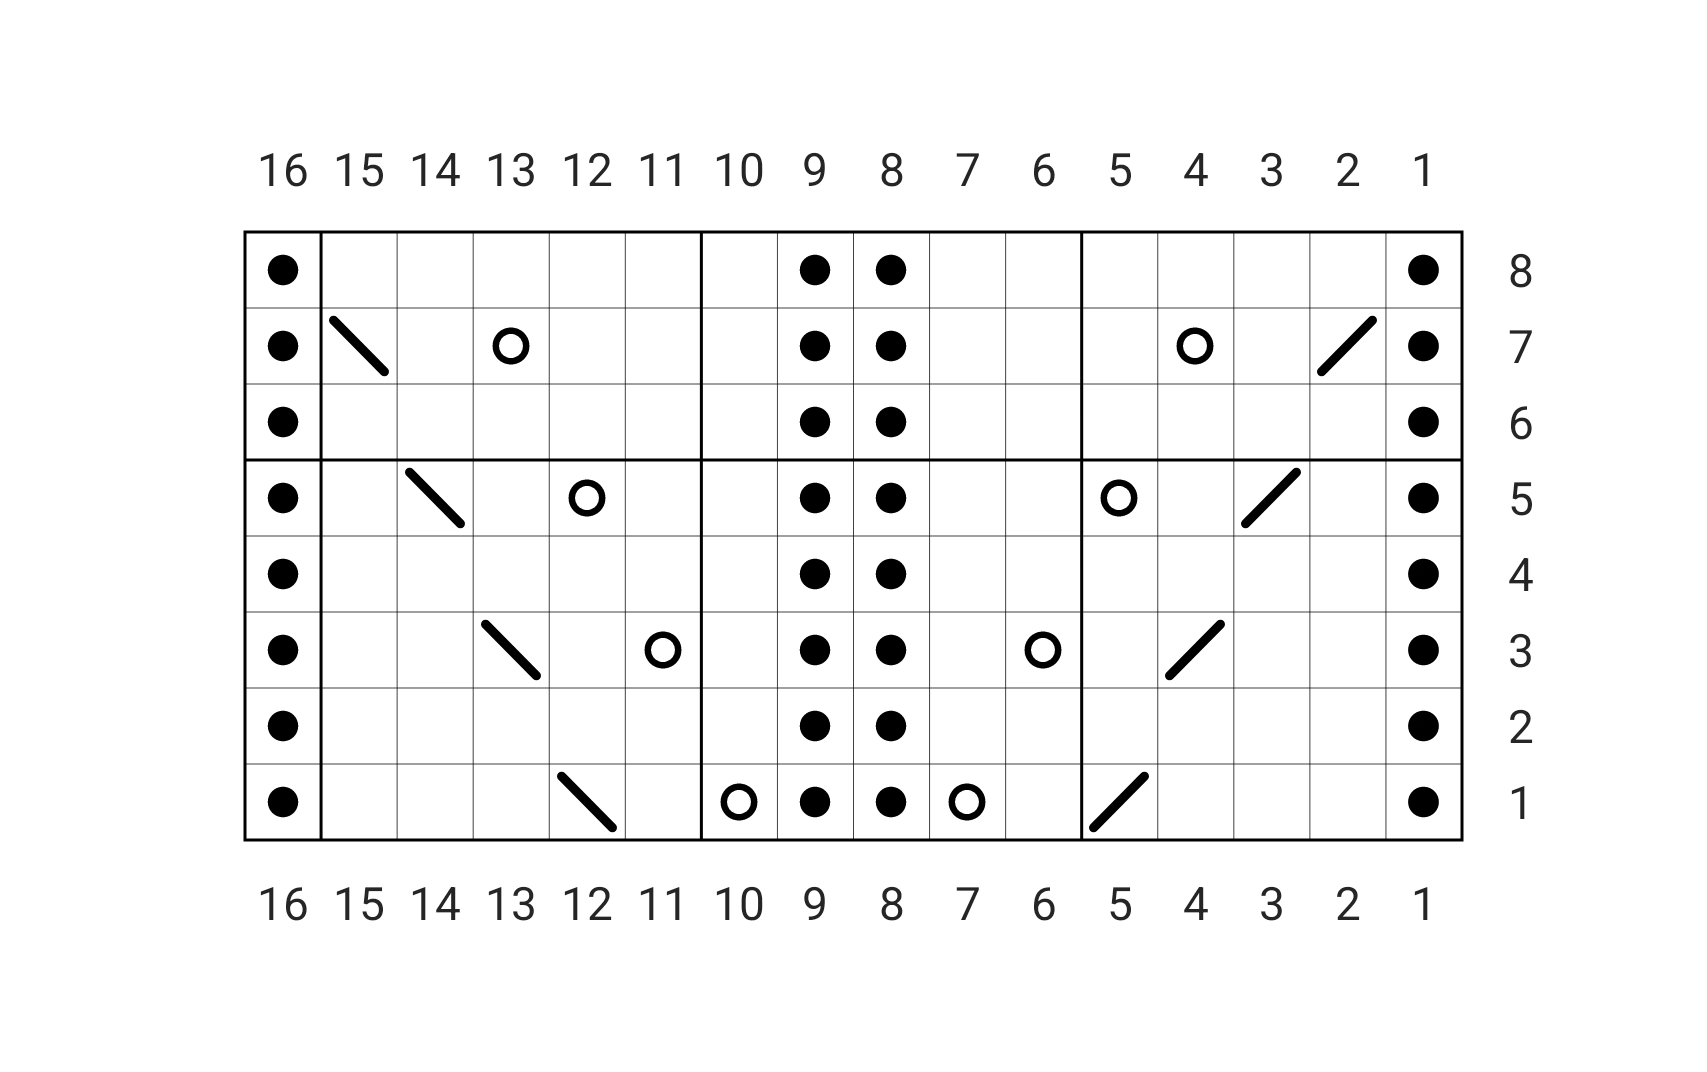
Round 1 – p1, k3, k2tog, k1, yo, p2, yo, k1, ssk, k3, p1
Round 2 – p1, k6, p2, k6, p1
Round 3 – p1, k2, k2tog, k1, yo, k1, p2, k1, yo, k1, ssk, k2, p1
Round 4 – p1, k6, p2, k6, p1
Round 5 – p1, k1, k2tog, k1, yo, k2, p2, k2, yo, k1, ssk, k1, p1
Round 6 – p1, k6, p2, k6, p1
Round 7 – p1, k2tog, k1, yo, k3, p2, k3, yo, k1, ssk, p1
Round 8 – p1, k6, p2, k6, p1 - Toe
Cast on using Judy’s magic cast on (tutorial here) 20 (20, 24) 24, 24 (24, 28) sts
Knit around
Inc round – k1, m1l, knit to 1 st before end of needle, m1r, k1, repeat on second needle.
Repeat the above 2 rounds until there are 40 (44, 52) 56, 60 (64, 72) sts on your needles. There will be a total of 5 (6, 7) 8, 9 (10, 11) increases.
If using dpn separate your stitches as follows:
Needle 1 (top of foot) – 20 (22, 26) 28, 30 (32, 36) sts
Needle 2(bottom of foot) –10 (11, 13) 14, 15 (16, 18)
Needle 3 (bottom of foot) – 10 (11, 13) 14, 15 (16, 18) sts each
If you using magic loop or use a stich marker to mark the top and bottom of foot.
The beginning of round is the start of the top of foot. - Foot
K 2 (3, 5) 6, 7 (8, 10), pm, work in stitch chart for 16 sts, k22 (25, 31) 34, 37 (40, 46)
Work as above until the sock measures 2.5 (4.5, 5.5) 6, 6.5 (7.5, 8.5) ins/6 (11, 14) 15, 16 (19, 21)cms from back of heel, or 1 (1, 1.5) 1.75, 2, (2, 2.25)ins/ 2.5 (2.5, 3) 3.5, 4 (4, 4.5)cms short of desired foot length. - Heel
Work across top of foot in pattern – 20 (22, 26) 28, 30 (32, 36)sts. Cut yarn leaving enough to weave in ends.
With a spare yarn knit across bottom of foot – 20 (22, 26) 28, 30 (32, 36)sts. Cut yarn.
Join main yarn again. - Leg
Work in stockinette for 2 (2, 3) 4, 4 (5, 5) from the top of the heel.
- Cuff
Work in 1×1 rib (k1, p1) for 8 (8, 10) 10, 12 (12, 14) rounds.
Bind off using your favorite stretchy bind off. I like to use a sewn or Italian bind off. You can always add a thread of elastic in the bind off to help it from getting stretched out from repeated use. - After Thought Heel
Pick up and knit 20 (22, 26) 28, 30 (32, 36)sts from bottom of foot, pm, pick up and knit 20 (22, 26) 28, 30 (32, 36)sts from bottom of ankle, pm (this is your bor marker).
Work in stockinette st for 4 (6, 6) 6, 8 (8, 8) rounds.
Decrease round 1 – k1, ssk, knit to 3sts before marker, k2tog, k1, sm, k1, ssk, knit to 3sts before marker, k2tog, k1
Decrease round 2 – knit around sm as you get to them
Continue working decrease rounds 1 & 2 for a total of 5 (6, 7) 8, 9 (10, 11) times until you have 20 (20, 24) 24, 24 (24, 28) sts remaining.
Cut yarn leaving a 12” tail, then graft heel using Kitchener stitch.
Weave in all ends - Kitchener stitch:
Place half the stitches on one needle, half the stitches on the other needle, (top and bottom NOT side to side)
Cut yarn (leaving a long yarn tail) and thread through a blunt needle. Set-up steps: Insert needle purlwise (back to front) through the first st on front needle, leaving the st on the needle. Then insert needle knitwise (front to back) through the first st on the back needle, leaving the st on the needle.
Step 1: Insert needle knitwise through first st on front needle, then slip this st off the needle.
Step 2: Insert needle purlwise through the second st on front needle, leaving the st on the needle.
Step 3: Insert needle purlwise through first st on back needle, then drop this stitch off the needle.
Step 4: Insert needle knitwise through second st on back needle, leaving the st on the needle.
From this point to the end, repeat steps 1-4.
Kitchener stitch can be intimidating, but you get into a rhythm:
Front needle: knitwise drop off, purlwise leave on,
Back needle: purlwise drop off, knitwise leave on,
Repeat!
At the end of the row, there is only 1 stitch left on each needle.
Work steps 1 and 3 once more. - ABBREVIATIONS
bor – beginning of round
k – knit
k2tog – knit 2 stitches together
m1l – pick up from front to back the strand between the 2sts on your needles, knit through back loop
m1r – pick up from back to front the strand between the 2sts on your needles, knit through the front loop
P – purl
pm – place marker
sm – slip marker
ssk – slip next st knitwise, slip next st knitwise, place stitches back onto left needle, knit both slipped sts together
yo – yarn over
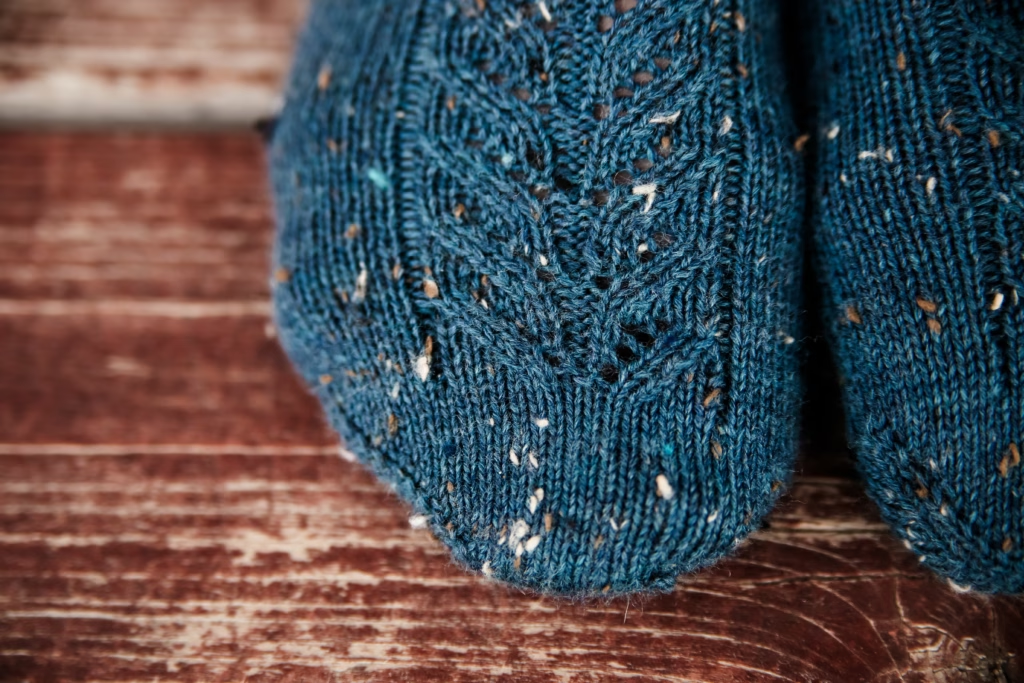
Which yarn color would you choose for your Lydia Socks? Leave a comment and tell me who you are knitting your first pair for!
This post may contain affiliate links. If you make a purchase through one of these links, I may receive a small commission at no additional cost to you.