
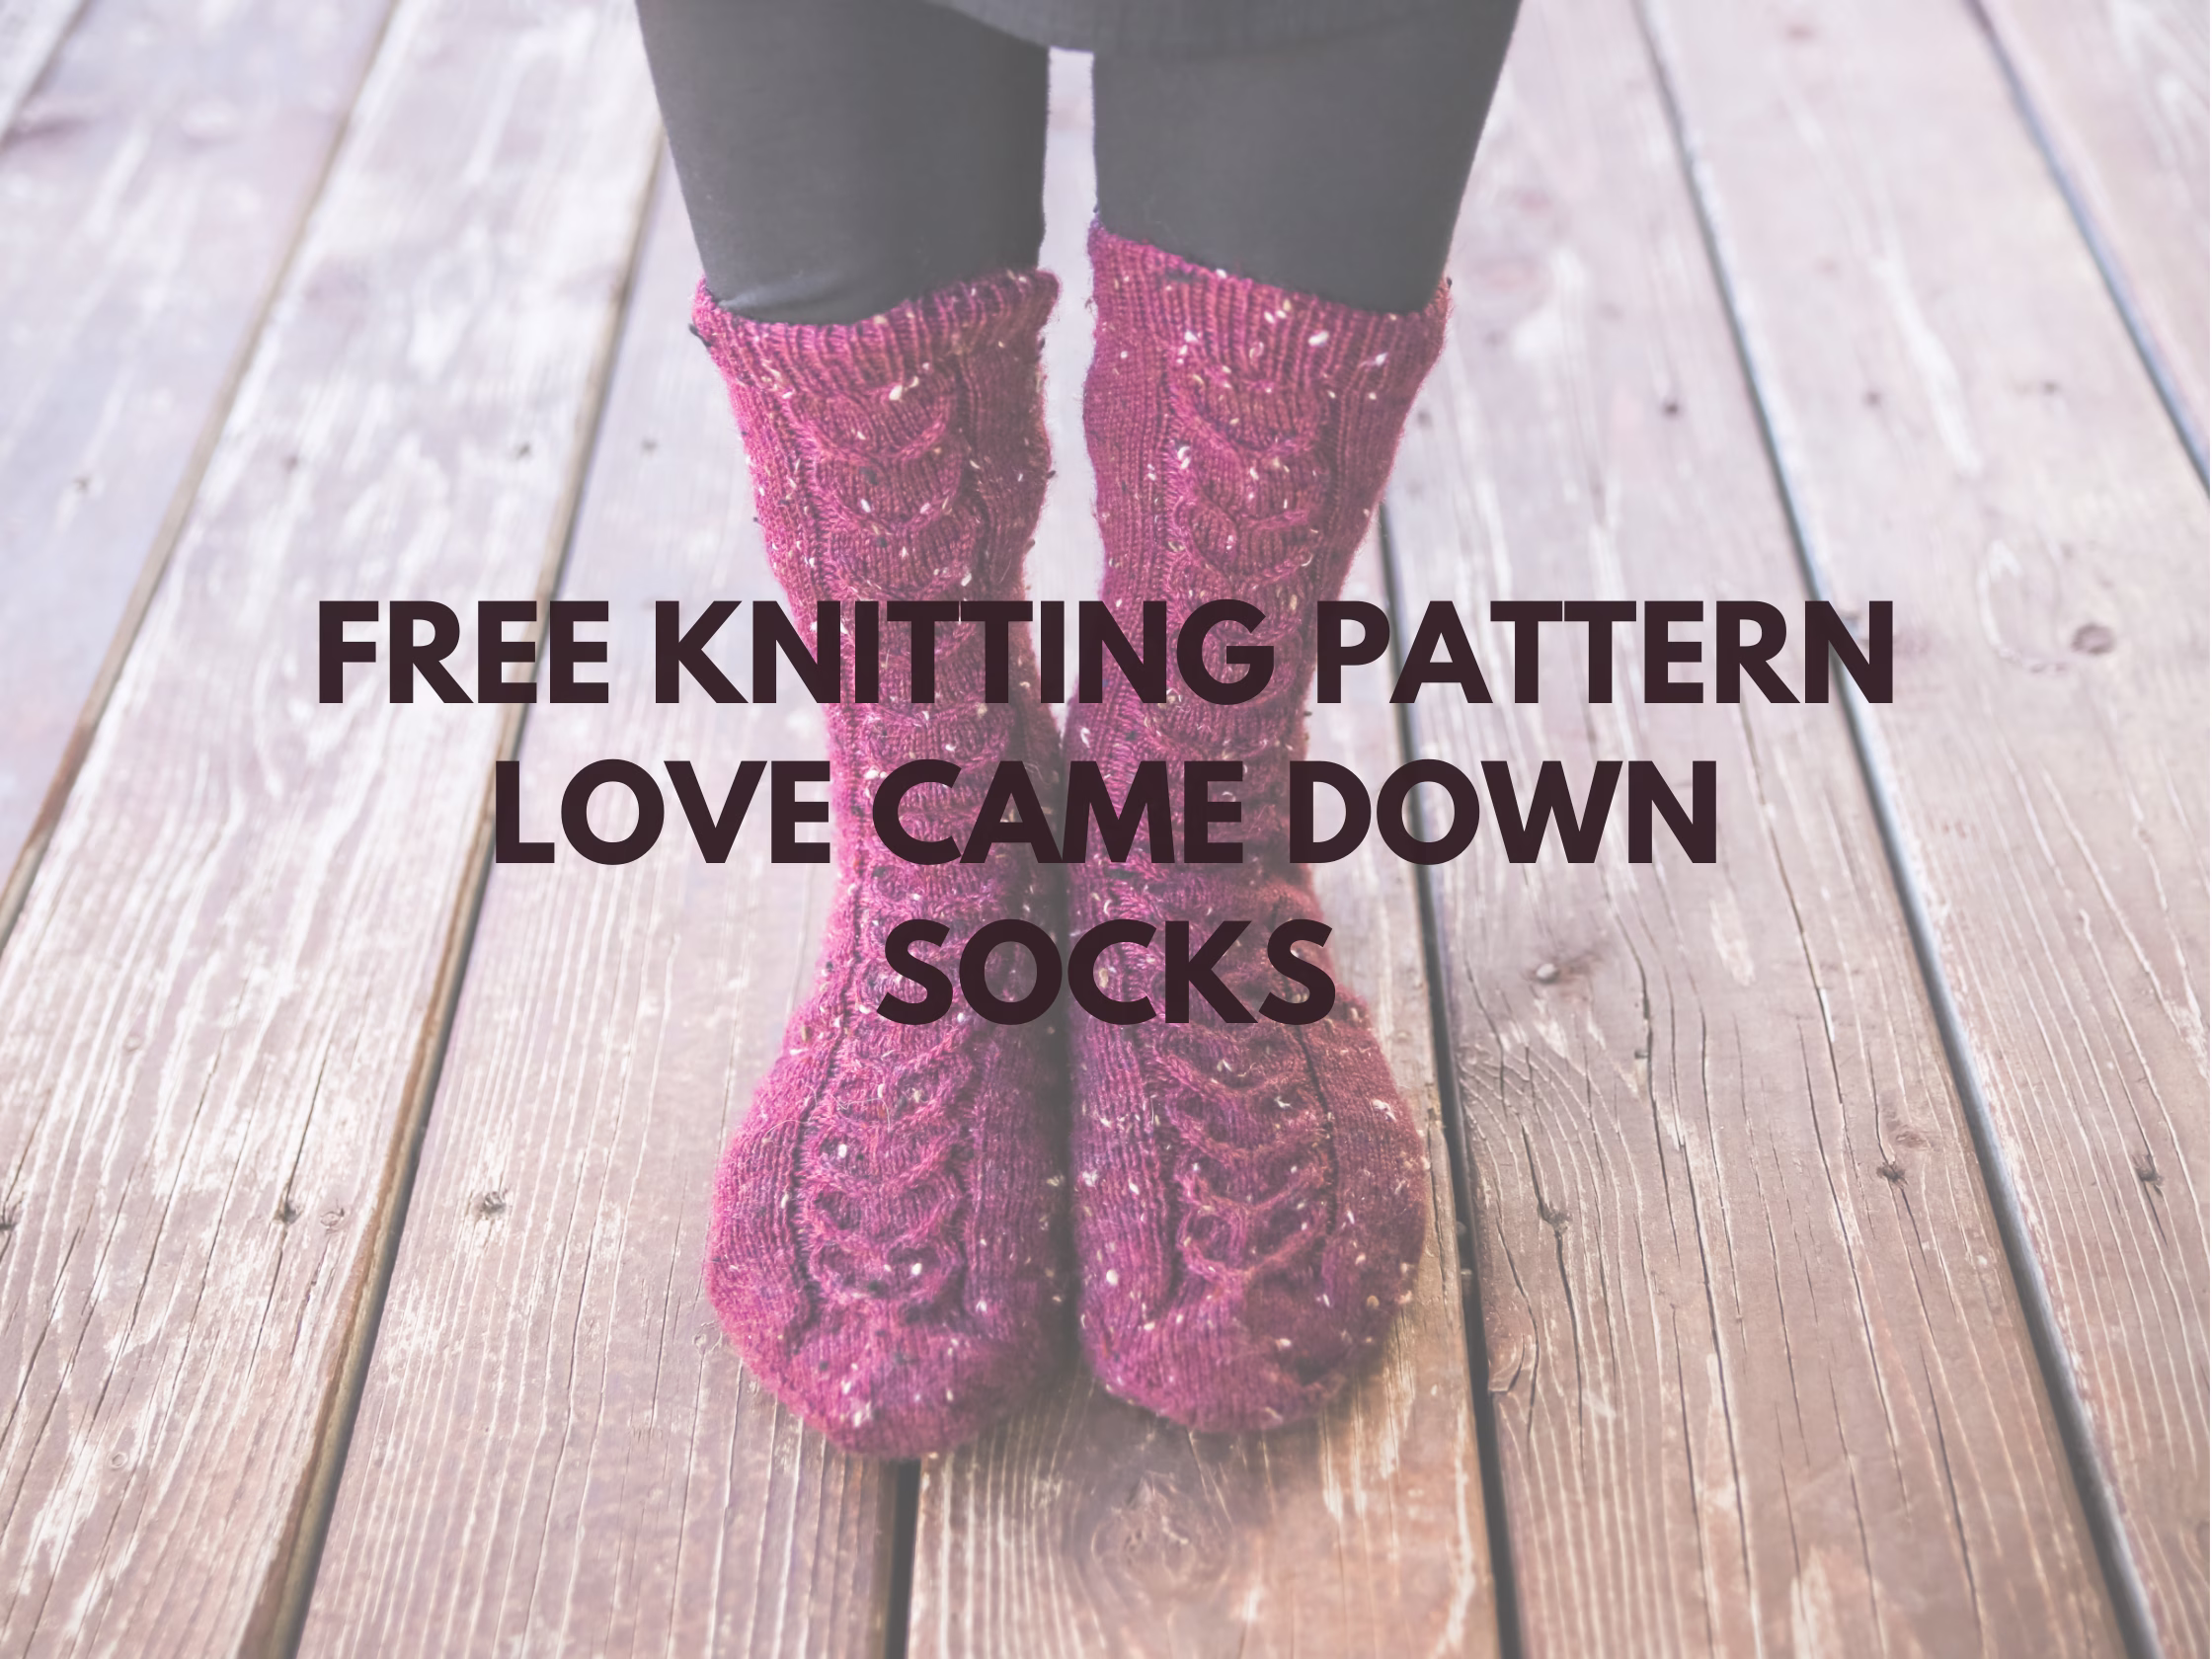
This toe up sock pattern is one of my favorite designs for knitters who want something sweet and detailed while still practical enough for everyday wear.
If you love free sock knitting patterns that feel special without being overly complicated, this pair is a fun one to cast on. The heart cable panel running up the top of the foot gives these socks their signature look while keeping the rest of the knitting straightforward and relaxing. With sizing from baby through adult large, this toe up sock pattern makes it easy to knit matching socks for the whole family.

If you have been looking for a sock pattern that combines classic construction with a little extra personality, this one checks all the boxes. The toe-up construction lets you customize length easily, while the heel flap provides that secure fit many knitters love. It is the kind of pattern that looks far more impressive than it actually is to knit.
These socks are especially fun for gift knitting, holiday knitting, or anyone who loves subtle themed details in their handmade pieces.
What Materials Do You Need for This Toe Up Sock Pattern?
For this toe up sock pattern, I kept the materials simple so the heart cable panel can really shine without competing with busy yarn or unnecessary extras.
You will need:
Stroll Tweed is one of my favorite yarns for textured socks like this because the tweedy flecks add visual interest while still allowing the cable detail to stand out clearly. It gives the finished socks a classic, slightly rustic feel that works beautifully with the heart motif.
If you love knitting socks that look polished and detailed but still feel wearable with everyday outfits, this yarn and stitch combination is hard to beat.

Because these socks are worked toe up, you can also easily adjust the leg length if you prefer a shorter or taller sock. That flexibility makes this toe up sock pattern especially useful when knitting for multiple foot sizes.
How Is This Toe Up Sock Pattern Constructed?
This toe up sock pattern begins at the toe and is worked upward with the heart cable panel centered along the top of the foot. The cable continues beautifully up the leg to create a cohesive design from toe to cuff.
After the foot is complete, the heel flap is worked to create a structured, comfortable fit that hugs the heel securely. If you love the look of toe-up socks but prefer the fit of a traditional heel flap over short rows, this pattern gives you the best of both worlds.
The heart cable may look intricate, but once you establish the repeat, it becomes surprisingly rhythmic and enjoyable to knit.

Because the cable panel stays centered, I recommend using stitch markers to help keep your placement tidy throughout the foot and leg. It makes the pattern even easier to follow and helps the hearts stay perfectly aligned.
Looking for More Free Toe Up Sock Patterns?
If you enjoy this toe up sock pattern, here are a few more sock patterns from my collection you may want to cast on next:
Each of these patterns offers a different texture or construction detail while keeping that same wearable, practical style. Whether you want something simple, textured, or decorative, there is a little something for every sock knitter in the bunch.
If you are building up your handmade sock drawer, these patterns pair together beautifully for a full collection of go-to favorites.

Toe up socks are one of my favorite styles to knit because they make it easy to use every bit of yarn and customize the fit exactly how I want. Once you get comfortable with toe-up construction, it quickly becomes hard to stop making them.
Love Came Down Socks Pattern
Materials:
Yarn: 120 (180, 240), 300, 320, (380, 480) yards Knitpicks Stroll Tweed (affiliate link) Needles: US #1 / 2.25mm DPNs (or circular for magic loop)
Notions: stitch markers, needle
Gauge: 8sts x 11rows per inch
sizing:
baby (toddler, child,) lg child, adult S, (M, L)
Finished measurements (unstretched):
Cuff (around): 5 (5.5, 6.5) 7, 7.5, (8, 9)ins/12.5 (14, 16) 17.5, 19 (20, 22.5)cms Leg Length (adjustable): 2.5 (3.5, 4) 4.5, 5, (6, 7)ins/ 6 (9, 10) 11, 12.5 (15, 17.5)cms Foot Length (adjustable): 4 (6, 7.25), 8, 9, (10, 11.25)ins/ 10 (15, 18) 20, 22.5 (25, 28)cms
Cable Heart Stitch Chart
Row 1 – p1, k4, cb1/2, cf2/1, k4,
p1
Row 2 – p1, tf2/1, cb1/2, k2, cf2/1,
tb1/2, p1
Row 3 – p2, k1, cb1/2, k4, cf2/1,
k1, p2
Row 4 – p2, cb1/2, k6, cf2/1, p2
Row 5 – p2, k12, p2
Row 6 – p2, k12, p2
Row 7 – p1, cb1/2, k8, cf2/1, p1
Row 8 – p1, k14, p1
Row 9 – p1, k14, p1
Row 10 – p1, k14, p1
Toe
Cast on using Judy’s magic cast on (tutorial here) 20 (20, 24) 24, 24 (24, 28) sts Knit around
Inc round – k1, m1l, knit to 1 st before end of needle, m1r, k1, repeat on second needle.
Repeat the above 2 rounds until there are 44 (48, 52) 56, 60 (64, 72) sts on your needles. There will be a total of 6 (7, 7) 8, 9 (10, 11) increases.
If using dpn separate your stitches as follows:
Needle 1 (top of foot) – 22 (24, 26) 28, 30 (32, 36) sts
Needle 2(bottom of foot) –11 (12, 13) 14, 15 (16, 18)
Needle 3 (bottom of foot) – 11 (12, 13) 14, 15 (16, 18) sts each
If you using magic loop or use a stich marker to mark the top and bottom of foot. The beginning of round is the start of the top of foot.
Foot
K 3 (4, 5) 6, 7 (8, 10), pm, work in stitch chart for 16 sts, k25 (28, 31) 34, 37 (40, 46) Work as above until the sock measures 2.5 (3, 4) 5, 6, (6.5, 7) ins/ 6 (7.5, 10) 12.5, 15 (16, 17.5) cms from tip of toe, or 1.75 (2, 2.25) 2.5, 2.5 (2.75, 3) ins/ 4 (5, 5.5) 6, 6 (7, 7.5) short of desired foot length.
Gusset
Round 1 – work in pattern 23 (25, 27) 29, 33 (35, 37), m1l, knit across to last st of the round, m1r, k1
Round 2 work in pattern around
Repeat these 2 rounds until you have increased a total of 7 (8, 9) 10, 11 (12, 13) times which will give you 58 (64, 70) 76, 82 (88, 98) sts
Heel Turn
You will now be working back & forth, not in the round, turning at the end of each row.
Row 1 – Work in pattern 45 (50, 54) 60, 64 (69, 78) sts, kfb, k1, wrap yarn like a w&t but do not turn, sl1, pm,
Row 2 – sl1 wrapped st, sm, p 13 (15, 17) 19, 19 (21, 25) sts, pfb, p1, wrap yarn like a w&t but do not turn, sl1, pm,
Row 3 – sl1 wrapped st, sm, k 11 (13, 15) 17, 17 (19, 23) sts, kfb, k1, w&t Row 4 – p 9 (11, 13) 15, 15 (17, 21) sts, pfb, p1, w&t
Row 5 – k 7 (9, 11) 13, 13 (15, 19) sts, kfb, k1, w&t
Row 6 – p 5 (7, 9) 11, 11 (13, 17) sts, pfb, p1, w&t
For adult sizes only
Row 7 – k x (x, x) x, 9 (11, 15) sts, kfb, k1, w&t
Row 9 – p x (x, x) x, 7 (9, 13) sts, pfb, p1, w&
64 (70, 76) 82, 90 (96, 106) sts
Heel Flap
Row 1 – Knit across to the marker placed on heel turn row 1, working wraps as you go, turn,
Row 2 – sl1, purl across to the marker placed on row 2 of heel turn, working wraps as you go, turn,
Row 3 – (sl1, k1) across to marker, rm, ssk, turn
Row 4 – sl1, purl across to marker, rm, p2tog, turn
Row 5 – (sl1, k1) across to gap, ssk, turn
Row 6 – sl1, purl across gap, p2tog, turn
Repeat rows 3 and 4 until you have 42 (46, 50) 54, 62, (66, 70) sts total Sl1 and knit across to bor.
Leg
K 3 (4, 5) 6, 7 (8, 10), pm, work in stitch chart for 16 sts, k25 (28, 31) 34, 37 (40, 46) Work as above until the sock measures 1.5 (2.5, 3) 3.5, 4 (5, 6) ins/ 4 (6, 7.5) 9, 10 (12.5, 15) from the top of the heel (or desired length).
Cuff
Work in 1×1 rib (k1, p1) for 8 (8, 10) 10, 12, (12, 14) rounds.
Bind off using your favorite stretchy bind off. I like to use a sewn or Italian bind off. You can always add a thread of elastic in the bind off to help it from getting stretched out from repeated use.
Weave in all ends
ABBREVIATIONS
bor – beginning of round
cb1/2 – cable back 1 behind 2 – place the next st on a cable needle, hold in back, knit the next 2 sts, knit the st on the cable needle
cf2/1 – cable front 2 over 1 – place the next 2 sts on a cable needle, hold them in front, knit the next st, knit the 2 sts on the cable needle
k – knit
m1l – pick up from front to back the strand between the 2sts on your needles, knit through back loop
m1r – pick up from back to front the strand between the 2sts on your needles, knit through the front loop
P – purl
p2tog -purl 2 stitches together
pm – place marker
sm – slip marker
ssk – slip next st knitwise, slip next st knitwise, place stitches back onto left needle, knit both slipped sts together
tb1/2 – twist back 1 behind 2 – place the next st on a cable needle, hold in back, knit the next 2 sts, purl the st on the cable needle
tf2/1 – twist front 2 over 1 – place the next 2 sts on a cable needle, hold them in front, purl the next st, knit the 2 sts on the cable needle

I hope you love knitting these as much as I loved designing them. If you make a pair, leave me a comment below and tell me who you are knitting them for—I always love hearing what ends up on your needles!
Affiliate links are used in this post. This means I may earn a small commission at no extra cost to you if you purchase through my links. Thank you for supporting my work and helping me continue to provide free knitting patterns.
Comments are closed.