
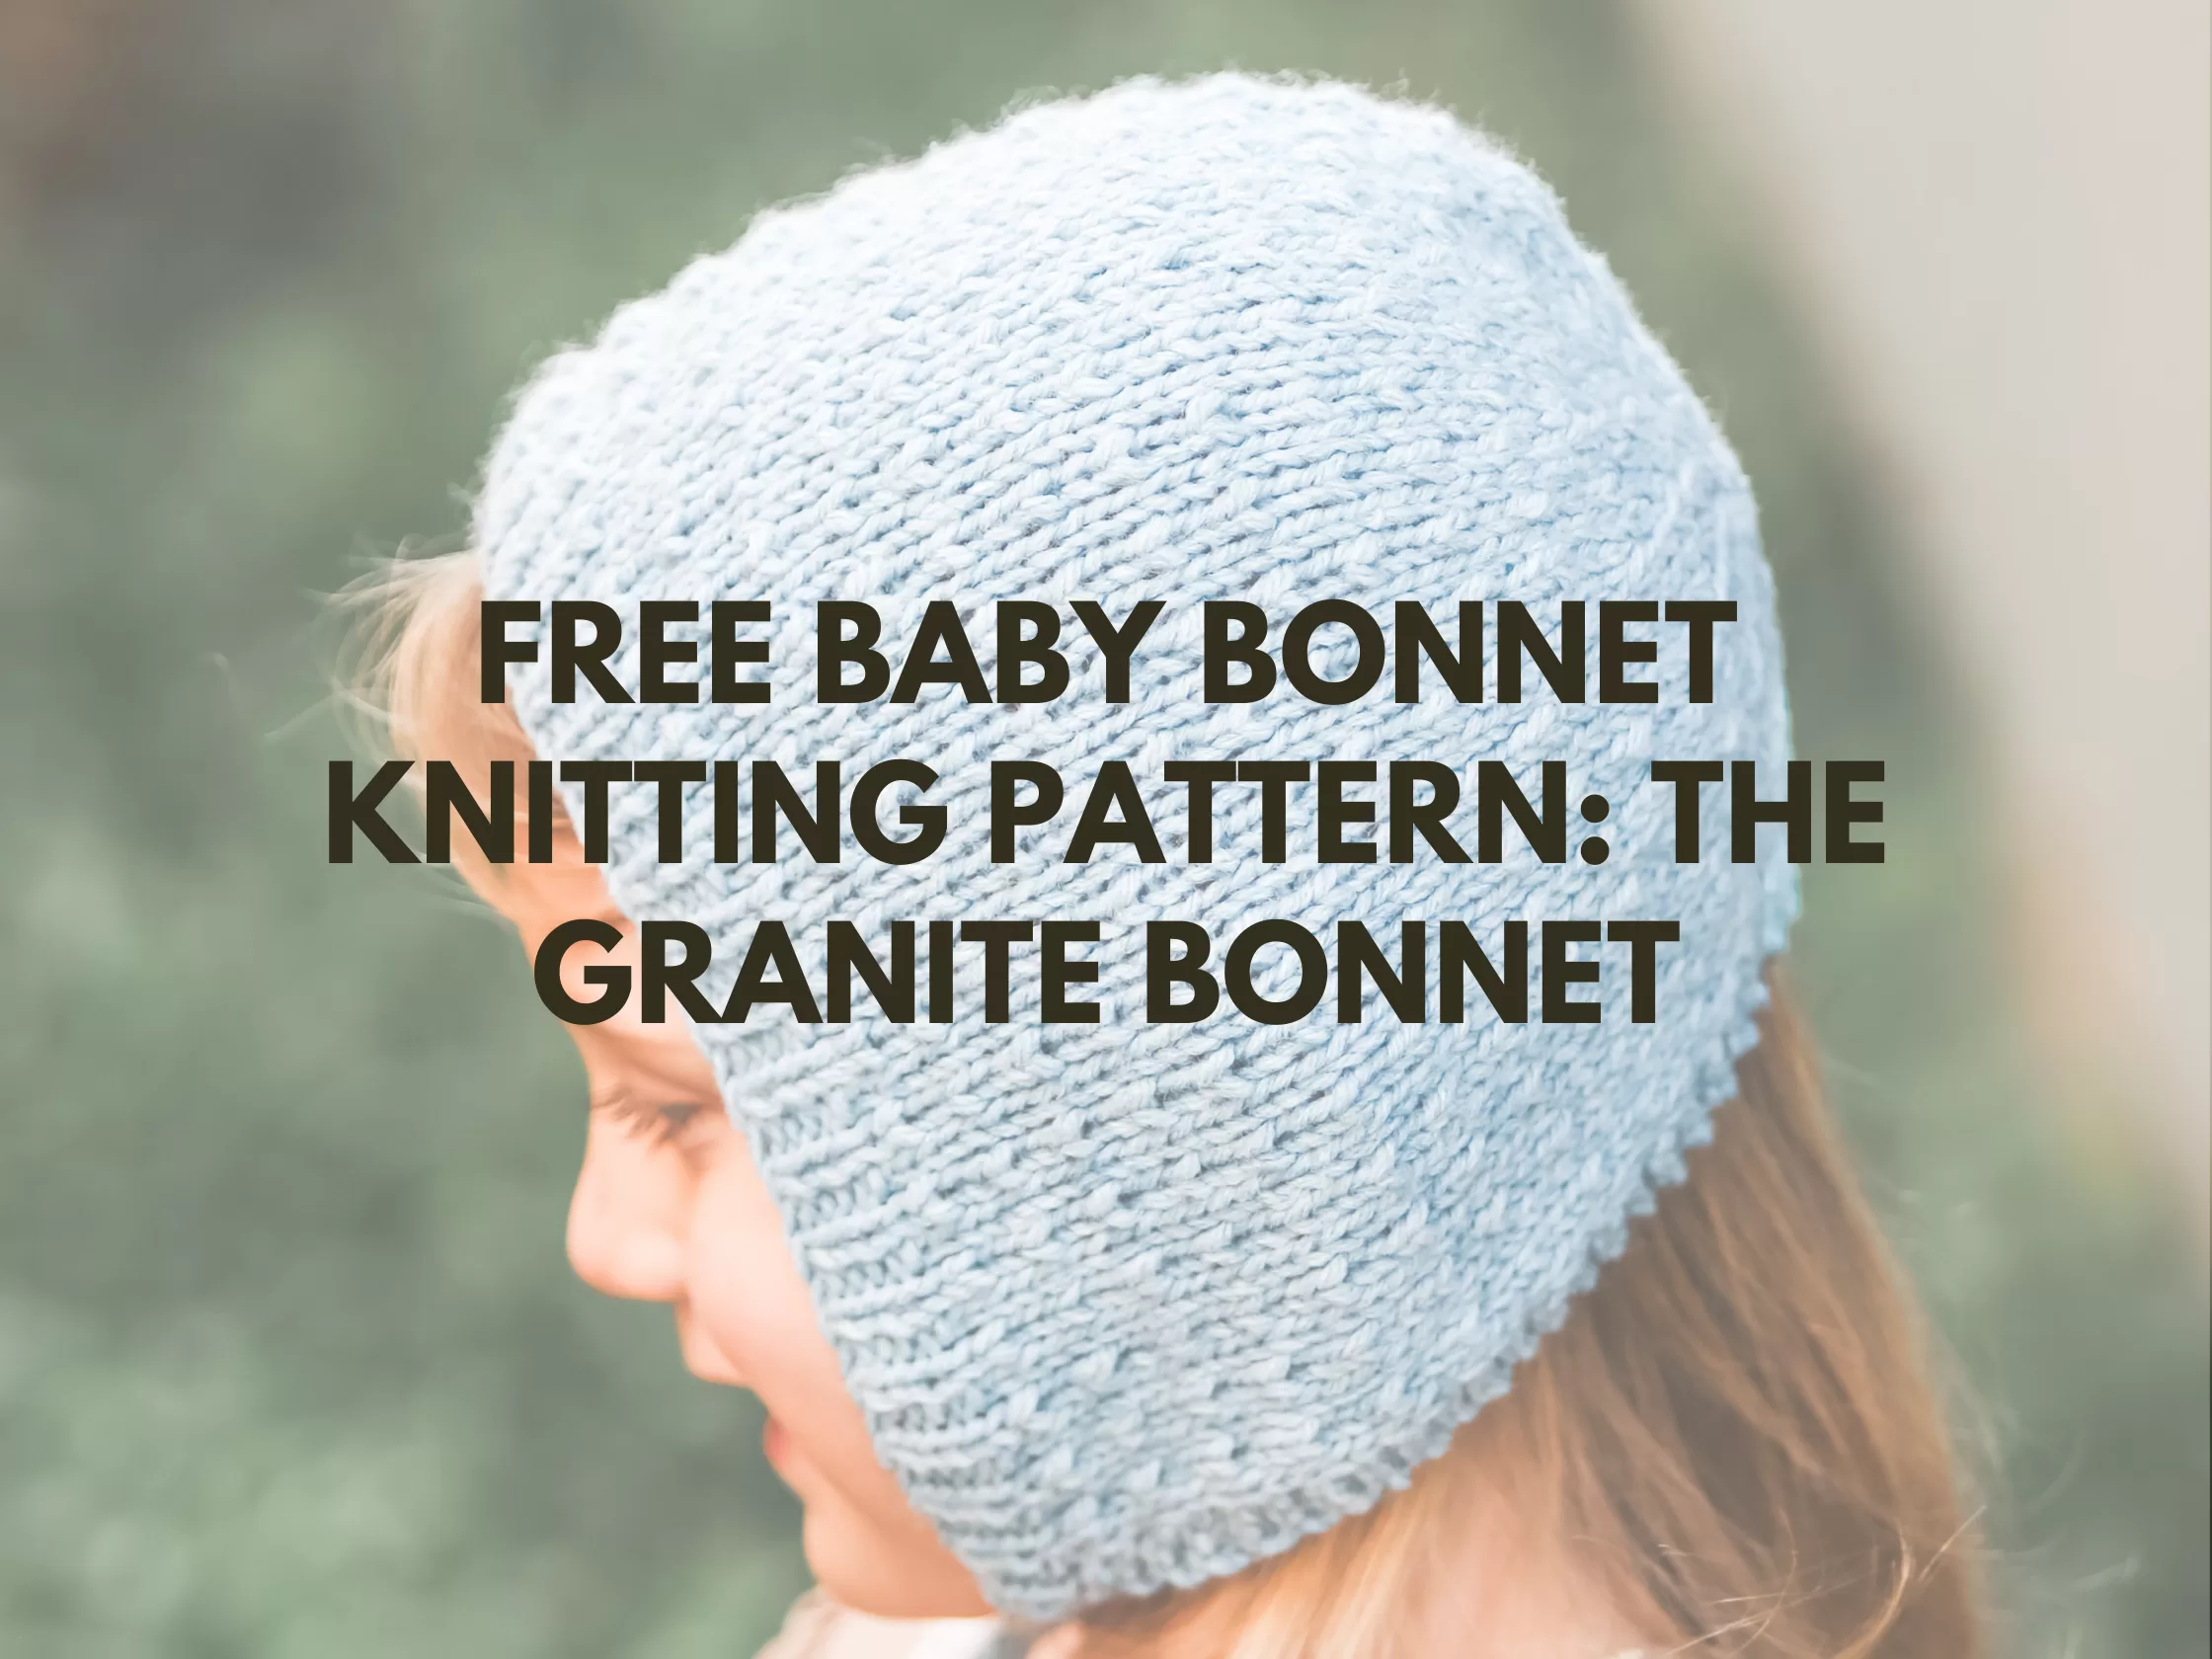
If you love a good baby bonnet knitting pattern, you’ll find my favorites here — including today’s Granite Bonnet (which you can download at the bottom of this post)!

When it comes to designing a baby bonnet knitting pattern, I always have two goals: keep it timeless and keep it fun. The Granite Bonnet checks both boxes — and then some. While THIS specific pattern is at the bottom of this post, you can find all my other favorite baby bonnet knitting patterns at this link.
Before we dive into the details, let me just say: if you’re looking for a project that’s both relaxing and rewarding, this baby bonnet knitting pattern is going to be your new favorite.

Why I Love This Baby Bonnet Knitting Pattern
Some patterns come together in a way that just feels right. The Granite Bonnet is worked flat until you reach the crown, then you switch things up and join in the round to shape the back. The ties? Those are neat little i-cords picked up along the front side edge, making for a super polished look.
This baby bonnet knitting pattern also uses the same textured k1b stitch that’s in some of my other Granite patterns — like the Granite Hat, Granite Socks, Youth Granite Sweater, Baby Granite Sweater, and Granite Dress (if you click on those it will take you to the pattern!). It’s one of those stitches that’s simple but looks fancy, and it ties the whole “Granite Collection” together beautifully.
For another textured baby project, the Sorek Bonnet free cable bonnet knitting pattern is a great choice when you’re in the mood for traditional cables.

Materials I Used for the Granite Bonnet
For this baby bonnet knitting pattern, I used KnitPicks Heatherly (affiliate link), which is soft, bouncy, and perfect for baby knits. I paired it with Clover bamboo 5 (3.75mm) straight needles (affiliate link) for the flat portion and double-pointed needles (affiliate link) for the crown. These tools make the process smooth and enjoyable — and if you’ve knit with bamboo before, you know that gentle grip is perfect for maintaining even stitches.

The Stitch Pattern That Steals the Show
The k1b texture in this baby bonnet knitting pattern is a subtle nod to the rugged, pebbled look of natural granite. I love how it adds dimension without overcomplicating the knitting process. This same texture appears in all the patterns in the Granite Collection, so if you’re the type who likes making matching sets, you’re in for a treat.

Why You Should Knit This Bonnet
Knitting a baby bonnet knitting pattern like this isn’t just about creating something adorable. It’s also a great way to:
- Try the k1b textured stitch (you can find a tutorial for this stitch here)
- Practice switching from flat to in-the-round knitting
- Learn (or perfect) your i-cord skills
- Make a keepsake piece that can be passed down
Plus, let’s be honest — nothing frames a baby’s face quite like a classic bonnet.

Tips for Knitting the Granite Bonnet
- Swatch the stitch pattern first. Since the k1b stitch has a little extra depth, it’s good to get familiar with the tension before starting the full baby bonnet knitting pattern.
- Use bamboo needles (affiliate link). The gentle grip keeps your stitches from slipping when working that textured fabric.
- Block your bonnet. A light steam or wet block will help the texture bloom and give the bonnet that perfect finished look.

Making It Match
If you want to go all in with this texture, you could knit the Granite Hat for cooler days, the Granite Socks for cozy feet, or the Granite Sweaters (youth and baby sizes) for the full outfit. All of these are linked so you can find them easily! Just click on them.

Where This Bonnet Fits in My Collection
While I have a whole list of favorite baby bonnet knitting patterns, the Granite Bonnet feels like the centerpiece. It has that old-fashioned charm but works up in a way that keeps me engaged. It’s not just a knit — it’s a pattern that makes you feel like you’ve accomplished something beautiful and lasting.
If you want to explore my other bonnet patterns, you can find them all here.

Get the Granite Bonnet Free Pattern
Ready to cast on? Scroll down to grab the Granite Bonnet baby bonnet knitting pattern for free. This design is simple but interesting enough to keep seasoned knitters entertained. Whether you’re knitting it as a gift, for a newborn photo shoot, or just because it’s adorable, I promise you’ll want to make it more than once.

Granite Bonnet Free Pattern
Yarn – Approximately 60–100 yds / 55–90 m of Knit Picks Heatherly. One 100 g skein containing 328 yds / 300 m provides the stated allowance for any size.
Gauge: 24 sts and 32 rows per 4 × 4 in / 10 × 10 cm after blocking, using US 5 (3.75 mm) needles.
Needles: US 5 (3.75 mm) straight or circular needles for working flat, plus matching DPNs for the crown and i-cord ties.
Notions: Tapestry needle and beginning-of-round marker.
Sizes: Newborn (Infant, Baby), Toddler.
To fit head circumference:
Newborn: 12–14 in / 30.5–35.5 cm
Infant: 14–16 in / 35.5–40.5 cm
Baby: 15–17 in / 38–43 cm
Toddler: 16–18 in / 40.5–45.5 cm
.
The Granite Bonnet is worked flat from the front edge toward the back of the head, then joined in the round for the crown. The flat section uses Granite Stitch with garter-stitch borders; the crown is worked in stockinette with decreases. The sample is modeled by a four-year-old wearing the Toddler size.
Abbreviations can be found on the last page.
Granite Stitch Pattern
Row 1 (RS): Knit across.
Row 2 (WS): Purl across.
Row 3 (RS): [K1, k1b] across.
Row 4 (WS): Purl across.
Repeat Rows 1–4.
1X1 RIB PATTERN
Row 1 (right side row) – (k1, p1) across
Row 2 – knit all the knit stitches, purl all the purl stitches.
GRANITE BONNET
Cast on 60 (66, 72), 78 sts using the long-tail cast-on method or another suitable cast-on.
Work 1×1 ribbing for ¾ in / 2 cm, ending after a WS row.
Row 1 (RS): Knit all sts.
Row 2 (WS): K3, purl to the last 3 sts, k3.
Row 3 (RS): K3, [k1, k1b] to the last 3 sts, k3.
Row 4 (WS): K3, purl to the last 3 sts, k3.
Repeat Rows 1–4 until the bonnet measures approximately 3½ (4¼, 5), 5½ in / 9 (11, 12.5), 14 cm from the cast-on edge, ending after a RS row. Do not turn after this final RS row.
Distribute the live stitches onto DPNs, keeping the RS of the bonnet facing outward. Bring the two row ends together and join for working in the round, taking care not to twist the fabric. Place a beginning-of-round marker at the join, where the lower edges meet at the back of the bonnet.
Begin Crown Round 1 without turning the work. The garter borders and Granite Stitch Pattern are no longer continued; work the following crown rounds as written.
DECREASES
Round 1 – [K4, k2tog] Repeat [to] around [50 (55, 60) 65 sts]
Round 2 – knit around
Round 3 – [K3, k2tog] Repeat [to] around [40 (44, 48) 52 sts]
Round 4 – knit around
Round 5 – [K2, k2tog] Repeat [to] around [30 (33, 36) 39 sts]
Round 6 – knit around
Round 7 – [K1, k2tog] Repeat [to] around [20 (22, 24) 26 sts]
Round 8 – knit around
Round 9 – [k2tog] Repeat [to] around [10 (11, 12) 13 sts]
Round 10: K2tog around to the last 0 (1, 0), 1 sts. Knit any remaining stitch.
[5 (6, 6), 7 sts]
Do not bind off. Cut yarn, leaving a tail approximately 6–8 in / 15–20.5 cm long. Thread the tail through the remaining stitches, remove the needles, and pull tight to close the crown. Secure the yarn on the inside of the bonnet.
Using a DPN, pick up and knit 3 sts from the short side edge of the ribbed front band at one lower front corner.
Slide the stitches to the other end of the DPN without turning. Bring the yarn firmly across the back and knit all 3 sts. Repeat, sliding the stitches without turning after every row, until the tie measures approximately 10 in / 25.5 cm.
Bind off the 3 sts and weave in the end. Work a matching tie at the opposite lower front corner.
Never leave a baby unattended while wearing a bonnet with ties.
Weave in all remaining ends. Block gently to the intended measurements, taking care not to stretch the front ribbing or ties excessively.
ABBREVIATIONS
DPNs — double-pointed needles.
k — knit.
k1b — knit 1 below: insert the working needle into the stitch one row below the next stitch on the holding needle and knit it. Let the stitch above it slip off the holding needle as the new stitch is completed. The stitch count remains unchanged.
k2tog — knit 2 stitches together; 1 stitch decreased.
p — purl.
RS — right side.
st/sts — stitch/stitches.
WS — wrong side.
Affiliate Disclaimer: This post contains affiliate links, which means I may earn a small commission if you click through and make a purchase — at no extra cost to you.
Have you knit a baby bonnet knitting pattern before? Do you love using traditional colors or modern colors? Share your thoughts in the comments — I love hearing from you!