
This easy beanie knitting pattern is a free hat knitting pattern for the Porter Hat, a lightweight worsted-weight beanie with simple lace, stretchy ribbing, and sizes from newborn through large adult.
If you have been looking for an easy beanie knitting pattern that feels interesting without being too complicated, the Porter Hat is such a good one to cast on. It has a simple ribbed brim, a repeating lace section, and a comfortable fit that works well for those in-between weather days when you need a hat, but not the thickest hat you own. This free hat knitting pattern is also written in multiple sizes, so you can make one for babies, kids, adults, or the whole family.

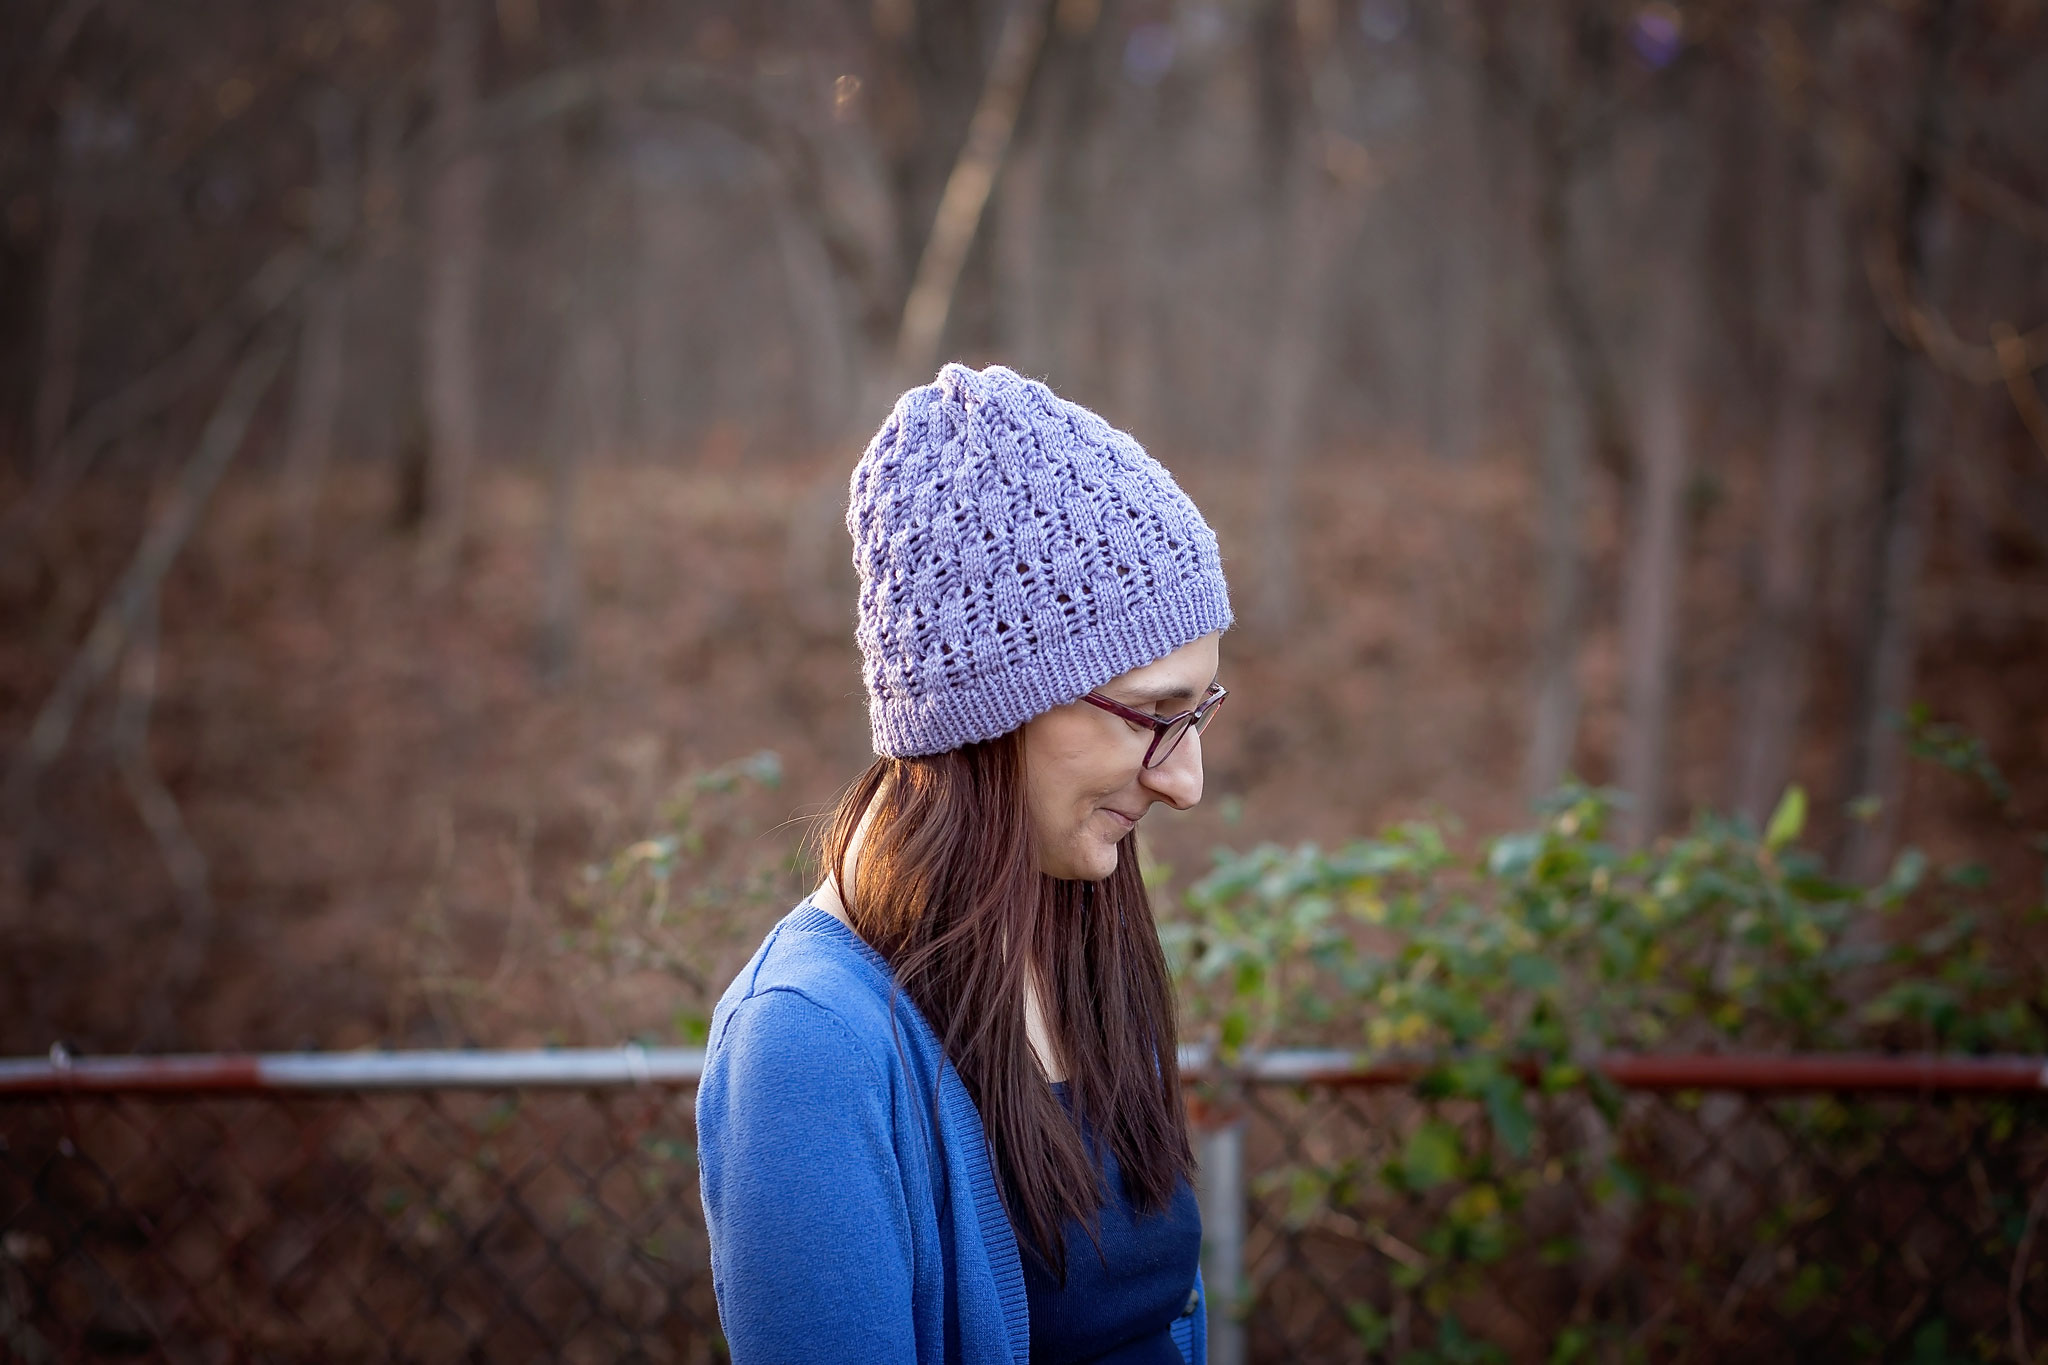
The Porter Hat is one of those patterns that gives you a little bit of texture, a little bit of lace, and a finished beanie that still feels practical enough to wear again and again.
It is simple enough for an adventurous beginner, but it still has enough going on to keep the knitting fun. If you can knit, purl, yarn over, slip stitches, and work decreases, this is a great project to try.
What materials do you need for this easy beanie knitting pattern?
For this easy beanie knitting pattern, I used Cascade 220 Superwash, which is a worsted-weight yarn that gives the lace pattern enough structure to show up nicely. It is also easy to substitute if you already have another worsted-weight yarn in your stash, but I really like how Cascade 220 Superwash works for this one.
You will need size 7 circular needles and/or DPNs, a yarn needle, a cable needle, and an optional fur pom-pom if you want to add one to the top. The pattern uses one skein of Cascade 220, and the gauge is 20 stitches by 28 rows over 4 inches.

The Porter Hat comes in newborn, baby, toddler, child, small adult, and large adult sizes, which makes it a really helpful free hat knitting pattern to keep in your saved pattern list.
I love patterns like this because once you understand the repeat, it is easy to make another one in a different size or color. A soft neutral makes it easy to wear every day, while a bright or variegated yarn gives the lace a completely different look.
How difficult is this free hat knitting pattern?
This free hat knitting pattern looks more detailed than it actually is, which is always my favorite kind of knitting project. The lace section is made with basic increases and decreases, and once you work through the repeat a few times, it starts to feel very natural.
The hat begins with 1×1 ribbing, then moves into the lace pattern before finishing with simple crown decreases. Because it is worked in the round, there is no seaming at the end, which makes the finishing nice and simple.

If you have been wanting to try lace knitting in a smaller project, this easy beanie knitting pattern is a great place to start.
A hat is much less intimidating than a large shawl or sweater, and the Porter Hat gives you that pretty lace look without turning into a long, never-ending project. It is quick enough for gift knitting but still special enough to feel like you made something beautiful.
What other free hat knitting patterns should you try next?
If you love this easy beanie knitting pattern, you may also enjoy these other free hat patterns from my blog:
• Miriam Beanie
• Sarah Beanie
• Rosebud Beanie
• Carmi Hat
• Vine Slouch Hat
These patterns are all great options if you want more hats to add to your knitting list. Some are more textured, some have lace details, and some are simple everyday beanies that are easy to reach for again and again.

The Porter Hat is a great mix of pretty and practical, which is why I think it deserves a spot in your project queue.
It works well for transitional weather, gift knitting, family sets, or using a worsted-weight yarn you already love. And since the free hat knitting pattern is written for multiple sizes, it is easy to make one for just about anyone.
Porter Hat Free Pattern
MATERIALS & INFO
Yarn – 1skein Cascade 220 (100g220yd)
Gauge – 20x28sts per 4x4in or 10x10cm
Needles – 7 (4.5mm) circular and/or dpn
Other –yarn needle, cable needle,
optional – fur pompom
Sizes – (newborn, baby), (toddler, child), (small adult, large adult)
Head Measurement – (30-35, 35-40), (40-45, 45-50), (50-55, 55-60)cms or (12-14, 14-16), (16-18, 18-20), (20-22, 22-24)ins
ABBREVIATIONS
k – knit
P – purl
sl – slip stitch
st – stitch
yo – yarn over
k2tog – knit the next 2 sts together
psso – pass slipped stitch over
Porter Hat Pattern
NEWBORN
Cast on 60 using your favorite stretchy cast on.
Join in the round.
Work in [k1, p1] ribbing for 1in (2.5cms).
Round 1 – knit around
Round 2 – [k3, yo, sl1, k2tog, psso, yo] repeat around
Round 3-8 – repeat rounds 1 and 2
Round 9 – knit around
Round 10 – [yo, sl1, k2tog, psso, k3] repeat around
Rounds 11-16 – Repeat round 9 and 10
Repeat rounds 1-16 until your work measures 4ins (10cms) ending on a round 8 or 16.
Switch to dpn when necessary.
DECREASES
Round 1 – [k2tog, k4] around (50sts)
Round 2 – knit around
Round 3 – [k2tog, k3] around (40sts)
Round 4 – knit around
Round 5 – [k2tog, k2] around (30sts)
Round 6 – knit around
Round 7 – [k2tog, k1] around (20sts)
Round 8 – [k2tog] around (10sts)
Do not bind off. Cut yarn leaving 9 -10ins. Pull yarn through remaining stitches and cinch the top tight. Weave in ends. Block as desired.
BABY
Cast on 72 using your favorite stretchy cast on.
Join in the round.
Work in [k1, p1] ribbing for 1in (2.5cms).
Round 1 – knit around
Round 2 – [k3, yo, sl1, k2tog, psso, yo] repeat around
Round 3-8 – repeat rounds 1 and 2
Round 9 – knit around
Round 10 – [yo, sl1, k2tog, psso, k3] repeat around
Rounds 11-16 – Repeat round 9 and 10
Repeat rounds 1-16 until your work measures 5ins (12.5cms) ending on a round 8 or 16.
Switch to dpn when necessary.
DECREASES
Round 1 – [k2tog, k4] around (60sts)
Round 2 – knit around
Round 3 – [k2tog, k3] around (48sts)
Round 4 – knit around
Round 5 – [k2tog, k2] around (36sts)
Round 6 – knit around
Round 7 – [k2tog, k1] around (24sts)
Round 8 – [k2tog] around (12sts)
Round 9 – [k2tog] around (6sts)
Do not bind off. Cut yarn leaving 9 -10ins. Pull yarn through remaining stitches and cinch the top tight. Weave in ends. Block as desired.
TODDLER
Cast on 78 using your favorite stretchy cast on.
Join in the round.
Work in [k1, p1] ribbing for 1in (2.5cms).
Round 1 – knit around
Round 2 – [k3, yo, sl1, k2tog, psso, yo] repeat around
Round 3-8 – repeat rounds 1 and 2
Round 9 – knit around
Round 10 – [yo, sl1, k2tog, psso, k3] repeat around
Rounds 11-16 – Repeat round 9 and 10
Repeat rounds 1-16 until your work measures 6ins (15cms) ending on a round 8 or 16.
Switch to dpn when necessary.
DECREASES
Round 1 – [k2tog, k4] around (65sts)
Round 2 – knit around
Round 3 – [k2tog, k3] around (52sts)
Round 4 – knit around
Round 5 – [k2tog, k2] around (39sts)
Round 6 – knit around
Round 7 – [k2tog, k1] around (26sts)
Round 8 – [k2tog] around (13sts)
Round 9 – [k2tog] around to last st, k1 (7sts)
Do not bind off. Cut yarn leaving 9 -10ins. Pull yarn through remaining stitches and cinch the top tight. Weave in ends. Block as desired.
CHILD
Cast on 90 using your favorite stretchy cast on.
Join in the round.
Work in [k1, p1] ribbing for 1.25ins (3cms).
Round 1 – knit around
Round 2 – [k3, yo, sl1, k2tog, psso, yo] repeat around
Round 3-8 – repeat rounds 1 and 2
Round 9 – knit around
Round 10 – [yo, sl1, k2tog, psso, k3] repeat around
Rounds 11-16 – Repeat round 9 and 10
Repeat rounds 1-16 until your work measures 7ins (17.5cms) ending on a round 8 or 16.
Switch to dpn when necessary.
DECREASES
Round 1 – [k2tog, k4] around (75sts)
Round 2 – knit around
Round 3 – [k2tog, k3] around (60sts)
Round 4 – knit around
Round 5 – [k2tog, k2] around (45sts)
Round 6 – knit around
Round 7 – [k2tog, k1] around (30sts)
Round 8 – [k2tog] around (15sts)
Round 9 – [k2tog] around to last st, k1 (8sts)
Do not bind off. Cut yarn leaving 9 -10ins. Pull yarn through remaining stitches and cinch the top tight. Weave in ends. Block as desired.
SMALL ADULT
Cast on 102 using your favorite stretchy cast on.
Join in the round.
Work in [k1, p1] ribbing for 1.25ins (3cms).
Round 1 – knit around
Round 2 – [k3, yo, sl1, k2tog, psso, yo] repeat around
Round 3-8 – repeat rounds 1 and 2
Round 9 – knit around
Round 10 – [yo, sl1, k2tog, psso, k3] repeat around
Rounds 11-16 – Repeat round 9 and 10
Repeat rounds 1-16 until your work measures 8ins (20cms) ending on a round 8 or 16.
Switch to dpn when necessary.
DECREASES
Round 1 – [k2tog, k4] around (85sts)
Round 2 – knit around
Round 3 – [k2tog, k3] around (68sts)
Round 4 – knit around
Round 5 – [k2tog, k2] around (51sts)
Round 6 – knit around
Round 7 – [k2tog, k1] around (34sts)
Round 8 – [k2tog] around (17sts)
Round 9 – [k2tog] around to last st, k1 (9sts)
Do not bind off. Cut yarn leaving 9 -10ins. Pull yarn through remaining stitches and cinch the top tight. Weave in ends. Block as desired.
LARGE ADULT
Cast on 108 using your favorite stretchy cast on.
Join in the round.
Work in [k1, p1] ribbing for 1.25ins (3cms).
Round 1 – knit around
Round 2 – [k3, yo, sl1, k2tog, psso, yo] repeat around
Round 3-8 – repeat rounds 1 and 2
Round 9 – knit around
Round 10 – [yo, sl1, k2tog, psso, k3] repeat around
Rounds 11-16 – Repeat round 9 and 10
Repeat rounds 1-16 until your work measures 9ins (22.5cms) ending on a round 8 or 16.
Switch to dpn when necessary.
DECREASES
Round 1 – [k2tog, k4] around (90sts)
Round 2 – knit around
Round 3 – [k2tog, k3] around (72sts)
Round 4 – knit around
Round 5 – [k2tog, k2] around (54sts)
Round 6 – knit around
Round 7 – [k2tog, k1] around (36sts)
Round 8 – [k2tog] around (18sts)
Round 9 – [k2tog] around (9sts)
Do not bind off. Cut yarn leaving 9 -10ins. Pull yarn through remaining stitches and cinch the top tight. Weave in ends. Block as desired.

Have you knit a lace beanie before, or would this be your first one? I would love to hear what color you would choose for your Porter Hat in the comments.
Disclaimer: This page contains affiliate links. If you choose to make a purchase after clicking a link, I may receive a commission at no additional cost to you. Thank you for your support!