
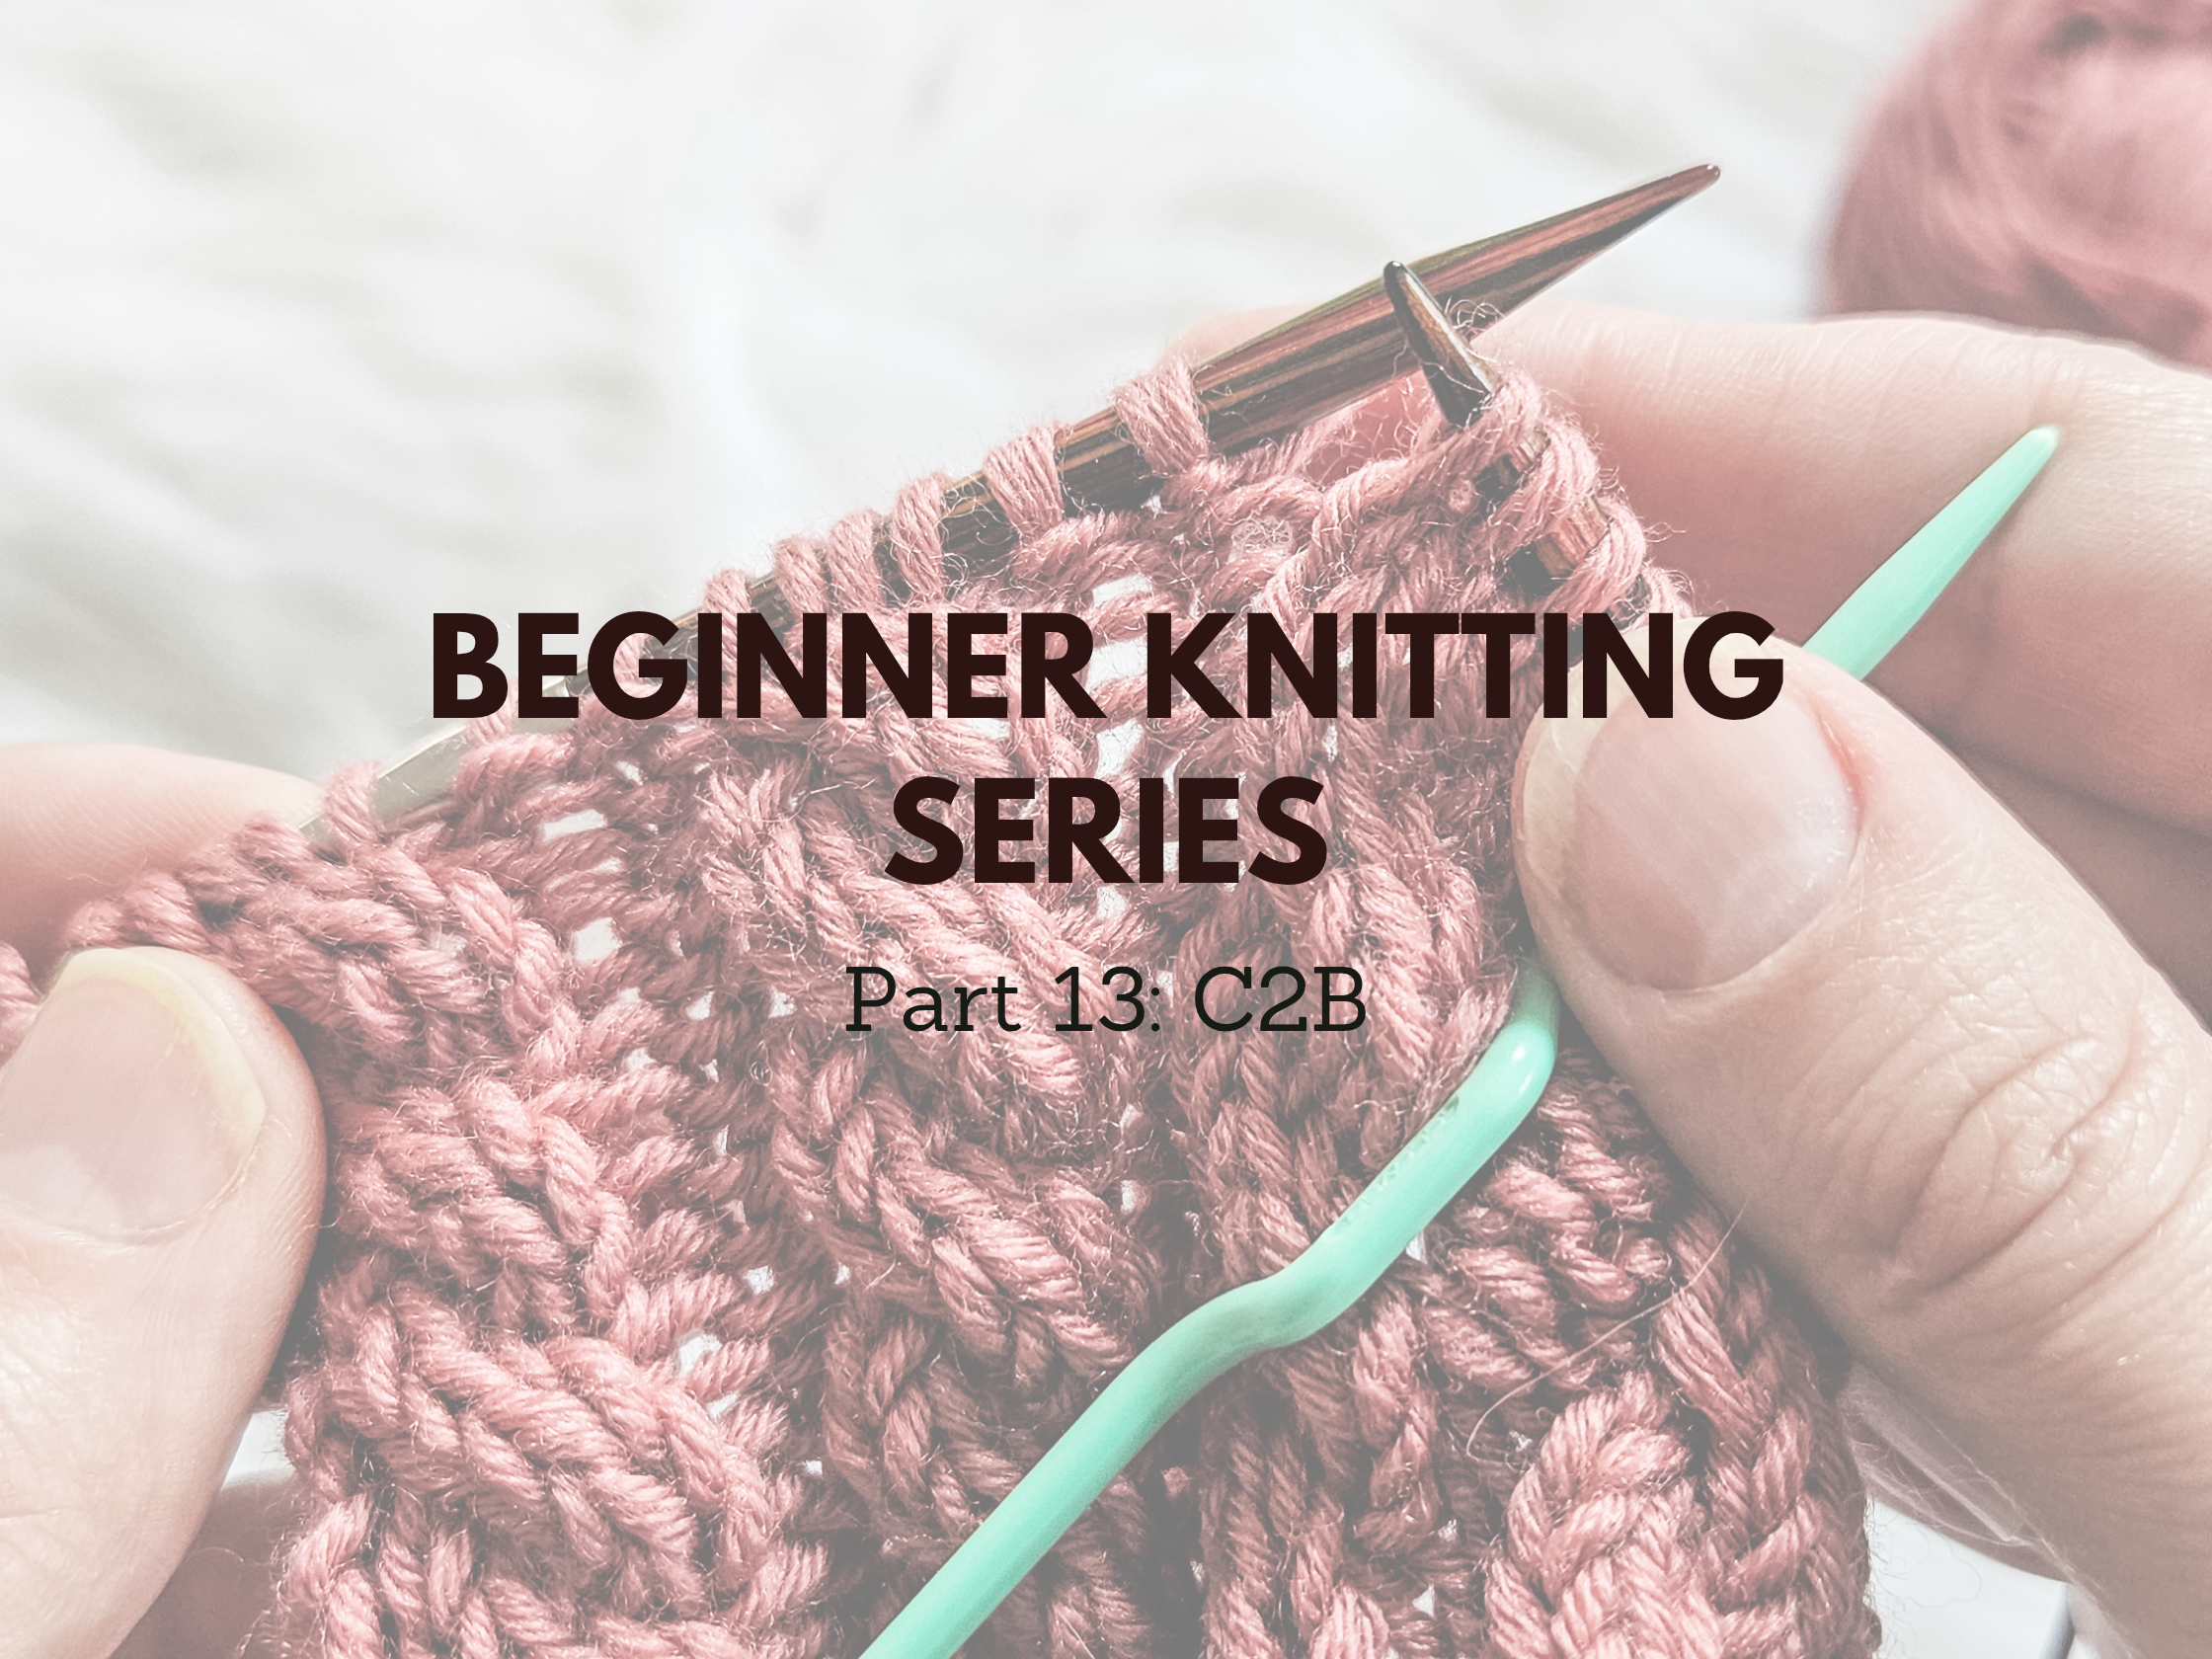
Curious about cables? Learn how to do the C2B stitch in this step-by-step guide! Master this simple cable twist with my easy tutorial and check out more knitting techniques on my knitting tutorial page.

Introducing the C2B Stitch
Cables might look fancy, but trust me, they’re much easier than they seem! In this installment of my Beginner Knitting Series, I’m going to teach you how to do the C2B stitch, a simple four-stitch cable that creates a subtle yet elegant texture. Whether you’re adding decorative elements to a hat, scarf, or sweater, mastering this stitch will open the door to more intricate cable designs.
For this tutorial, I used Premier Yarns Everyday Anti-Pilling (affiliate link), a smooth and soft yarn perfect for beginners, and my trusty Knit Picks Needles (affiliate link). I also have a left-handed video tutorial up on YouTube for all my fellow lefty knitters!
Let’s dive in and learn how to do the C2B stitch step by step!
What is the C2B Stitch?
Before we get into the nitty-gritty, let’s talk about what this stitch actually means. “C2B” stands for “Cable 2 Back,” which is a small, 4-stitch cable. Unlike larger cables that require many stitches crossing over each other, the C2B is a beginner-friendly way to introduce texture into your knitting.
Here’s what happens when you work a C2B:
- You slip two stitches onto a cable needle and hold it at the back of your work.
- You knit the next two stitches on your left-hand needle.
- Then, you knit the stitches from the cable needle.
This creates a subtle right-leaning twist that’s perfect for ribbing, decorative edges, and simple cable motifs.
When is the C2B Stitch Used?
If you’ve ever admired cables in knitting patterns, you’ve probably already seen how to do the C2B stitch in action. It’s commonly used in:
- Textured scarves and cowls – A simple way to add visual interest without overwhelming a project.
- Sweaters and cardigans – Used in panels or as a design element along sleeves.
- Hats and beanies – Gives a delicate twist effect that adds a bit of flair.
- Socks and mittens – Perfect for adding tiny cable details that don’t interfere with stretch.
Since the C2B stitch only involves 4 stitches, it’s one of the easiest cable techniques to master. It’s a great stepping stone before tackling more complex cables!
How to Do the C2B Stitch Step-by-Step
Now, let’s go through how to do the C2B stitch with clear written instructions. Grab your Premier Yarns Everyday Anti-Pilling (affiliate link) and your Knit Picks Needles (affiliate link) and follow along!
Written Instructions for the C2B Stitch
Knit to the point where you need to make the C2B stitch.
Slip the first 2 stitches onto a cable needle and hold it at the back of your work.

Knit the next 2 stitches on your left-hand needle as usual.

Knit the 2 stitches from the cable needle.

Continue knitting according to your pattern.
That’s it! You’ve just done it! With practice, you’ll be able to do this without even thinking about it.
Tips for Mastering the C2B Stitch
Even though the C2B stitch is simple, here are a few tips to make it even easier:
- Use a cable needle with a slight bend to prevent stitches from slipping off.
- Practice on a swatch before adding cables to a bigger project.
- Keep your tension even so the stitches don’t look too tight or too loose.
- If you don’t have a cable needle, you can use a double-pointed needle in a pinch!
If you’re still struggling with how to do the C2B stitch, don’t worry—I have a left-handed video tutorial on YouTube that shows it step by step!
Left-Handed Video Tutorial
I know that left-handed knitters sometimes get left out when it comes to tutorials, which is why I made sure to create a left-handed video tutorial for how to do the C2B stitch. If you’re a lefty, check it out for a clear, slow-motion breakdown of the stitch!
This tutorial is part of my Beginner Knitting Series, so if you’re just starting out, make sure to watch the other videos too!
Common Mistakes and How to Fix Them
Learning how to do the C2B stitch is easy, but sometimes little mistakes can happen. Here’s how to troubleshoot:
- Dropped Stitches: If you accidentally drop a stitch while transferring it to the cable needle, use a crochet hook to pick it up.
- Twists Going the Wrong Way: Double-check that you’re holding the cable needle at the back of your work for the C2B.
- Tight Stitches: Try knitting more loosely or using a slightly larger needle size.
The more you practice, the more natural this stitch will feel!
Practice Pattern Using the C2B Stitch
Now that you know how to do the C2B stitch, let’s put it into practice with a small swatch:
Materials:
- Premier Yarns Everyday Anti-Pilling (affiliate link)
- Knit Picks Needles (affiliate link)
- Cable needle (affiliate link)
Pattern:
Cast on 20 stitches.
Row 1: Knit across.
Row 2: Purl across.
Row 3: K2, *C2B, K2; repeat from * across.
Row 4: Purl across.
Repeat Rows 1-4 until the swatch measures about 4 inches.
This is a great way to get comfortable with how to do the C2B stitch before incorporating it into a bigger project!
Final Thoughts
I hope this tutorial helped you learn how to do the C2B stitch with confidence! Cables are a fun way to add depth and detail to your knitting, and starting with small twists like the C2B will build your skills for more advanced patterns.
Have you tried this stitch before? Drop a comment below and let me know how it went! And if you have any questions, I’d love to help.
Happy knitting!
Affiliate Disclosure: This post contains affiliate links, which means I may earn a small commission if you make a purchase through them at no extra cost to you. Thank you for supporting my blog!
Comments are closed.