
Learn how to bind off knitting the easy way in Part 15 of my beginner series! Find more tutorials on my Knitting Tutorial Page.

Let’s Talk About How to Bind Off Knitting Knitwise
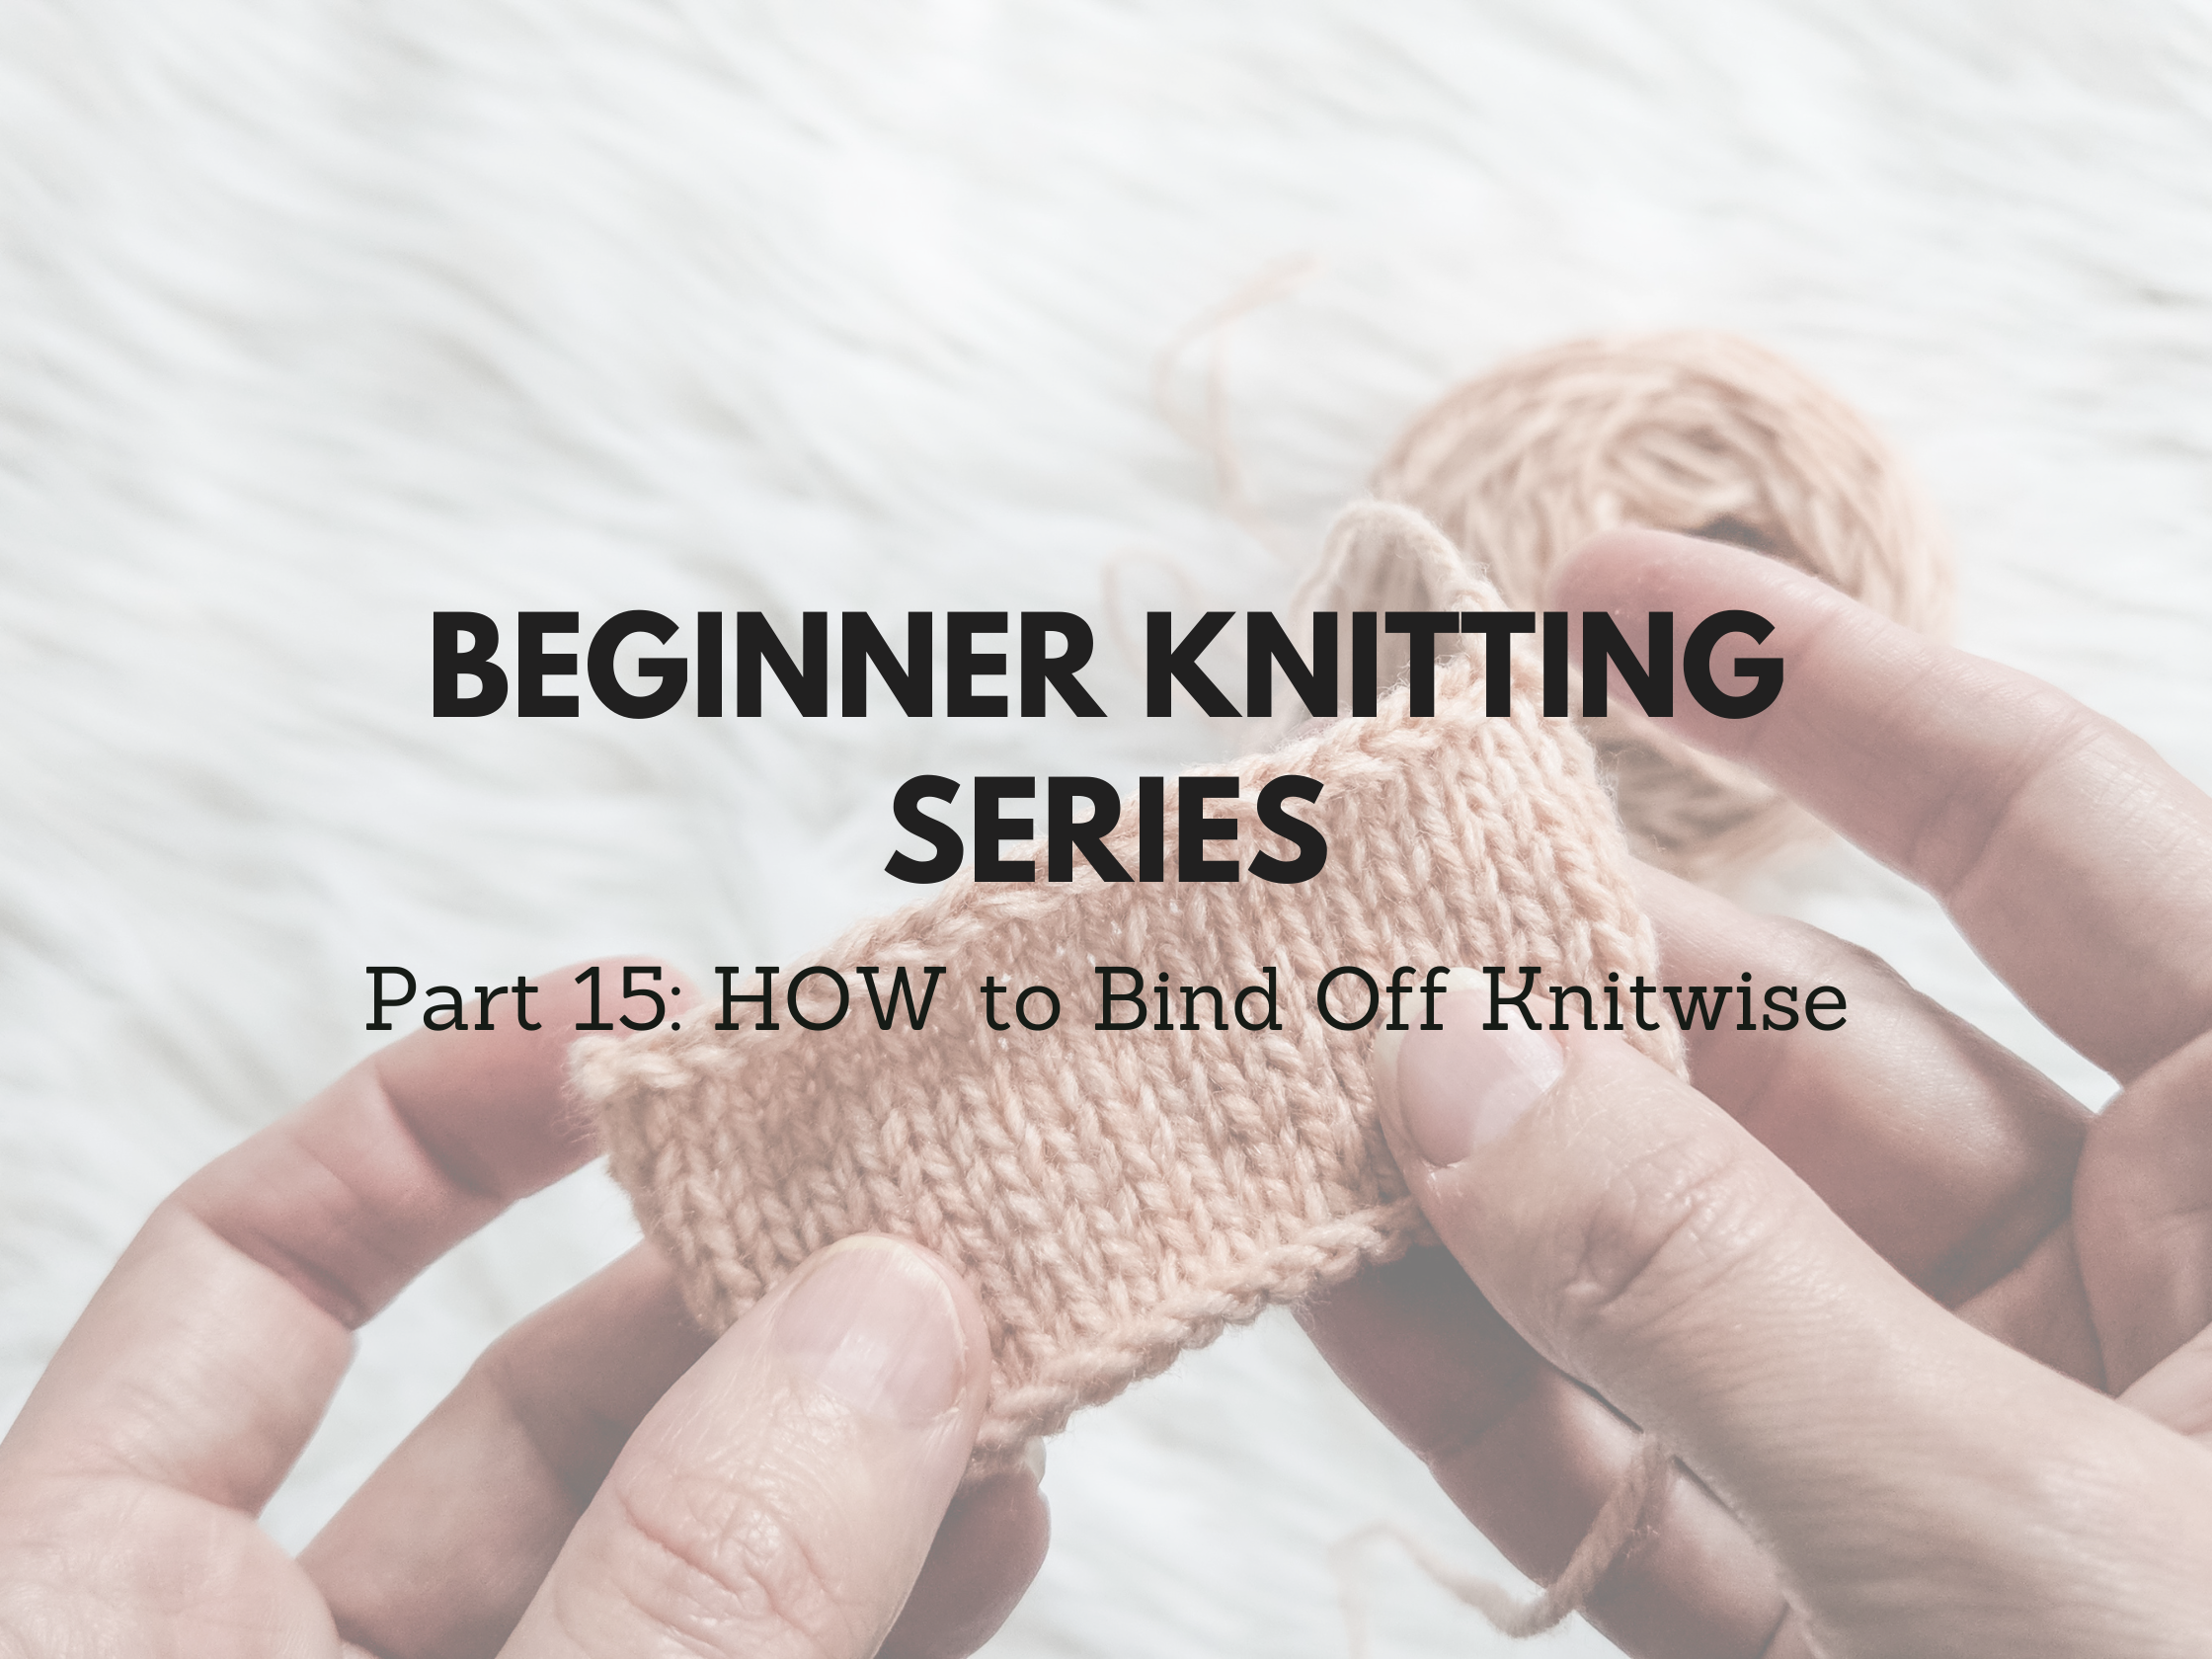
Welcome to Part 15 of my Beginner Knitting Series! If you’ve been following along, you’ve already learned how to cast on, knit, purl, increase, decrease, and more. Now, it’s time for something that feels so satisfying—the grand finale of any project: learning how to bind off knitting. Specifically, we’re going to talk about the knitwise bind off, also sometimes just called the standard bind off. It’s the method I reach for most often, especially when finishing flat pieces like scarves, dishcloths, or the body of a sweater before adding sleeves.
If you’re itching to cast off your project with confidence (and not lose any stitches in the process), this is the perfect place to start.
What Is a Knitwise Bind Off?
Before we get into how to bind off knitting knitwise, let’s talk about what it actually is. Binding off (also called casting off) is the process that secures your stitches so your knitting doesn’t unravel. A knitwise bind off just means you’re knitting the stitches as you bind them off. It creates a neat, firm edge that matches the look of your knit rows.
This method is ideal for most flat projects and leaves you with a clean edge that won’t curl like a purl bind off sometimes can. Once you’ve mastered how to bind off knitting using this method, it’ll become second nature.
When Do You Use a Knitwise Bind Off?
You’ll want to use the knitwise bind off anytime you’re ending a row of knitting that’s been done in stockinette or garter stitch. If your last row was a knit row, then binding off knitwise helps maintain the look and structure of your fabric. It’s great for scarves, blanket squares, dishcloths, and the bottom of a sweater body before seaming.
I used this technique recently while working on a sweet little baby blanket knit in KnitPicks Heatherly Sport (affiliate link), and the edge looked perfectly crisp and tidy.
Materials I Used for This Tutorial
In the tutorial photos and video, I’m using KnitPicks Heatherly Sport yarn (affiliate link), a super-soft yarn that works beautifully for baby items, sweaters, and accessories. If you haven’t tried it yet, it’s a cozy and bouncy yarn that makes every stitch look so polished. I used size US 5 (3.75 mm) knitting needles for my swatch, but of course, you’ll use whatever your pattern calls for.
Written Instructions: How to Bind Off Knitting Knitwise
Ready to do it? Here’s how to bind off knitting the knitwise way:
Knit the first two stitches on your row just like normal.

Using your left needle, lift the first stitch you knit (the one farthest from the tip) over the second stitch and off the needle.


You now have one stitch on your right needle.
Knit one more stitch, then repeat the lifting step.

Continue this pattern until you have just one stitch left on your right needle.

Cut your yarn, leaving a 6-inch tail, and pull it through that last stitch to secure it.


And that’s it! You’ve just learned how to bind off knitting using the knitwise method. Give yourself a little cheer—you’re officially ready to finish off all kinds of projects now!
Watch the Left-Handed Video Tutorial
As always, I’ve got my lefties covered! I filmed a video tutorial showing exactly how to bind off knitting for left-handed knitters. You’ll see every step clearly demonstrated in real time with helpful angles and tips. If you’ve been following my left-handed knitting YouTube series, you know I keep things easy to follow without rushing.
You can watch the video tutorial below.
Troubleshooting Common Bind Off Issues
If you’re new to learning how to bind off knitting, there are a few hiccups you might run into, and I want to help you avoid them.
- Too tight? Try using a knitting needle one size larger just for the bind off row.
- Too loose? It might just be your tension—try pulling your working yarn slightly more snug between stitches.
- Wobbly edge? Make sure each lift-over is neat and smooth. Avoid pulling sideways or yanking too hard on the stitches.
The more you practice how to bind off knitting, the easier it becomes to get that Goldilocks tension—not too tight, not too loose, but just right.
Tips for Beginners Learning How to Bind Off Knitting
When I first learned how to bind off knitting, I’ll admit I had to frog a few rows (okay, more than a few) to get the edge looking right. But these quick tips helped me level up my bind-off game:
- Practice on a swatch first. Don’t risk your final row on a big project until you feel comfy with the movement.
- Keep an eye on your rhythm. Once you get into the knit, lift, knit, lift rhythm, it’s almost meditative.
- Don’t rush the last stitch. Pulling the tail through with a tug is tempting, but a gentle pull makes a cleaner finish.
Other Ways to Bind Off—and When Not to Use Knitwise
While we’re here, it’s worth noting there are several ways to finish off your knitting. Knowing how to bind off knitting knitwise is a solid foundation, but it’s not always the best fit for every project.
- Need a stretchier edge? Try the stretchy bind off or the Italian Bind Off.
- Working on lace? A picot or sewn bind off may give a prettier edge.
- Need an invisible finish? Grafting or a tubular bind off might be better.
I always recommend learning how to bind off knitting multiple ways so you can choose the one that best suits your project. But knitwise is where most knitters begin—and honestly, it gets the job done beautifully for the majority of patterns.
Let’s Recap: Why Knitwise Bind Off Rocks
So far, we’ve covered a lot, but here’s a quick recap of why the knitwise bind off is such a go-to:
- It’s easy to learn, even for total beginners.
- It creates a firm, clean edge.
- It matches stockinette and garter stitch well.
- It’s perfect for flat pieces and easy seams.
Knowing how to bind off knitting using this method means you’re just a few stitches away from a finished project every time. And honestly? There’s nothing more satisfying than that final snip of the yarn when you’re done.
Your Turn: Practice How to Bind Off Knitting!
Ready to try it yourself? Grab a swatch, cast on about 20 stitches, and practice how to bind off knitting knitwise until it feels second nature. I’d love to hear how it goes—drop a comment below if this tutorial helped you, or if you ran into any hiccups I can help with!
And don’t forget—if you’re looking for more tutorials like this one, head over to my Knitting Tutorial Page. I’ve got tons of left-handed videos, beginner guides, and step-by-step instructions just like this to help you grow your skills with confidence and joy.
Got Questions About How to Bind Off Knitting?
Have questions, funny first-time bind-off stories, or a finished project you’re proud of? Let’s chat in the comments! I’d love to hear what you’re working on and help out if anything still feels fuzzy. Whether you’re binding off your very first scarf or finishing your fiftieth hat, I’m cheering you on every stitch of the way.
This post contains affiliate links. That means I may earn a small commission (at no extra cost to you) if you choose to buy through one of the links I’ve shared. I only recommend products I use and love. Thanks for supporting my blog!
Comments are closed.