
This Free Men’s Striped Sweater Knitting Pattern is a go-to if you’re looking for something classic, wearable, and actually enjoyable to knit—and it pairs perfectly with other free sweater knitting patterns you can come back to again and again.
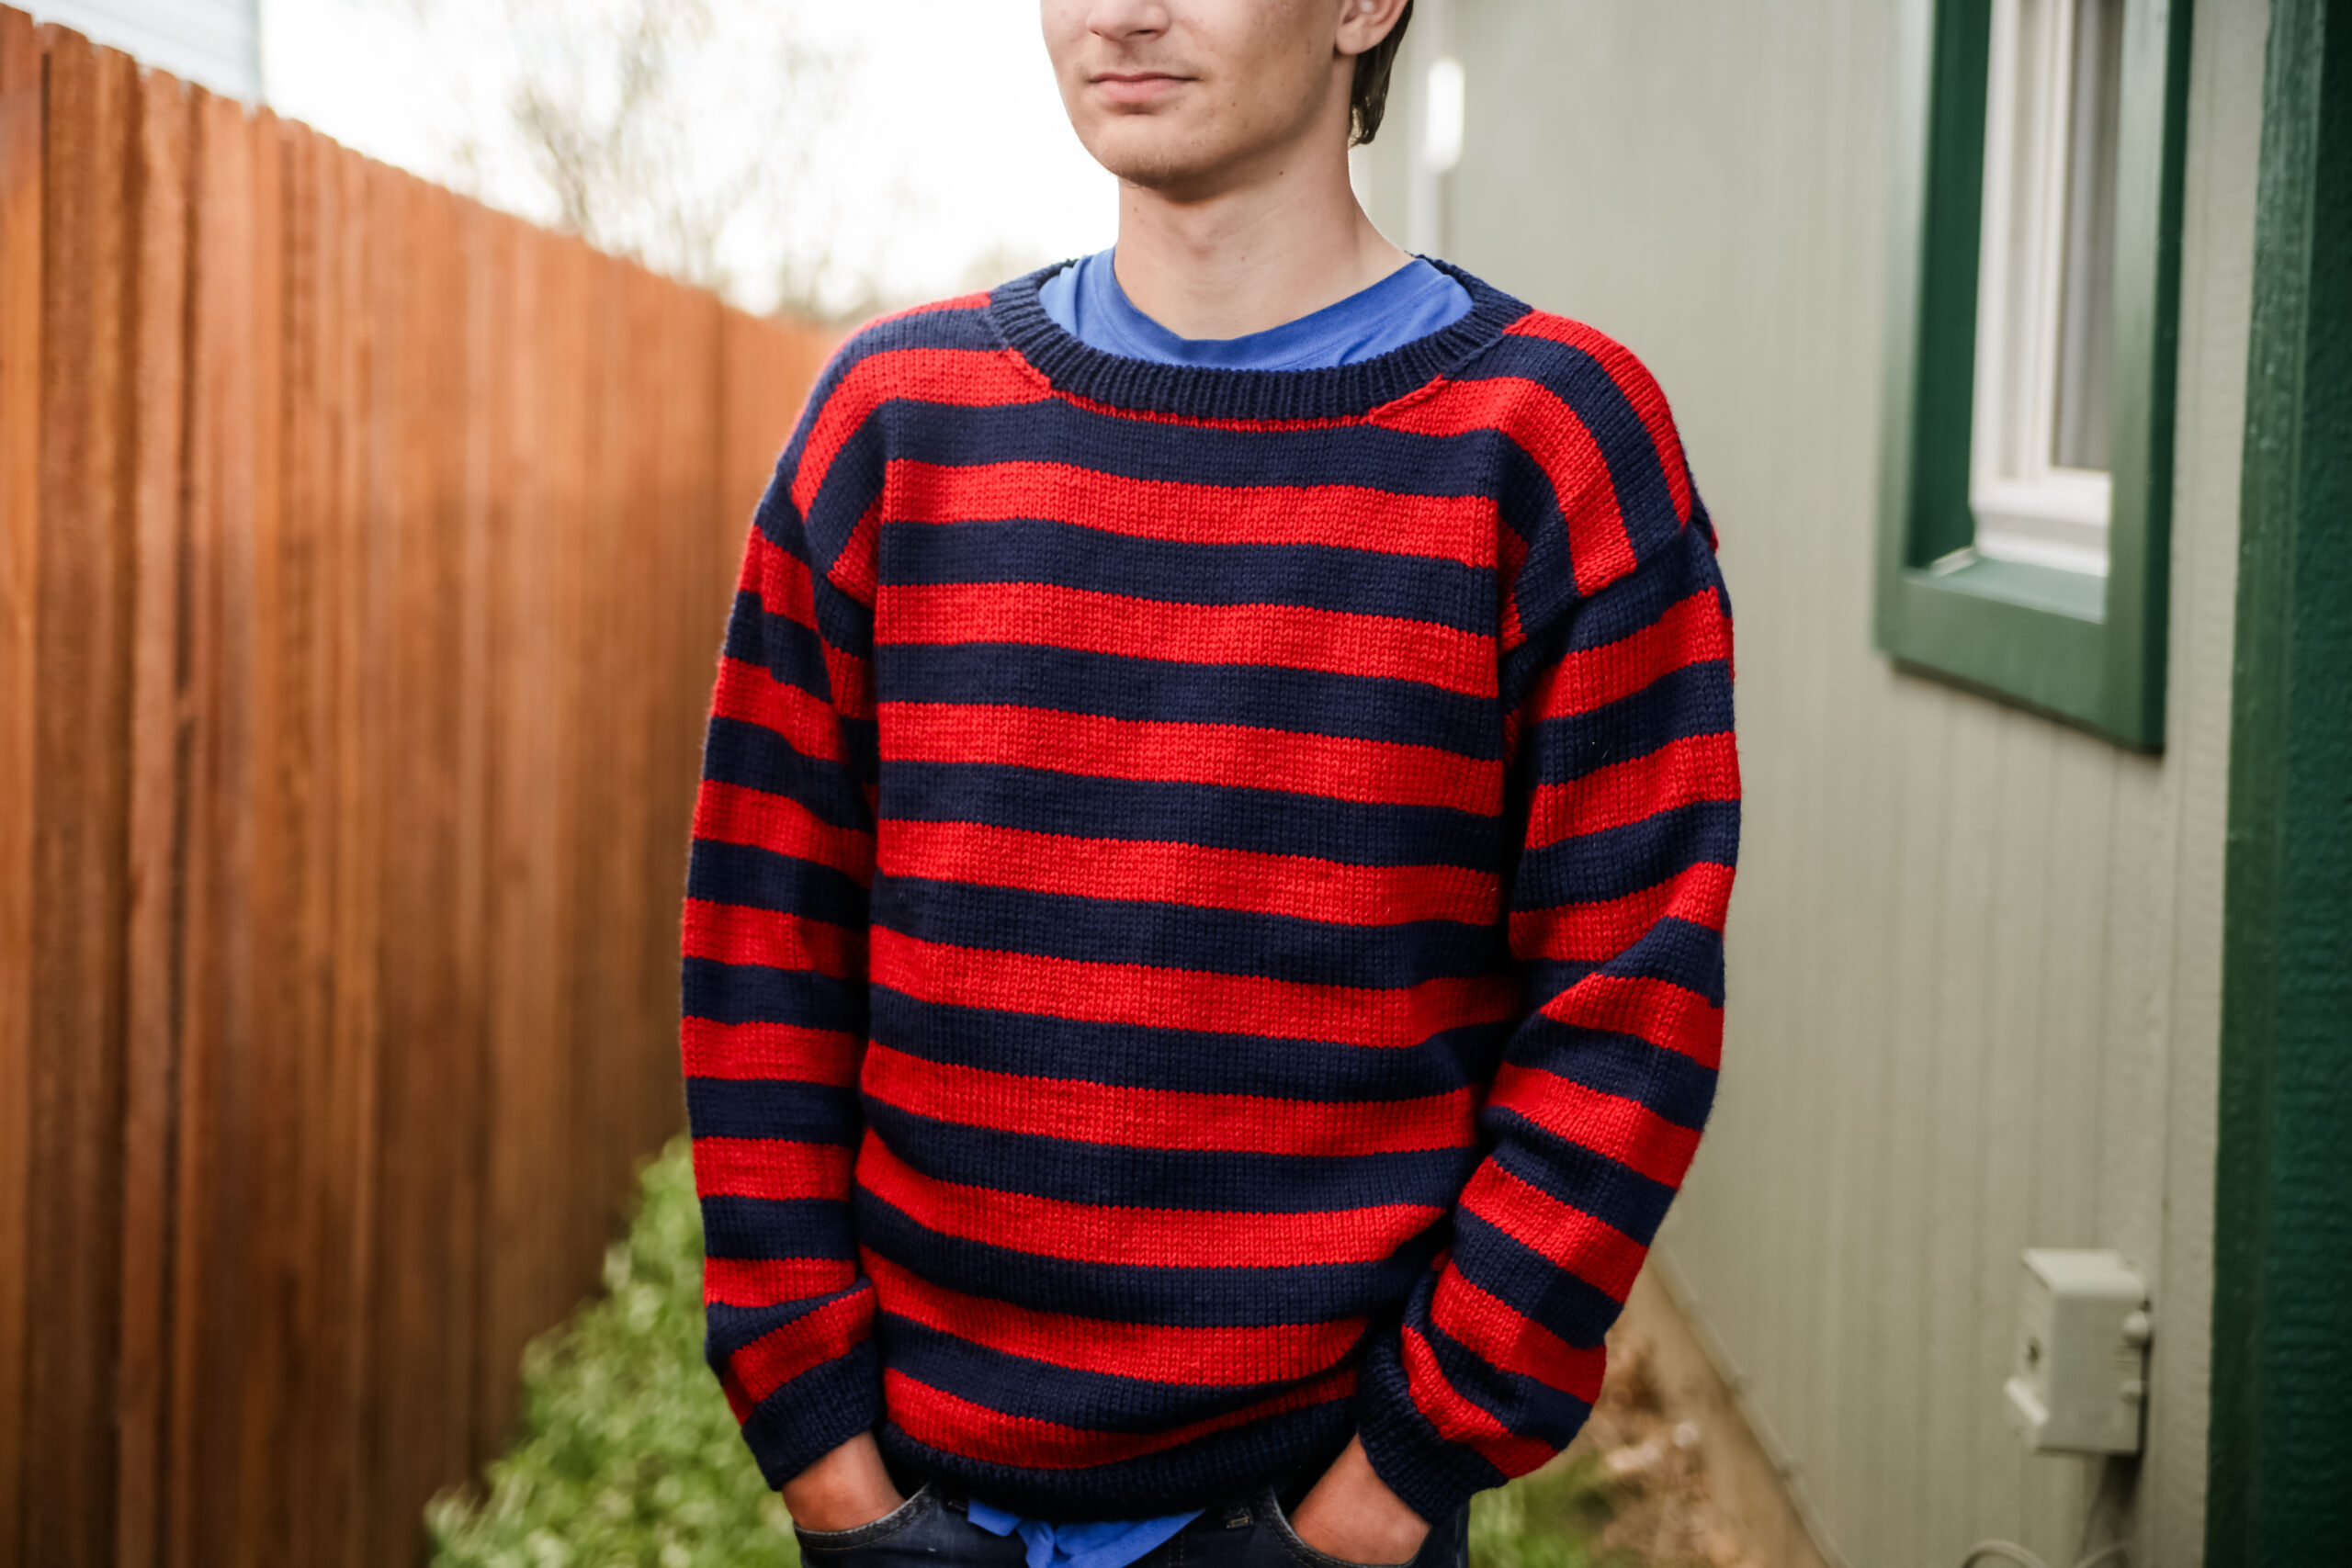
If you’ve ever wanted to knit a men’s sweater that doesn’t feel overly complicated but still looks polished, this is exactly what you need. This Free Men’s Striped Sweater Knitting Pattern keeps things simple with a relaxed drop sleeve fit, clean crew neckline, and easy stripe repeat that keeps your hands moving without constant checking.

If you’ve been putting off knitting a sweater because it feels overwhelming, this is a great place to start.
It breaks everything down into manageable sections so you can actually enjoy the process.
The stripes keep things interesting without adding stress, and the fit is one you’ll reach for constantly.
It’s the kind of project that looks impressive but feels totally doable.
What materials do you need for this Free Men’s Striped Sweater Knitting Pattern?
For this Free Men’s Striped Sweater Knitting Pattern, I used Berroco Vintage, which is one of my favorite yarns for garments. It has just the right balance of softness and durability, so your finished sweater holds its shape while still feeling great to wear. The wool blend also makes it easy to care for, which is a huge win for everyday pieces.
You’ll also need circular needles in two sizes for the ribbing and body, plus your usual basics like stitch markers and a yarn needle. The stripe pattern uses a main color and a contrast color, so you can really make it your own depending on your color choices.

Once you have your materials ready, everything else flows smoothly.
It’s a straightforward setup that lets you focus on the knitting itself.
How does the Free Men’s Striped Sweater Knitting Pattern come together?
This Free Men’s Striped Sweater Knitting Pattern is worked bottom-up and flat, which makes it easy to manage each section as you go. The drop sleeve construction keeps shaping simple, so you’re mostly working straight pieces before seaming everything together at the end.
The stripes are worked in an easy repeat, so once you get going, it becomes a rhythm you don’t have to think about too much. The neckline shaping is clear and approachable, even if you haven’t done a lot of garment knitting before.

Take your time with each section and focus on consistency, especially with your stripes.
By the time you’re finishing, you’ll feel confident tackling another sweater.
Looking for more free sweater knitting patterns to try next?
If you enjoy this style, there are so many other free sweater knitting patterns you can explore:
• Men’s Granite Sweater
• Ladies Michael Sweater
• Child Dathan Sweater
• Youth Granite Sweater
• Youth Peter Sweater
Each one has its own texture and construction style, so you can try different techniques while still making pieces you’ll actually wear. Some focus on simple knit and purl textures, while others introduce subtle structure without making things feel complicated.

If you loved working stripes, you’ll find plenty of ways to build on those skills in other designs.
And if you’re just getting into sweaters, this is a great starting point before branching out.
Men’s Nick Sweater Free Pattern
Size: XS, S (M, L) XL, XXL (2X, 3X)
Materials: Approximately 4, 4 (4, 5) 5, 6 (6, 7) balls of mc Berroco Vintage 217yds/100g, 4, 4 (4, 5) 5, 5 (6, 7) balls of cc Berroco Vintage 217yds/100g, yarn needle, stitch markers
Needle Size: 7(US) 4.5mm circular needles, 6(US) 4mm circular
Gauge (tension): 20sts & 28 rows to make 10cm square, using size 7(US) 4.5mm needles working in stockinette stitch
Chest Measurement: 88, 92 (100, 108) 116, 124 (128, 138) cm
METHOD
Nick Sweater is a bottom-up pullover with drop sleeves in an easy-care yarn. It is worked flat. Created for our 1st child. He picked the colors and the stripes, and I made it a reality. And now the pattern is available for you for you to create.
Abbreviations can be found on the last page.
Note: choose size based on bust measurement for best fit
1X1 RIB PATTERN
Row 1 (right side row) – (k1, p1) across
Row 2 – knit all the knit stitches, purl all the purl stitches.
BACK
Cast on using smaller circular needle and mc: 104, 108 (116, 120) 128, 136 (142, 150) sts. Join in the round.
Work in 1×1 ribbing for 4cms.
Switch to larger needles and join cc.
Work in 8 row stripes until piece measures 46, 46 (46.5, 46.5) 46.5, 46.5 (47, 47) cm measuring from cast on or desired length.
Place stitch marker on both ends of this row.
Continue without shaping until work measures 67.5, 67.5 (69.5, 70.5) 71.5, 72.5 (73, 74.5) cms
SHAPE BACK SHOULDERS
Bind off 9, 10 (11, 11) 12, 13 (14, 17) sts at beginning of the next 2 rows.
Bind off 9, 10 (11, 11) 12, 13 (14, 17) sts at beginning of row, k12, 12 (13, 14) 15, 16 (17, 20) [13, 13 (14, 15) 16, 17 (18, 21) sts on right needle].
Put remaining unworked sts on stitch holder.
Turn, bind off 3sts, work to end of row.
Turn, bind off remaining 10, 10 (11, 12) 13, 14 (15, 18) sts
With right side facing, rejoin yarn to stitches on hold, bind off 42, 42 (44, 46) 48, 50 (50, 50) knit remaining 22, 23 (25, 26) 28, 30 (32, 38) sts.
Turn, bind off 9, 10 (11, 11) 12, 13 (14, 17) sts
Turn, bind off 3sts
Turn, bind off 10, 10 (11, 12) 13, 14 (15, 18) sts
FRONT
Cast on using smaller circular needle and mc: 104, 108 (116, 120) 128, 136 (142, 150) sts. Join in the round.
Work in 1×1 ribbing for 4cms.
Switch to larger needles and join cc.
Work in 8 row stripes until piece measures 46, 46 (46.5, 46.5) 46.5, 46.5 (47, 47) cm measuring from cast on or desired length.
Place stitch marker on both ends of this row.
Continue without shaping until work measures 60, 60.5 (62, 62.5) 63.5, 63.5 (64, 65.5) cms
LEFT FRONT NECK SHAPING
Work 38, 40 (43, 44) 48, 51 (54, 63) sts, put remaining sts on holder, turn.
Decrease 1 st at neck edge of next and following 6 rows.
Then decrease 1 st at neck edge of each right-side row 3 times.
Then decrease 1 st at neck edge of every other right-side row 1, 1 (1, 1) 2, 2 (2, 2) times.
28, 30 (33, 34) 37, 40 (43, 52) sts remain.
Continue without shaping until work measures 67.5, 67.5 (69.5, 70.5) 71.5, 72.5 (73, 74.5) cms
LEFT FRONT SHOULDER SHAPING
Starting on a right-side row, bind off 9, 10 (11, 11) 12, 13 (14, 17) sts, turn.
Bind off 9, 10 (11, 11) 12, 13 (14, 17) turn.
Bind off remaining, 10, 10 (11, 12) 13, 14 (15, 18) sts.
RIGHT FRONT NECK SHAPING
Rejoin yarn to work on stitch holder.
Bind off 28, 28 (30, 32) 32, 34 (34, 34) sts for the center front, work across remainder of row.
Decrease 1 st at neck edge of next and following 6 rows.
Then decrease 1 st at neck edge of each right-side row 3 times.
Then decrease 1 st at neck edge of every other right-side row 1, 1 (1, 1) 2, 2 (2, 2) times.
28, 30 (33, 34) 37, 40 (43, 52) sts remain.
Continue without shaping until work measures 67.5, 67.5 (69.5, 70.5) 71.5, 72.5 (73, 74.5) cms
RIGHT FRONT SHOULDER SHAPING
Starting on a wrong side row, bind off 9, 10 (11, 11) 12, 13 (14, 17) sts, turn.
Bind off 9, 10 (11, 11) 12, 13 (14, 17) turn.
Bind off remaining, 10, 10 (11, 12) 13, 14 (15, 18) sts.
SLEEVES (MAKE 2)
With smaller needles, cast on 60, 62 (62, 64) 64, 64 (66, 66) sts.
Work for 4cms in 1×1 ribbing.
Change to larger needles and begin working in stockinette stitch and 8 row stripes.
SLEEVE SHAPING TO UNDER ARM
Work 2 rows.
Next row –
Increase 1 sts at each end of every following 4th row 0, 0 (6, 8) 12, 17 (18, 26) times.
Then increase 1 st at each end of every following 6th row 9, 13 (13, 12) 10, 7 (7, 1) times.
Then increase 1 st at each end of every following 8th row 6, 3 (0, 0) 0, 0 (0, 0) times.
90, 94 (100, 104) 108, 112 (114, 120) sts
Continue in stockinette stitch until sleeve measures 45.5, 45.5 (46.5, 47.5) 49, 49.5 (50, 50) or desired length) measuring from cast on finishing after completing a wrong side row.
Bind off all stitches.
NECKBAND
Sew shoulder seams.
With smaller needles and MC pick up and knit 19, 19 (19, 20) 20, 22 (22, 22) sts down left front, 28, 28 (30, 32) 34, 34 (34, 34) sts along center front, 19, 19 (19, 20) 20, 22 (22, 22) sts up right front, 48, 48 (50, 52) 54, 56 (56, 56) sts around back.
Join in the round. 114, 114 (118, 124) 128, 134 (134, 134) sts
Work in k1p1 pattern until the neck measures 2.5cms.
Bind off in pattern.
FINISHING
Sew remaining seams, weave in all ends and block as desired.
Stitch Key
K – knit
P – purl
PM – place marker
SM – slip marker
MC – main color
CC – contrast color
K2tog -knit 2 stitches together
SSK – slip, slip, knit the slipped sts together
M1L – With left needle pick up strand between 2 stitches front to back. Knit through back loop
M1R – With left needle pick up strand between 2 stitches back to front. Knit through front loop

Have you tried this Free Men’s Striped Sweater Knitting Pattern yet? I’d love to hear what colors you picked or who you’re knitting it for—leave a comment and let me know!
Disclaimer: This post may contain affiliate links. If you choose to make a purchase, I may earn a small commission at no extra cost to you.