
This turtleneck sweater knitting pattern is a simple and stylish option for kids, and it fits right in with all my favorite free sweater knitting patterns.
If you’ve ever wanted a go-to sweater that’s warm, practical, and still looks put together, this one checks every box. It’s worked top-down in one piece, which means you can try it on as you go and adjust the fit without stress. I designed this with real life in mind—something kids will actually wear on repeat, not just once for photos.
If you’ve been searching for a turtleneck sweater knitting pattern that feels approachable but still looks polished, this is exactly that. It’s a relaxing knit with just enough structure to keep things interesting, and it works beautifully for everyday wear.

This is the kind of project you can pick up at the end of a long day and just enjoy. It’s straightforward, cozy, and comes together into a piece that feels really satisfying to finish.
And the best part is how wearable it is. You’ll end up with a sweater that gets pulled out again and again.
What materials do you need for this turtleneck sweater knitting pattern?
For this turtleneck sweater knitting pattern, I used KnitPicks Provincial Tweed, and it’s one of those yarns that just makes the whole project feel easy. It has a soft, slightly rustic texture that adds character without being difficult to work with. You get warmth, durability, and a finished look that feels classic without trying too hard.
You’ll also need circular needles in two sizes, double pointed needles for the sleeves, and a few stitch markers to keep your raglan increases organized. The gauge is worked in stockinette, which keeps things simple and predictable.

I always lean toward yarns that hold up well for kids, and this one does exactly that. It washes well, wears well, and still feels good against the skin.
How is this turtleneck sweater knitting pattern constructed?
This turtleneck sweater knitting pattern is worked from the top down as a seamless raglan, which keeps the entire process smooth from start to finish. You begin with a stretchy ribbed neckline, then move straight into raglan increases to build the yoke. From there, the sleeves are separated, and the body continues in simple stockinette.
Because it’s knit in the round, you don’t have to worry about seaming, which makes it especially nice if you just want to keep knitting without extra finishing steps. The sleeves are worked last, picked up from the body, and shaped with decreases for a clean fit.

If you’ve knit a raglan before, this will feel very familiar. And if you haven’t, this is a great place to start because the structure is clear and easy to follow.
Looking for more free sweater knitting patterns?
If you enjoyed this turtleneck sweater knitting pattern, there are so many other free sweater knitting patterns you can try next:
• child grace pullover
• youth saffron pullover
• child Dathan Pullover
• child love Came Down Pullover
• Youth Granite Sweater
Each of these has its own style, but they all share that same focus on being wearable, practical, and enjoyable to knit.

This turtleneck sweater knitting pattern fits right into that mix. It’s one of those pieces that works for everyday life while still feeling special enough to gift or pass down.
Youth Turtleneck Pullover Pattern
Size: 3, 4 (5, 6) 7, 8 (9, 10) 11, 12 (13, 14)yrs
Materials: Approximately 3, 3 (3, 3) 4, 4 (4, 4) 4, 4, (5, 5) balls of KnitPicks Provencial Tweed (250yds/100g) needle, stitch markers
Needle Size: 7(US) 4.5mm circular needles and dpn, 6(US) 4mm circular and dpn
Gauge (tension): 24sts & 28 rows to make 10cm square, using size 7(US) 4.5mm needles working in stockinette stitch
Chest Measurement: 55, 57 (59, 61) 64, 67 (70, 73) 76, 79 (82, 90) cm
METHOD
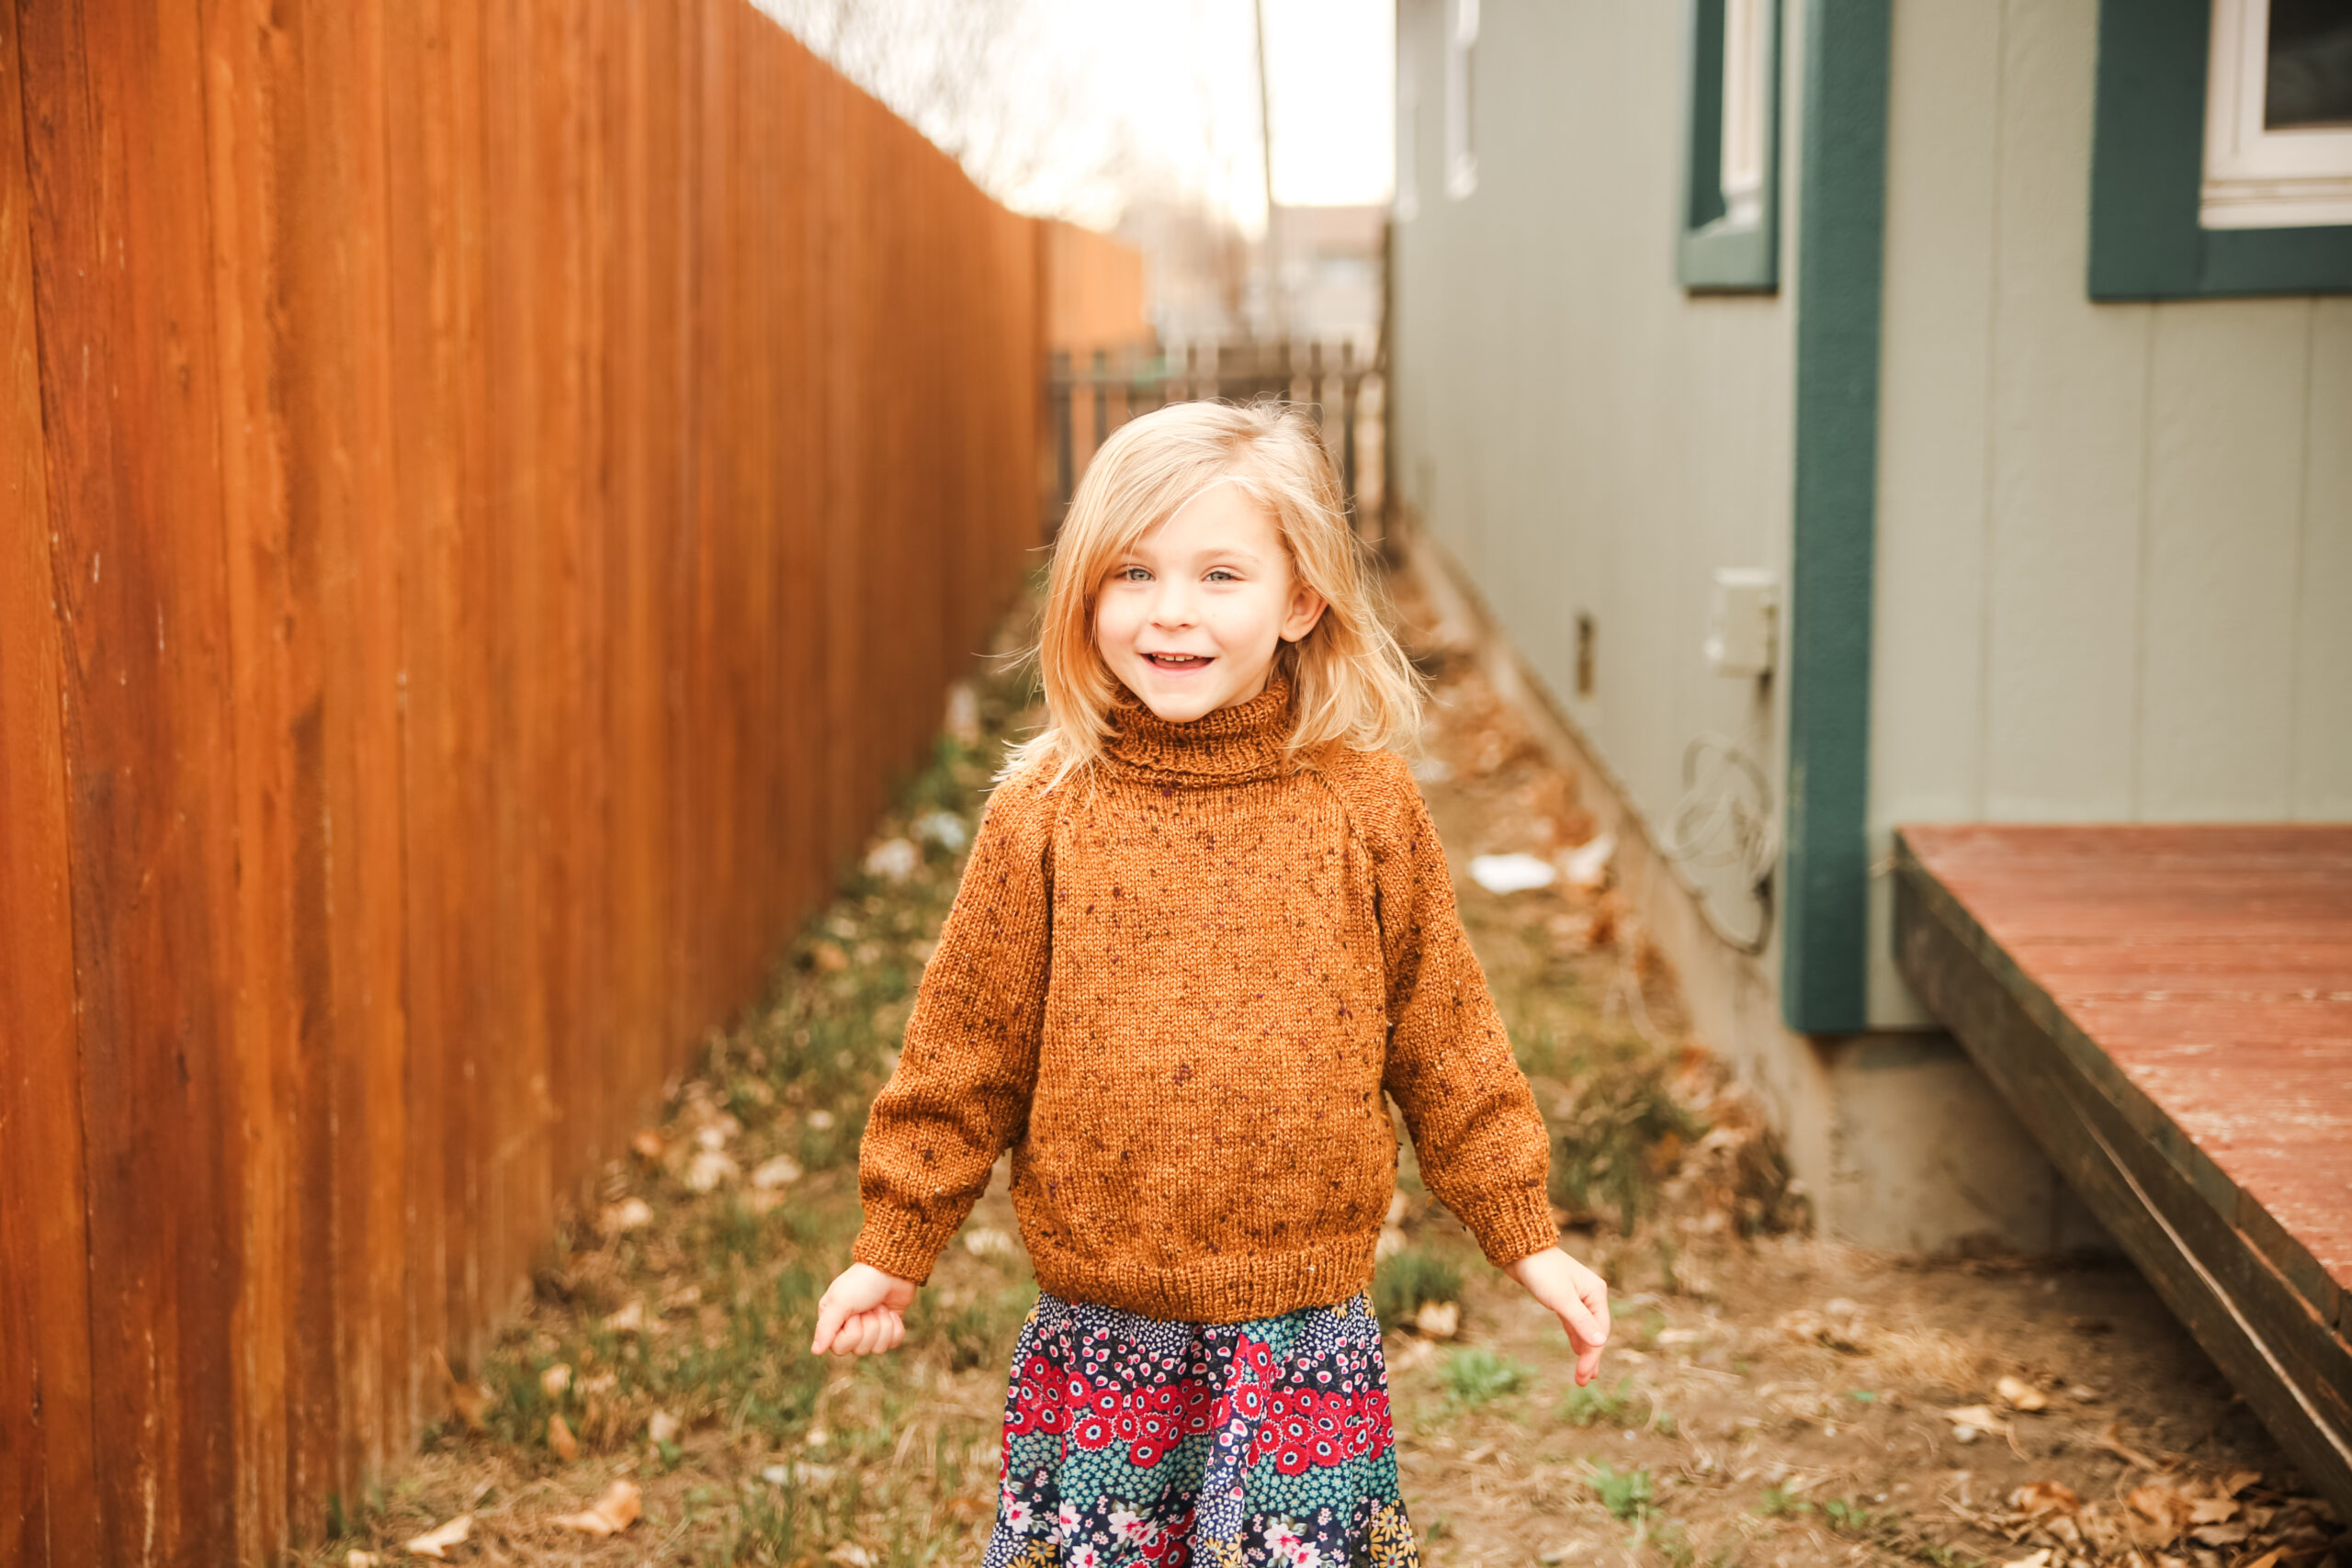
Youth Turtleneck Pullover is top-down seamless raglan in a warm and soft yarn. Created for our 7th child, I wanted a classic and warm knit for her for our Montana winters.
Abbreviations can be found on the last page.
Note: choose size based on bust measurement for best fit
1X1 RIB PATTERN
Row 1 (right side row) – (k1, p1) across Row 2 – knit all the knit stitches, purl all the purl stitches.
RAGLAN INCREASES Inc row – [k1, m1l, knit to 1 st before next marker, m1r, k1, sm] repeat [to] 3 more times, then continue to end of row/round. 8 sts increased
Youth Turtleneck Pullover Pattern
NECK
Cast on using smaller circular needle: 60, 64 (64, 68) 68, 72 (72, 76) 80, 84 (84, 88) sts. I use Tillybuddy’s Very Stretchy Cast on.
Join in the round.
Work in 1×1 ribbing for 15cms.
Switch to larger needles.
YOKE
Set up row (wrong side) – k24, 26 (26, 28) 28, 30 (30, 32) 34, 36 (36, 38) pm, k6, pm, k24, 26 (26, 28) 28, 30 (30, 32) 34, 36 (36, 38), pm, k6
Begin working in stockinette stich (knit every round)
RAGLAN SHAPING ROWS/ROUNDS
Work raglan increases as described above:
Every round 18, 18 (18, 16) 16, 16 (18, 16) 16, 16 (18, 16) times
Then every other round 8, 9 (10, 12) 13, 14 (14, 16) 17, 18 (18, 20) times
STITCH COUNT CHECK
Once all the raglan and neck increases have been completed you will have 268, 280 (288, 292) 300, 312 (328, 332) 344, 356 (372, 376) sts on your needles divided as follows:
76, 80 (82, 84) 86, 90 (94, 96) 100, 104 (108, 110) sts (front),
58, 60 (62, 62) 64, 66 (70, 70) 72, 74 (78, 78) sts (sleeve),
76, 80 (82, 84) 86, 90 (94, 96) 100, 104 (108, 110) sts (back),
58, 60 (62, 62) 64, 66 (70, 70) 72, 74 (78, 78) sts (sleeve)
DIVIDE FOR SLEEVES
Remove markers as you get to them.
Work across the front sts, place the next 58, 60 (62, 62) 64, 66 (70, 70) 72, 74 (78, 78) sts on a holder or waste yarn (left sleeve), cast on using the backwards loop method 6, 6 (6, 6) 6, 6 (6, 8) 8, 8 (8, 10) sts (left underarm), knit 76, 80 (82, 84) 86, 90 (94, 96) 100, 104 (108, 110) sts (back), place the next 58, 60 (62, 62) 64, 66 (70, 70) 72, 74 (78, 78) sts on a holder or waste yarn (right sleeve), cast on using the backwards loop method 6, 6 (6, 6) 6, 6 (6, 8) 8, 8 (8, 10) sts (right underarm), knit to beginning of round marker. 164, 172 (176, 180) 184, 192 (200, 208) 216, 224 (232, 240) sts
SWEATER BODY
Work in stockinette stitch pattern until piece measures 19, 20 (21.5, 23) 24, 25.5 (26.5, 28) 29, 30 (31.5, 34.5) cm measuring from underarm.
Switch to smaller circular needle.
Using work in 1×1 rib for 4 cm. Bind off all sts in pattern.
SLEEVES
Keeping in stockinette stitch pattern as already established, work each sleeve one at a time as follows: Pick up 4, 4 (4, 4) 4, 4 (4, 5) 5, 5 (5, 6) sts from underarm, work 58, 60 (62, 62) 64, 66 (70, 70) 72, 74 (78, 78) sts of the sleeve on the holder, pick up 4, 4 (4, 4) 4, 4 (4, 5) 5, 5 (5, 6) sts from underarm on to larger double pointed needles, place marker at center underarm to keep track of the beginning of round. 66, 68 (70, 70) 72, 74 (78, 80) 82, 84 (88, 90) sts
Work 7, 9 (9, 9) 11, 13 (13, 13) 13, 15 (13, 17) rounds.
DECREASES
Decrease 1 st at each side of marker every:
6th round 0, 0, (0, 0) 7, 8 (6, 6) 8, 7 (7, 6)
Then every 4th round 9, 11 (12, 14) 5, 4 (8, 9) 7, 9 (10, 12)
Then every other round 4, 2 (2, 0) 0, 0 (0, 0) 0, 0 (0, 0)
[40, 42 (42, 42) 48, 50 (50, 50) 52, 52 (54, 54) sts].
Continue in granite stitch pattern until sleeve measures 18, 20 (21.5, 23.5) 24.5, 25.5 (27, 29) 30.5, 32 (32.5, 35) (or desired length) measuring from underarm.
CUFF
Switch to smaller dpn needles
Work in 1×1 rib for 4 cm.
Bind off in pattern.
FINISHING
Weave in all ends and block as desired.
Stitch Key
K – knit
P – purl
PM – place marker
SM – slip marker
K2tog -knit 2 stitches together
SSK – slip, slip, knit the slipped sts together
M1L – With left needle pick up strand between 2 stitches front to back. Knit through back loop
M1R – With left needle pick up strand between 2 stitches back to front. Knit through front loop

If you make this one, I’d love to hear how it turns out or what yarn color you chose. Drop a comment and let me know—I always enjoy seeing what you’re working on.
This post may contain affiliate links. If you choose to purchase through one of them, I may earn a small commission at no extra cost to you.
Comments are closed.