
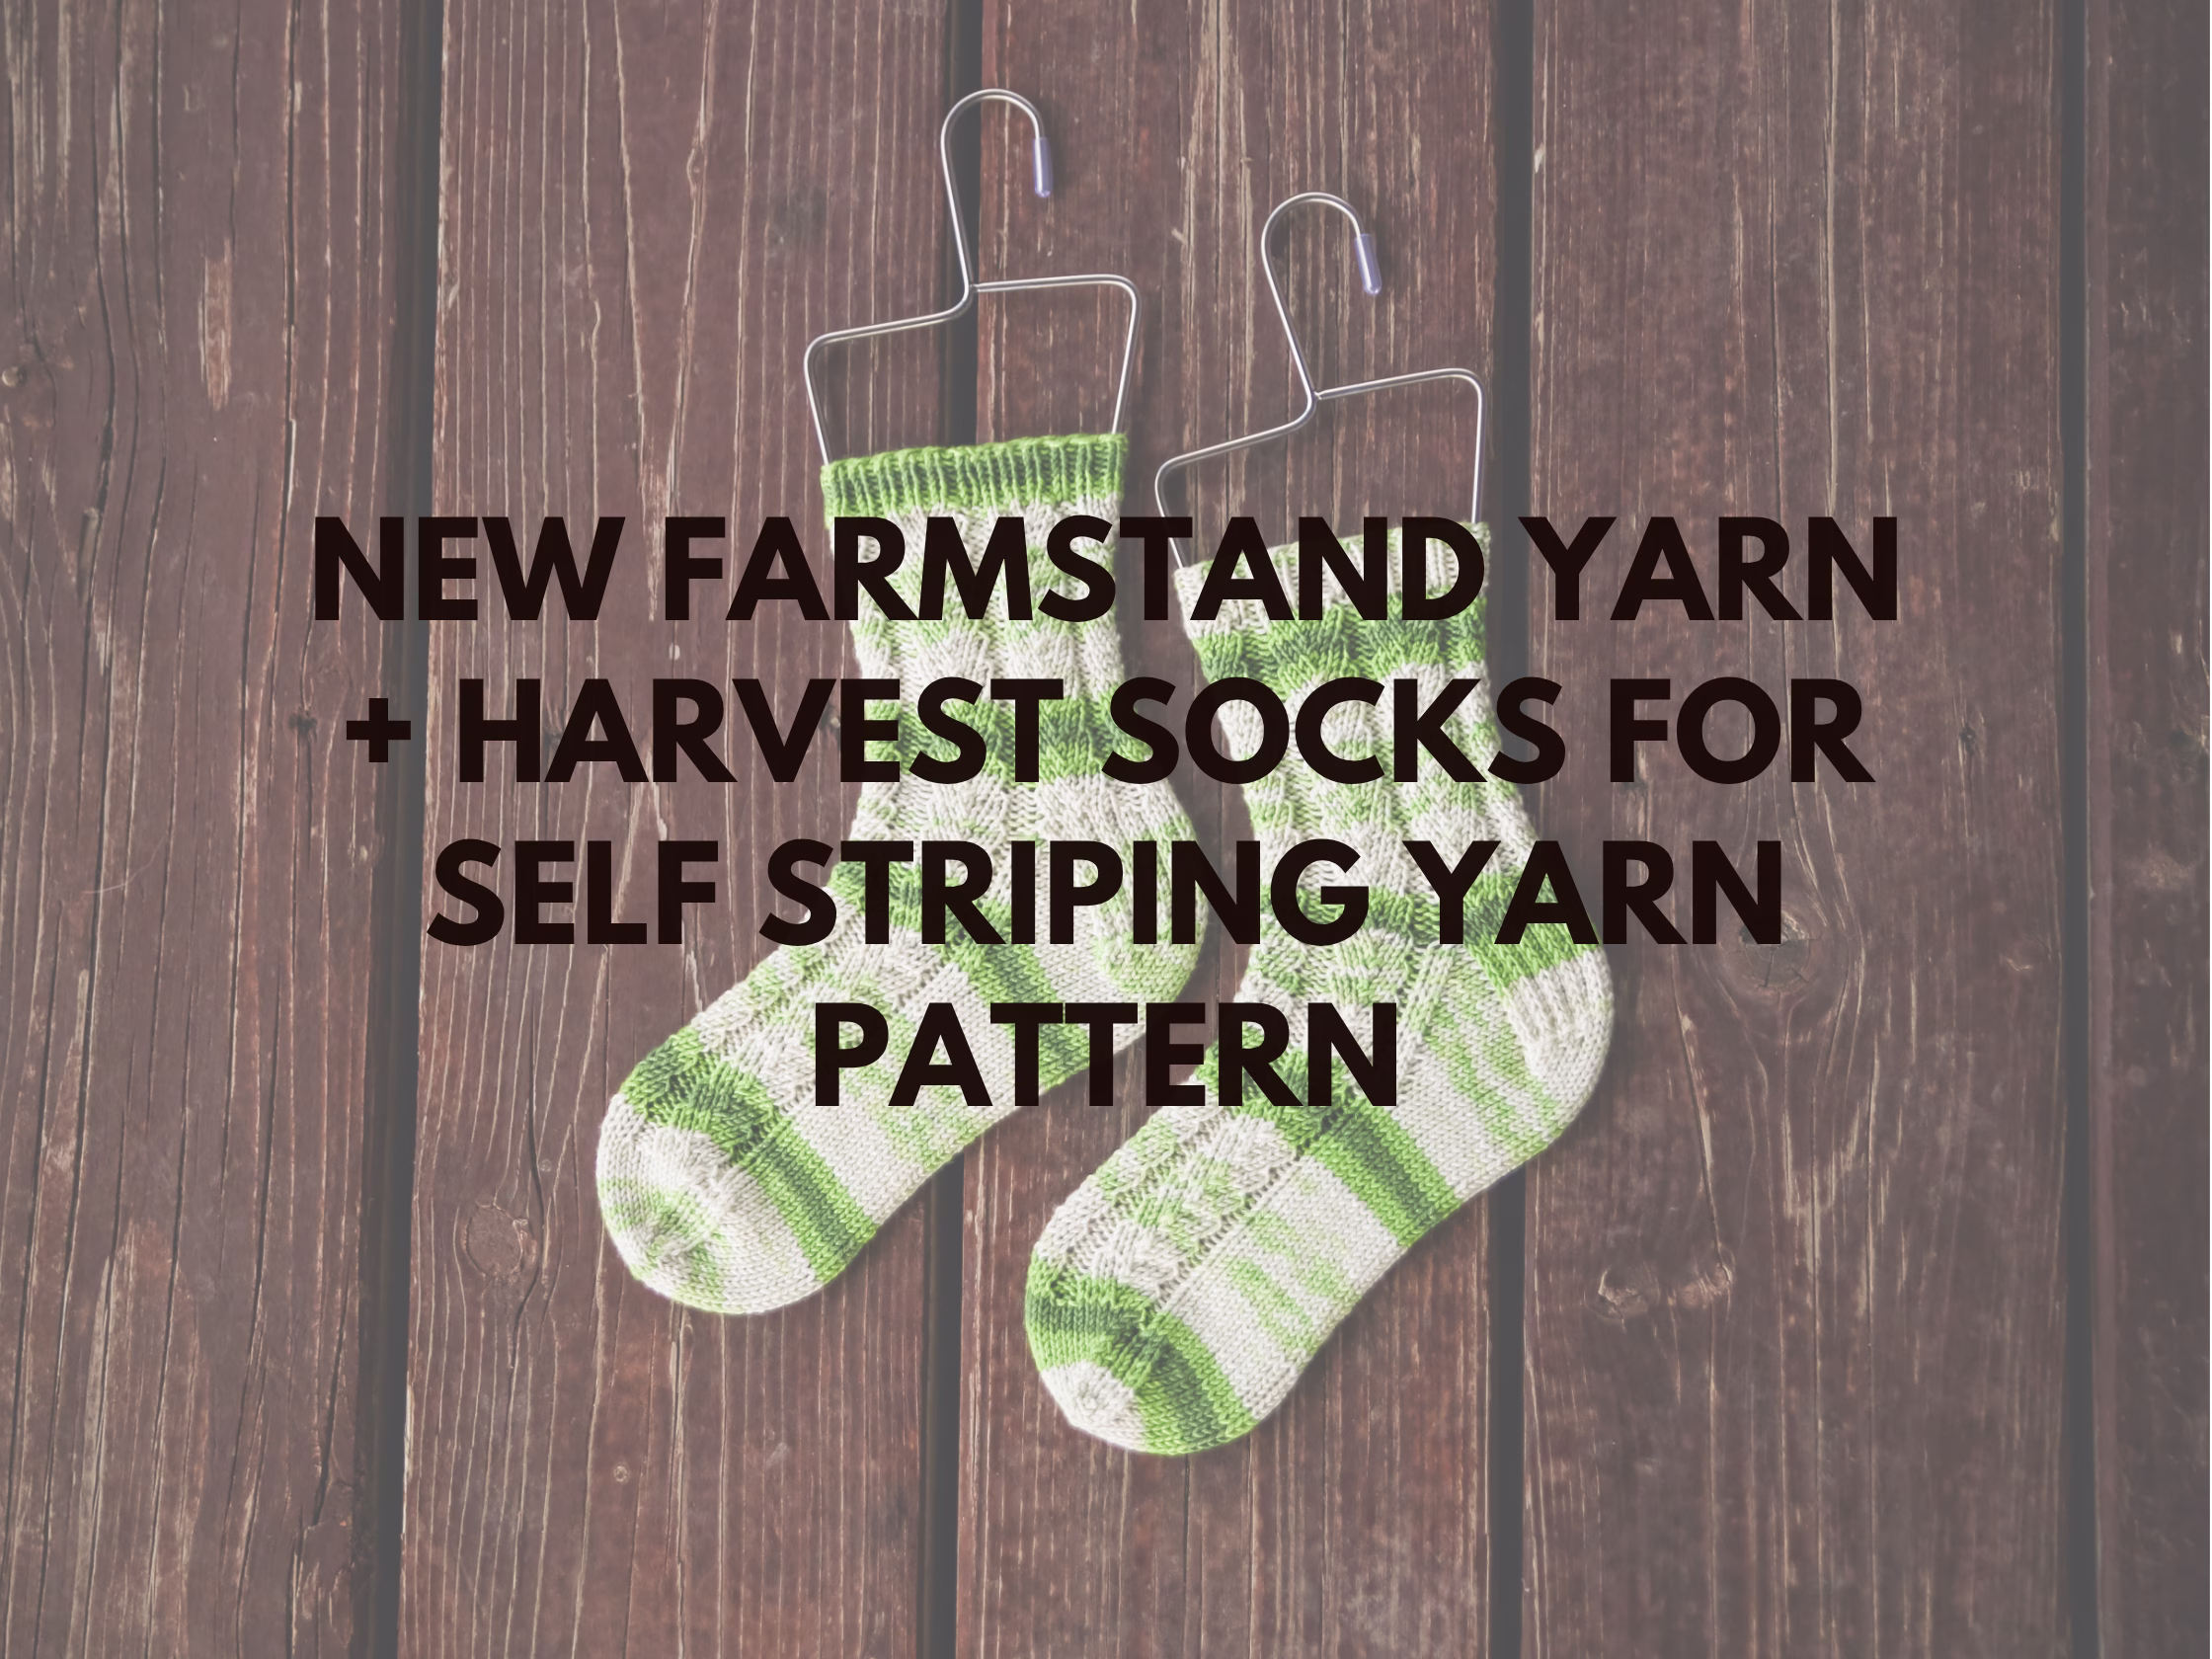
If you’ve been searching for Socks for Self Striping Yarn, this Harvest Socks pattern is exactly what you need for free sock knitting patterns.
These socks are designed to actually let your yarn do the work, instead of fighting against it. If you’ve ever knit a pair of socks only to feel like the striping got lost or looked off, this pattern fixes that. The simple texture and top-down heel flap construction highlight every color change beautifully. It’s one of my favorite ways to use self striping yarn without overthinking it, and yes—you’ll want to make more than one pair.

If your self striping yarn has been sitting in your stash because you weren’t sure how to use it, this is your answer. These really are Socks for Self Striping Yarn that just work.
A simple pattern, a great yarn, and a finished pair you’ll actually love wearing.
What materials do you need for socks for self striping yarn?
When it comes to knitting Socks for Self Striping Yarn, the yarn choice matters more than anything—and this one is such a good one.
Materials:
- Yarn: (1, 2) skeins of Premier Yarns Farmstand
- Needles: US #1 / 2.25mm DPNs or circular for magic loop
- Stitch markers
- Yarn needle
The Farmstand yarn is made for this kind of project. The striping does all the heavy lifting, while the simple stitch pattern keeps things clean and wearable. You don’t have to guess how the colors will land—it just flows.
Gauge is 8 stitches x 11 rows per inch, which gives you a nice, sturdy sock that still feels comfortable.

It’s one of those setups where everything works together without you having to fuss over it.
How do you knit socks for self striping yarn so the colors look good?
This is where a lot of knitters get stuck with Socks for Self Striping Yarn—but this pattern keeps it simple.
These are knit top-down with a heel flap, which gives you a classic fit and makes it easy to adjust the length. The texture is subtle on purpose, so it doesn’t compete with the yarn. Instead, it helps break up the color pooling just enough to keep things interesting.
A quick tip: don’t overthink matching stripes. Let each sock do its own thing. That’s part of what makes self striping yarn fun.
Sizing includes:
- Child
- Adult
Finished foot lengths (adjustable):
- 7.25 inches / 18 cm
- 10 inches / 25 cm
The sample shown is a child size (US 10), and it fits comfortably with stretch.

Once you get into the rhythm, these are the kind of socks you can knit without constantly checking instructions.
Looking for more sock patterns to try next?
If you’re loving these Socks for Self Striping Yarn, I’ve got a whole list of patterns you can try next:
Each one gives you a different look and feel, so you can keep things interesting while using up your yarn stash.

There’s always another pair waiting on your needles.
Harvest Sock Pattern
Materials:
Yarn: (1, 2) skeins of Premier Yarns Farmstand yarn 235yd/50g
Needles: US #1 / 2.25mm DPNs (or circular for magic loop)
Notions: stitch markers, needle
Gauge: 8sts x 11rows per inch
sizing:
child, adult
Finished measurements (unstretched):
Foot Length (adjustable): 7.25, 10ins or 18, 25cms
The model size is a child who wears US size 10.
Abbreviations can be found on the last page.
HARVEST STITCH PATTERN
Round 1 – [P1, M1L, K2, K2TOG, K2, P1]
Round 2 – [P1, K6, P1] around
Round 3 – [P1, K2, SSK, K2, M1R, P1]
Round 4 – repeat round 2
Cuff
Cast on (48, 64) sts, join for working in the round.
Separate stitches on your dpn as follows:
1st needle (12, 16) sts
2nd needle (12, 16) sts
3rd needle (24, 32) sts
If you are working on smaller circular or magic loop place a marker at (24, 32) sts to
mark front and back.
Work in 1×1 rib (k1p1 around) for (8, 12) rounds
Work in charted stitch pattern until piece measures (4, 6) ins or (10, 15) cms from
cast on (or desired length)
Heel Flap
Next round: work needles 1 and 2 in pattern. These worked stitches will now be
placed on hold (you will NOT be using them for the heel).
The remaining (24, 32) sts will be your heel worked as below:
Row 1 (RS): (sl1, k1) to end, turn work.
Row 2 (WS): sl1, purl to end, turn work.
Work rows 1-2 a total of (11, 15) times.
This is a total of (22, 30) rows.
Heel Turn
Row 1 (RS): sl1, k(14, 18), ssk, k1, turn work.
Row 2 (WS): sl1, p(7, 7), p2tog, p1, turn work.
Row 3: sl1, knit to 1 st before the gap, ssk, k1, turn work.
Row 4: sl1, purl to 1 st before the gap, p2tog, p1, turn work.
Repeat rows 3-4 until all stitches have been worked:
(16, 20) sts remain.
Knit across these heel stitches slipping the first st.
Gusset
Pick up and knit (12, 16) sts along the edge of heel flap, PM,
Knit across (24, 32) PM,
Pick up and knit (12, 16) sts along heel flap,
K(8, 10) sts, mark the new BOR (located at the bottom of the foot).
[(64, 86) sts]
Round 1: knit to marker, sm, work in pattern to marker, sm, knit to bor
Round 2: knit to 3 sts before marker, k2tog, k1, sm, work in pattern to next marker,
sm, k1, ssk, knit to end [2 sts dec]
Work rounds 1-2 a total of (8, 10) times.
[(48, 64) sts]
Foot
Continue working in the round in established pattern until the piece measures (6, 8)
ins or (15, 20) cms from back of heel, or (1.5, 2) ins or (4, 5) cms short of desired foot
length.
Toe
Round 1: k1, ssk, knit to 3 sts before marker, k2tog, k2, ssk, knit to 3 sts before end
of round, k2tog, k1 [4 sts dec]
Round 2: knit
Work rounds 1-2 a total of (7, 10) times. until (20, 24) sts remain.
For a left-handed tutorial of these decreases visit my youtube here
Cut yarn leaving a 12” tail, then graft toe using Kitchener stitch.
Weave in all ends
Kitchener stitch:
Place half the stitches on one needle, half the stitches on the other needle, (top and
bottom NOT side to side)
Cut yarn (leaving a long yarn tail) and thread through a blunt needle.
Set-up steps: Insert needle purlwise (back to front) through the first st on front
needle, leaving the st on the needle. Then insert needle knitwise (front to back)
through the first st on the back needle, leaving the st on the needle.
Step 1: Insert needle knitwise through first st on front needle, then slip this st off the
needle.
Step 2: Insert needle purlwise through the second st on front needle, leaving the st on
the needle.
Step 3: Insert needle purlwise through first st on back needle, then drop this stitch off
the needle.
Step 4: Insert needle knitwise through second st on back needle, leaving the st on the
needle.
From this point to the end, repeat steps 1-4.
Kitchener stitch can be intimidating, but you get into a rhythm:
Front needle: knitwise drop off, purlwise leave on,
Back needle: purlwise drop off, knitwise leave on,
Repeat!
At the end of the row, there is only 1 stitch left on each needle.
Work steps 1 and 3 once more.
For a left-handed video tutorial of this visit my youtube here
Abbreviations
bor – beginning of round
k – knit
k2tog -knit 2 stitches together
m1l – pick up from front to back the strand between the 2sts on your needles, knit
through back loop
m1r – pick up from back to front the strand between the 2sts on your needles, knit
through the front loop
P – purl
pm – place marker
sm – slip maker
ssk – slip next st knitwise, slip next st knitwise, place stitches back onto left needle,
knit both slipped sts together
st – stich
sts – stitches

If you end up making a pair of these Harvest Socks, I’d love to hear about it—tell me in the comments what yarn you used or who you’re making them for.
This post may contain affiliate links. If you choose to make a purchase, I may earn a small commission at no extra cost to you.