
This Free Worsted Weight Cabled Beanie Knitting Pattern is a timeless addition to your collection of free hat knitting patterns, designed to give you a polished, textured hat without overcomplicating your knitting time. If you’ve ever struggled to find a cable hat that looks classic but still feels approachable, this pattern solves that. It walks that perfect line between interesting and relaxing, so you’re not constantly second-guessing your stitches. I created this Free Worsted Weight Cabled Beanie Knitting Pattern to be something you can come back to again and again—for gifts, for your family, or just because you want a reliable go-to hat that actually gets worn.
This is the kind of project that works whether you’re knitting for a newborn or a full-grown adult, and that kind of versatility is hard to beat.

If you love projects that look detailed but don’t feel overwhelming, this one fits right in. The cable pattern gives you that structured, finished look while still being repetitive enough to settle into a rhythm.
It’s practical, wearable, and one you’ll likely knit more than once. The folded brim alone makes it worth it.
What materials do you need for this Free Worsted Weight Cabled Beanie Knitting Pattern?
For this Free Worsted Weight Cabled Beanie Knitting Pattern, you’ll want to keep things simple and reliable. I used worsted weight yarn like Berroco Vintage because it gives beautiful stitch definition, which really helps those cables stand out. You’ll also need size 7 circular needles or DPNs, a cable needle, stitch markers, and a tapestry needle for finishing.
The yarn choice matters more than you might think here. A yarn with good structure helps the cables stay crisp instead of blending together. Wool blends tend to give the best balance of softness and durability, especially for everyday wear.
If you’re pulling from your stash, just aim for something with similar weight and elasticity so your finished hat keeps its shape.

This setup keeps the knitting smooth and predictable, which is exactly what you want when working cables.
It’s one of those patterns where the right materials make the whole experience better from start to finish.
How do you follow the directions for this Free Worsted Weight Cabled Beanie Knitting Pattern?
This Free Worsted Weight Cabled Beanie Knitting Pattern is worked in the round from the brim up, starting with a stretchy ribbed edge before moving into the cable pattern. The folded brim adds both warmth and structure, while the repeating cable sections keep things consistent as you knit.
The increases after the brim help transition smoothly into the cable panels, and once you’re in the pattern, it becomes very rhythmic. The crown decreases are straightforward and designed to keep the shape clean without interrupting the flow too much.
If you’ve never done cables before, this is a great place to start. They’re simple, repeatable, and easy to recognize once you’ve worked a few rounds.

Take your time with the first repeat, and after that, your hands will remember what to do.
Before you know it, you’ll be finishing the crown and already thinking about your next one.
Looking for more free hat knitting patterns like this?
If you enjoyed this style, there are plenty of other free hat knitting patterns that follow a similar feel. Some of my favorites include:
Each of these patterns brings something a little different to the table, whether it’s texture, cables, or overall shape. They’re all great options if you want to build out a collection of hats you’ll actually use.

If you’re in a season of gift knitting or just want something dependable on your needles, these patterns make it easy to keep going without overthinking your next project.
And honestly, once you get into a groove with hats like this, it’s hard to stop at just one.
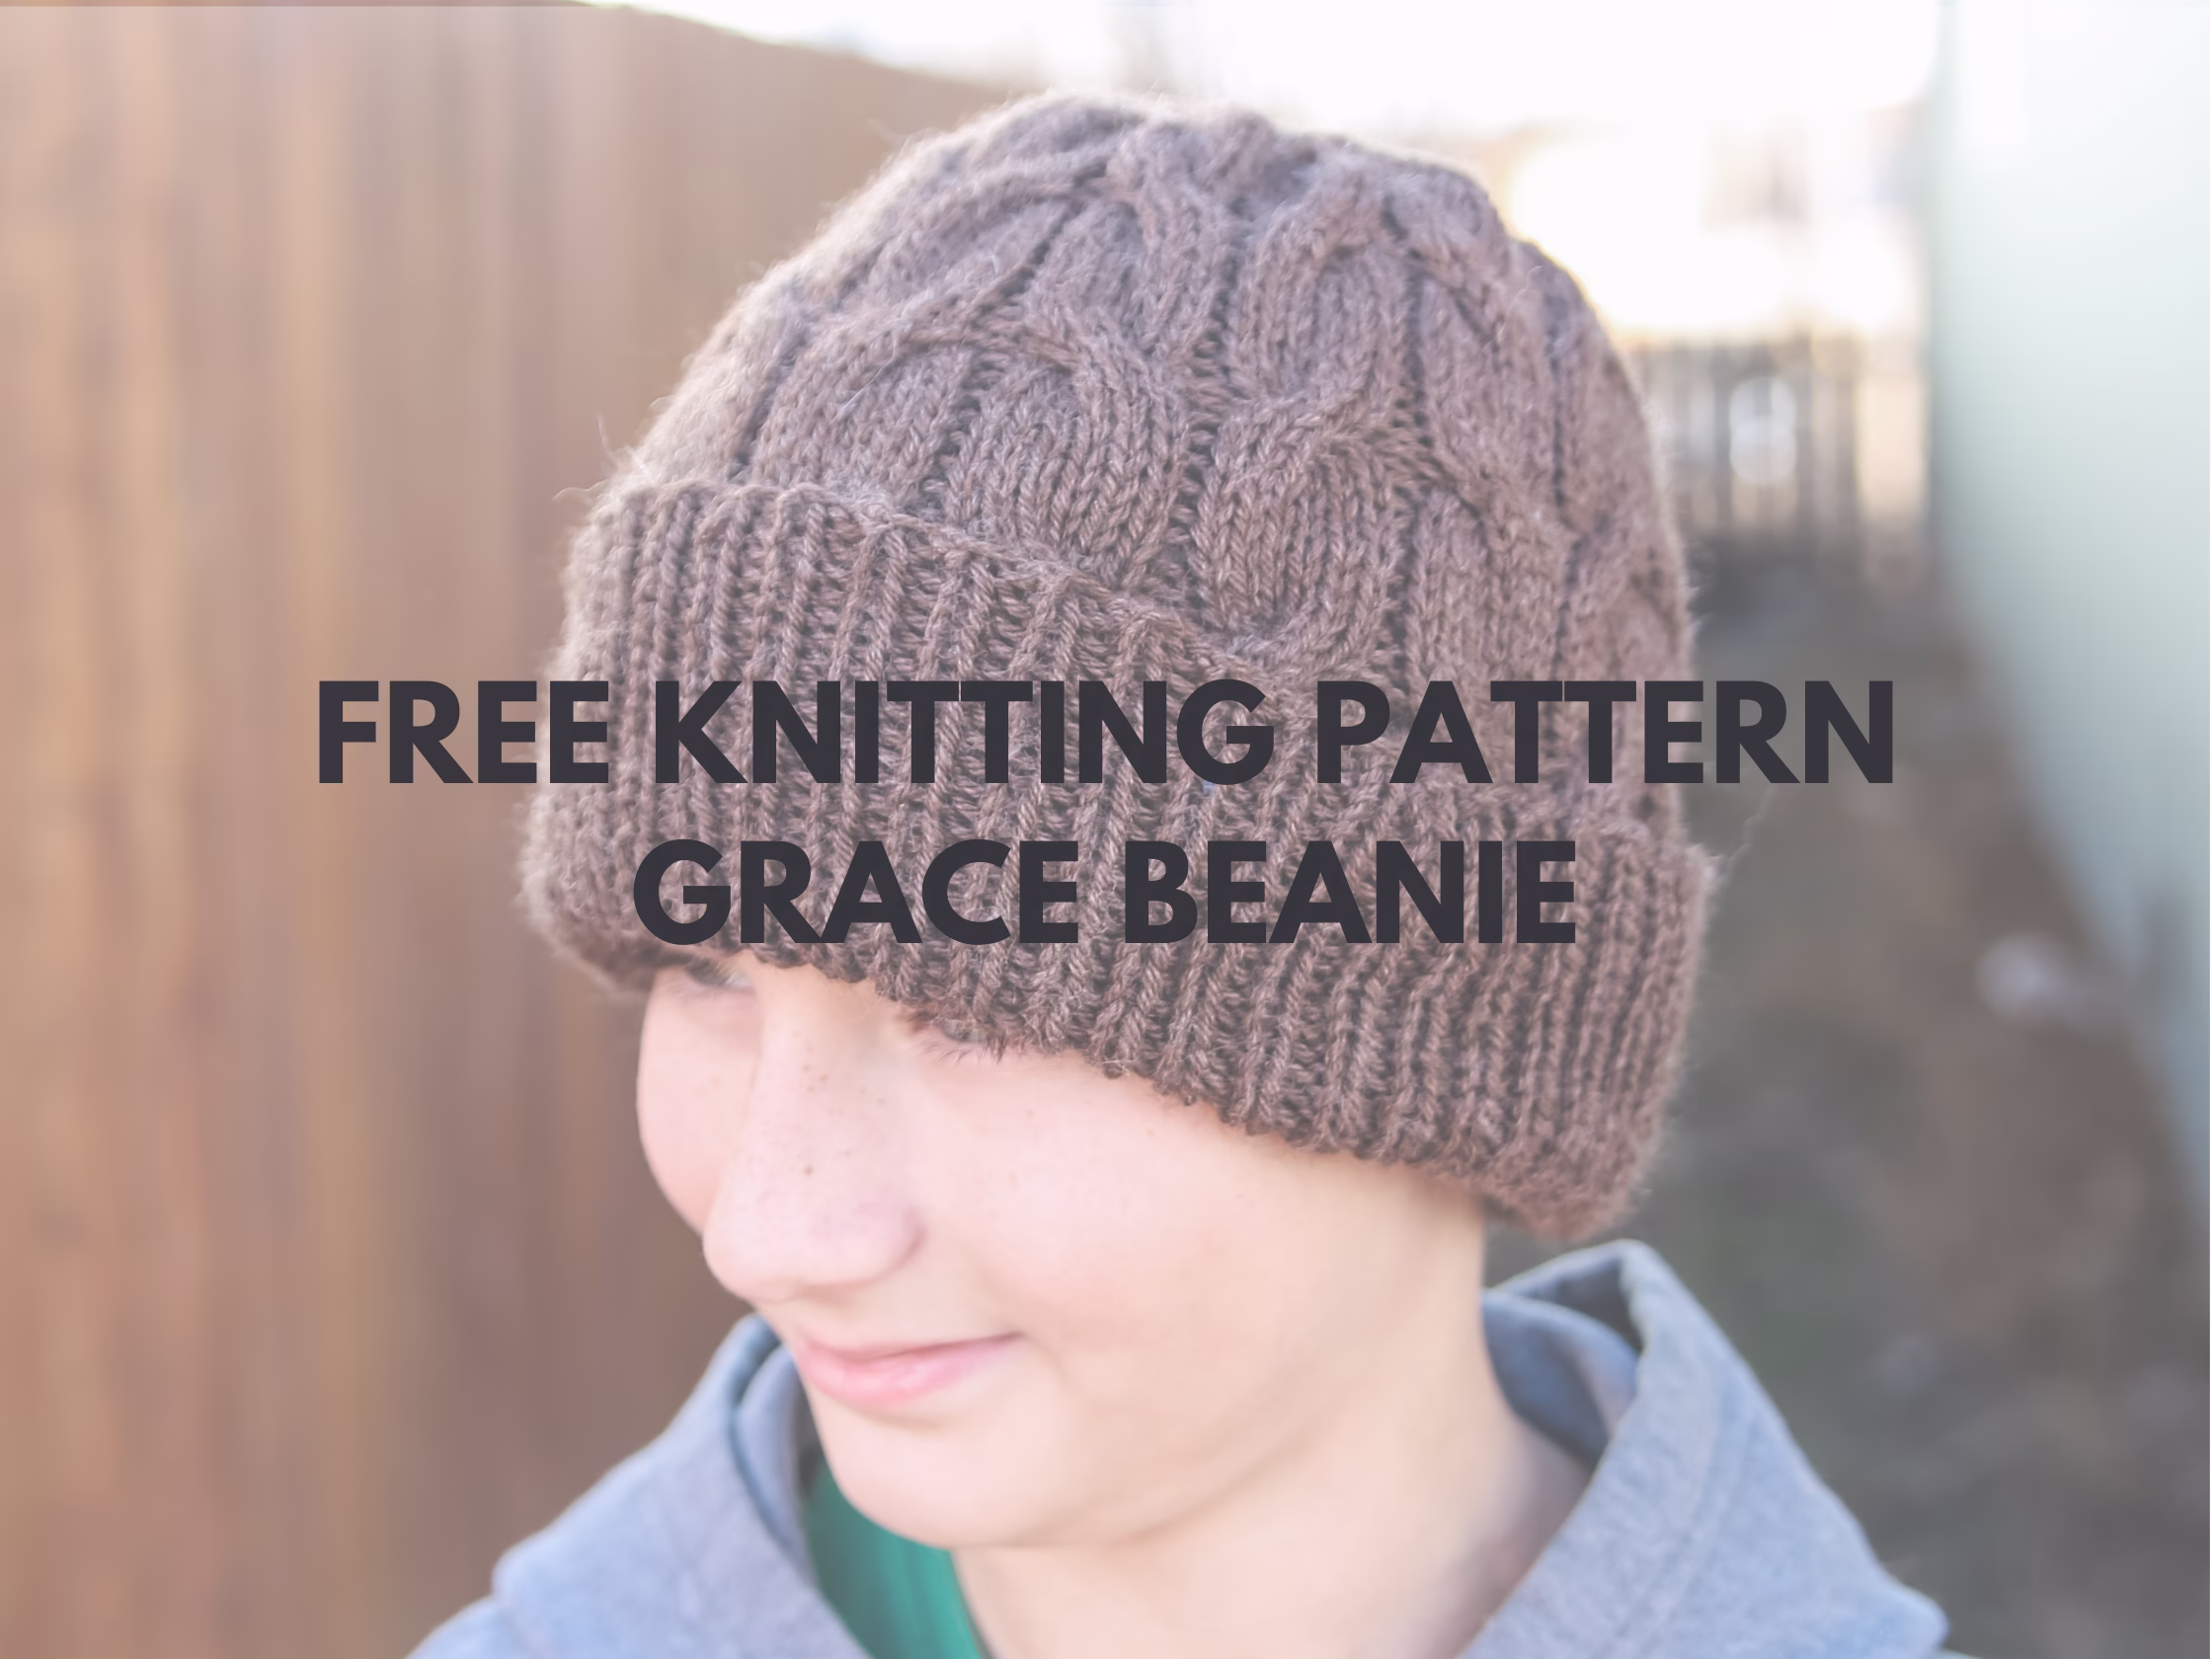
Grace Beanie Free Pattern
Materials Needed: 75-250yds worsted weight yarn (I used Berroco Vintage (218y/100g), size 7 (4.5mm) dpn or circular, yarn needle
Gauge: 20sts/10cms or 4ins
Sizes (appx head circumference) [appx finished measurements laid flat]:
Newborn (33cms,13ins) [16.5x13cms, 6.5x5ins]
baby (38cms, 15ins) [19×16.5cms, 7.5×6.5ins]
child (46cms,18ins) [23x19cms, 9×7.5ins]
teen/small adult (51cms, 20ins) [25.5x18cms, 10×8.5ins]
large adult (56cms, 22ins) [28x23cms, 11x9ins]
Abbreviations can be found on the last page.
Grace Charted Stitch Pattern

Row 1 – k6, p1, k6, p1
Row 2 – k6, p1, k6, p1
Row 3 – k6, p1, k6, p1
Row 4 – k6, p1, k6, p1
Row 5 – k6, p1, k6, p1
Row 6 – k6, p1, k6, p1
Row 7 – k6, p1, k6, p1
Row 8 – k6, p1, k6, p1
Row 9 – cb3/3, p1, cf3/3, p1
Row 10 – k6, p1, k6, p1
Grace Beanie Instruction
Cast on 60 (72, 84, 96) 108
Join in the round.
Work 9 (9, 10, 10) 10cms or 3.5 (3.5, 4, 4) 4ins k1p1 ribbing.
Set up Round – [k5, kfb] around. (70 (84, 98, 112) 126sts)
Work in charted stitch pattern until your work measures appx 17.5, (20, 22.5, 25) 27.5 cms or 7 (8, 9, 10) 11 ins from cast on edge ending after a round 9 of the stitch chart
DECREASES
Round 1 – [work 6 in established pattern, p1, ssk, k2, k2tog, p1] around [60 (72, 84, 96) 108sts]
Round 2 – [work 6 in established pattern, p1, ssk, k2tog, p1] around [50 (60, 70,80) 90sts]
Round 3 – [work 6 in established pattern, p1, ssk, p1] around [45 (54, 63, 72) 81sts]
Round 4 – [work 6 in established pattern, p2tog, p1] around [40 (48, 56, 64) 72sts]
Round 5 – [work 6 in established pattern, p2tog] around [35 (42, 49, 56) 63sts]
Round 6 – [ssk, k2, k2tog, p1] around [25 (30, 35, 40) 45sts]
Round 7 – [ssk, k2tog, p1] around [15 (18, 21, 24) 27sts]
Round 8 – [ssk, p1] around [10 (12, 14, 16) 18sts]
Round 9 – [ssk] around [5 (6, 7, 8) 9sts]
Do not bind off. Cut yarn leaving a long enough tail to weave in ends. Pull yarn through remaining stitches and cinch the top tight. Weave in ends. Block as desired.
ABBREVIATIONS
cb3/3 – place the next 3 stitches on a cable needle and hold in back, knit the next 3 stitches, knit the 3 stitches on the cable needle
cf3/3 – place the next 3 stitches on a cable needle and hold in front, knit the next 3 stitches, knit the 3 stitches on the cable needle
K – knit
K2TOG – knit 2 stitches together
KFB – knit front and back – knit into the front of the stitch without taking the stitch off the needle then knit into the back of the stitch them DO take it off the needle – 1 stitch increased
P – purl
P2TOG – purl 2 stitches together
PM – place marker
SSK – slip slip knit – slip the next stitch as if to knit, slip the next stitch as if to knit, then knit those 2 slipped stitches together – 1 stitch decreased
SM – slip marker

I’d love to hear how you’re planning to use this beanie. Are you making a matching set, knitting ahead for gifts, or just adding a solid everyday hat to your rotation? Let me know in the comments what size you’re starting with!
Affiliate Disclaimer: This post may contain affiliate links. That means I may earn a small commission at no extra cost to you if you choose to purchase through those links.