
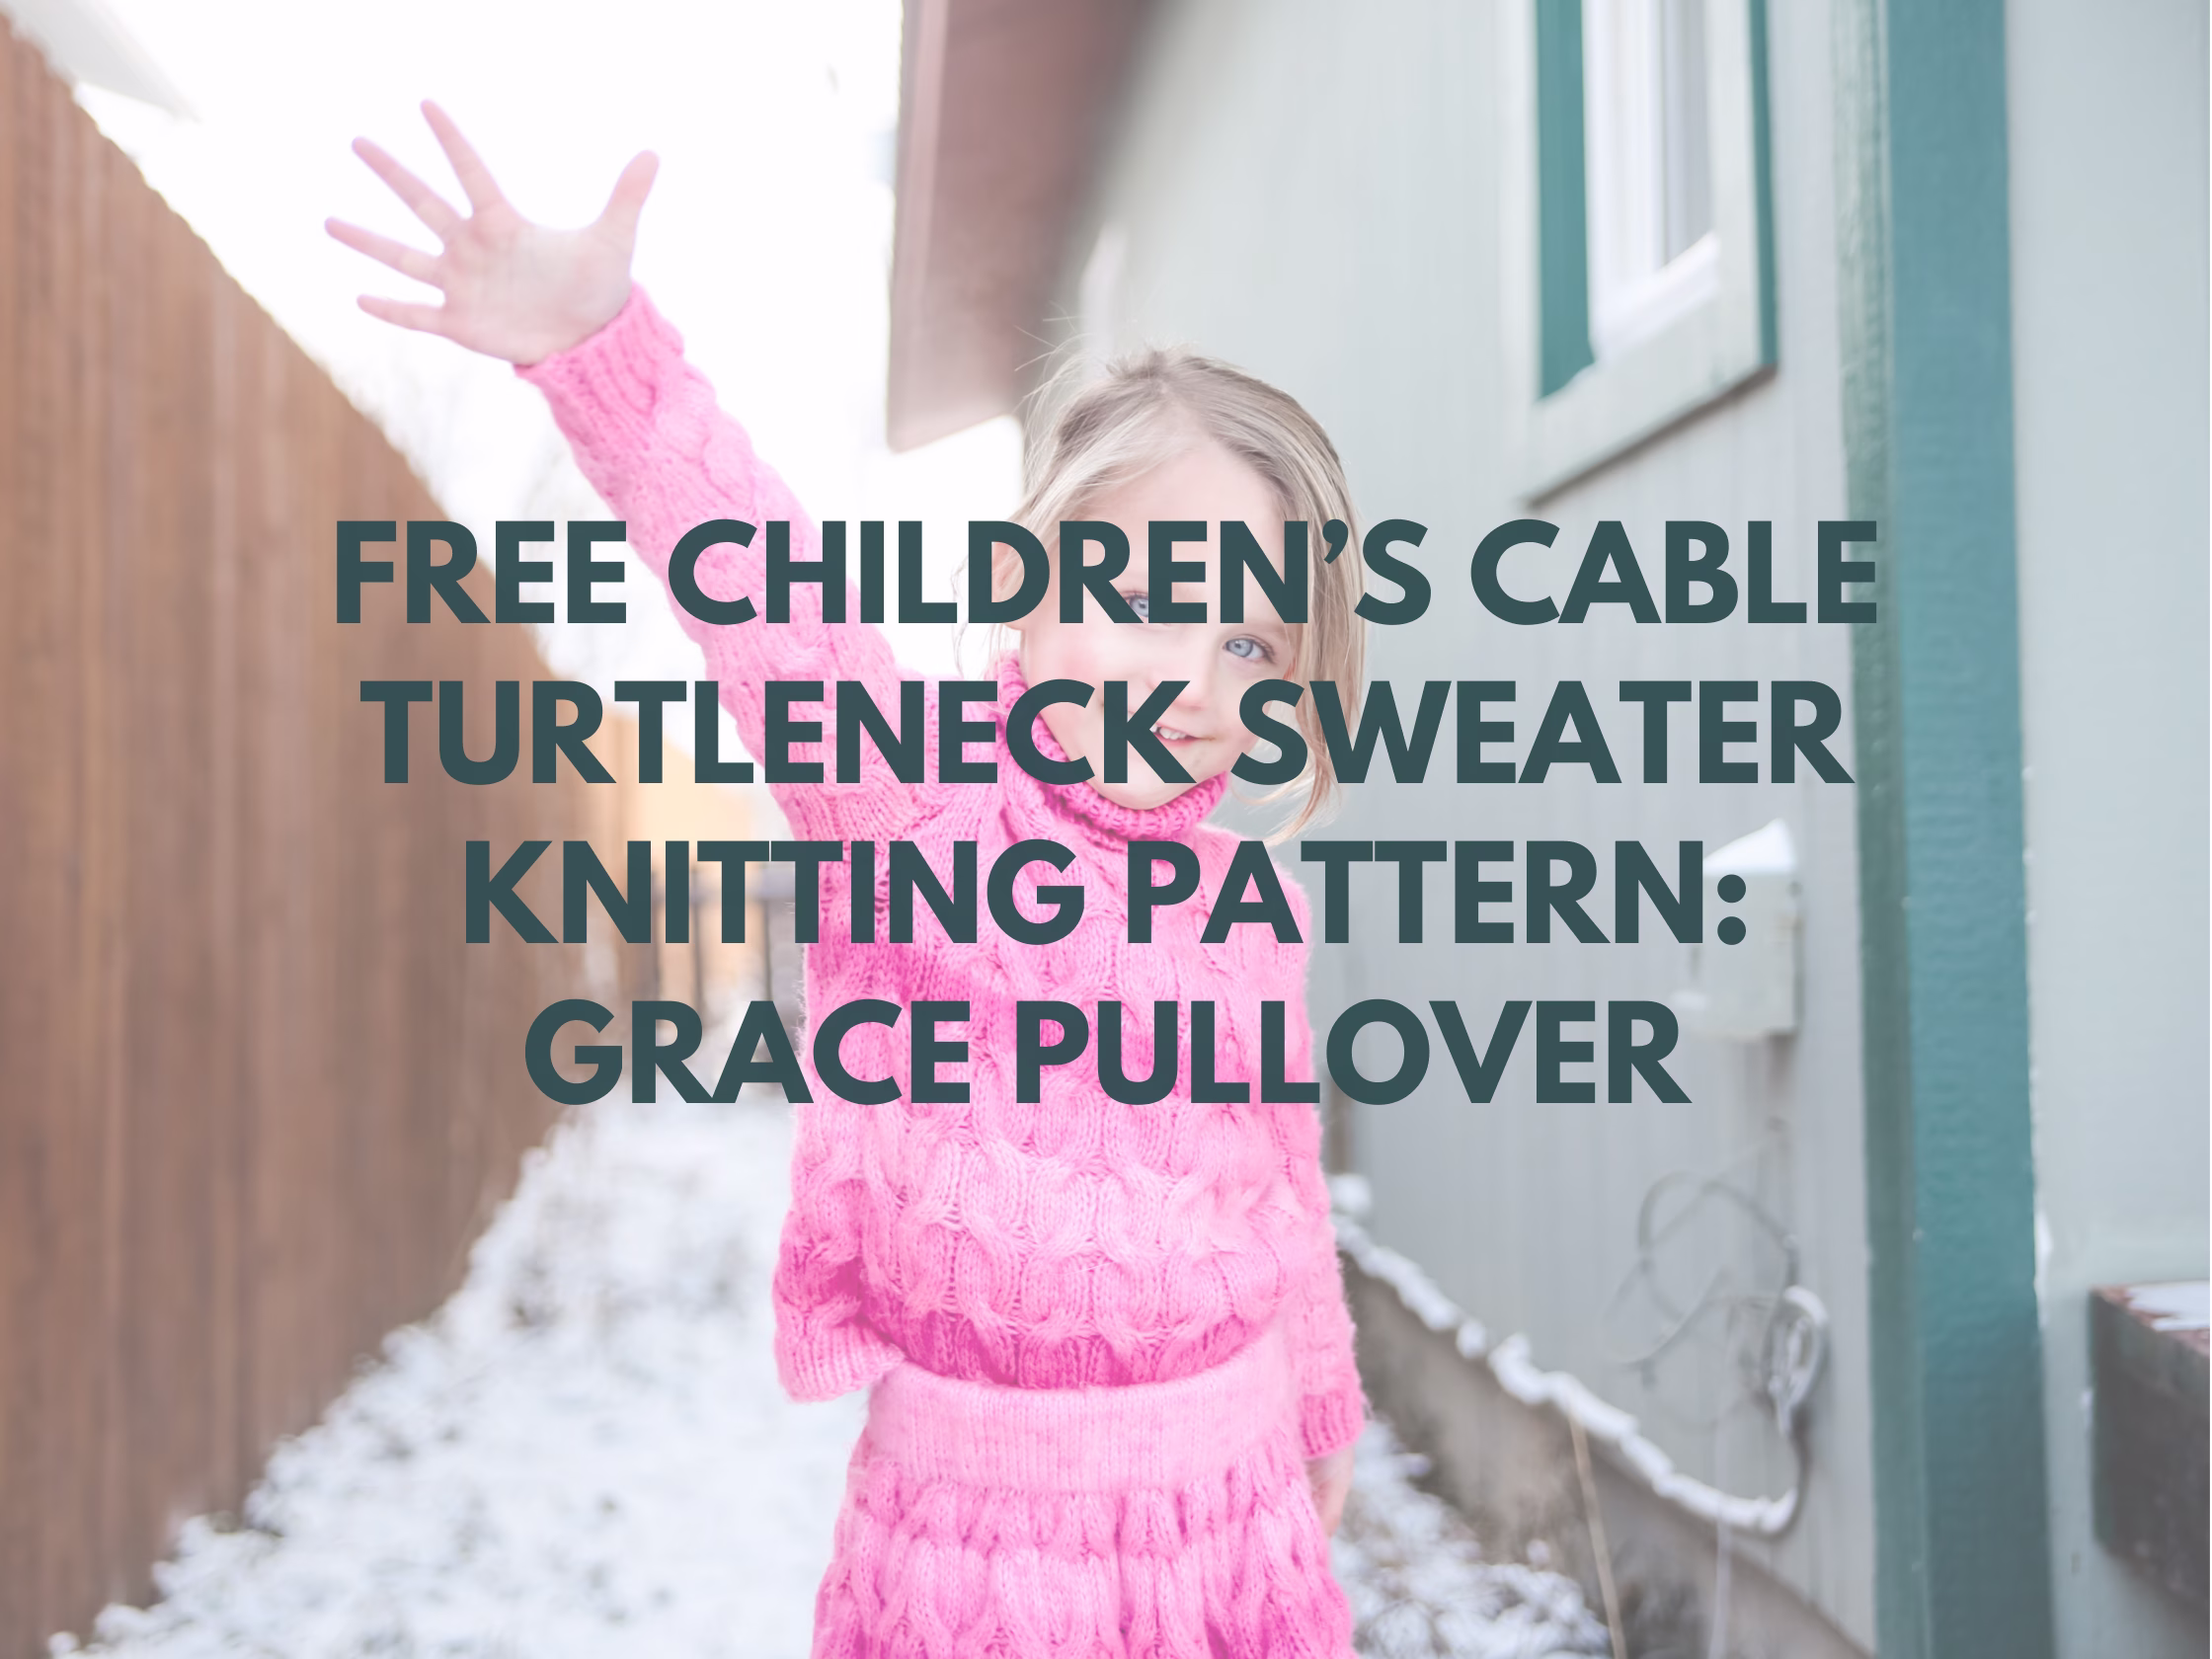
This Children’s Cable Turtleneck Sweater Knitting Pattern is part of my collection of free sweater knitting patterns, created for knitters who want a timeless, textured sweater that actually holds up to everyday wear.
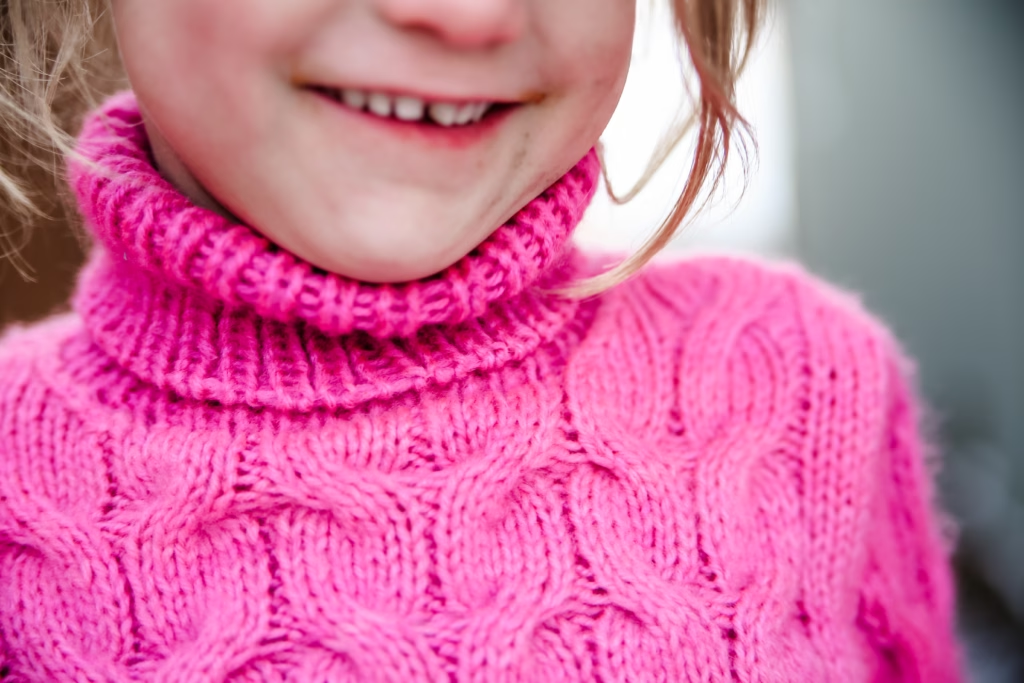
If you’ve ever struggled to find a cable sweater that looks beautiful but still feels soft, flexible, and kid-friendly, this pattern solves that. The Children’s Cable Turtleneck Sweater Knitting Pattern uses repeating cables across the entire fabric, so you get that classic look without constantly switching techniques. It’s structured enough to keep its shape, but still comfortable enough for busy kids who never sit still.

This is one of those sweaters that looks detailed but feels surprisingly steady once you get going. The cables fall into a rhythm quickly, making it easier than it looks at first glance.
It’s designed to be worn often, washed often, and still look just as good.
That’s always my goal when I’m creating pieces for my kids.
What materials work best for a Children’s Cable Turtleneck Sweater Knitting Pattern?
For this Children’s Cable Turtleneck Sweater Knitting Pattern, I used Hobbii Jade yarn or Katia Concepts Cotton Merino Glam because it gives you that defined cable texture without feeling stiff because of the soft fluff. When you’re working all-over cables, yarn choice really matters—you want something smooth enough to show the stitches clearly but soft enough for everyday wear.
You’ll also need knitting needles that match your gauge, a cable needle for the repeated twists, stitch markers to keep your place, and a tapestry needle for finishing. These are all simple tools, but they make a big difference in keeping your project organized.
If you’ve ever knit cables that looked a little muddy or uneven, switching to a smoother yarn like this can completely change your results.

Once everything is set up, the knitting itself becomes really enjoyable.
It’s one of those projects where you can settle in and just keep going.
How do you work the cables in this Children’s Cable Turtleneck Sweater Knitting Pattern?
The cables in this Children’s Cable Turtleneck Sweater Knitting Pattern are worked in a repeating sequence, which makes them much easier to manage than they might seem. Instead of random cable sections, the pattern builds consistency across the entire sweater, so your hands quickly memorize the motion.
Because the sweater is worked bottom-up with set-in sleeves, you’ll move from knitting in the round to working flat for shaping. Paying attention to your stitch orientation and keeping track of your repeats is key here, especially when transitioning sections.
If you’ve knit something like the Youth Granite Sweater or another textured pullover, this will feel familiar—but with a little extra interest from the cables.

Take your time with the first repeat or two, and after that, it really clicks.
That’s usually when this pattern starts to feel fun instead of intimidating.
Looking for more free sweater knitting patterns like this?
If you love this style of free sweater knitting patterns, there are a few others that pair really well with this one:
• Grace Skirt
• Youth Saffron Pullover
• Child Dathan Pullover
• Youth Peter Sweater
• Youth Turtleneck Pullover
Each of these has its own texture or construction style, so you can keep building your skills without getting bored. Some lean more into lace, while others focus on structure or simple repeats.
They all share that same goal—wearable, practical knits that still feel special when you finish them.

his Children’s Cable Turtleneck Sweater Knitting Pattern fits right into that mix. It’s a great option when you want something classic that still feels rewarding to knit.
Grace Pullover Free Pattern
MATERIALS AND INFO
Size: 0-3m, 3-6m (6-12m, 12m) 18m, 24m (3/4y, 5/6y) 7/8y, 9/10y (11/12y, 13/14yrs)
Materials: Approximately 310, 365 (420, 460) 510, 550 (625, 720) 830, 965 (1095, 1240) yds of Hobbii Jade 328yds/100g, yarn needle, stitch markers
Needle Size: 7(US) 4.5mm circular needles and dpn, 5(US) 3.75mm circular and dpn
Gauge (tension): 22.5sts & 28 rows to make 10cm square, using size 7(US) 4.5mm needles working in the charted stitch pattern
Chest Measurement: 41, 44 (47, 50), 52, 54 (57, 61) 66, 72 (78, 84) cm or 16, 17.25 (18.5, 19.5) 20.5, 21 (22.5, 24) 26, 28.25 (30.75, 33) ins
METHOD
Grace Pullover is bottom-up set in sleeve pullover in an easy-care yarn. It is worked in the round until the sleeves. The sleeves are worked flat. Created for our 8th child, she wanted something soft and comfortable for winter to layer over dresses for our frigid Montana winters.
Abbreviations can be found on the last page.
Note: choose size based on chest measurement for best fit. Measurements above are measurement of the person not sweater measurements.
1X1 RIB PATTERN
Row 1 (right side row) – (k1, p1) across
Row 2 – knit all the knit stitches, purl all the purl stitches.
STITCH CHART

Row Instructions
Row 1 – k6, p1, k6, p1
Row 2 – k1, p6, k1, p6
Row 3 – k6, p1, k6, p1
Row 4 – k1, p6, k1, p6
Row 5 – k6, p1, k6, p1
Row 6 – k1, p6, k1, p6
Row 7 – k6, p1, k6, p1
Row 8 – k1, p6, k1, p6
Row 9 – cb3/3, p1, cf3/3, p1
Row 10 – k1, p6, k1, p6
In the Round Instructions
Row 1 – k6, p1, k6, p1
Row 2 – k6, p1, k6, p1
Row 3 – k6, p1, k6, p1
Row 4 – k6, p1, k6, p1
Row 5 – k6, p1, k6, p1
Row 6 – k6, p1, k6, p1
Row 7 – k6, p1, k6, p1
Row 8 – k6, p1, k6, p1
Row 9 – cb3/3, p1, cf3/3, p1
Row 10 – k6, p1, k6, p1
BODY
Cast on using smaller circular needle: 112, 126 (140, 140) 140, 154 (154, 168) 182, 196 (196, 210) sts. Join in the round.
Work in 1×1 ribbing for 2.5, 2.5 (3, 3) 3, 3 (4, 4) 4, 4 (4, 4)cms or 1, 1 (1.25, 1.25) 1.25, 1.25 (1.5, 1.5) 1.5, 1.5 (1.5, 1.5)ins.
Switch to larger needles.
Work in charted stitch pattern until piece measures 14, 15 (17.5, 19.5) 21, 22.5 (24, 26) 28.5, 30 (34, 36) cm or 5.5, 6 (7, 7.75) 8.5, 9 (9.5, 10.5) 11.5, 12 (13.5, 14.5) measuring from cast on.
On the last round before sleeves separation work 56, 63 (70, 70) 70, 77 (77, 84) 91, 98 (98, 105) sts place remaining 56, 63 (70, 70) 70, 77 (77, 83) 91, 98 (98, 105) sts on holder.
SEPARATE FOR ARMHOLE
You will now work flat.
Cast off 3, 4 (4, 4) 4, 5 (4, 4) 5, 5 (5, 6) sts at the beginning of the next 2 rows. [50, 55 (62, 62) 62, 67 (69, 76) 81, 88 (88, 93) sts]
Then decrease 1 sts at each end of the following 1, 2 (2, 2) 2, 2 (2, 2) 2, 3 (3, 2) rows. [48, 51 (58, 58) 58, 63 (65, 72) 77, 82 (82, 89) sts]
Then decrease 1 sts at each end of every other right side row 2, 2 (2, 2) 2, 2 (2, 2) 2, 2 (2, 2) times. [44, 47 (54, 54) 54, 59 (61, 68) 73, 78 (78, 85) sts]
Work in stitch chart pattern until piece measures 22.5, 24 (25, 28.5) 31, 32.5 (36, 40) 43.5, 47.5 (51, 55) cms or 9, 9.5 (10.5, 11.5) 12.5, 13 (14.5, 16) 17.5, 19 (20.5, 22) ins from cast on bottom edge.
SHAPE BACK SHOULDERS
Bind off 4, 4 (4, 4) 5, 5 (5, 6) 6, 7 (7, 7) sts at beginning of the next 2 rows.
Bind off 4, 4 (4, 4) 5, 5 (5, 6) 6, 7 (7, 7) sts at beginning of row, work in pattern for 7, 7 (8, 8) 7, 8 (8, 8) 9, 9 (10, 11) [8, 8 (9, 9) 8, 9 (9, 9) 10, 10 (11, 12) sts on right needle].
Put remaining sts on stitch holder.
Turn, bind off 3sts, work to end of row.
Turn, bind off remaining 5, 5 (6, 6) 5, 6 (6, 6) 7, 7 (8, 9) sts
With right side facing, rejoin yarn to stitches on hold, bind off 12, 15 (20, 20) 18, 21 (23, 26) 29, 30 (28, 31) knit remaining 12, 12 (13, 13) 13, 14 (14, 15) 16, 17 (18, 19) sts.
Turn, bind off 4, 4 (4, 4) 5, 5 (5, 6) 6, 7 (7, 7) sts work to end of row
Turn, bind off 3sts
Turn, bind off 5, 5 (6, 6) 5, 6 (6, 6) 7, 7 (8, 9) sts
SHAPE FRONT ARMHOLES
With larger needle pick up the 56, 63 (70, 70) 70, 77 (77, 84) 91, 98 (98, 105) sts on hold.
Cast off 3, 4 (4, 4) 4, 5 (4, 4) 5, 5 (5, 6) sts at the beginning of the next 2 rows. [50, 55 (62, 62) 62, 67 (69, 76) 81, 88 (88, 93) sts]
Then decrease 1 sts at each end of the following 1, 2 (2, 2) 2, 2 (2, 2) 2, 3 (3, 2) rows. [48, 51 (58, 58) 58, 63 (65, 72) 77, 82 (82, 89) sts]
Work 1 row.
Then decrease 1 sts at each end of every other right side row 2, 2 (2, 2) 2, 2 (2, 2) 2, 2 (2, 2) times. [44, 47 (54, 54) 54, 59 (61, 68) 73, 78 (78, 85) sts]
Work in stitch chart pattern until you have worked 20, 21 (24, 26) 29, 30 (34, 36) 40, 44 (47.5, 51) cm or 8, 8.5 (9.5, 10.5) 11.5, 12 (13.5, 14.5) 16, 17.5 (19, 20.5) measuring from cast on.
LEFT FRONT NECK SHAPING
Work 10, 16 (17, 18) 19, 20 (20, 22) 23, 26 (27, 29) sts, put remaining sts on holder, turn.
Decrease 1 st at neck edge of next 2, 2 (2, 2) 2, 2 (2, 2) 2, 3 (3, 4) rows.
Then decrease 1 st at neck edge of each right-side row 1, 1 (1, 2) 2, 2 (2, 2) 2, 2 (2, 2) times.
12, 13 (14, 14) 15, 16 (16, 18) 19, 21 (22, 23) sts remain.
Continue without shaping until work measures 22.5, 24 (25, 28.5) 31, 32.5 (36, 40) 43.5, 47.5 (51, 55) cms or 9, 9.5 (10.5, 11.5) 12.5, 13 (14.5, 16) 17.5, 19 (20.5, 22) ins from cast on bottom edge.
LEFT FRONT SHOULDER SHAPING
Starting on a right-side row, bind off 4, 4 (4, 4) 5, 5 (5, 6) 6, 7 (7, 7) sts, work across remains sts, turn.
Work 1 row with no decreases, turn.
Bind off 4, 4 (4, 4) 5, 5 (5, 6) 6, 7 (7, 7) sts, work across remains sts, turn.
Work 1 row with no decreases, turn.
Bind off remaining 5, 5 (6, 6) 5, 6 (6, 6) 7, 7 (8, 9) sts.
RIGHT FRONT NECK SHAPING
Rejoin yarn to work on stitch holder and bind off 12, 15 (20, 18) 16, 19 (21, 24) 27, 26 (24, 25) sts
Work to the end of the row.
Decrease 1 st at neck edge of next 2, 2 (2, 2) 2, 2 (2, 2) 2, 3 (3, 4) rows.
Then decrease 1 st at neck edge of each right-side row 1, 1 (1, 2) 2, 2 (2, 2) 2, 2 (2, 2) times.
12, 13 (14, 14) 15, 16 (16, 18) 19, 21 (22, 23) sts remain.
Continue without shaping until work measures 22.5, 24 (25, 28.5) 31, 32.5 (36, 40) 43.5, 47.5 (51, 55) cms or 9, 9.5 (10.5, 11.5) 12.5, 13 (14.5, 16) 17.5, 19 (20.5, 22) ins from cast on bottom edge.
RIGHT FRONT SHOULDER SHAPING
Starting on a wrong-side row, bind off 4, 4 (4, 4) 5, 5 (5, 6) 6, 7 (7, 7) sts, work across remains sts, turn.
Work 1 row with no decreases, turn.
Bind off 4, 4 (4, 4) 5, 5 (5, 6) 6, 7 (7, 7) sts, work across remains sts, turn.
Work 1 row with no decreases, turn.
Bind off remaining 5, 5 (6, 6) 5, 6 (6, 6) 7, 7 (8, 9) sts.
SLEEVES (MAKE 2)
With smaller needles, cast on 29, 31 (31, 31) 33, 35 (41, 43) 45, 45 (47, 49) sts.
Work for 2.5, 2.5 (2.5, 2.5) 3, 3 (3, 3) 4, 4 (4, 4) cms or 1, 1 (1, 1) 1.25, 1.25 (1.25, 1.25) 1.5, 1.5 (1.5, 1.5) ins in 1×1 ribbing.
Change to larger needles and begin working in charted stitch pattern as follows:
k0, 1 (1, 1) 2, 3 (3, 0) 1, 1 (2, 3) sts, p1, work charted stitch pattern 2, 2 (2, 2) 2, 2 (2, 3) 3, 3 (3, 3) times, then work first 7 sts of charted stitch pattern 0, 0 (0, 0) 0, 0 (1, 0) 0, 0 (0, 0) times, k0, 1 (1, 1) 2, 3 (2, 0) 1, 1 (2, 3) .
Work 2, 2 (2, 2) 2, 2 (4, 4) 4, 4 (4, 4) row in pattern.
SLEEVE INCREASES
Note: as you increase add more repeats of the stitch pattern as you can
Increase at each end of every other row 2, 0 (0, 0) 0, 0 (0, 0) 0, 0 (0, 0) times
Then increase every 4th row 3, 3 (4, 5) 3, 0 (0, 0) 0, 0 (0, 0) times
Then increase every 6th row 0, 1 (2, 2) 4, 3 (0, 0) 0, 0 (0, 0) times
Then increase every 8th row 0, 0 (0, 0) 0, 3 (0, 0) 0, 0 (0, 2) times
Then increase every 10th row 0, 0 (0, 0) 0, 0 (0, 0) 0, 5 (7, 7)
Then increase every 12th row 0, 0 (0, 0) 0, 0 (0, 4) 0, 2 (1, 0) times
Then increase every 14th row 0, 0 (0, 0) 0, 0 (4, 1) 4, 0 (0, 0) times
Then increase every 16th row 0, 0 (0, 0) 0, 0 (0, 0) 1, 0 (0, 0) times
39, 41 (43, 45) 47, 47 (49, 53) 55, 59 (63, 67) sts
Continue working in charted stitch pattern until your work measures 11, 12.5 (16, 17.5) 19, 20 (24, 26) 29, 32.5 (35, 37.5) cms or 4.5, 5 (6.5, 7) 7.5, 8 (9.5, 10.5) 11.5, 13, (14, 15) ins or desired length.
SLEEVE HEAD
Bind off 4, 4 (4, 4) 4, 5 (4, 4) 5, 5 (5, 6) sts of beginning of next 2 rows.
Decrease 1 st at each end of next 1, 2 (2, 2) 2, 2 (2, 2) 2, 3 (3, 2) rows.
Then every other row 2, 2 (2, 2) 2, 2 (2, 2) 2, 2 (2, 2) times.
Then every 4th row 0, 0 (0, 0) 0, 0 (0, 1) 2, 2 (2, 3) times.
Then every other row 1, 1 (1, 1) 2, 1 (2, 2) 2, 2 (4, 4) times.
Then decrease on the following 3, 3 (4, 4) 4, 4 (5, 5) 3, 4 (3, 3) rows.
Bind off remaining 17, 17 (17, 19) 19, 19 (19, 21) 23, 23 (25, 27) sts.
NECKBAND
Sew shoulder seams.
Pick up and knit 6, 6 (6, 7) 8, 8 (8, 8) 9, 11 (11, 11) sts down left front,
12, 15 (20, 18) 16, 19 (21, 24) 27, 28 (24, 25) sts across neck,
6, 6 (6, 7) 8, 8 (8, 8) 9, 11 (11, 11) sts up right front,
18, 21 (26, 26) 26, 29 (29, 32) 35, 36 (34, 37) sts around back.
Join in the round. 42, 48 (58, 58) 58, 64 (66, 72) 80, 84 (80, 84) sts
Neck rounds – work in k1p1 ribbing around
Continue repeating rounds until the neck measures 10, 10 (10, 12.5) 12.5, 12.5 (15, 15) 15, 15 (15, 15) cms or 4, 4 (4, 5) 5, 5 (6, 6) 6, 6 (6, 6) ins.
Bind off in pattern.
FINISHING
Sew remaining seams, weave in all ends and block as desired.
ABBREVIATIONS
cb3/3 – place the next 3 stitches on a cable needle and hold in back, knit the next 3 stitches, knit the 3 stitches on the cable needle
cf3/3 – place the next 3 stitches on a cable needle and hold in front, knit the next 3 stitches, knit the 3 stitches on the cable needle
CMS – centemeters
INS – inches
K – knit
K2tog – knit 2 stitches together
P – purl
PM – place marker
ssk – slip, slip, knit – slip the next stitch as if to knit, slip the next stitch as if to knit, knit the 2 slipped stitches together
SM – slip marker
ST – stitch
STS – stitches
Yo – yarn over
If you make this sweater—or even just have yarn picked out—I’d love to hear about it. Drop a comment below and tell me who you’re knitting this Children’s Cable Turtleneck Sweater Knitting Pattern for!
Affiliate disclaimer: This post contains affiliate links. If you purchase through these links, I may earn a small commission at no extra cost to you.