
This Free Cable Scarf Pattern is a beautiful addition to my free scarf and cowl knitting patterns because it gives you a classic cable project that looks detailed, textured, and timeless without being overly complicated.
If you have been wanting to try a cable scarf that feels a little more interesting than a plain rectangle, the Peter Scarf is such a fun one to cast on. It is worked flat, uses a diamond cable panel down the center, and has ribbed edges that give it a clean finished look. This Free Cable Scarf Pattern is especially helpful if you want to practice cabling in a project that is wearable, giftable, and easy to work on one row at a time.

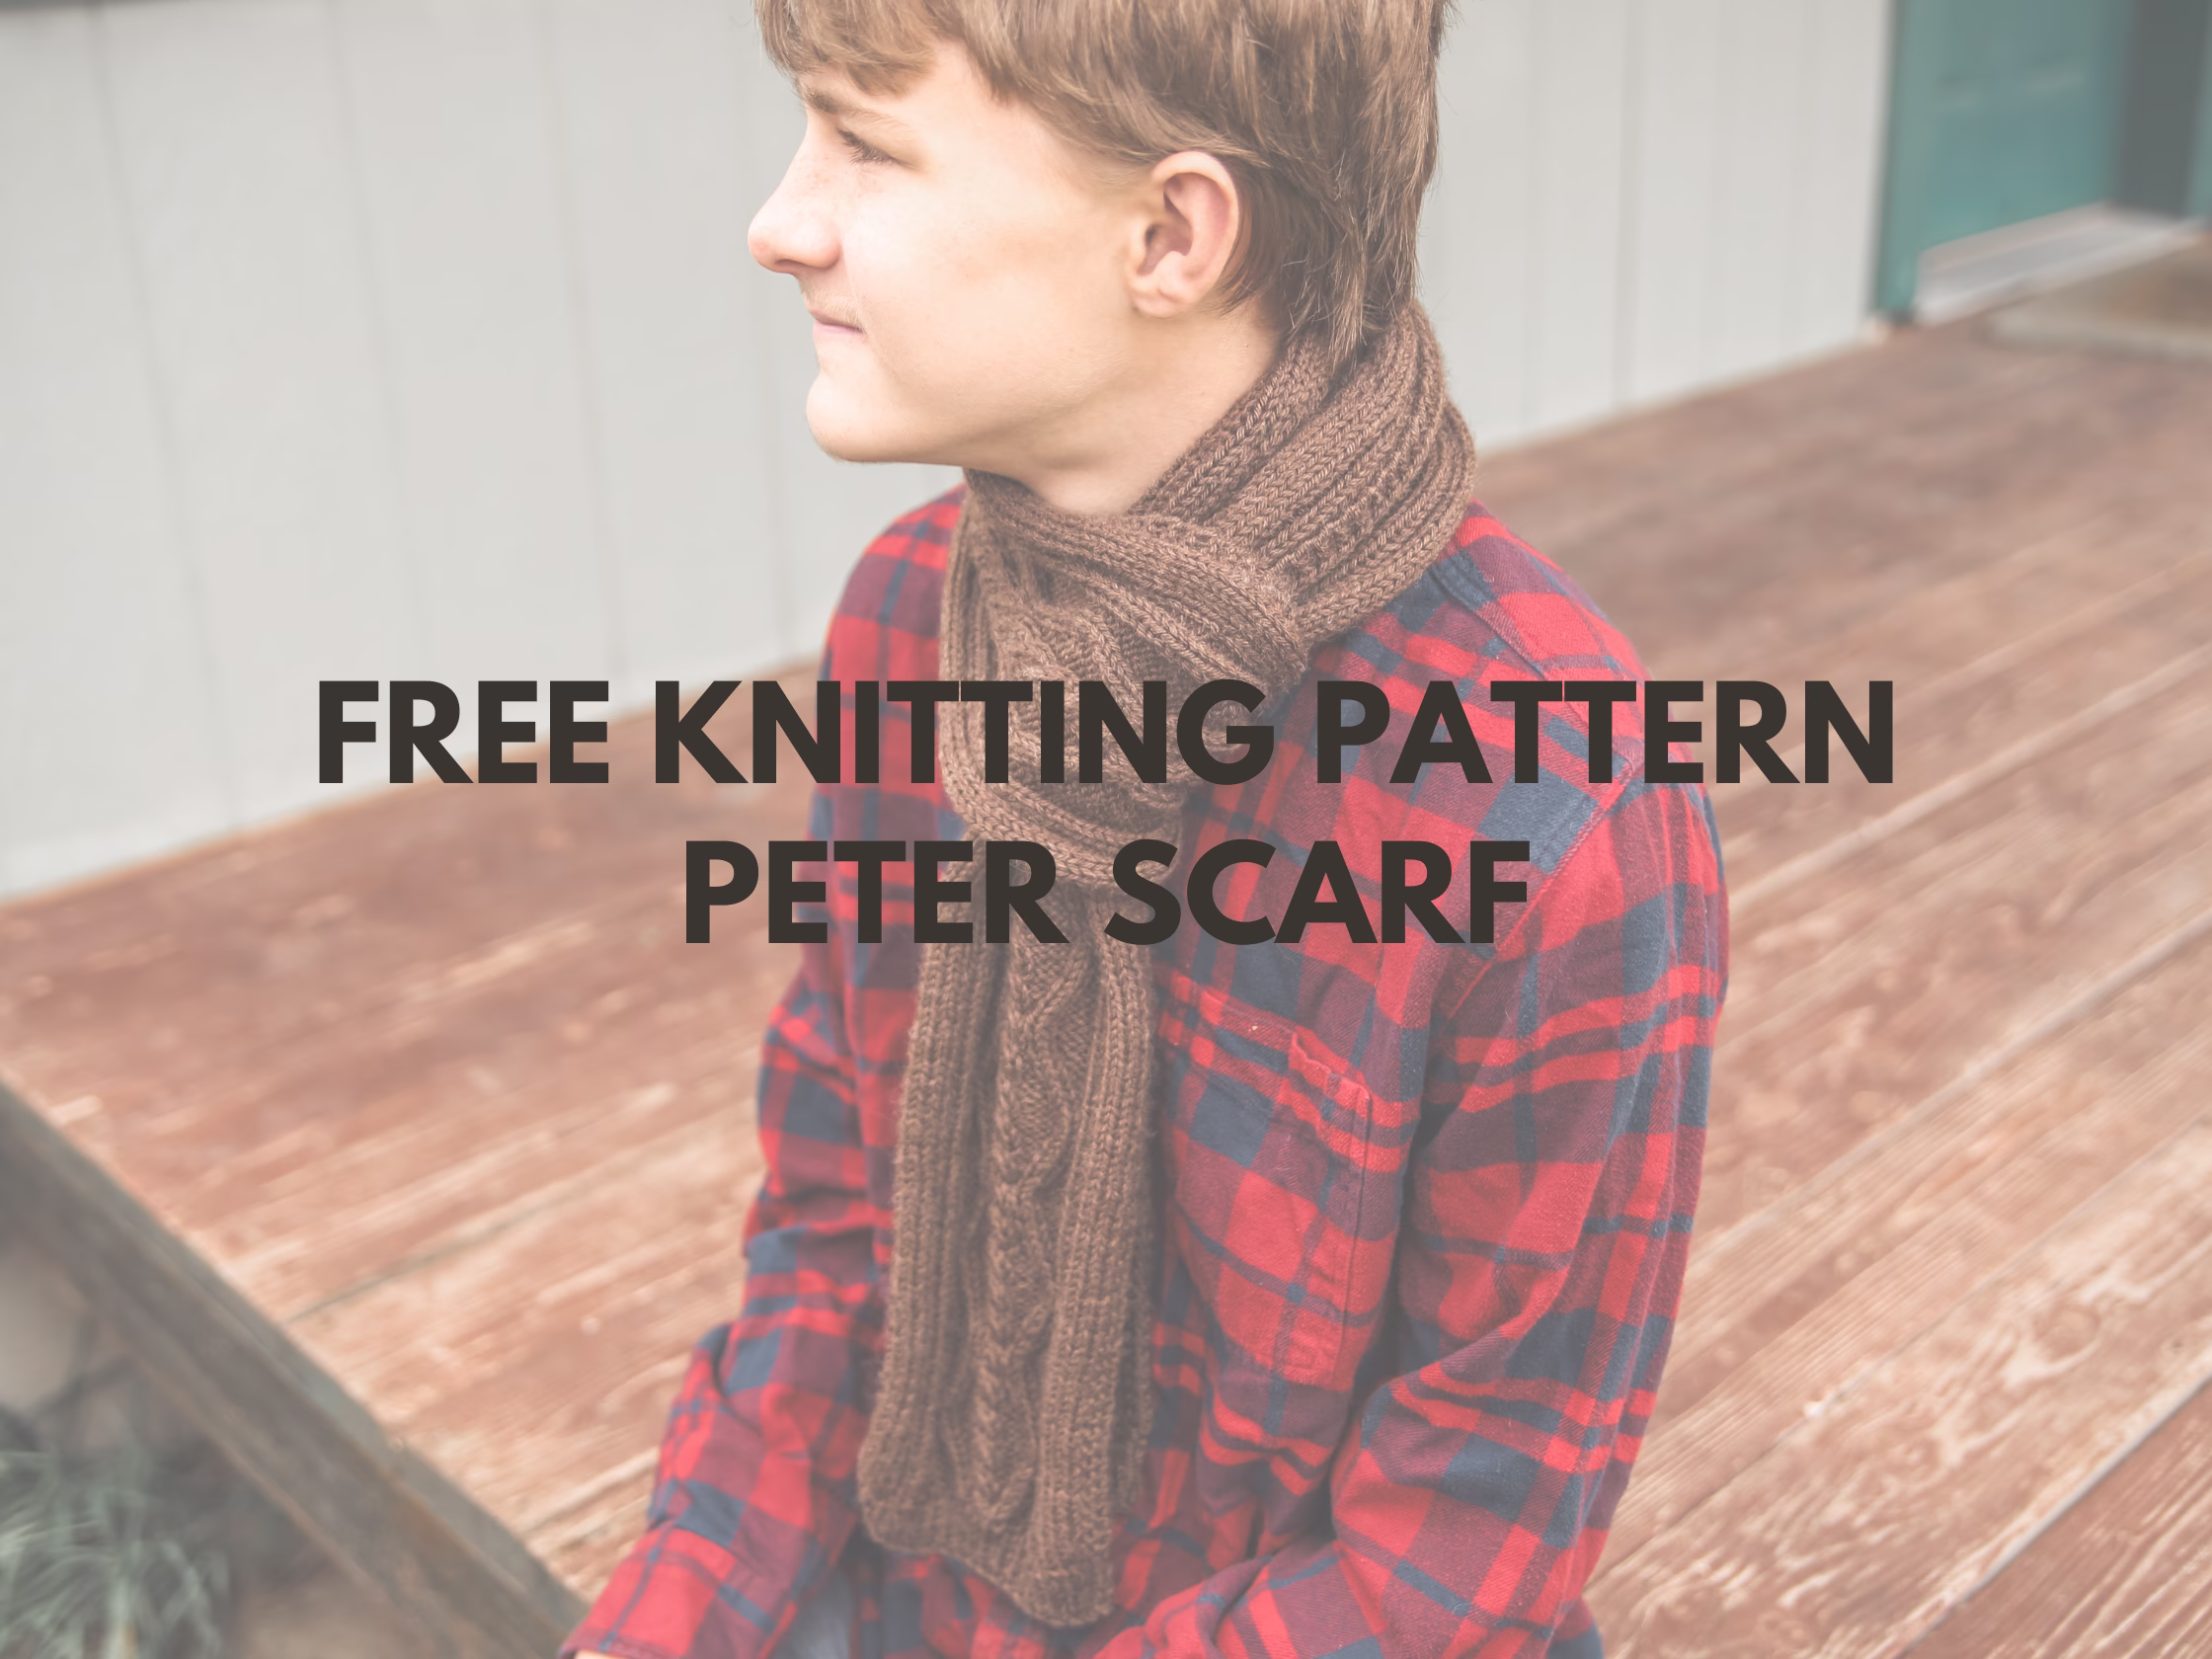
The Peter Scarf has that satisfying cable texture that makes a handmade scarf feel extra special.
It is simple enough to settle into once you learn the repeat, but interesting enough that you will not feel bored halfway through.
This scarf is also a great project if you want something that works well for men or women. The cable design has a classic look, and the finished scarf is long enough to wrap, drape, or wear with your favorite cold-weather outfits.
What Materials Do You Need for This Free Cable Scarf Pattern?
For this Free Cable Scarf Pattern, I used Berroco Vintage yarn and size 7 straight knitting needles. Berroco Vintage is a great choice for cable knitting because it gives the stitches enough structure to stand out while still making a soft, wearable scarf.
You will also need a yarn needle, scissors, and a cable needle or double-pointed needle to help work the cable crosses. Since this scarf is knit flat, you do not need circular needles unless you personally prefer using them for flat projects.

The yarn really does matter with a cable scarf pattern because you want those twists and diamonds to show clearly.
A smoother worsted weight yarn is usually the best choice for this kind of project because it lets the cable texture be the focus.
I love that this scarf uses a practical amount of yarn while still creating a substantial finished piece. It is the kind of project that feels special without requiring an overwhelming supply list.
How Do You Knit This Cable Scarf Pattern?
This Free Cable Scarf Pattern is knit flat from end to end in a traditional rectangular shape. You will start with ribbing, work the cable panel through the body of the scarf, and then finish with ribbing again so both ends match.
The center cable panel uses the same stitch pattern as my Peter Sweater, Peter Vest, Peter Socks, and Peter Purse. It has a diamond cable design that repeats down the scarf, so once you get comfortable with the chart or written instructions, the project starts to feel much easier.

If you are newer to cables, stitch markers can be really helpful for keeping the center panel separated from the edge stitches.
They make it easier to see where the cable section begins and ends, especially if you like to knit while watching something or chatting.
The biggest tip for this scarf is to keep your tension even around the cable crosses. Try not to pull too tightly right after a cable twist because that can make the fabric pucker more than you want.
What Other Cable Knitting Patterns Can You Make?
If you love this Free Cable Scarf Pattern, you may also want to try a few related cable knitting patterns from the same design family.
• Sarah Scarf
• Judah Scarf
• Cedar Scarf
These scarf patterns are great options if you love textured knitting and want more projects that are practical, wearable, and easy to gift.

The Peter Scarf also coordinates with several of my other Peter designs, including the Peter Sweater, Peter Purse, Peter Socks, and Peter Vest. They all use that same diamond cable style, so you can make a matching set or just enjoy the same cable texture in different types of projects.
Peter Scarf Free Pattern
Materials: Approximately 3 hanks Berroco Vintage Worsted 218yds/3.5oz, yarn needle, scissors
Needle Size: 7(US) 4.5mm straight needle
Gauge (tension): 24sts & 32 rows in garter stitch to make 10cm square, using size 7(US) 4.5mm needles in stockinette
Finished Measurement Laid Flat
7x72ins (15x150cms)

METHOD
This scarf is knit flat using the same stitch pattern as Peter Sweater, Vest, Socks, and Purse There are both charted and written instructions for the stitch pattern.

Row 1 (right side) – p4, 2/1RPC, 2/2LC, 2/1LPC, p4
Row 2 – k4, p2, k1, p4, k1, p2, k4
Row 3 – p3, 2/1RPC, p1, k4, p1, 2/1LPC, p3
Row 4 – k3, p2, k2, p4, k2, p2, k3
Row 5 – p2, 2/1RPC, p2, 2/2LC, p2, 2/1LPC, p2
Row 6 – k2, p2, k3, p4, k3, p2, k2
Row 7 – p1, 2/1RPC, p3, k4, p3, 2/1LPC, p1
Row 8 – k1, p2, k4, p4, k4, p2, k1
Row 9 – 2/1RPC, p4, 2/2LC, p4, 2/1LPC
Row 10 – p2, k5, p4, k5, p2
Row 11 – 2/1LPC, p4, k4, p4, 2/1RPC
Row 12 – k1, p2, k4, p4, k4, p2, k1
Row 13 – p1, 2/1LPC, p3, 2/2LC, p3, 2/1RPC, p1
Row 14 – k2, p2, k3, p4, k3, p2, k2
Row 15 – p2, 2/1LPC, p2, k4, p2, 2/1RPC, p2
Row 16 – k3, p2, k2, p4, k2, p2, k3
Row 17 – p3, 2/1LPC, p1, 2/2LC, p1, 2/1RPC, p3
Row 18 – k4, p2, k1, p4, k1, p2, k4
Row 19 – p4, 2/1LPC, k4, 2/1RPC, p4
Row 20 – k5, p8, k5
Scarf Instructions
Cast on 40sts
Work in a k1p1 ribbing for 1ins/2.5cms
Set up row (right side) – k7, p2, k2, p2, pm (this marker is for the above stitch chart), p5 (k1, m1) 4 times, p5, pm (this is the 2nd marker for the above stitch chart), p2, k2, p2, k7 (44sts)
Row 1 (wrong side) – k3, p4, k2, p2, k2, sm, work row 20 of the stitch chart pattern above, sm, k2, p2, k2, p4, k3
Continue in pattern repeating rows 1-20 of the stitch chart pattern between your markers until you have 71ins/177.5cms or desired length (just remember, if you knit for longer you will use more yarn!) ending after completing a row 1.
In k1p1 ribbing work 18sts, (k2tog, p2tog) 2 times, work 18sts in k1p1 ribbing (40sts)
Continue in k1p1 ribbing for 1 in/2.5 cms.
Bind off in pattern. Weave in all ends and block as desired.
ABBREVIATIONS
cm(s) – centimeters
in(s) – inches
K – knit
K2tog – knit 2 stitches together
M1 – make 1 – lift the strand front to back between the stitch on your right and left needles and knit that strand
P – purl
P2tog – purl 2 stitches together
pm – place marker
sm – slip marker
st(s) – stitch(es)
2/2LC – slip the next 2 sts onto cable needle and hold at front of work, k2 from left needle, k2 from cable needle
2/1LPC – slip the next 2sts onto cable needle and hold at front of work, p1 from left needle, then k2 from cable needle
2/1RPC – slip, the next st onto cable needle and hold at back of work, k2 from left needle, p1 from cable needle

A Free Cable Scarf Pattern like this is one of those projects that feels useful from the very first row. It is relaxing enough for repeat knitting, but still has enough detail to make the finished scarf feel extra special.
Are you a cable-loving knitter, or is this your first time trying cables? Tell me in the comments what yarn you are using for your Peter Scarf!
This post contains affiliate links, which means I may earn a small commission if you purchase through them at no extra cost to you. Thank you for supporting my work and helping me keep free patterns coming!