
This free long cardigan knitting pattern—Free Long Cardigan Knitting Pattern: Introducing the Rosemary Cardigan—sits right alongside my growing collection of free sweater knitting patterns designed for real life.
If you’ve been searching for a cardigan that actually feels good to wear, fits comfortably over everyday outfits, and doesn’t leave you constantly tugging or adjusting, this one solves that problem. The Rosemary Cardigan is oversized, practical, and built for layering, giving you that throw-it-on-and-go piece you’ll reach for again and again. If a free long cardigan knitting pattern that combines comfort, coverage, and simple construction has been on your list, you’re in the right place.

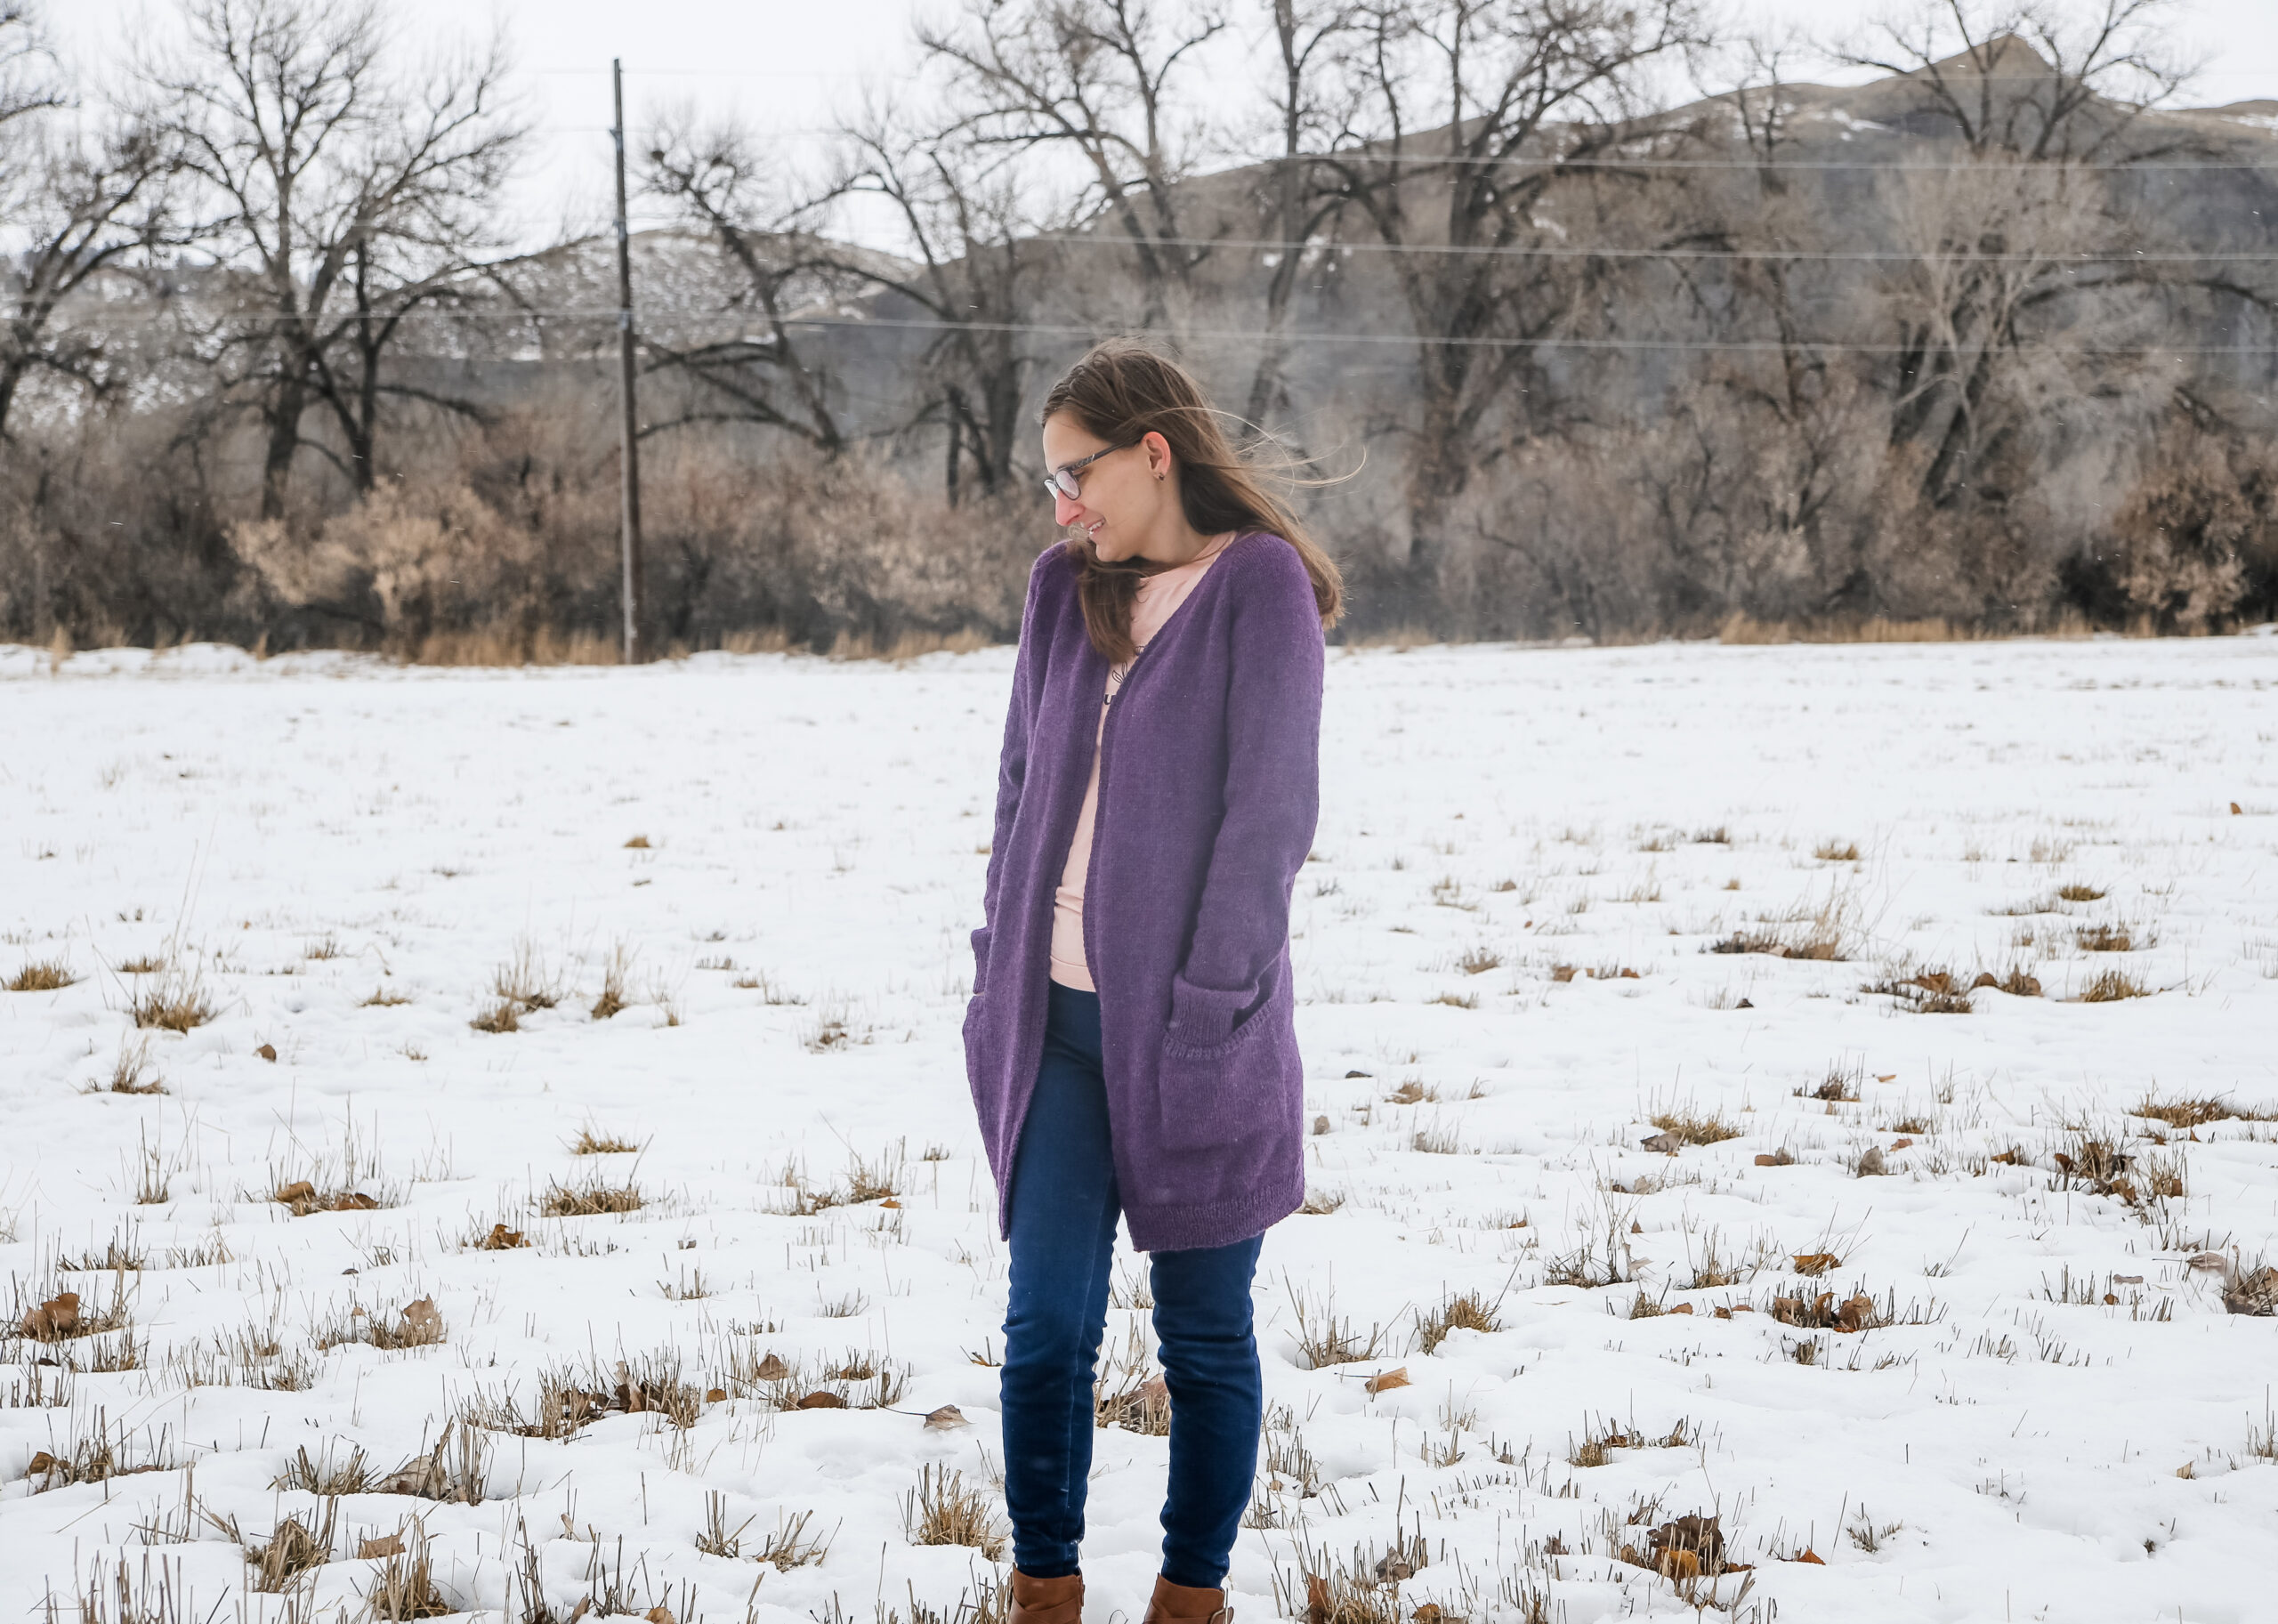
If you want a cardigan that works with leggings, jeans, or whatever you grabbed that morning, this is it. It’s designed to feel easy, wearable, and actually useful in your day-to-day life.
It’s the kind of knit you’ll keep by the door—and probably wear more than anything else you’ve made.
What materials do you need for this free long cardigan knitting pattern?
For this free long cardigan knitting pattern, I used KnitPicks Upcycle Alpaca, which is discontinued but a great replacement is Berroco Ultra Alpaca. It’s a great choice for an oversized cardigan because it keeps the fabric soft and wearable while still holding its shape nicely. You’ll also need circular needles for the body and double-pointed needles for the sleeves, along with stitch markers to keep your raglan increases on track.
The yarn choice really makes a difference here. A soft, slightly structured yarn helps the cardigan drape well without stretching out too much over time.
You’ll end up with a piece that feels just as good months later as it did the day you finished it.

Once you have your materials ready, everything else flows pretty smoothly. This design keeps things simple so you can actually enjoy the process.
How does this free long cardigan knitting pattern come together?
This free long cardigan knitting pattern is worked top-down with a raglan construction, which means you can try it on as you go and adjust the length exactly how you want it. The V-neck shaping and open front give it that easy, flattering fit, while the stockinette body keeps the knitting relaxing and straightforward.
One of my favorite parts is how the pockets are built right into the design. They’re placed exactly where you want them and deep enough to actually be useful.
If you’ve knit a raglan before, this will feel very familiar. If you haven’t, this is a great place to start because the structure is clear and easy to follow.

By the time you split for sleeves, it really starts to feel like a cardigan. From there, it’s just smooth, satisfying knitting all the way down.
Looking for more free long cardigan knitting pattern ideas?
If you’re loving this free long cardigan knitting pattern, there are a few more you’ll definitely want to check out:
• Joanna Cardigan
• Lodge Cardigan
• September Cardigan
• Wheat Cardigan
• Youth Rosemary Cardigan
Each one has its own feel, but they all stick to the same idea—simple construction, wearable designs, and pieces you’ll actually use.
If you like having options depending on yarn weight or style, this is a great little lineup to work through.

The Rosemary Cardigan really stands out for its length and oversized fit. It’s the one you grab when you want full coverage and a little extra comfort.
Rosemary Cardigan Free Pattern
Size: XS, S (M, L) XL, 2X (3X, 4X)
Materials: Approximately 8, 8 (9, 10) 11, 12 (13, 14) balls of KnitPicks Upcycle Aplaca (219y/100g), needle, stitch markers
Needle Size: 7(US) 4.5mm circular needles and dpn, 6(US) 4mm dpn and a long (36in or more) circular needle
Gauge (tension): 22sts & 32 rows to make 10cm square, using size 7(US) 4.5mm needles working in stockinette stitch
Chest Measurement: 74, 78 (82, 90) 98, 107, (119, 131) cm
METHOD
This pattern a v-neck raglan worked flat from the top down with 15cm of ease. The sleeves are held and then picked up and worked in the round. The main body is knit in stockinette stitch while the edges are worked in a 1×1 rib pattern.
1X1 RIB PATTERN
Row 1 (right side row) – (k1, p1) across Row 2 – knit all the knit stitches, purl all the purl stitches.
RAGLAN INCREASES Inc row – [knit to 1 st before next marker, m1r, k1, sm, k1, m1l] repeat [to] 3 more times, then knit to the end of the row. 8sts increased.


YOKE
Cast on with U.S. 7 circular needle: 58, 58 (60, 62) 64, 66 (70, 72) sts
Do not join.
Set up row (wrong side) – p2, pm, 6, pm, p42, 42 (44, 46) 48, 50 (54, 56), pm, p6, pm, p2
Raglan shaping and neckline shaping are worked AT THE SAME TIME so make sure to read both sections before moving forward.
NECKLINE SHAPING
Sts are increased at the beginning and end of each row to shape the front neck as follows: k1, m1l, work across to last st, m1r, k1 Start front neck shaping after working 2 rows (after the set-up row). Increase 1 st as above every following right-side row for a total of 19, 19 (20, 21) 22, 23 (25, 26) times.
RAGLAN SHAPING
Work raglan increases as described in METHOD section each following row 0, 0 (0, 0) 0, 0 (14, 20) then each following right-side row only 19, 21, (20, 27) 33, 37 (31, 29) times, then every other right-side row 6, 5 (6, 3) 0, 0 (0, 0) times
STITCH COUNT CHECK
Once all the raglan and neck increases have been completed you will have 288, 304 (308, 344) 372, 408 (480, 516) sts on your needles divided as follows: 45, 47 (48, 53) 57, 62 (72, 77) sts (front), 54, 58 (58, 66) 72, 80 (96, 104) sts (sleeve), 90, 94 (96, 106) 114, 124 (144, 154) sts (back), 54, 58 (58, 66) 72, 80 (96, 104) sts (sleeve), 45, 47 (48, 53) 57, 62 (72, 77) sts (front)
DIVIDE FOR SLEEVES
Remove markers as you get to them. Knit across the 45, 47 (48, 53) 57, 62 (72, 77) left front sts, place the next 54, 58 (58, 66) 72, 80 (96, 104) sts on a holder or waste yarn (left sleeve), cast on using the backwards loop method 8, 8 (10, 10) 10, 10 (10, 10) sts (left underarm), knit 90, 94 (96, 106) 114, 124 (144, 154) sts (back), place the next 54, 58 (58, 66) 72, 80 (96, 104) sts on a holder or waste yarn (right sleeve), cast on using the backwards loop method 8, 8 (10, 10) 10, 10 (10, 10) sts (right underarm), knit 45, 47 (48, 53) 57, 62 (72, 77) sts (right front). 196, 204 (212, 232) 248, 268 (308, 328) sts
SWEATER BODY
Work in stockinette until piece measures 30, 30 (31, 31) 31, 31 (32, 32) cm measuring from underarm.
POCKETS
Knit 20, pm, place the next 35 stitches on a holder, cast on 35 using knit cast on, pm knit 86, 94 (102, 122) 138, 158 (198, 218), pm, place the next 35 stitches on a holder, cast on 35 using knit cast on, pm, knit the remaining 20 stitches.
Work in stockinette st to marker, sm, work in k1p1 ribbing to marker, sm, work in stockinette stitch to marker, sm, work in k1p1 ribbing to marker, sm, work in stockinette stitch across.
Continue as above until you have 2cms of ribbing on the pockets.
Work to 53, 53, (54, 54) 54, 54 (55, 55) cm or until desired length measuring from underarm removing pocket markers.
Work in 1×1 rib for 5 cm. Bind off all sts in pattern.
SLEEVES
Work each sleeve one at a time as follows: Pick up 4, 4 (5, 5) 5, 5 (5,5) sts from underarm, knit 54, 58 (58, 66) 72, 80 (96, 104) sts of the sleeve on the holder, pick up 4, 4 (5, 5) 5, 5 (5, 5) sts from underarm on to U.S. 7 double pointed needles, place marker at center underarm to keep track of the beginning of round. 62, 66 (68, 76) 82, 90 (106, 114) sts
DECREASES
Decrease 1 st at each side of marker every 10th round 8, 10 (10, 3) 0, 0 (0, 0) times, then every 8th round 0, 0, (0, 10) 10, 2 (0, 0) then every 6th round 0, 0 (0, 0) 5, 16, (8, 2) then every 4th round 0, 0 (0, 0) 0, 0 (16, 25) [46, 46 (48, 50) 52, 54 (58, 60) sts].
Continue without increasing in stockinette st until sleeve measures 37, 37.5 (38, 39) 40, (41 cm or desired length measuring from underarm.
CUFF
Work in 1×1 rib for 5 cm. Bind off in pattern.
APPLIED RIBBED EDGING
Pick up 1 stitch for each row along front and neck using the size 6 circular needle.
Cast on 9 sts, turn (wrong side now facing) work 1×1 ribbing for 8sts starting with purl, purl together the last cast on band stitch with the first picked up stitch. Turn, knit together the next picked up stitch with the first cast on band stitch. Continue in this pattern until all picked up stitches have been worked.
I have a short on youtube to show I how I did this BUT I am left handed so it may appear backwards to you. It will give you a better idea of how to do this if you haven’t made an applied band though. You can find it here.
Bind off in established rib pattern.
POCKETS (MAKE 2)
Pick up the 35 stitches on hold.
Work in stockinette stitch for 16cms.
Bind off.
FINISHING Sew pockets down. Weave in all ends and block as desired.

Abbreviations
k – knit
P – purl
pm – place marker
sm – slip marker
k2tog -knit 2 stitches together
ssk – slip next st knitwise, slip next st knitwise, place stitches back onto left needle, knit both slipped sts together
m1l – pick up from front to back the strand between the 2sts on your needles, knit through back loop
m1r – pick up from back to front the strand between the 2sts on your needles, knit through the front loop

If you end up making this one, I’d love to hear how it turned out for you. Leave a comment and tell me what yarn you used or how you styled it—I always enjoy seeing your versions!
Disclaimer: This page contains affiliate links. If you choose to make a purchase after clicking a link, I may receive a commission at no additional cost to you.