
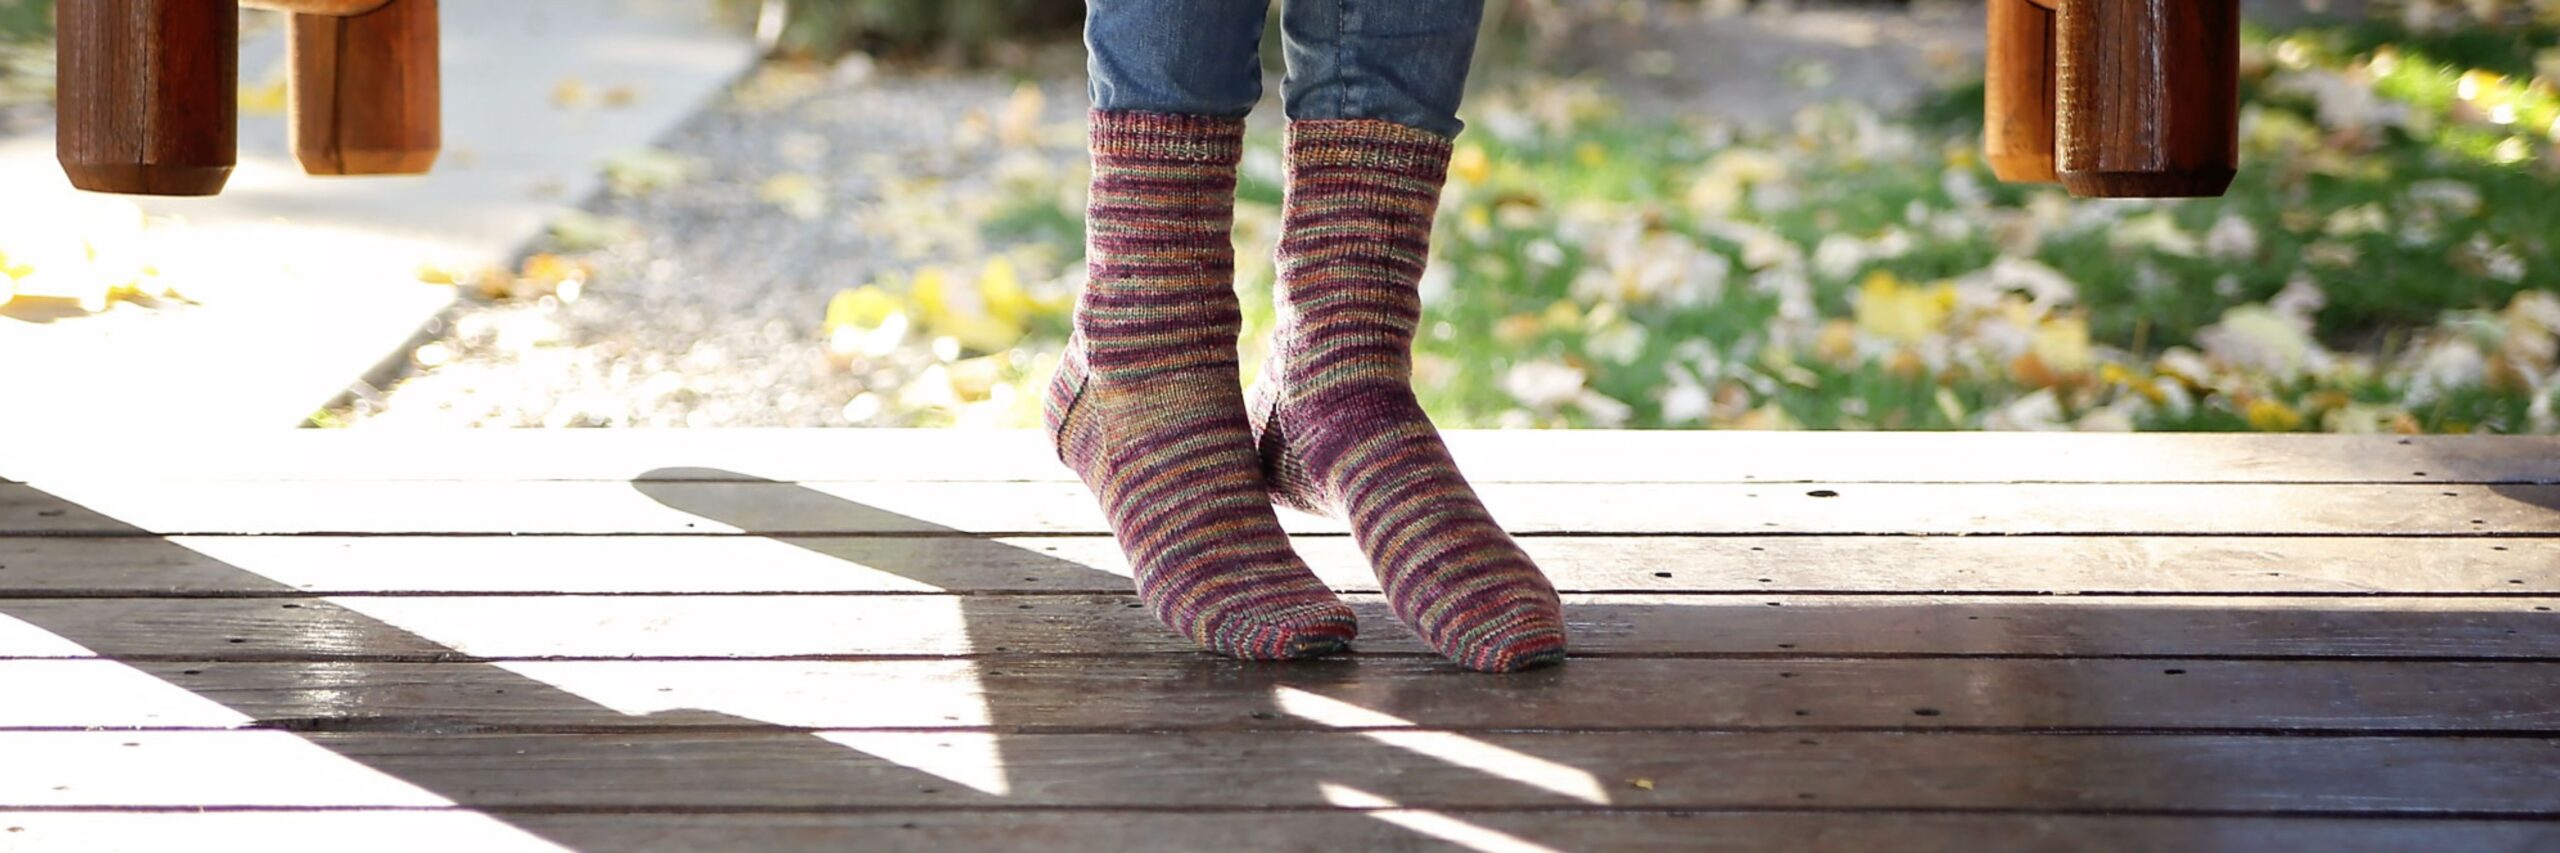
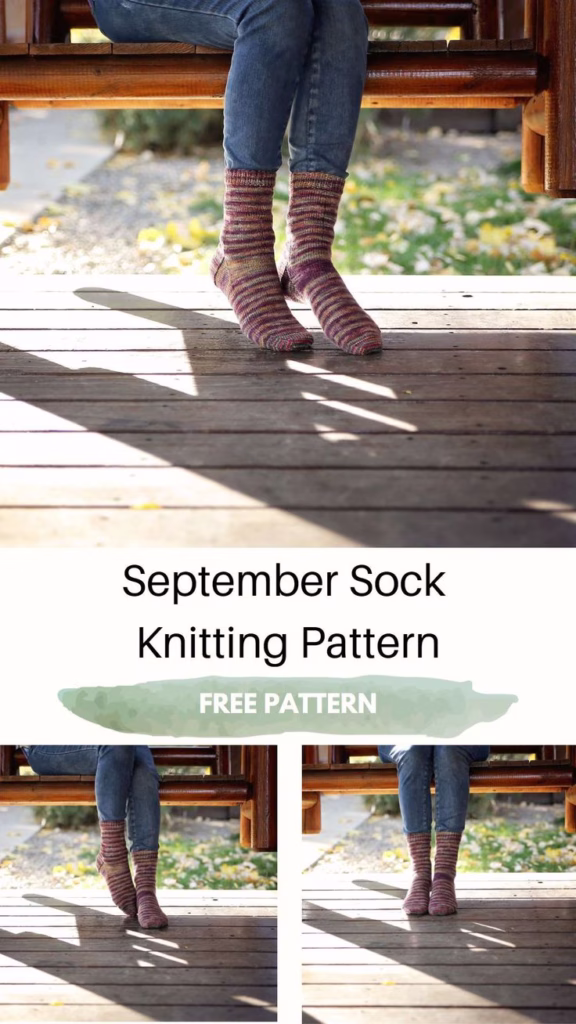
If you are looking for a top down free sock pattern that is simple, classic, and endlessly wearable, these September Socks are one of my favorite free sock knitting patterns to keep in rotation.
They feature a traditional top down heel flap construction with smooth stockinette throughout, making them a fantastic option for knitters who want a relaxing project without complicated stitch work. Because the pattern includes sizes from baby through large adult, you can knit matching socks for the whole family from one pattern.
This top down free sock pattern is especially great when you want a dependable vanilla-style sock that lets beautiful yarn do all the talking. Whether you are using self-striping yarn, speckles, or solids, the simple stockinette design shows it off perfectly while still giving you a polished finished sock.
These socks are the kind of pattern I come back to over and over when I want a mindless knit that still turns out beautifully. They are easy to customize, easy to wear, and perfect for gift knitting. If you have been searching for a staple sock pattern to keep in your library, this one checks all the boxes.
A good vanilla sock pattern is something every knitter should have on hand, and this one was designed to be exactly that. Straightforward construction, multiple sizes, and timeless style make it one of those patterns you will use for years.
What Materials Do You Need for This Top Down Free Sock Pattern?
To knit this top down free sock pattern, you will need the following materials:
- Malabrigo Sock Yarn
- Premier Fruits Yarn
- Premier Farmstand Yarn
- KnitPicks Felici Yarn
- 2.25 mm Double Pointed Needles
I love using simple stockinette sock patterns like this when I have a particularly fun skein of yarn waiting in my stash. Self-striping and hand-dyed yarns both look fantastic in these because the stitch pattern stays out of the way and lets the color shine.
Because this pattern uses fingering weight sock yarn, you can also experiment with nearly any favorite sock base you already have on hand. It is a wonderful stash-buster for single skeins.

The best part is that once you have knit one pair, you will likely memorize the pattern and be able to knit them almost without thinking. That is my favorite kind of sock pattern.
How Is This Top Down Free Sock Pattern Constructed?
This top down free sock pattern begins at the cuff and works downward using a classic heel flap and gusset construction. If you enjoy traditional sock knitting methods, this pattern will feel very familiar and comfortable to work.
The all-over stockinette makes these socks beginner-friendly for knitters who are ready to move beyond basic rectangles and hats into sock knitting. Since there is no lace or cable pattern to keep track of, you can focus entirely on learning sock construction and fit.
If you are newer to socks, this is also a great confidence-building pattern because the straightforward design makes it easy to see where each part of the sock is forming. That can make heel turns and gussets feel much less intimidating.

Once you understand the structure of this sock, you can use the same knowledge across many other top down sock patterns. It is a fantastic foundational project.
Looking for More Sock Patterns Like This One?
If you enjoy this pattern, here are a few more sock patterns you may love:
These patterns all build on similar sock-knitting skills while giving you different styles, constructions, and design details to try next. If you love knitting socks as much as I do, working through several related patterns is a great way to build confidence and improve your technique.
Whether you prefer cuff-down socks, toe-up socks, ribbed socks, or textured socks, having a collection of go-to patterns makes gift knitting and wardrobe knitting so much easier.

The September Socks are one of those patterns that prove simple does not have to mean boring. A well-fitting vanilla sock in gorgeous yarn will always be a winner.
September Socks Pattern
| MATERIALS & INFO Materials: Yarn: 120 (180, 240), 300, 320, (380, 480) yards fingering / sock weight yarn Needles: US #1 / 2.25mm DPNs (or circular for magic loop) Notions: stitch markers, needle Gauge: 8sts x 11rows per inch sizing: baby (toddler, child,) lg child, adult S, (M, L) Finished measurements (unstretched): Cuff (around): 5 (5.5, 6.5) 7, 7.5, (8, 9)” Leg Length (adjustable): 2.5 (3.5, 4) 4.5, 5, (6, 7)” Foot Length (adjustable): 4 (6, 7.25), 8, 9, (10, 11.25)” | PATTERN NOTES September Socks were designed for my own family. I wanted to have warm socks I could knit up fast for our first winter in our new home in Montana. I chose to use Cozy Toes by Yarn Bee since it is an inexpensive option and washes extremely well knowing that my kids tend to be rough on their clothes. Model sizes are toddler (wears a child size 8 shoe) and lg child (wears child size 1 and 2) Abbreviations can be found on the last page. |
Cuff
Cast on 40 (44, 52) 56, 60, (64, 72) sts, join for working in the round. Work in 1×1 rib (k1, p1) for 8 (8, 10) 10, 12, (12, 14) rounds.
Work in stockinette until piece measures 2.5 (3.5, 4) 4.5, 5, (6, 7)” from cast on,
Heel Flap
Next round: k20 (22, 26), 28, 30, (32, 36), then place these sts on hold. You will work the heel flap on the next k20 (22, 26), 28, 30, (32, 36), sts.
Row 1 (RS): sl1, knit to end, turn work
Row 2 (WS): sl1, purl to end, turn work
Repeat rows 1-2 a total of 8 (10, 12), 13, 14, (16, 18) times.
This is a total of 16 (20, 24), 26, 28, (32, 36) rows.
Heel Turn
Row 1 (RS): sl1, k12 (12, 14), 15, 16, (18, 20), ssk, k1, turn work
Row 2 (WS): sl1, p7 (5, 5) 5, 5, (7, 7), p2tog, p1, turn work
Row 3: sl1, knit to 1 st before the gap, ssk, k1, turn work
Row 4: sl1, purl to 1 st before the gap, p2tog, p1, turn work
Repeat rows 3-4 until all stitches have been worked: 14 (14, 16), 16, 18, (20, 22) sts remain.
Knit across these heel stitches slipping the first st.
Gusset
Pick up and knit 9 (11, 13), 14, 15, (17, 19) sts along the edge of heel flap, PM, k20 (22, 26), 28, 30, (32, 36), PM, pick up and knit 9 (11, 13), 14, 15, (17, 19) sts along heel flap, k7 (7, 8) 8, 9, (10, 11) sts, mark the new BOR (located at the bottom of the foot). [52 (58, 68) 72, 78, (86, 96) sts]
Round 1: knit
Round 2: knit to 3 sts before marker, k2tog, k1, sm, k20 (22, 26), 28, 30, (32, 36), sm, k1, ssk, knit to end [2 sts dec]
Work rounds 1-2 a total of 6 (7, 8) 8, 9, (11, 12) times. [40 (44, 52) 56, 60, (64, 72) sts]
Foot
Shift beginning of round (BOR) remove marker as follows: remove marker, k10 (11, 13) 14, 15, (16, 18), place marker – this is the new BOR, located at the side of the foot.
Keep the second marker after the instep stitches in place.
Continue working in the round, keeping the top of foot in pattern, until the piece measures 3 (5, 6) 6.5, 7, (8, 9)” from back of heel, or 1 (1, 1.5) 1.75, 2, (2, 2.25)” short of desired foot length.
Round 1: k1, ssk, knit to 3 sts before marker, k2tog, k2, ssk, knit to 3 sts before end of round, k2tog, k1 [4 sts dec]
Round 2: knit
Work rounds 1-2 a total of 5 (6, 7) 8, 9, (9, 10) times. until 16 (16, 20) 20, 20, (24, 24) sts remain.
Cut yarn leaving a 12” tail, then graft toe using Kitchener stitch.
Weave in all ends
Kitchener stitch:
Place half the stitches on one needle, half the stitches on the other needle, (top and bottom NOT side to side)
Cut yarn (leaving a long yarn tail) and thread through a blunt needle. Set-up steps: Insert needle purlwise (back to front) through the first st on front needle, leaving the st on the needle. Then insert needle knitwise (front to back) through the first st on the back needle, leaving the st on the needle. Step 1: Insert needle knitwise through first st on front needle, then slip this st off the needle.
Step 2: Insert needle purlwise through the second st on front needle, leaving the st on the needle.
Step 3: Insert needle purlwise through first st on back needle, then drop this stitch off the needle.
Step 4: Insert needle knitwise through second st on back needle, leaving the st on the needle.
From this point to the end, repeat steps 1-4.
Kitchener stitch can be intimidating, but you get into a rhythm:
Front needle: knitwise drop off, purlwise leave on,
Back needle: purlwise drop off, knitwise leave on,
Repeat!
At the end of the row, there is only 1 stitch left on each needle.
Work steps 1 and 3 once more.
| ABBREVIATIONS k – knit P – purl sm – slip maker pm – place marker st – stich sts – stitches k2tog -knit 2 stitches together ssk – slip next st knitwise, slip next st knitwise, place stitches back onto left needle, knit both slipped sts together |
If you knit a pair of September Socks, I would love to hear what yarn you used in the comments. Tell me—are you a self-striping sock yarn knitter, or do you prefer solids and speckles?
This post may contain affiliate links, which means I may earn a small commission at no extra cost to you if you purchase through those links.