
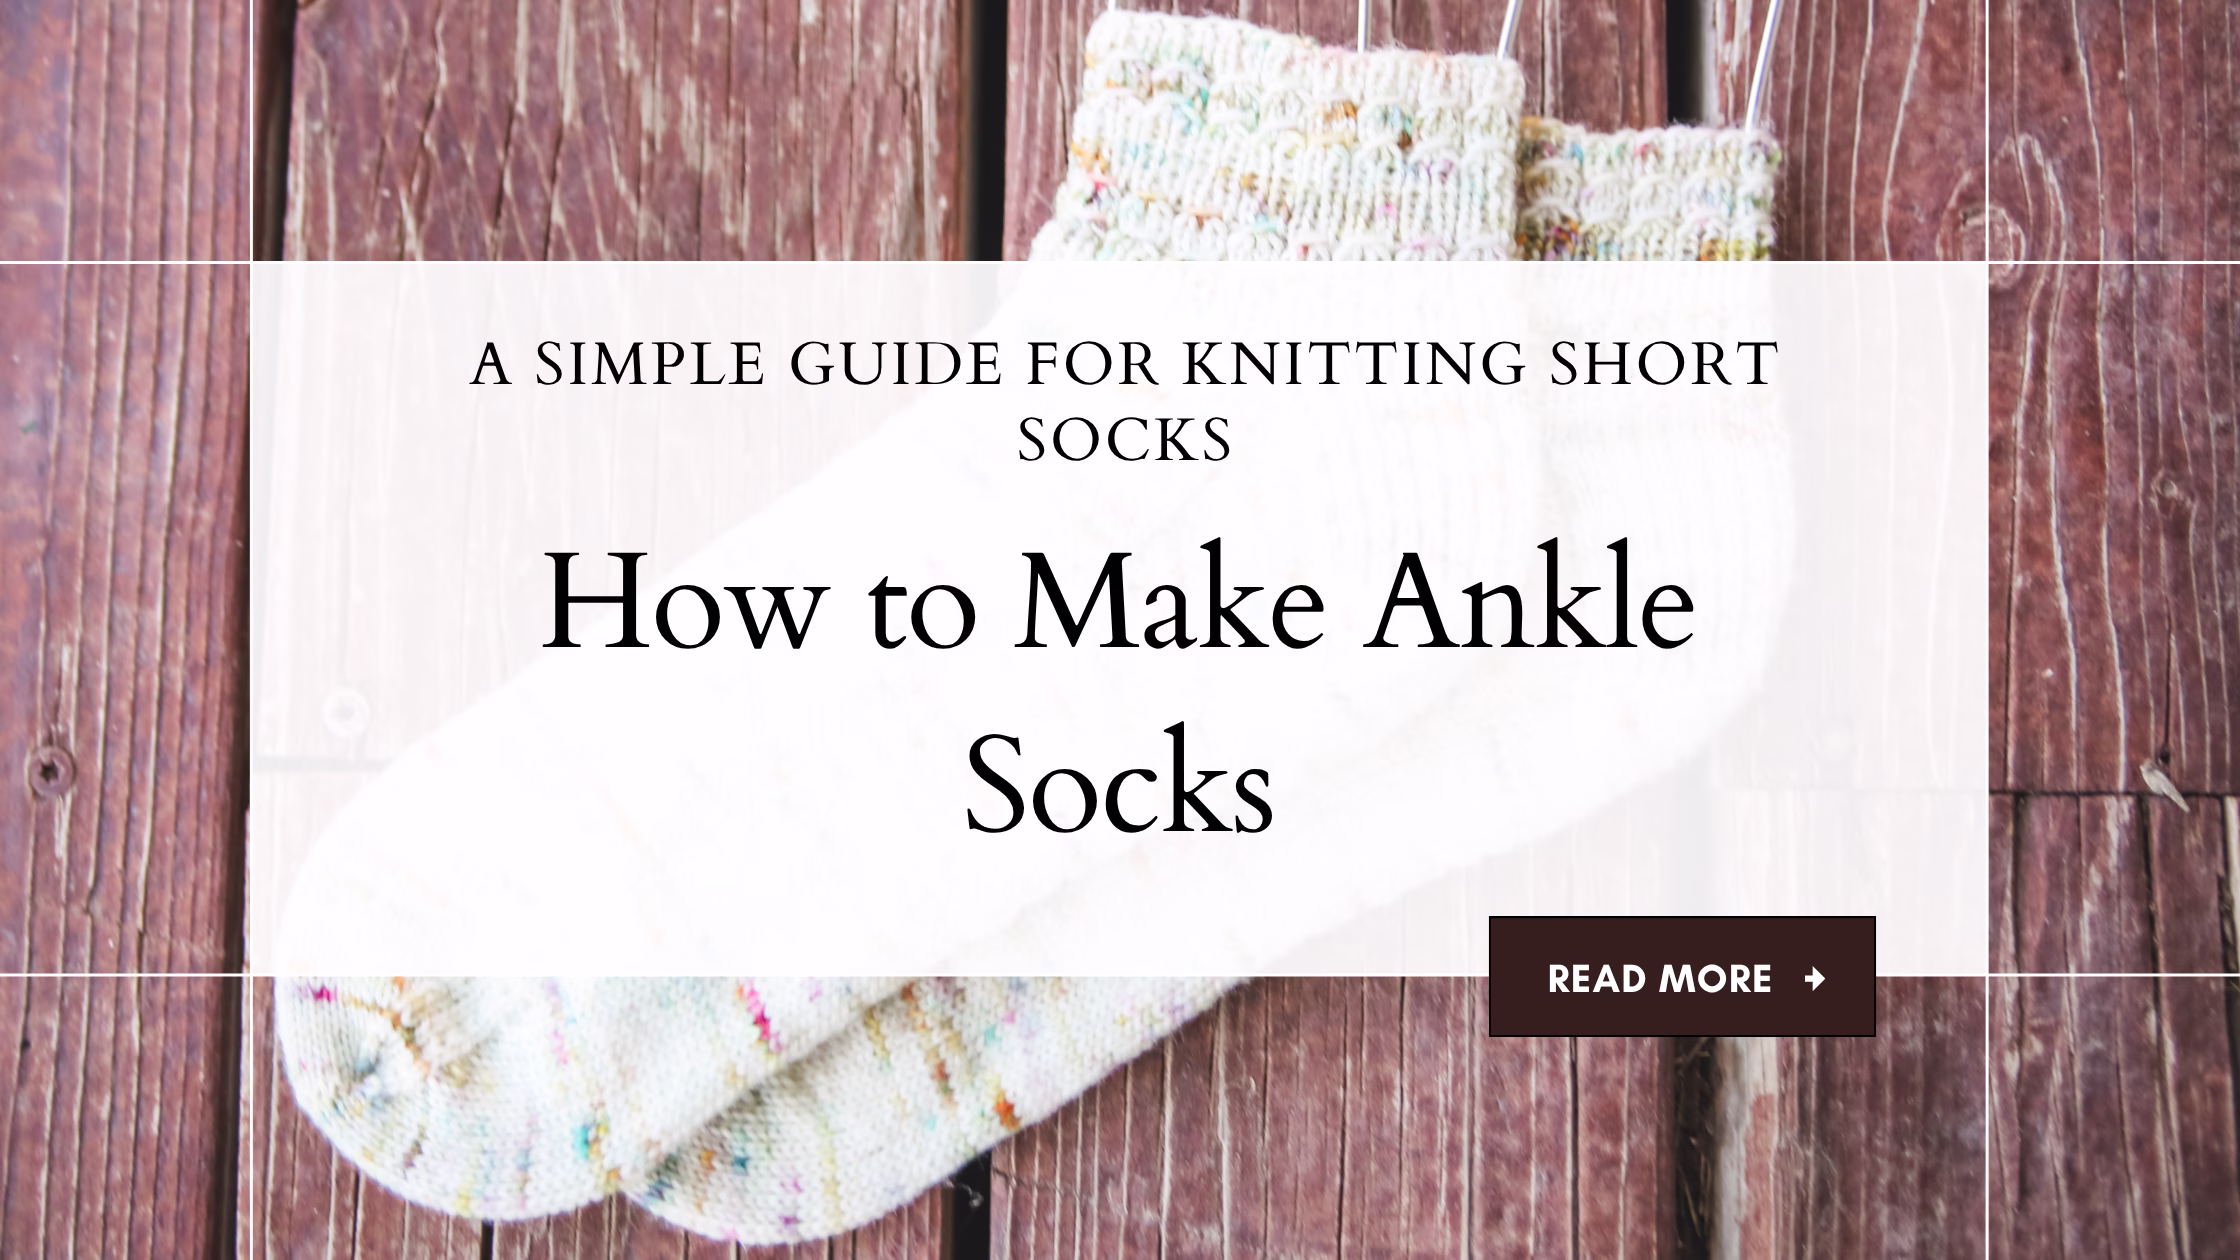
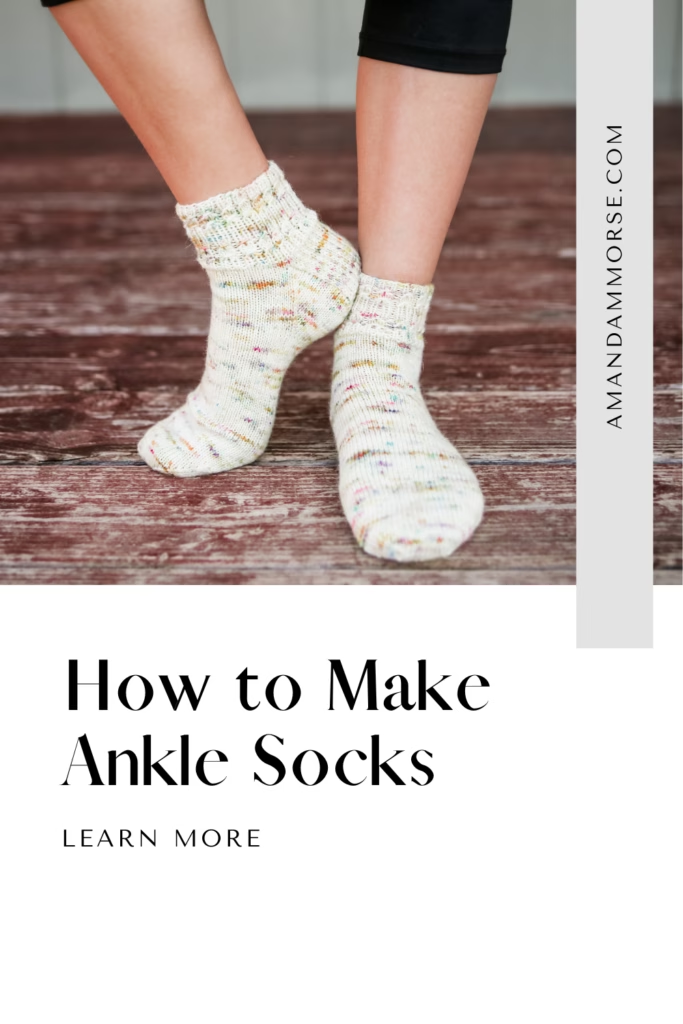
Learning how to make ankle socks is a helpful skill when you want a practical sock project that feels quicker than knitting a full-length pair. These short socks are perfect for everyday shoes, warmer weather, gift knitting, and using up your favorite sock yarn. They are also a great addition to your collection of free sock knitting patterns because they give you all the satisfaction of knitting a handmade sock without the extra length of a tall leg.
If you have ever wanted to knit socks but felt unsure where to begin, ankle socks are such a good place to start. You still get to learn the important parts of sock construction, including the cuff, heel, gusset, foot, and toe, but the shorter leg makes the project feel more manageable. This guide will walk you through how to make ankle socks step by step so you can understand what each section does and feel more confident casting on your next pair.
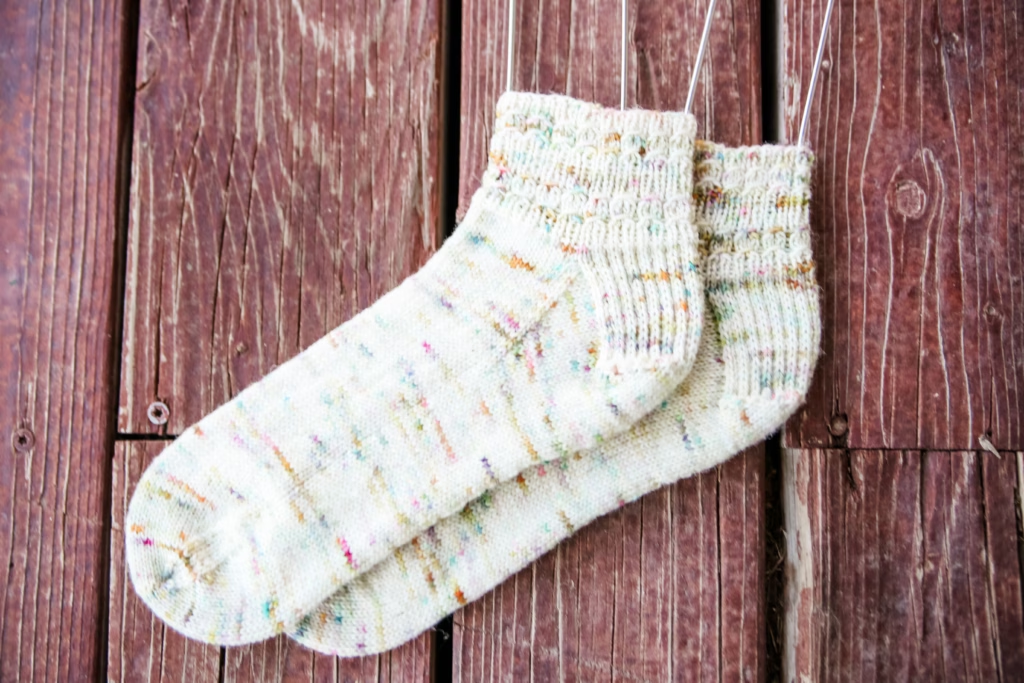
Ankle socks can be simple, textured, striped, ribbed, or full of pretty stitch details. You can make them with a classic heel flap, a short-row heel, or even an afterthought heel depending on the pattern you choose.
They are useful socks to keep in your knitting rotation because they work up quickly and fit easily inside sneakers, flats, boots, and everyday shoes. Once you understand the basic construction, you can use the same skills for baby socks, children’s socks, and adult socks too.
What Do You Need to Make Ankle Socks?
Before you begin learning how to make ankle socks, you will need a few basic knitting supplies. Most ankle sock patterns use fingering weight sock yarn because it creates a comfortable fabric that fits well inside shoes without feeling too bulky.
For many sock projects, I like using a wool and nylon blend because the wool gives the socks warmth and bounce while the nylon helps them hold up through everyday wear. KnitPicks sock yarn is one of my favorite options because it comes in so many pretty colors and works well for socks that need a little durability.
You will also need the correct size needles for your pattern. Many ankle sock knitting patterns use 2.25 mm needles, although your exact needle size may change depending on your yarn and personal gauge.
Other helpful supplies include stitch markers, a tapestry needle for weaving in ends and closing the toe, scissors, and a measuring tape. You may also want a row counter, especially when you are working through heel flap rows or repeating a stitch pattern around the cuff.

The most important part of choosing supplies is checking your gauge before you begin. Sock gauge affects the fit more than many knitters realize, and even a small difference can make the finished socks too tight, too loose, too short, or too long.
A good sock should stretch comfortably around the foot without sliding down into the shoe. Taking a little time at the beginning to check your stitches per inch can save you from finishing a whole sock that does not fit the way you hoped.
How Do You Knit Ankle Socks Step by Step?
When you are learning how to make ankle socks, it helps to think of the sock as a few smaller sections worked in order. Most top-down ankle socks begin at the cuff, continue through the short leg, then move into the heel, gusset, foot, and toe.
Start by casting on the number of stitches your pattern calls for and joining to work in the round. Many ankle socks begin with ribbing because ribbing helps the cuff stretch and stay close to the leg. A simple knit one, purl one ribbing is common, but some patterns use knit two, purl two ribbing or a textured stitch pattern instead.
After the cuff, you will knit the leg section. Since ankle socks are short, this part may only be a few rows long. This is a fun place to add cables, lace, ribbing, stripes, colorwork, or another stitch pattern because the detail will show right above your shoes.
Next comes the heel. A traditional heel flap sock usually works the heel back and forth over part of the stitches before shaping the heel turn. Then you pick up stitches along the heel flap to create the gusset, which helps the sock fit around the curve of the heel and instep.
Once the gusset decreases are finished, you will knit the foot until it reaches the length needed for the wearer. The foot is usually worked in stockinette stitch, although you can continue a stitch pattern if it fits comfortably inside shoes.
Finally, you will shape the toe by decreasing stitches at the sides of the sock. When only a small number of stitches remain, you can close the toe with Kitchener stitch for a smooth finish.
One helpful tip is to try the sock on as you go whenever possible. This makes it easier to decide whether you need a little more foot length before beginning the toe decreases.
It is also helpful to write down what you did for the first sock so the second sock matches. Keep track of your cuff length, heel flap rows, foot length, and toe decrease rounds so you can make a pair that feels even and comfortable.
Which Ankle Sock Patterns Should You Try Next?
Once you understand how to make ankle socks, you can have a lot of fun trying different styles. Some patterns are simple and smooth for everyday wear, while others add texture, cables, lace, or color details around the cuff and leg.
Here are a few ankle sock patterns to add to your knitting list:
The Hezekiah Socks are a great option when you want a short sock with a pretty faux cable cuff and a classic heel flap. The Sorek Socks are a fun choice when you want more lace and cable detail, while Vanilla Ankle Socks are perfect for knitters who want a simple, dependable sock pattern they can make again and again.
Whether you are making socks for yourself, knitting gifts for family, or using up special skeins of sock yarn, ankle socks are such a useful project. They are small enough to travel with, satisfying enough to keep your hands busy, and practical enough that you will actually reach for them when they are finished.

Learning how to make ankle socks may feel like a lot at first, but you do not have to master every sock technique all at once. Start with one pattern, work through each section slowly, and let your first pair teach you what you want to change on the next one.
Before long, you will know what cuff style you like, how deep you prefer your heel, how much negative ease feels best, and which sock yarns become your favorites. Each pair gives you more practice, and each finished sock brings you closer to having a handmade drawer full of socks that fit just right.

Have you ever knitted ankle socks before, or are you planning your first pair? Tell me in the comments which sock pattern you want to cast on next!
This post may contain affiliate links. That means I may earn a small commission if you make a purchase through one of my links, at no extra cost to you. Thank you for supporting my blog and helping me continue to share free knitting patterns and tutorials.